62 | p a g e restoration projects · vinegar: this technique is best for unpainted metal that just...
TRANSCRIPT

62 | P a g e
Module: 6
Restoration projects
63 | P a g e
6.1 Metals
6.2 Mirror and Glass
6.3 Plastics
6.4 Ceramics
6.1 Metals
You may encounter metal knobs, hinges, plates, brackets etc. on your furniture that you feel needs some
restoration work, or you may just have a metal object that you feel like restoring. While the process of
restoring wood furniture and restoring metal is different, there are similarities in the process. It should

64 | P a g e
be pointed out that there is a certain patina that develops on metals over time that can very quickly be
destroyed and takes decades to form again. These patinas are often desired and removing them can
devalue certain types of metal objects, namely sculptures, light fixtures and brass, bronze or copper.
Some of the supplies you will want to have specifically when restoring metals will include the following:
Gloves, especially when working with rusted metals or toxic chemicals.
Respirator, again especially when working with rust or toxic chemicals.
A very fine steel wool, either 000 or 0000.
Soft bristled tooth brush
Soft cloth rags, (like old socks or ripped t-shirts).
Tarnish removing solution (usually comes in pastes or liquids and are specific to the kind of metal you
are using).
Dish soap

65 | P a g e
Removing Paint:
While you can remove paint from metal with the same furniture stripper you have now used on wood,
you risk scratching the metal as you scrape off the softened paint. Even steel wool shouldn’t really be
used on smooth polished metals with a nice patina; micro scratching can ruin the overall look. What you
can do is allow the metal parts to sit in simmering water for a couple hours then drop them into cold
water. You can even put them in an old crockpot overnight. The paint will soften and bubble in the hot
water and contract in the cold water; you should then be able to just rub the paint off with your hands at
this point. If you do feel you need to use some steel wool to further remove any stubborn bits, do so
gently and with a steel wool that has very fine fibers. Use circular motions as opposed to back and forth.
Polishing:
There are many methods and products you can use to polish metal and it really depends on the type
of metal and the condition it is in. They will be listed from least to most intrusive.
Dish Soap: This is good for metal that is not painted and in an okay shape. Let the piece sit in warm
soapy for a few minutes then use a soft bristled toothbrush to really scrub it clean. Be sure to thoroughly
dry the metal immediately, with either heat or forced air and especially in tiny crevices, to avoid rusting
it further.
Vinegar: This technique is best for unpainted metal that just looks dull and dingy or as a second step
after doing one of the other techniques listed here. Use a very steel wool such as 000 or 0000 and soak it
in vinegar. Use gentle circular strokes and polish the metal. This is best done on smoothly polished
yellow metals, i.e. not on chrome or silver.
Baking Soda: This is a good technique when you do not think the first two have polished the metal to the
sheen you are looking for. Mix some baking soda with a bit of water to make a paste. Rub the paste over

66 | P a g e
the metal with a toothbrush or soft cloth. The baking soda is mildly abrasive and will help to remove
some minor rust and discoloration.
Borax: For even tougher rust or oxidation, make a paste with borax and lemon juice and use that to
scrub the metal clean. The abrasion on this is higher than that with baking soda and the lemon
counteracts the rust.
Tarnish Removers and Polishers: This is especially useful for silver or polished brass that had developed
a tarnish from exposure to air. There are metal polishing productsthat are designed to remove tarnish
and should be applied with a soft cloth. Sometimes they need to sit on the metal for several minutes. You
should know that most of these products will all remove any patina and usually bring the metal back to a
high shine. There are natural and non-toxic products available that can clean and polish metal as well.
CLR and similar solvents: Excellent for removing rust. Safe on most metals but do allow the metal to sit
in the solution for too long or it may discolor the metal and change the patina. It will not polish the metal
to a high shine like tarnish removers or metal polishes will.

67 | P a g e
Ageing and Coloring:
Perhaps you are missing the hardware altogether, or it's been replaced at some point and
doesn't match the rest of the piece of furniture, you can age and color the wood with various
products to help make newer hardware look like more like it was original to the antique
furniture.
There is a method to actually make rust form on your metal. This works best on steel and it is
metals with iron in them that rust the most. Others kinds of metals will have some corrosion,
tarnishing, and discoloration that may also be desirable and achievable using the following
method. Wash the metal with soap and water to ensure there is no oil on the metal, which will
hinder the process. Next allow the metal to sit in vinegar for several hours to a day. Remove the
metal from the vinegar but do not rinse them. Place the metal in hydrogen peroxide, (you should
be able to get it for a few dollars at any drugstore). Sprinkle a generous amount of salt
(preferably kosher or rock salt) and allow it to sit again for several hours to a day. Remove the
metal from the peroxide solution and let it air dry before rinsing or washing. The results of this
process are unpredictable and will change metals in different ways.

68 | P a g e
You can also fake the patina metal gets from age with various store bought chemical solutions.
Aluminum can be made to look dark and worn, copper can be made to look green as though it
has been outdoors for many years, and brass can darken and look smoky. Almost every kind of
effect you wish to have on metal can be achieved with various chemical solutions made for that
purpose. Look at arts and craft stores, hardware stores or online for such products. As always,
follow the directions and safety precautions on the bottle, but generally, the process consists of
nothing more than wiping the solution on the metal with a soft cloth and the reaction is almost
instant.
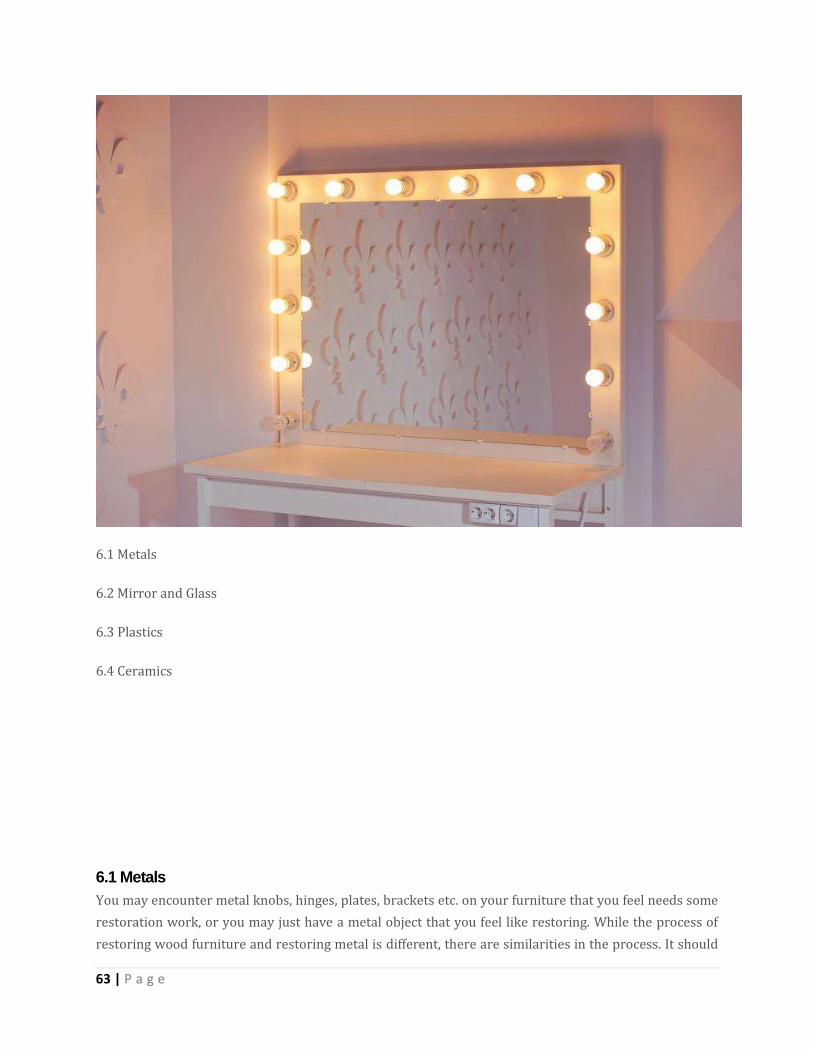
While there is not a lot you can do to restore the mirror or glass in your furniture or elsewhere there
are something’s you can learn about altering or replacing it.
Overtime, mirrors can develop dark spots and black marks where the silver backing had deteriorated.
One of the easiest ways to fix that is to lightly rub a little steel wool on the back of the mirror (where the
black spots are only) and use a metallic silver paint to fill in the areas. The result will not be perfect but
the dark markings will become significantly less noticeable. The second and more involved option is to
just re-silver the mirror. You might be asking why you would spend the time and money to re-silver the
back of your mirror when for only slightly more money you can just get a new mirror cut. The answer is
that antique glass has a different look than new glass because it was made differently. Antique glass has
irregularities like tiny air bubbles, ripples, and a surface that is not always perfectly flat, even and
smooth. There is a charm in older glass with these imperfections and you might want to keep that look
to match your older frame or furniture piece.
For best results, re-silvering a mirror will involve removing all of the old silver, removing it in areas that
need attention will not produce the most seamless results. There are a few things you should know
before you start a re-silvering project so that you are not disappointed with the results:
1. Any scratches on the mirror may become more pronounced with the fresh silver. Older, duller silver
may have hidden the scratches more.
2. The process is messy and requires patience and a steady hand.
3. The process can be tricky and you should practice it a couple times on some scrap glass before
beginning work on your main piece.

69 | P a g e
There are kits available will all the materials you need to re-silver a mirror. Follow the instructions
and safety precautions on the packaging. Essentially what you will do is remove the old silver, clean
the glass, apply the new silver and apply a protective paint coat on top of the silver. You can apply
two coats of silver if you are not satisfied with the coverage of one coat.

70 | P a g e
Antiquing Mirror:
Sometimes you might find it desirable to make a mirror look old and worn out and there are also
products that you can use to crackle or discolor the silver backing. Different products will have different
effects with different colors but for the most part, they create the dark spots that form naturally over
time in an exaggerated effect.
Muriatic Acid is the product that you will be seeking and it is available at home improvement or craft
stores. How you apply the acid to the back of the mirror will change the effect it will have so it is good to
do some text pieces on scrap mirror. You can spray it on, splatter it, dry brush it, smear it, sponge it, etc.
Have fun and try different application techniques to get the desired look.
Frosting:
Clear glass can also easily be frosted at home. There are four basic methods you can do to turn
clear glass into the frosted glass.
1. Frosted Film: There are products you can buy that will stick to the back of the glass and make it look
frosted. They come in rolls and have a paper backing that you peel off like a sticker. It is best to peel
off just a small amount and slowly peel more as you apply it to the glass. Use a scraper or something
with a straight edge to make sure you are adhering the film to the glass without any air bubbles in it.
If for some reason an air bubble does form and you do not want to peel it off and start over with a
new piece of film (as the film cannot be used again once you pull it off) cut a small slit in the bubble
with a razor blade and smooth it down with the scraper.
2. Spray On: You can buy products that look and work similar to spray paint. You need to have a steady
hand to get an even coat but essentially you spray on a frosting using back and forth strokes. Many

71 | P a g e
light coats will give you a much nicer and more even effect that trying to get it all on in one or two
passes.
3. Sandblasting: If you have access to a sandblaster this will give you the best and more truest form of
frosted glass. The sand actually etches away at the smooth surface of the glass to give it the frosted
effect. Very thin glass might break when sandblasting, as there is a lot of pressure being applied to
the glass so handle it with care.
4. Chemical Etchers: These products have the same final effect as sandblasting but use a chemical
compound to etch into the glass and give it the frosted look. You can buy a glass etching solution at
hardware or craft stores. It can be difficult to get an even frosted look on large pains of glass with
chemical etching solutions.
6.3 Plastics
As we move further into the future, plastics products will soon become antiques. There is plastic
furniture that was being mass-produced in the 1950's. It can be difficult to restore or repair plastics
as there are dozens of kinds of plastics in use and they each have their own properties and
characteristics.
Fixing Broken Plastic:
Many adhesives do not work on plastics and some that appear to work in the short term will become
very weak in a short amount of time. This is because plastic is made from oil and the oils in plastics do
not always bond well with adhesives. There are plastic adhesives that do work quite well so be sure to

72 | P a g e
seek those out. Sanding the area with medium grit sandpaper will help to create a stronger bond as a
rough surface always glues better than a smooth surface.
Restoring Plastic:
If the plastic is looking dull, yellowed or faded there are products on the market to bring them back to
the nice bright vibrancy they had when they were new. You can also just use Petroleum Jelly, available
from any pharmacy. Apply a liberal amount to the plastic and buff it clean with a soft cloth. The
petroleum jelly should do a pretty good job of reversing the signs of aging plastic.
Depending on what plastic product you want to restore and how it is used, there is a method for
bringing back the color and brilliance to something that has faded over time. Give the plastic surface
a nice light sanding with a paper that has a grit of 400 or more. Next, use a heat gun on a high
setting and pass it over the plastic back and forth being careful not to keep in one place for too long.
Essentially you want to just soften the very top layer of the plastic to bring back the smoothness and
shine. If you over heat the plastic, however, it may warp, bubble, bend or become brittle once it has
cooled.
6.4 Ceramics
Ceramics is an umbrella term that refers to various types of materials that originate from the earth
and are heated to become hard. Porcelain is a delicate form of ceramics that allows some light to
pass through, while pottery is totally opaque. Terra cotta is generally unglazed, reddish brown in

73 | P a g e
color and fired at the lowest temperature. China is high quality and delicate yet durable as it is fired
at a very high temperature. For the purposes of repair and restoration, they can all be treated as
simply ceramics.
Because ceramics are made from earth and change composition once fired under high heat, there is
not a lot you can do to fix them entirely once they are in need of repair or restoration. There are a
few tricks however, you can try to make the ceramic better than the state it might currently be in.
Repairing Broken Ceramic:
Broken ceramics should only be glued back together with a product that is made for ceramics. Be sure
there is no dirt or oils on the raw edges of the broken pieces, as this will hinder the adhesion capabilities
of the glue. Apply the glue to both sides that are to be joined together in a thing even coat that
completely covers the surface. Hold the pieces together for a couple minutes then place a piece of
masking across it to hold it together until the glue is fully cured. If the ceramic has broken into many
pieces, rather than trying to build it back up piece-by-piece, you will find it easier to glue to pieces
together at a time. Then once those are fully cured treat them as one piece and glue two of those
together and so on. Depending on the pieces, it’s shape and how it will be used you may find you want to
reinforce the seam with pins. Drill tiny holes in either side of the ceramics and place a small metal pin,
usually no more than half an inch long, to bridge the two pieces before applying the glue. Having the pin
go across the crack will help to keep it strong.
Restoring Glaze:

74 | P a g e
The glaze that goes onto ceramics is essentially the same material and concept as glass and so
often some soap and water with a dishwashing scrubber will be enough to bring back the shine of
old and dull ceramic glazing. If the glaze as chipped, peeled or for any other reason is not what you
want, it is possible to sandblast the old glaze off and reapply a new glaze. This is a tricky process, as
glazing ceramics requires a very particular technique and the piece will have to go into a kiln again
to set the glaze.