a guide to using beamer - university of windsor · a guide to using beamer ... beamer is an...
TRANSCRIPT

A Guide to Using Beamer
Michelle Cylwa
Introduction
Beamer is an excellent way of making a presentation using LaTeX. The user
programs the code similar to making a normal LaTeX document. Once com-
piled the result is a pdf slide show similar to Powerpoint, with the advantage of
superior mathematical documentation capabilities.
Getting Started with Beamer
The very first step to making a presentation is to make the document class
beamer in the preamble (before the \begin{document}).
\documentclass{beamer}
With just this command we can now create a very basic looking presentation.
In order to create each slide we use the command:
\begin{frame}
Insert slide contents here
\end{frame}
In the pdf file, you can move from slide to slide using the navigation bar along
the bottom of the slides, the keyboard or the mouse.

Basic Commands in Beamer
Using Beamer we can still use the basic commands of LaTeX. The commands
for itemize, enumerate and description are the very same as in any LaTeX
document. A nice feature of Beamer is that all of the information on the slide
does not need to come up at once.
Use the command
\pause
to stop the information on the slide at that point.
For example,
\begin{itemize}
\item Step 1
\pause
\item Step 2
...
will show Step 1, then the slide show must be prompted to show Step 2. The
above commands will actually create 2 slides. The first slide will simply have
Step 1, and the second will have both Step 1 and Step 2. The file that is created
after compiling will have two slide counts. One will be the total number of slides
(taking into account each time the \begin{frame} and \pause commands are
used), and the other will the total number of frames (only taking into account
each time the \begin{frame} command is used).

Graphics in Beamer
To insert graphics into a Beamer presentation, first call the package graphicx,
\usepackage{graphicx}
then use the command,
\includegraphics[*]{picture name}
where * includes the usual commands about the width, height, trimming, etc.
It is nice to be able to include text with graphics. To do this, we can create
columns in our frame using the columns and column commands.
\begin{columns}
\begin{column}{0.5\textwidth}
Text here
\end{column}{0.5\textwidth}
\begin{column}{0.5\textwidth}
\includegraphics[width=0.9\textwidth]{picture name}
\end{column}{0.5\textwidth}
\end{columns}

The result of these commands will produce a frame with two equal sized columns,
text on the left and graphics on the right. The size of the columns can be changed
by replacing the 0.5 with other values between 0 and 1 exclusive. More than
two columns can be made in the same fashion.
Note that when the command width=0.9\textwidth is used for the graphics, this
is the width of the column (not the width of the frame). The \pause command
can be used just as before when using columns.

Text in Beamer
Coloured Text
In order to change the colour of text use the command,
\textcolor{text colour}{text}
To highlight text use the command,
\colorbox{highlight colour}{text}
To highlight text of a different colour,
\colorbox{highlight colour}{\textcolor{text color}{text}}
To create a text box with a border,
\fcolorbox{border colour}{highlight colour}{text}
The standard colours that Beamer recognizes are:
red green blue yellow
orange purple violet magenta
cyan brown black white
darkgray lightgray gray

More colours can be obtained by defining your own colours in the preamble.
One command is,
\definecolor{colour name}{rgb}{?, ?, ?}
where 0 ≤ ? ≤ 1. Another command,
\definecolor{colour name}{RGB}{†, †, †}
can be used, where 0 ≤ † ≤ 255.
For example, the commands,
\definecolor{MyPurple}{RGB}{200, 0, 230}
\definecolor{MyLightBlue}{rgb}{0.3, 0.6, .7}...
\textcolor{MyPurple}{Leonardo Fibonacci Pisano} \\
\textcolor{MyLightBlue}{Blaise Pascal}
will result in,
Titles
To add titles and subtitles to the frame use the commands
\frametitle{Title}
\framesubtitle{Subtitle}
after the \begin{frame} command.

Fonts
To change the fonts used in the presentation use the command,
\usefonttheme{font theme name}
in the preamble.
Some common font themes that Beamer recognizes are:
professionalfonts structureitalicserif
structurebold structuresmallcapsserif
Beamer Backgrounds and Themes
Up to this point, the presentations we could make would be able to convey
information but would not be eye-catching. Beamer has a variety of ways to
help make visually appealing presentations.
Backgrounds
To change the colour of the background, use the command,
\setbeamercolor{normal text}{bg=colour}
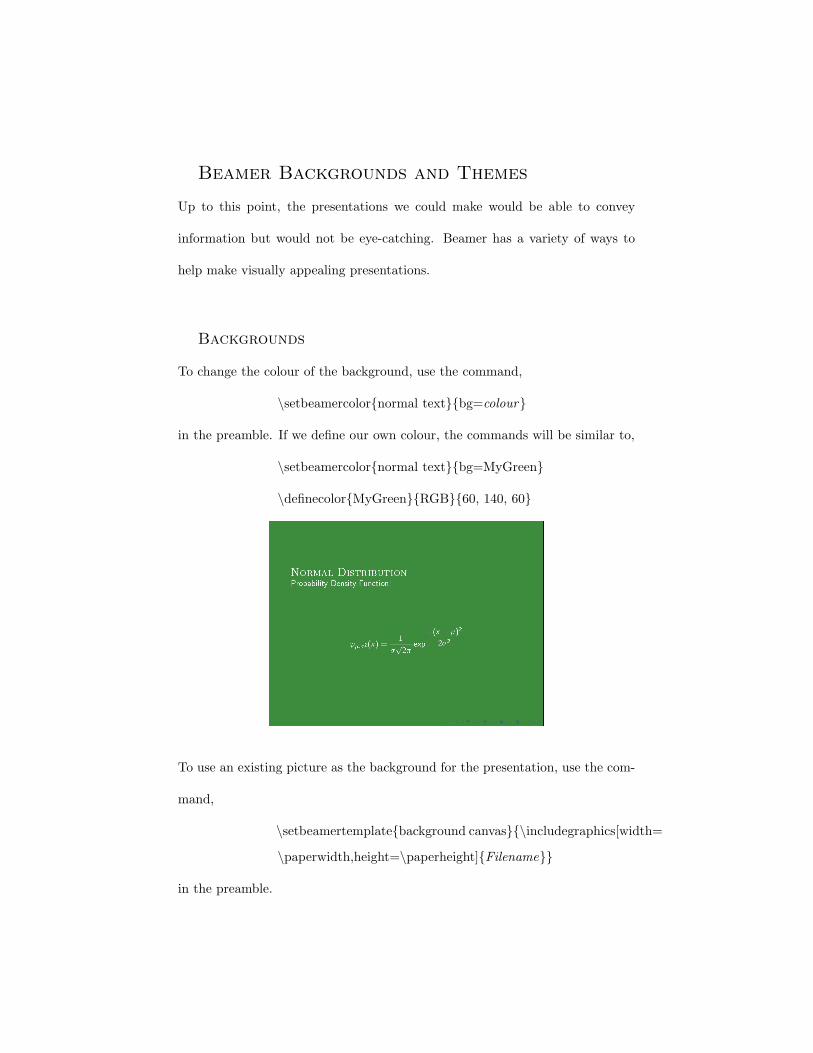
in the preamble. If we define our own colour, the commands will be similar to,
\setbeamercolor{normal text}{bg=MyGreen}
\definecolor{MyGreen}{RGB}{60, 140, 60}
To use an existing picture as the background for the presentation, use the com-
mand,
\setbeamertemplate{background canvas}{\includegraphics[width=
\paperwidth,height=\paperheight]{Filename}}
in the preamble.

Using the command,
\begin{frame}[plain]
will result in the frame having none of the loaded backgrounds or decorations.
Themes
Beamer allows us to use themes to enhance our presentations. These themes
will drastically change the visual presentation.
Use the command,
\usetheme{theme name}
in the preamble.
Some standard themes that Beamer recognizes are:
Hannover Boadilla Madrid
P ittsburgh Rochester Copenhagen
Warsaw Singapore Malmoe
Goettingen Berkeley AnnArbor

Colour Themes
When using a theme the standard colours that appear are blues. We can change
the colours of the theme by using the command,
\usecolortheme[named=colour name]{structure}
in the preamble, where the colour name is one of the standard colours (or a
defined colour, in which case the \definecolor command must be placed before
the \usecolortheme command).
We can also use a colour theme by instead using the command,
\usecolortheme{colour theme name}
in the preamble.
Some standard colour themes that Beamer recognizes are:
albatross beaver beetle crane
dolphin dove fly lily
orchid seahorse whale wolverine
A third way we can change the colour theme of the presentation is to use the
command,
\usecolortheme[RGB={†,†,†}]{structure}
in the preamble, where 0 ≤ † ≤ 255.

Examples
Theme: Warsaw
Font theme: structureitalicserif
Colour Theme: RGB={100,90,150}
Theme: Goettingen
Font theme: structuresmallcapsserif
Colour Theme: seahorse

Title Pages, Sections and Subsections
Title Pages
To create a title page, place the following information in the preamble:
\title[*]{Title}
\subtitle[*]{Subtitle}
\author[*]{Author’s name}
\institute[*]{
Department \\
University \\
City, Province \\[1ex]
\texttt{e-mail address}
}
\date[*]{Date}
where the *’s are optional labels. In the document, create the first frame like
so,
\begin{frame}
\titlepage
\end{frame}

Sections and Subsections
For some presentations, it may be easier to navigate through the use of sections
and subsections. When using sections and subsections, a navigation sidebar is
created in Adobe. Depending on the theme used there will be the names of the
section and subsection or markers on the slides themselves.
To create a section, simply use the command,
\section{Section name}
before the first frame in that section.
To create a subsection, use the command,
\subsection{Subsection name}
within the section, before the first frame in that subsection.
Miscellaneous Topics
Bullets
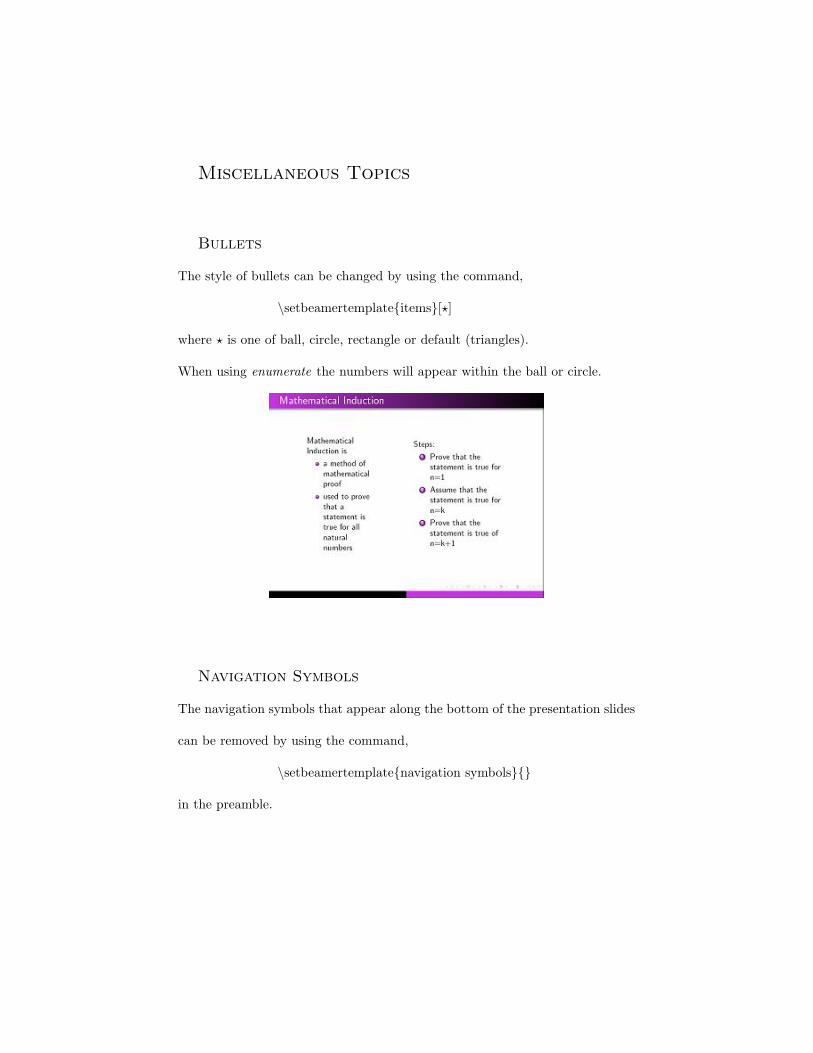
The style of bullets can be changed by using the command,
\setbeamertemplate{items}[?]
where ? is one of ball, circle, rectangle or default (triangles).
When using enumerate the numbers will appear within the ball or circle.
Navigation Symbols
The navigation symbols that appear along the bottom of the presentation slides
can be removed by using the command,
\setbeamertemplate{navigation symbols}{}
in the preamble.