adding a website to dreamweaver - …static.engr.uconn.edu/ets/web/dreamweaver8pc.pdf · adding a...
TRANSCRIPT

Adding a website to DreamWeaver
In DreamWeaver, go to the “Sites” menu, and the following dialog box will appear
Enter the name of your website, in this example we are using the Masters of Engineering website.
In this case, we are using a shortened name, for example, “MENG WEB”
For the website address, enter the full URL of the website in its entirety.
For example: http://www.engr.uconn.edu/meng
Click “Next”

Adding a website to DreamWeaver
If you are using PHP for your website, click “Yes”
For server technology, select, “PHP/MySQL”
This will allow DreamWeaver to use PHP
Click “Next”

Adding a website to DreamWeaver
Most likely, you will have a test server on your machine, select “Edit and test locally”
If you do not have a test server on your machine, select “Edit locally, then upload”
Enter the path of where your files are located on your PC
Click “Next”

Adding a website to DreamWeaver
If you selected, to “Edit and test locally” you will need to enter the test server information and path.
Normally, it is: http://localhost/directoryname
In this case, we are using MENG, the directory is: http://localhost/meng/
Click “Next”

Adding a website to DreamWeaver
Here, we need to tell DreamWeaver where the the remote website is located.
Select “Yes” and click “Next”

Adding a website to DreamWeaver
From the drop down, select “Local/Network”
This will tell DreamWeaver that the files will be uploaded remotely using the local Network
Now we need to tell DreamWeaver where on the local Network the website is located
Click on the folder icon
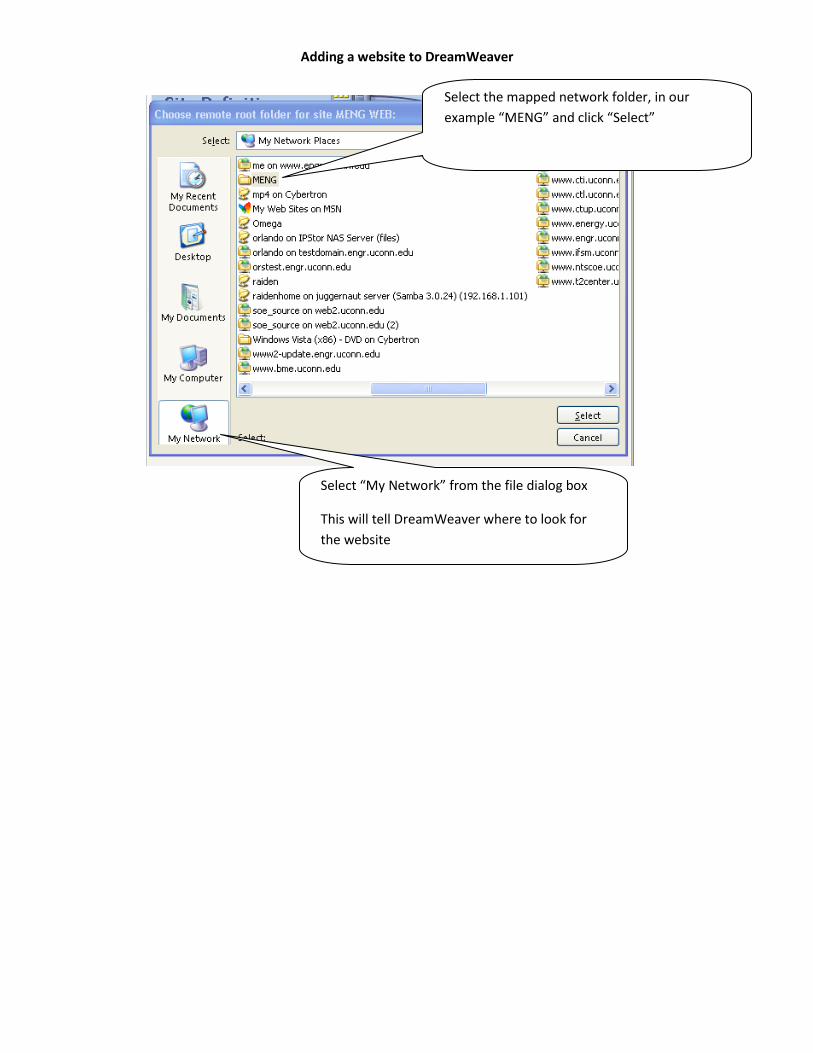
Adding a website to DreamWeaver
Select “My Network” from the file dialog box
This will tell DreamWeaver where to look for the website
Select the mapped network folder, in our example “MENG” and click “Select”

Adding a website to DreamWeaver
Once you have selected the mapped network folder, the location will look as follow: \\files.engr.uconn.edu\dept_web\www.engr.uconn.edu\meng
Click “Next”

Adding a website to DreamWeaver
Select, “No” and do not enable the check in/out feature
Click “Next”

Adding a website to DreamWeaver
The summary screen will give you a summation of what you entered.
Site Name
Where the files are located on your PC for you to edit
Location where you will upload your files to on the network
Location of where you will place the testing server files, normally it is the same location of where the files are located locally
If the settings are correct, click “Done”

Adding a website to DreamWeaver
Once you have clicked “Done” you will have the website profile loaded
The local view, files on your PC, will be visible first
To view the files on the server, and view both local PC website, and remote website files.
Once you have expanded the file manager, here you will see the files that are located on the web server, this is the “remote view”
This is the “local view” where the files are on your PC
To edit a file, double click on it, and the editor will load the file