air monitoring safety program - nescaum · air monitoring safety program new hampshire department...
TRANSCRIPT

1
Air Monitoring Safety Program
New Hampshire Department of Environmental ServicesAir Monitoring Program
November 6, 2008

Air Monitoring Program Safety Training Program Outline
Initial Safety Training – for all new employees Field Training - accompanied by Seasoned Employee w/Safety ChecklistAir Monitoring Safety Presentation - Power Point
Refresher Safety Training (once a year – everyone)
Safety Meetings (at least Monthly)Provide forum for discussions of safety concerns Disseminate new safety information
General Safety Classes (outside of AMP)Fire safetyHazardous Material handlingDefensive DrivingOther

Gasses
•Characteristics
•Exposure limits
•Target organs/symptoms
•First aid
•Information comes from the NIOSH Pocket Guide toChemical Hazards (available electronically athttp://www.cdc.gov/niosh/npg/default.html)
3 - Gasses

Exposure Limit Definitions
•REL = Recommended Exposure Limit
•PEL = Permissible Exposure Limit
•STEL = Short Term Exposure Limit (15 minutes)
•Ceiling = should not be exceeded at any time during the workday
•IDLH = Immediately Dangerous to Life or Health
•NAAQS = National Ambient Air Quality Standard
4 - Gasses

Ozone (O3)
•Colorless to blue gas with a very pungent odor
•NIOSH REL/OSHA PEL = 0.1 ppm (0.2 mg/m3)
•IDLH = 5 ppm
•NAAQS = 0.075 ppm (8-hour)
•Target organs: eyes, respiratory system
•Symptoms: irritates eyes & mucus membranes, pulmonary edema(swelling/fluid in the lungs), respiratory disease
5 - Gasses

Ozone (Continued)
- Target organs: eyes, respiratory system
- Symptoms: irritates eyes & mucus membranes, pulmonary edema(swelling/fluid in the lungs), respiratory disease
- First aid: Fresh air, 100% O2 – move exposed person to fresh airat once, trained personnel may administer oxygen if breathing isdifficult, get medical attention as soon as possible
6 - Gasses

Ozone Equipment and Levels in AMP
•Thermo NO2 Analyzer (42 series)•Produces ozone in large quantities as part of process•Up to 10,000 ppm in exhaust (IDLH = 5 ppm)•Must be exhausted at all times•Always Check Connections•Keep ozonator off while warming up after new installations•Most have destroyers, but don’t count on them
•Ozone Calibration Systems•Any station that measures ozone – Lab during Certification•Thermo 49 series and API 400 analyzers•Internal Ozone systems•Must be exhausted at all times•Auto checks in early AM•Up to 0.5 ppm (IDLH = 5 ppm)
7 - Gasses

Carbon Monoxide (CO)
•Colorless, odorless gas
•NIOSH REL = 35 ppm (40 mg/m3)
•NIOSH Ceiling = 200 ppm (229 mg/m3)
•OSHA PEL = 50 ppm (55 mg/m3)
•IDLH = 1,200 ppm
•NAAQS = 35 ppm (1-hour), 9 ppm (8-hour)
8 - Gasses

Carbon Monoxide (Continued)
•Target organs: cardiovascular system, lungs, blood, central nervoussystem
•Symptoms: headache, tachypnea (rapid breathing), nausea,weakness, dizziness, confusion, cyanosis (blue discoloration of theskin)
•First aid: Respiratory support – move the exposed person to freshair at once, get medical attention as soon as possible
9 - Gasses

10 - Gasses
Carbon Monoxide Equipment and Levels in AMP
•Thermo CO Analyzer (48 series)•CO supplied by cylinder during auto checks/calibrations and audits•Certifications in Laboratory•Up to 40 ppm in exhaust during checks (IDLH = 1200 ppm)•Must be exhausted at all times•Always check connections
•CO Cylinders•Concentration of 2400 ppm of CO (IDLH = 1200 ppm)•CO detector everywhere there is a CO cylinder •Cylinder safety a must (later)

Nitrogen Dioxide (NO 2)
•Reddish-brown gas (above 70°F) with a pungent, acr id odor
•NIOSH STEL = 1 ppm (1.8 mg/m3)
•OSHA ceiling = 5 ppm (9 mg/m3)
•IDLH = 20 ppm
•NAAQS = 0.053 ppm (annual)
11 - Gasses

Nitrogen Dioxide (Continued)
•Target organs: eyes, respiratory system, cardiovascular system
•Symptoms: Irritates eyes, nose, throat; cough, decreasedpulmonary function, chronic bronchitis, dyspnea (breathingdifficulty), chest pain, pulmonary edema, cyanosis, tachypnea,tachycardia (rapid heartbeat)
•First aid: Eyes – immediately wash with large amounts of water,get medical attention immediately; inhalation – respiratory support(move person to fresh air, get medical attention as soon as possible)
12 - Gasses
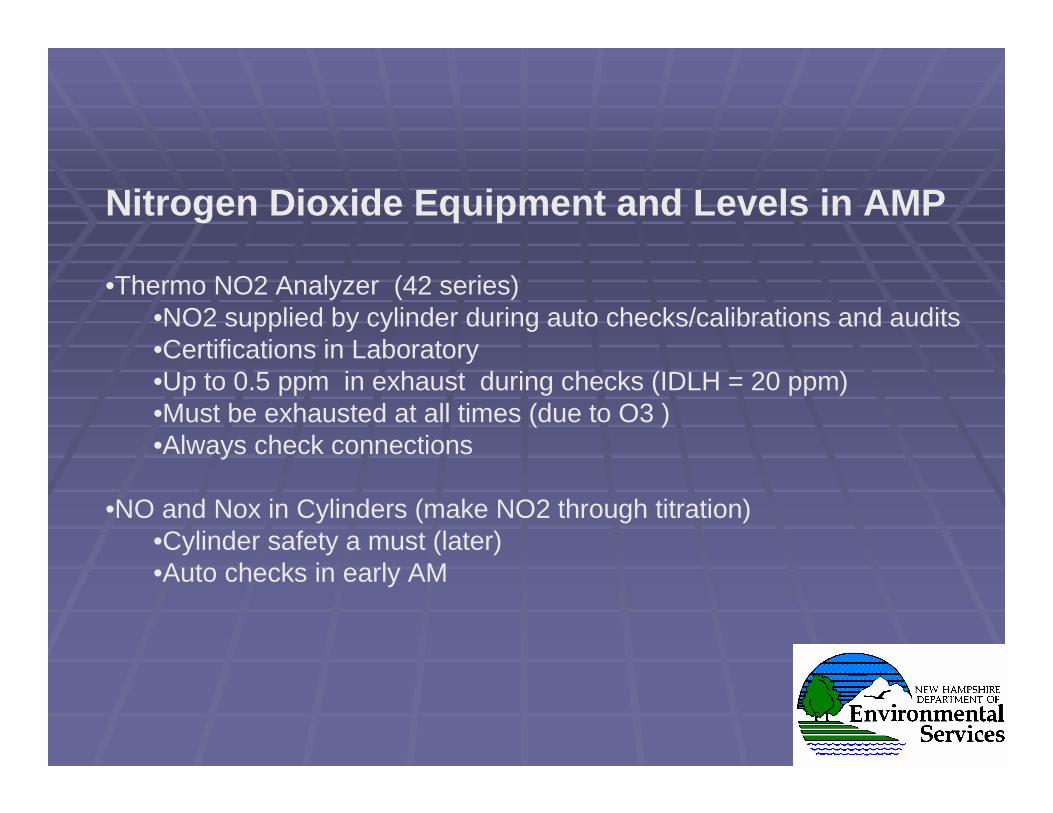
Nitrogen Dioxide Equipment and Levels in AMP
•Thermo NO2 Analyzer (42 series)•NO2 supplied by cylinder during auto checks/calibrations and audits•Certifications in Laboratory•Up to 0.5 ppm in exhaust during checks (IDLH = 20 ppm)•Must be exhausted at all times (due to O3 )•Always check connections
•NO and Nox in Cylinders (make NO2 through titration)•Cylinder safety a must (later)•Auto checks in early AM

Nitric Oxide (NO)
•Colorless gas
•NIOSH STEL = 25 ppm (30 mg/m3)
•OSHA ceiling = 25 ppm (30 mg/m3)
•IDLH = 100 ppm
•NAAQS = NA

Nitric Oxide (Continued)
•Target organs: Eyes, skin, respiratory system, blood, central nervous system
•Symptoms: Irritation eyes, wet skin, nose, throat; drowsiness,unconsciousness; methemoglobinemia
•First aid: Breathing: Respiratory support

Nitric Oxide Equipment and Levels in AMP
•Thermo NO2 Analyzer (42 series)•NO supplied by cylinder during auto checks/calibrations and audits•Certifications in Laboratory•Must be exhausted at all times •Always check connections
•NO and Nox in Cylinders•Concentration of 26 ppm of NO (IDLH = 100 ppm)•Cylinder safety a must •Auto checks in early AM

Sulfur Dioxide (SO 2)
•Colorless gas with a characteristic, irritating, pungent odor
•NIOSH REL = 2 ppm (5 mg/m3)
•NIOSH STEL = 5 ppm (13 mg/m3)
•OSHA PEL = 5 ppm (13 mg/m3)
•IDLH = 100 ppm
•NAAQS = 0.5 ppm (3-hour), 0.14 ppm (24-hour), 0.03 ppm (annual)
17 - Gasses

Sulfur Dioxide (Continued)
•Target organs: Eyes, skin, respiratory system
•Symptoms: Irritates eyes, nose, throat; choking, cough, reflexbronchoconstriction, frostbite (when in liquid form)
•First aid: Respiratory support – move the exposed person to freshair at once, get medical attention as soon as possible
18 - Gasses

Sulfur Dioxide Equipment and Levels in AMP
•Thermo SO2 Analyzer (43 series)•SO2 supplied by cylinder during auto checks/calibrations and audits•Certifications in Laboratory•Up to 0.5 ppm in exhaust during checks (IDLH = 100 ppm)•Must be exhausted at all times •Always check connections
•SO2 in Cylinders•25 ppm•Cylinder safety a must (later)•Auto checks in early AM

Compressed Gas Cylinders
•Potential hazards:
�Contents
�Accidental high-pressure release
�Electrical
•Safety precaution categories
�Receiving
�Storage
�Handling and operating20

Safety Precautions for Receiving Cylinders
�The contents of any compressed gas cylinder must be clearlyidentified
�Cylinders with missing or illegible labels should not be usedand returned to the vendor
�Never rely on the color of the cylinder for identification
21 - Compressed Gas Cylinders

Safety Precautions for Storing Cylinders
�Cylinders must be secured at all times to prevent tipping (theycan be attached to a bench top, attached individually to a wall,placed in a holding cage, or have a no-tip base attached)
�Cylinders should be stored with the valve accessible at all times
�The cover cap should remain in place until the cylinder is readyfor use
�Do not place cylinders where they could become part of anelectrical circuit
22 - Compressed Gas Cylinders

Safety Precautions for Handling and OperatingCylinders
�Cylinders should not be dragged, rolled, or picked up by thecover cap
�Only open the cylinder valve with the tools supplied by thevendor; do not use a hammer or wrench to open a hand-wheelvalve; if the valve is frozen and can’t be operated by hand, returnthe cylinder to the vendor
�If a special tool is required to open a valve, it should be left onthe valve stem so that the valve can be closed in an emergency
�The main cylinder valve should be closed as soon as it is nolonger necessary that it be open
23 - Compressed Gas Cylinders

Compressed Gas Cylinder Safety References
•http://www.pp.okstate.edu/ehs/modules/cylinder/index.htm
•http://www.uwm.edu/Dept/EHSRM/LAB/labgascyl.html
•http://www.ehs.uiuc.edu/css/factsheets/compgas.aspx
24 - Compressed Gas Cylinders
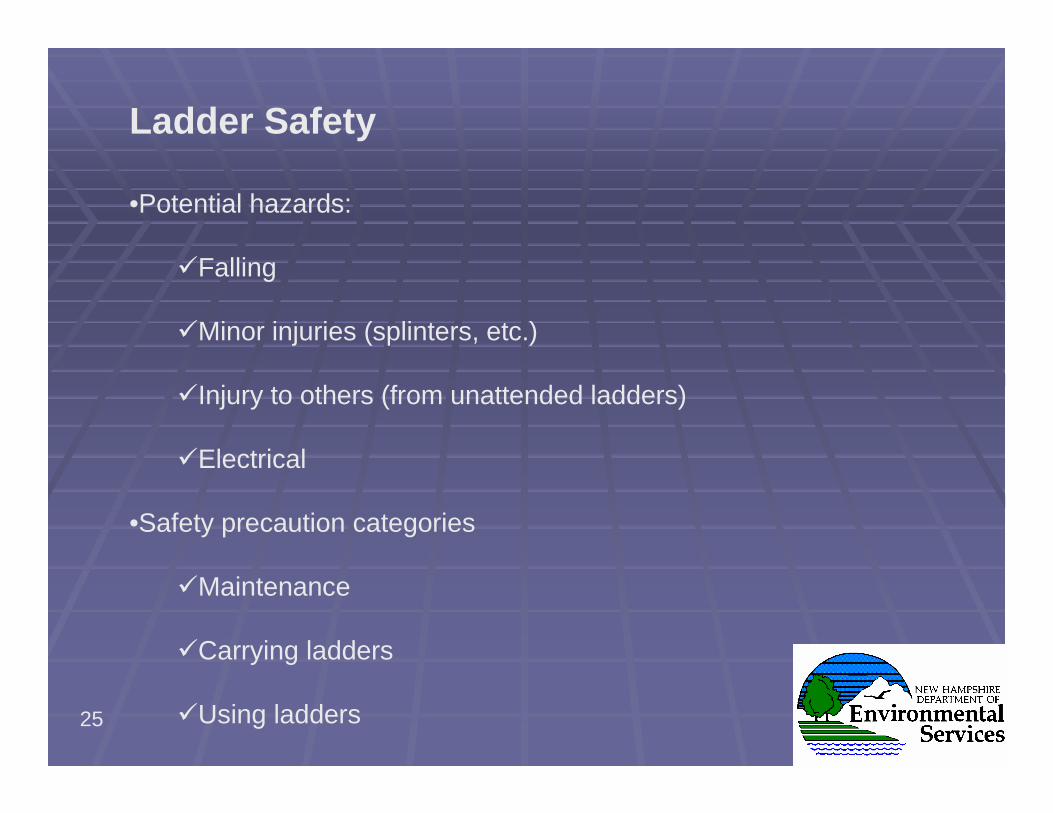
Ladder Safety
•Potential hazards:
�Falling
�Minor injuries (splinters, etc.)
�Injury to others (from unattended ladders)
�Electrical
•Safety precaution categories
�Maintenance
�Carrying ladders
�Using ladders25

Ladder Maintenance
�Wooden ladders should be protected with a clear varnish orwood preservative
�Wooden ladders should not be painted because this could hidedefects
�Wooden ladders should be checked carefully for cracks,splinters, and hardware in poor condition
�Metal ladders should be inspected for burrs or sharp edges
26 - Ladder Safety

Carrying Ladders
�Ladders should be carried parallel to the ground
�Ladders should be held by the side rail and carried from themiddle to balance the load
�Stepladders should always be carried in the closed position
�Get help with carrying long ladders
27 - Ladder Safety

Using Ladders
�Use the 1:4 ratio – the base of the ladder should be placedone foot from the wall for every four feet that the ladder rises(e.g. if a ladder rises 16 feet, place the base four feet fromthe wall)
�Provide solid footing on soft ground to prevent sinking
�For a particularly high ladder, it should be lashed orotherwise secured to prevent slipping
�Do not place one foot on the ladder and one foot on anadjacent object
28 - Ladder Safety

Using Ladders (Continued)
�Always face the ladder when climbing or descending
�Be sure that stepladders are fully open and the dividersecure before using
�Never use a metal ladder near power lines
�If material must be handled, raise and lower it with a rope
�When climbing from a ladder to a roof, the ladder should extendthree feet above the roof
�Once a ladder is placed, never leave it unattended – someonecould climb it, especially a child
29 - Ladder Safety

Ladder Safety References
•http://www.cdc.gov/nasd/docs/d000801-d000900/d000826/d000826.html
•http://orthoinfo.aaos.org/topic.cfm?topic=A00235&return_link=0
30 - Ladder Safety

Electrical Safety
•Types of injuries
•Potential hazards
•Safety precautions
•Responding to an electrical emergency
31

Electrical Injuries
•Three types of electrical injuries:
�Burns
�Physical injuries (muscle damage, falls from reacting to a shock)
�Nervous system effects (stoppage of breathing, heart fibrillation)
32 - Electrical Safety

Potential Electrical Hazards
•Defective insulation – when insulation in an electric tool or appliance isdamaged, exposed metal parts can become energized
•Similarly, metal parts of electric tools or appliances can becomeenergized if not grounded properly
•Wet conditions – standing water, wet clothes, high humidity, andperspiration can increase the danger of electric shock
33 - Electrical Safety

Electrical Safety Precautions
•Ground Fault Circuit Interruptors (GFCIs)
�GFCIs detect leakage currents, which is different from circuitbreakers, which detect overloads
�GFCIs should be tested monthly with the test button
•Electrical Cords
�Use only 3-pronged extension cords
�Extension cords should be inspected regularly – don’t repair them,buy new ones
�When stored, cords should be coiled or hung to prevent tight kinksthat could damage insulation
34 - Electrical Safety

Electrical Safety Precautions (Continued)
•Outlets
�Do not overload outlets
•Analyzers and equipment
�Be familiar with and follow the electrical safety warnings in theequipment user’s manuals
35 - Electrical Safety

Responding to an Electrical Emergency
•Do not touch the person or use a conductive tool to try and movethem – they could still be energized
•If possible, shut off the power with the fuse, circuit breaker, or bypulling the plug
•Call 911
•Only use a Class C or multi-purpose (ABC) fire extinguisher on anelectrical fire.
36 - Electrical Safety

Electrical Safety References
•http://www.cdc.gov/niosh/02-123pd.html
•http://www.pp.okstate.edu/ehs/MODULES/electric/index.htm
37 - Electrical Safety

Slips, Trips, & Falls
•Consequences
•Causes of slips, trips, & falls
•Prevention
38

Consequences of Slips, Trips, & Falls
•They can have serious consequences such head injuries, backinjuries, broken bones, sprains, and muscle strains
•Trying to catch your balance can cause strains or back injuries,even if you don’t fall
39 - Slips, Trips, & Falls

Some Causes of Slips, Trips, & Falls
•Obstacles
•Uneven surfaces
•Slippery surfaces
•Poor lighting
•Carrying objects
40 - Slips, Trips, & Falls

Some Ways to Prevent Slips, Trips, & Falls
•Housekeeping – remove clutter and obstacles
•Place absorbent mats at entranceways to prevent slipperysurfaces (but make sure they’re secure – unanchored matscan cause a tripping hazard in themselves)
•Keep light switches accessible, preferably near entranceways;keep a flashlight in a central location in case of power outage
•When carrying an object, make sure it doesn’t obstruct you view;make sure you have a clear path before proceeding
41 - Slips, Trips, & Falls

Reference for Slips, Trips, & Falls
•http://www.uwsp.edu/ehs/Slips,%20Trips%20&%20Falls.htm
42 - Slips, Trips, & Falls

Lifting and Back Safety
•Injury prevention and proper techniques
43

Injury Prevention and Proper LiftingTechniques
•Your waist acts as a fulcrum, but because it’s not centered, there’sa 10:1 operating ratio (i.e. lifting a 10-pound object can put 100pounds of pressure on your back)
•Avoid bending and lifting whenever possible:
�Place objects on shelves and tables, not on the floor
�Use carts, hand trucks, and dollies
�Avoid lifting over your head, across a table, or out the backof a truck
44 - Lifting and Back Safety

Injury Prevention and Proper LiftingTechniques (Continued)
•Determine if you need help, considering the object’s weight andthe distance to be traveled
•Check the path to be traveled for tripping hazards, slippery surfaces,blind spots, etc.
•Inspect the object to be carried for sharp edges, splinters, etc.
•Use a full grip, not just your fingers
•Keep back straight and lift with the legs
•When lifting a heavy object as a team, designate one personto give commands
45 - Lifting and Back Safety

Lifting and Back Safety References
•http://www.pp.okstate.edu/ehs/manuals/ppsafety/Back.htm
•http://www.pp.okstate.edu/ehs/manuals/ppsafety/Lifting.htm
46 - Lifting and Back Safety

Vehicle Safety
•Defensive driving
•Preventive Checks
•Distracted driving
•Slippery conditions
•Safety supplies
•Cylinder Transport
•Trucks, trailers, 4WD
•Mule 3010 4 x 4
47
Defensive Driving
•Make safe and legal driving decisions
•Create a safe, stress-free personal space in and around yourvehicle
•Drive to your destination safely, without an accident or ticket, andwithout affecting other driver’s safety
•Practice common sense, courtesy, and cooperation
Preventive Maintenance
Tire Pressure and wear, Oil, Brake Fluid, Antifreeze
48 - Vehicle Safety

Courtesy and Dealing with Aggressive Drivers
•Cooperative behavior will breed more cooperative behavior;aggressive behavior will only breed more aggressive behavior
•Be courteous: helping someone will give you a good feeling, asopposed to trying to compete with someone and losing
•Do not allow yourself to get upset: stay in control of the situation,rather than be victimized by it
•Focus on doing what you need to do, not on the uncooperativebehavior of another driver
•You win by reaching your destination safely, not by competing withanother driver
49 - Vehicle Safety

Distracted Driving
•When driving, focus on driving – the work can wait until you getthere
•Don’t try to multi-task in the car – see above: focus on work whenyou arrive at the site
•Pull over to a safe place to make or take a call – an intense or detailedcall will distract you from the task at hand, which is driving
50 - Vehicle Safety

Slippery Conditions and Skid Control
•Know your vehicle: whether a vehicle has anti-lock brakes or notmakes a difference in controlling a skid
•Vehicles without anti-lock brakes:
�Ease off the gas pedal�Do not touch the brakes�Steer in the direction that you want the front of the vehicle to go(i.e. in the opposite direction of the skid)
•Vehicles with anti-lock brakes
�Apply the brakes firmly�You shouldn’t lose steering control unless you take your footoff the brakes
51 - Vehicle Safety

Vehicle Safety Supplies
•Make sure you vehicle has the proper safety supplies:
�Jack and wheel wrench
�Properly inflated spare tire
�Ice scraper and brush
�Flashlight
52 - Vehicle Safety

Cylinder Transport
-Transport tank in an upright and secure position.-Never allow tank to be bounced around.-Secure to vehicle frame-Geographical center of vehicle for cars (in the bed for trucks)
- Keep Windows at least 1 inch open (cars)
- The maximum number of tanks that should be transpo rted is 2
- Place warning label on vehicle
- Remove the tank from the vehicle as soon as possib le after transporting
53 - Vehicle Safety


55 - Vehicle Safety

Trucks, Trailers, and 4WD Vehicles
•Do not overestimate what a truck/4WD can do – you still need to driveslowly and cautiously in poor conditions
•In open-backed trucks and trailers, make sure all cargo is secure
•Inspect trailer hitch components:
�The pin securing the ball mount to the receiver�The hitch coupler�Safety chains�Electrical plug
•Use a helper when backing a trailer
56 - Vehicle Safety

General Safety Precautions for the KawasakiMule 4 x 4
•Wear seat belt and use ear protection
•Refuel in a well-ventilated area with the engine of f (unleadedregular only)
•Not for use on roads
•The cargo bed is not for passengers
•Maximum cargo load is 800 lbs
57 - Vehicle Safety

General Safety Precautions for the KawasakiMule 4 x 4 (Continued)
•Three “musts” when starting:
�Must be in neutral�Parking brake must be on�Must check gas pedal for proper operation
•Must be loaded onto the trailer backwards and secured
•Read the owner’s manual and follow the procedures outlinedin the Mule operation checklist(H:\Air Monitoring\Training\2008-03-28_Mule_Checklist.doc)
58 - Vehicle Safety

Vehicle Safety References
•National Safety Council’s Defensive Driving Course 4, Course Guide5th Edition, 2007
•http://www.safety-council.org/info/traffic/winter-car.html
•http://www.dmv.ca.gov/pubs/dl648/dl648pt12.htm
59 - Vehicle Safety

General Field Safety
•Call Supervisor when leaving Stations
•Team up when possible
•If you think it is unsafe – Don’t do it

THE ENDTHE END