airwatch agent - st francis of assisi primary schoolstfa.act.edu.au/srcfiles/airwatch-agent.pdf ·...
TRANSCRIPT

AirWatch Agent
This presentation will show you how to enrol your iPad into AirWatch.
The order of steps in this guide may differ slightly between iPads so it is advisable to consult the entire guide before commencing.

1. Go to the Apple App Store and Search for ‘AirWatch Agent’. 2. Tap ‘Get’ and then ‘Install’ 3. If or When prompted, enter your Apple Password.

3. If or When prompted, enter your Apple Password.
4. Wait for the AirWatch agent to finish downloading and close the App Store by pressing the Home Screen Button.

5. Open the AirWatch Agent Application
6. Choose the authentication method of Email Address.

7. Enter the student email address supplied by the school. For students, it is their username followed by @cgstudents.catholic.edu.au. Once you have entered the email address tap Next.
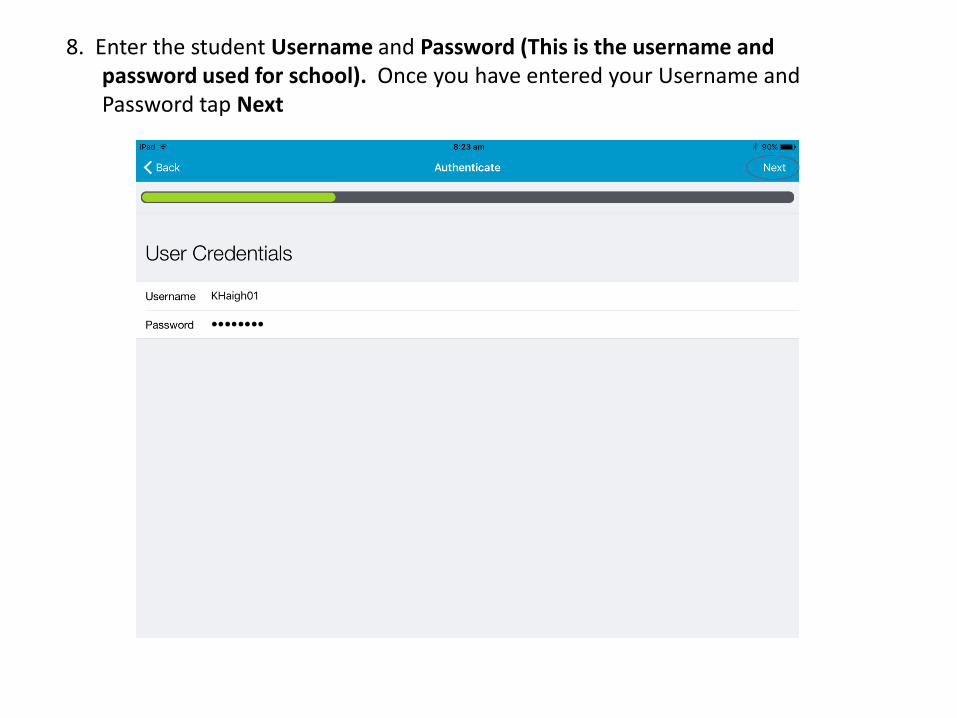
8. Enter the student Username and Password (This is the username and password used for school). Once you have entered your Username and Password tap Next

10. Tap the ownership model that best matches the device’s owner. For your iPad select Employee Owned. Once you have selected Employee Owned tap Next.

11. Accept the Terms of Use by tapping Accept
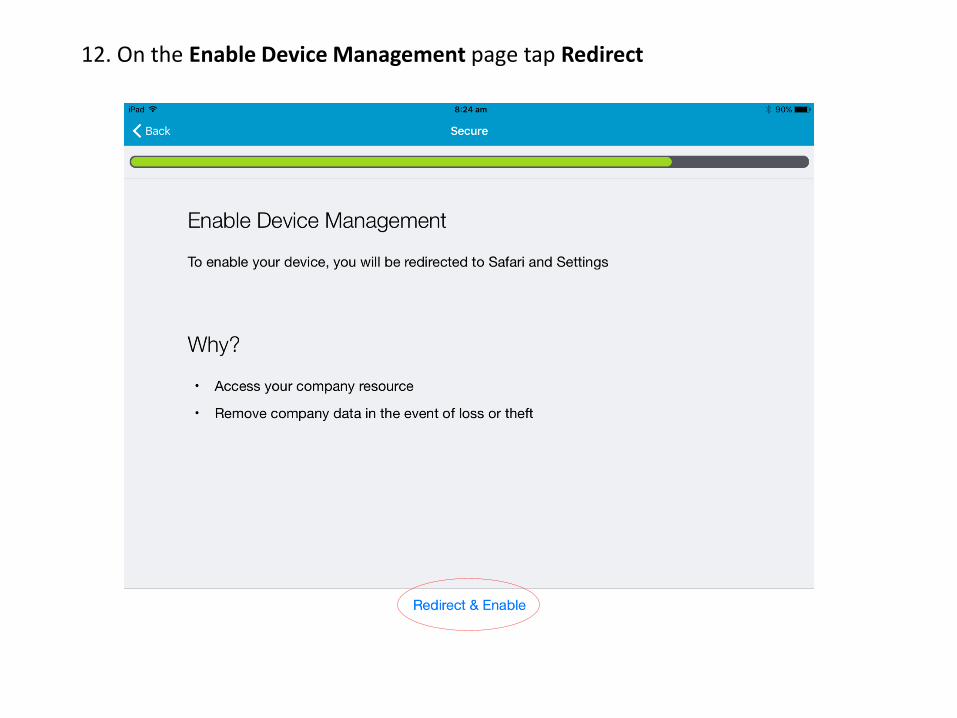
12. On the Enable Device Management page tap Redirect

13. Allow the device to load. Note: The device will cycle through a few screens. Please be patient.
14. Once the Install Profile window appears tap Install.

14. Once the Install Profile window appears tap Install.
15. When prompted to Install Profile again tap Install

16. When prompted with the Warning window tap Install. In this step you are acknowledging that the Catholic Education AirWatch System will have access to manage school-based functions of the device.

17. When prompted with Remote Management tap Trust.
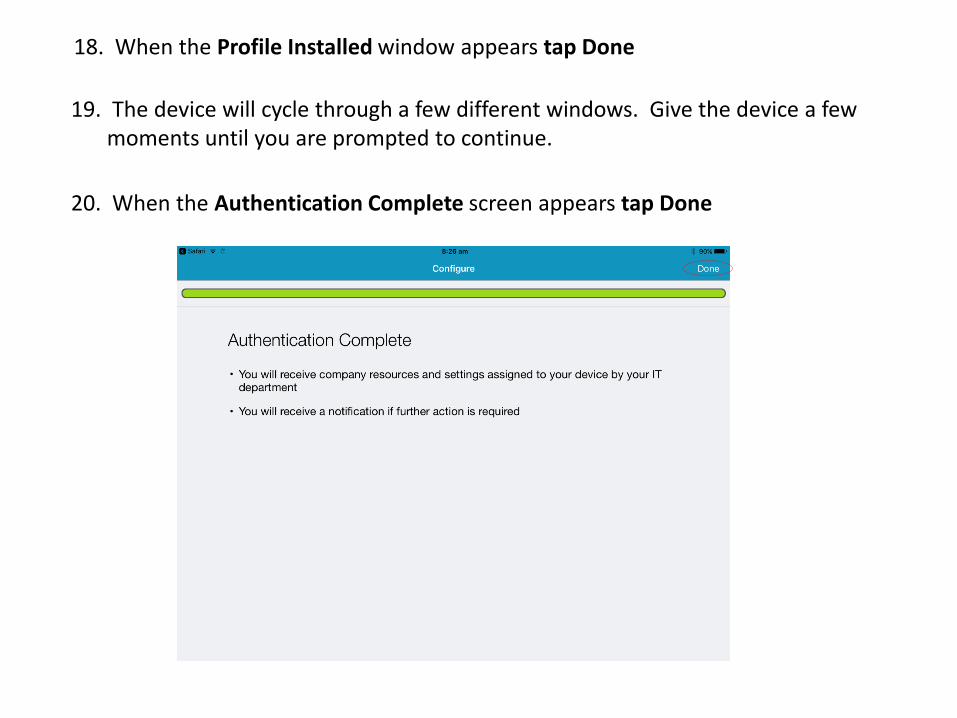
18. When the Profile Installed window appears tap Done
19. The device will cycle through a few different windows. Give the device a few moments until you are prompted to continue.
20. When the Authentication Complete screen appears tap Done

21. Stay in the AirWatch App and allow it to load.
22. When prompted with ‘Agent’ would like to send you Notifications tap OK.

23. When prompted with Allow ‘Agent’ to access your location even when you are not using the app tap Allow. This will enable us to locate your device in the event it is lost or stolen.

24. If you are prompted with Allow App and Book Assignment additional instructions will follow after step 25.
25. When prompted with Password Required for Gmail Exchange ActivSync enter the student password used to login with student email and then tap OK. Installation and activation should now be complete.
26. Allowing App and Book Assignment – Many install screens will begin to appear and this is because there are apps ready to be deployed to the iPad. You will need to clear each of these before proceeding by tapping Install.
Note: All of the install screens mean your device has successfully been enrolled and is having apps deployed.
27. When prompted with Password Required for Gmail Exchange Activsync enter the password associated with your child’s user name and then tap OK
Apps will continue to deploy at school and at home as they are deployed by the school. Different Apps may be deployed on iPads due to grade level requirements.