alu kreuz install guidev2.0 - eurocode tuning · vided in the alu kreuz (basically the reverse of...
TRANSCRIPT

Alu Kreuz Drivetrain Stabilizer Install Guide v2.0 (Aug 2014)

List of Parts Included
(1) Alu Kreuz Billet Aluminum Drivetrain Stabilizer(4) M6 x 16mm Capscrews(4) M6 Flat Washers(4) M6 Lock Washers(4) M6 x 16mm Capscrews(1) Loctite 242 tube(2) Gloves
Sold Seperately(6) M12 x 1.5 x 42mm Hex Bolts (Pre-Facelift)(6) M12 x 1.5 x 42mm Hex Bolts (Facelift)(2) M12 x 1.5 x 51mm Poly Bolts (Facelift)
List of Required Tools
Phillips Screwdriver Flat Head Screwdriver Torx T25 Socket or Screwdriver ½ Inch Drive 18mm Socket 14mm XZN Triple Square Socket (facelift)10mm Socket or End Wrench19mm End Wrench4mm Allen Socket or Wrench ½ Inch Drive Torque Wrench ½ Inch Drive Breaker Bar/Rigid Wrench Vehicle Lift or Jack Stands

Proper service and repair procedures are vital to the safe, reliable operation of all motor vehicles as well as the personal safety of those performing the
repairs. Standard safety procedures and precautions (including use of safety goggles and proper tools and equipment) should be followed at all times to eliminate the possibility of personal injury or improper service which could
damage the vehicle or compromise its safety.

1
STEPSTEP 1 1 Raise vehicle using an automotive lift or jack stands (do not use ramps). The wheels of
the vehicle must not have any weight on them during installation or damage to the sub-frame may occur. Remove the (3) T25 screws circled. (T25 Torx Socket or screwdriver) If your vehicle does not have this tray, proceed to step 3.

2
STEPSTEP 2 2 Remove the two plastic rivets that are circled, use a fl athead
screwdriver or panel remover tool.
3
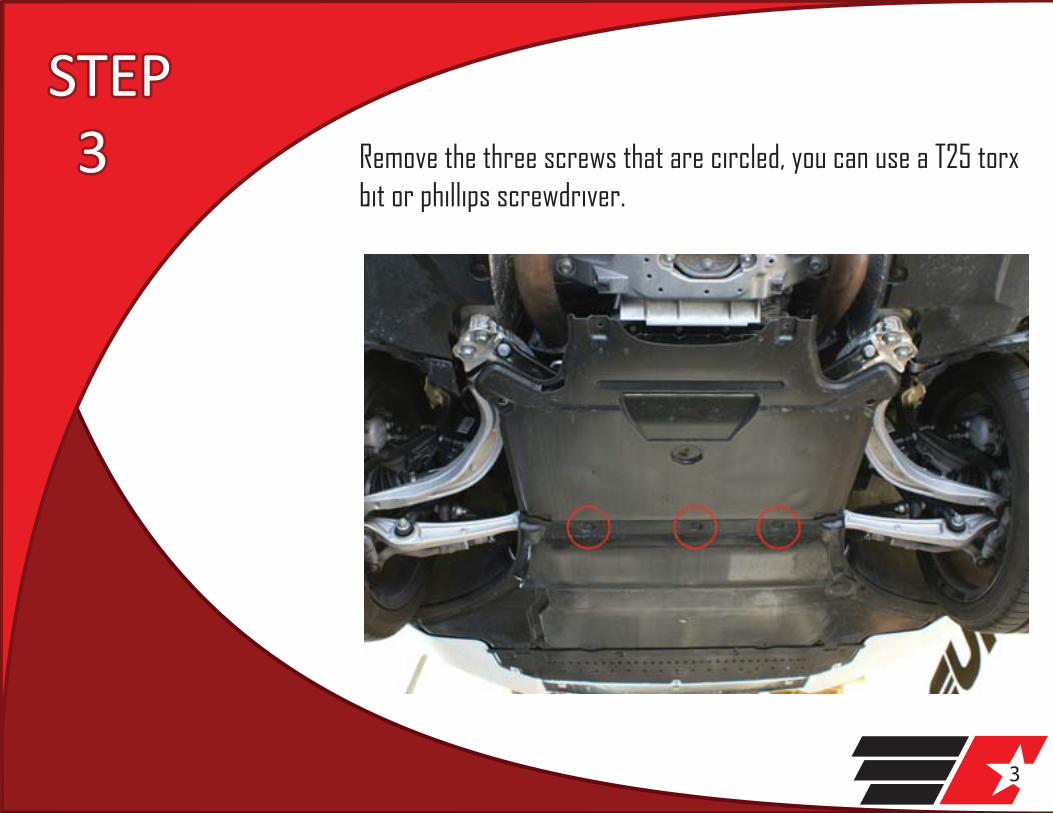
STEPSTEP 3 3 Remove the three screws that are circled, you can use a T25 torx
bit or phillips screwdriver.

4
STEPSTEP 4 4 Remove nut securing power steering cooler (10mm socket) this
step is for the pre-facelift version, facelift go to step 4a

5
STEPSTEP 4a 4a Push up on the plastic clips securing the power steering
cooler to release it from the factory brace. Use care not to break.

6
STEPSTEP 5 5 Remove the six M12 x 1.5 x 42mm bolts (18mm socket or wrench)
this step is for the pre–facelift version, facelift go to step 5a

7
STEPSTEP 5a 5a Remove the four M12 x 1.5 x 42mm bolts (18mm socket or
wrench) and the two M12 x 1.5 x 51mm triple square bolts (14mm XZN triple square socket)

8
STEPSTEP 6 6 Remove the threaded bushing from the OEM stabilizer. Install it in
the corresponding location on the Alu Kruez. (19mm wrench) This step is for the pre-facelift version, facelift go to step 7a.

9
STEPSTEP 7 7 Using new M12 x 1.5 x 42mm Hex bolts, install the Alu Kruez. Torque the six bolts to
90Nm, and another 135° to stretch the bolts. (torque wrench with 18mm socket, breaker bar with 18mm socket) Refer to step 7a for 2013- facelift applications.

10
STEPSTEP 7a 7a Using new M12 x 1.5 x 42mm hex bolts and M12
x 1.5 x 51mm triple square bolts, install the Alu Kruez. The two triple square bolts attach in the front. Torque the four hex bolts to 90Nm, and an-other 135° (1/4 turn plus 1/8 a turn) to stretch. Torque the two triple squarebolts to 90Nm, and another 90° (1/4 turn) to stretch.(torque wrench with 18mm socket, torque wrench with 14mm XZN triple square socket, breaker bar with 18mm socket, breaker bar with 14mm XZN triple square socket).
11
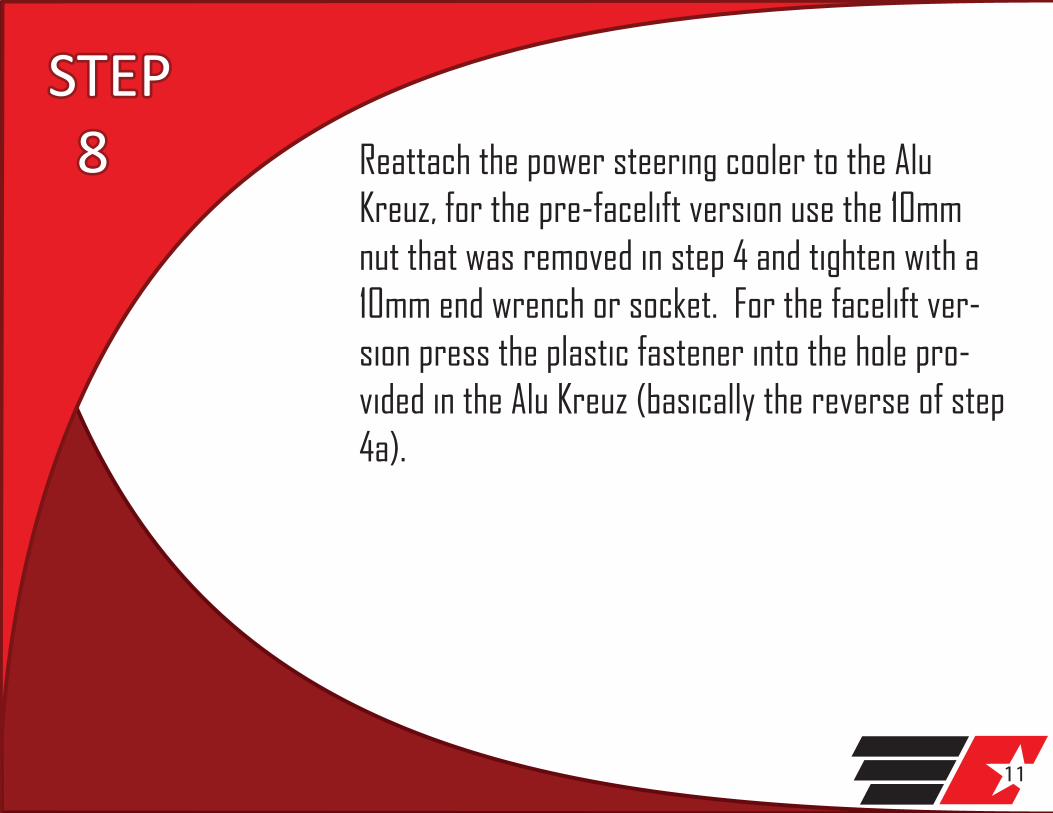
STEPSTEP 8 8 Reattach the power steering cooler to the Alu
Kreuz, for the pre-facelift version use the 10mm nut that was removed in step 4 and tighten with a 10mm end wrench or socket. For the facelift ver-sion press the plastic fastener into the hole pro-vided in the Alu Kreuz (basically the reverse of step 4a).

12
STEPSTEP 9 9 Reattach the lower tray by reversing steps three to one. Use the
four M6 capscrews, fl at washers and lockwashers. Loctite 242 is provided to put onto the threads of the capscrews. Assemble the capscrews as shown in the photo below.
LIMITED ONE (1) YEAR WARRANTY
Eurocode Tuning, Inc. (EUROCODE) warrants to the original purchaser that our Alu Kreuz Drivetrain Stabilizer (PRODUCT) will be free of defects in material and workmanship for a period of one (1) year from the date of purchase.
This Warranty applies only to the original purchaser of the PRODUCT. To obtain any warranty service, you must provide EUROCODE with proof of purchase and date of purchase acceptable to EUROCODE, such as a copy of your purchase receipt. This warranty does not cover the removal or reinstallation of the product. EUROCODE will, at its option, repair, replace or refund the purchase price of a defective component, provided you return the defective component during the warranty period, transportation charges prepaid, to Eurocode Tuning’s Service Department or a Factory Authorized Service Center.
Attach your name, address, telephone number, a description of the problem, and a copy of your sales receipt. All returns must be accompanied by a Return Goods Authorization (RGA) number and such number shall be written clearly on the outside of the box. RGA numbers may be obtained by calling EUROCODE at 1-310-294-8108 This warranty does not apply to the (i) metal fi nish or (ii) if the product/component has been damaged by accident, abuse, misuse, collision, modifi cation, misapplication, improper installation, or improper service. This warranty is void if any EUROCODE serial number has been removed or defaced. Commercial or industrial use or application, or any motorsports use voids the warranty.
THE WARRANTY SET FORTH ABOVE IS THE ONLY WARRANTY. THERE ARE NO OTHER WARRANTIES, EXPRESS OR IMPLIED, INCLUDING BUT NOT LIMITED TO IMPLIED WARRANTIES OF MERCHANTABILITY OR FITNESS FOR A PARTICULAR PURPOSE. ANY IMPLIED WARRANTY WHICH BY LAW MAY NOT BE EXCLUDED IS LIMITED IN DURATION TO ONE (1) YEAR FROM THE DATE OF ORIGINAL RETAIL PURCHASE OF THE PRODUCT.

No EUROCODE dealer, agent or employee is authorized to make any modifi cation, extension or addition to this warranty.
EUROCODE SHALL NOT BE LIABLE FOR SPECIAL, INDIRECT, INCIDENTAL OR CONSEQUENTIAL DAMAGES (INCLUDING, BUT NOT LIMITED TO, LOST PROFITS, DOWN TIME OR LOSS OF USE) UNDER ANY LEGAL THEORY, EVEN IF EUROCODE WAS ADVISED OF THE POSSIBILITY OF SUCH DAMAGES.
Some states do not allow the exclusion of implied warranties or the exclusion or limitation of liability for incidental or consequential damages, or limitations on how long an implied warranty lasts, so the above limitation or exclusion may not apply to you. This warranty gives you specifi c legal rights. You may also have other rights that vary from state to state. EUROCODE reserves the right to change Product/component design without notice. In situations in which EUROCODE has changed a Product/component design, EUROCODE shall have no obligation to upgrade or otherwise modify previously manufactured Products/components.
Warranty inquires and Products returned for warranty service should be sent to:
Eurocode Tuning, Inc.Customer Service Department1872 Del Amo Blvd Unit ATorrance, CA 905011-310-294-81081-310-212-7141 International Fax