an005: gui & graphics series — simple vga menus
TRANSCRIPT
www.paral laxsemiconductor .com sa les@paral laxsemiconductor.com support@paral laxsemiconductor.com phone: 916 ‐632 ‐4664 • fax:916 ‐624 ‐8003
GUI & Graphics Series — Simple VGA Menus v1.0 1 of 21
Application Note AN005
GUI & Graphics Series — Simple VGA Menus Abstract: This GUI & Graphics Series tutorial for the P8X32A illustrates how to program and create text menus in VGA applications with Spin. Additionally, it discusses text rendering, ornamentation, layout, and other GUI concepts. This document builds upon foundation information covered in AN004: Getting Started with VGA and Terminal Output.[1]
Introduction GUI programming is a large subject that by definition is a “design” process. Unlike fixed algorithms that perform calculations, move servos, or monitor sensors, GUI applications interface with humans and, like many web sites, are dynamic, artistic, and creative. That said, GUIs are so complex that massive libraries exist to help programmers create these very demanding applications in a uniform way. Graphical operating systems such as Windows®, OS X®, Android®, and others have tens to hundreds of thousands of lines of GUI code in them. This code draws GUI elements, manages user input, supports mice and/or touch screen gestures, and supports complex messaging and real-time structures, permitting user interfaces to run in parallel with application code. These GUI APIs can have hundreds of functions themselves, so learning just to use a GUI API is a steep curve. When developing GUI applications on microcontrollers, there are lots of planning and design tradeoffs to consider before starting any programming. After writing the foundation for the GUI controls, there is still the matter of designing the look and feel of the GUI application itself—a skill obtained only through experience, reviewing other GUIs, trial and error, and common sense. Taking that into consideration, this application note illustrates how to programmatically develop GUI applications that support one of the most fundamental GUI elements: the menu. The menu also can be thought of as a collection of buttons in a horizontal or vertical list, thus, the code shown here can be used to generate buttons as well. To save time and coding, the examples here build on the VGA_HiRes_Text_010.spin driver and an advanced terminal services driver WMF_Terminal_Services_010.spin, both discussed in application note AN004[1].
Architectural Concepts for Coding GUI Menus Ultimately, developing develop a GUI system with support for general GUI “controls” such as menus, buttons, radio buttons, checkboxes, text inputs, labels, list boxes, etc. benefits from a very object-oriented approach. Think of each GUI element as a “control,” and each control has a method to render it, a method to get input, and to send and receive “messages.” Moreover, another piece of software called a “window manager” then is responsible for drawing all the controls in the proper order, so they look correct, updating them with animation, color, and changes based on user input. Finally, the window manager also controls the movement of these controls as they are attached to other frames of reference such as windows themselves, or dialog boxes.

Parallax Semiconductor AN005
This is a formidable task, but it’s important to think about all these necessary elements in order to simplify them for a specific and less complex implementation. For example, say you have a simple temperature/pressure monitoring application that you have written already in Spin, and you want to add a user interface with a couple menus and support keyboard and/or mouse input. Take a look at Figure 1 to see an example of a potential user interface based on two menus. Figure 1: Screen Shot of Potential User Interface for Temperature/Pressure Application
The screen shot in the figure shows two menus that list some temperatures and pressures; you want the user to select one from either menu with a mouse or keyboard. With a modern GUI API and framework, this might be very easy with a few function calls that define what the menus look like, their colors, positions, etc. Then there might be an event loop that tracks user input via the mouse/keyboard generating messages and events. Functions could retrieve these messages that indicate if the user clicked a menu item and then make the appropriate updates to your program while the GUI API takes care of updating all the visual elements. This is what we ultimately want to implement; however, we would have to write this code ourselves—hundreds to thousands of lines, depending on the features chosen. At this point, we are going to use the simplest code to arrive at a solution. With that in mind, we need to codify the following tasks with Spin code (not in any specific order): Task 1: Decide how to represent the GUI menu itself. Task 2: Draw the menus. Task 3: Get user input from the keyboard or mouse. Task 4: Perform collision detection to determine if the mouse or cursor is over a
menu item. Task 5: Update the menus as the user makes selections. Task 6: Based on the user input, modify the program’s state and the output itself.
That sounds like a lot of work, and it is. But, if the steps are broken down and coded in a clean manner, it will actually be quite manageable. For simpler GUI/menu applications you can get away with this model, rather than writing an entire GUI/window manager yourself.
GUI & Graphics Series — Simple VGA Menus v1.0 2 of 21

Parallax Semiconductor AN005
Keeping the GUI and Application Separate Let’s start with task 6 since this is one of the hardest for many programmers to grasp: the separation of GUI and application. This is best illustrated by Figure 2. Figure 2: Relationship between Application and GUI Elements
Referring to Figure 2, the application is abstractly separate from the GUI itself. The GUI (menus in our case) is visual only, displaying information to the user and processing user input in real time. Other than that, it does nothing else—it is pure ornamentation. The program itself is still cooling down a nuclear power plant, playing music, or flying a plane by autopilot. Thus, as you code, remember: you do not want to integrate the GUI and your application too much. They should communicate as little as possible via an API, or better yet a message system. One of the most important things to understand is that the GUI needs to be responsive, meaning that your application must operate in real time. If some code takes 10 seconds to perform a calculation, you can’t starve the GUI thread, otherwise the user won’t be able to move the mouse, keyboard and update the GUI itself. This is why it’s a good idea to run GUI code on another processor (or execution thread) and/or make sure that in your main even loop nothing can “block” execution of the GUI calls and updates. Representing the GUI Elements: Data Driven vs. Coded With advanced GUI APIs and frameworks, manually coding or describing the user interface would literally take forever. Thus, most GUIs are not coded these days by calls to API functions, but described using meta languages like XML (eXtensible Markup Language) or other custom languages that are used to describe the visual and functional elements of a particular GUI. Additionally, for large jobs, stand-alone authoring tools such as OS X’s XCode iBuilder or Microsoft’s Visual Studio allow designers to “drag and drop” GUI elements to create the user interfaces. These GUI elements usually have property lists with IDs and code snippets assigned to each that are sent back to the application or executed when the element is activated. These resources are then compiled into XML or other similar format and the
GUI & Graphics Series — Simple VGA Menus v1.0 3 of 21
Parallax Semiconductor AN005
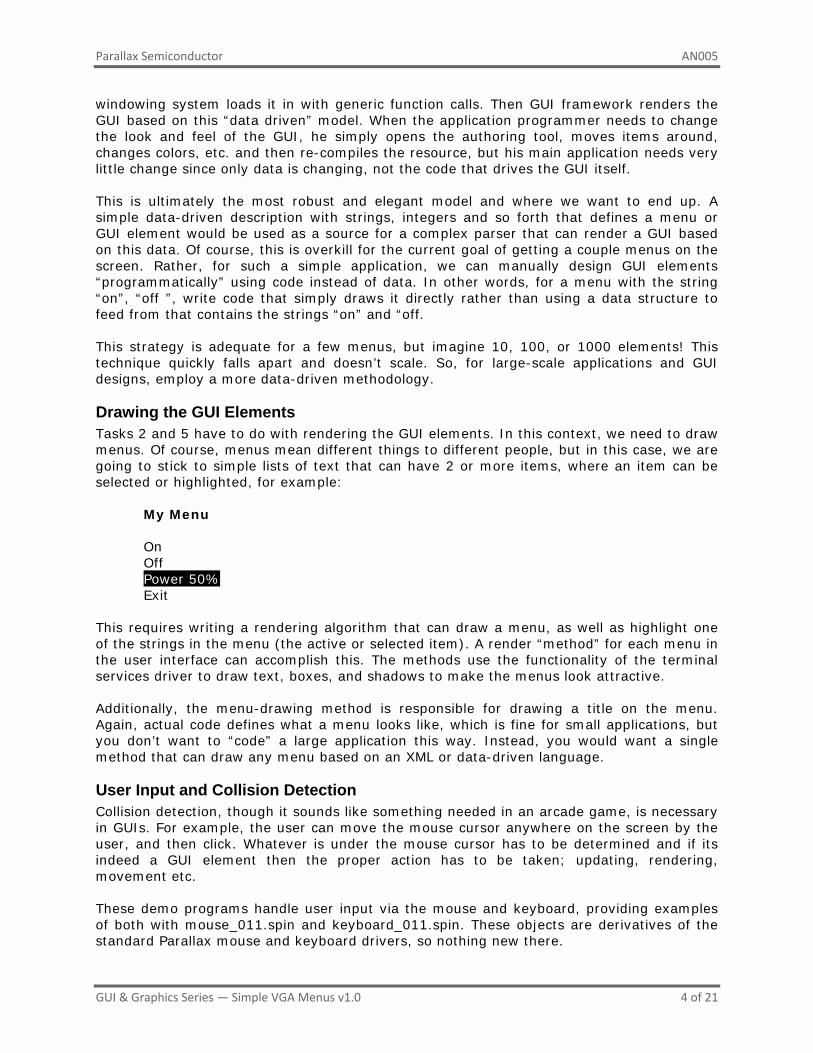
windowing system loads it in with generic function calls. Then GUI framework renders the GUI based on this “data driven” model. When the application programmer needs to change the look and feel of the GUI, he simply opens the authoring tool, moves items around, changes colors, etc. and then re-compiles the resource, but his main application needs very little change since only data is changing, not the code that drives the GUI itself. This is ultimately the most robust and elegant model and where we want to end up. A simple data-driven description with strings, integers and so forth that defines a menu or GUI element would be used as a source for a complex parser that can render a GUI based on this data. Of course, this is overkill for the current goal of getting a couple menus on the screen. Rather, for such a simple application, we can manually design GUI elements “programmatically” using code instead of data. In other words, for a menu with the string “on”, “off ”, write code that simply draws it directly rather than using a data structure to feed from that contains the strings “on” and “off. This strategy is adequate for a few menus, but imagine 10, 100, or 1000 elements! This technique quickly falls apart and doesn’t scale. So, for large-scale applications and GUI designs, employ a more data-driven methodology. Drawing the GUI Elements Tasks 2 and 5 have to do with rendering the GUI elements. In this context, we need to draw menus. Of course, menus mean different things to different people, but in this case, we are going to stick to simple lists of text that can have 2 or more items, where an item can be selected or highlighted, for example:
My Menu
On Off Power 50% Exit
This requires writing a rendering algorithm that can draw a menu, as well as highlight one of the strings in the menu (the active or selected item). A render “method” for each menu in the user interface can accomplish this. The methods use the functionality of the terminal services driver to draw text, boxes, and shadows to make the menus look attractive. Additionally, the menu-drawing method is responsible for drawing a title on the menu. Again, actual code defines what a menu looks like, which is fine for small applications, but you don’t want to “code” a large application this way. Instead, you would want a single method that can draw any menu based on an XML or data-driven language. User Input and Collision Detection Collision detection, though it sounds like something needed in an arcade game, is necessary in GUIs. For example, the user can move the mouse cursor anywhere on the screen by the user, and then click. Whatever is under the mouse cursor has to be determined and if its indeed a GUI element then the proper action has to be taken; updating, rendering, movement etc. These demo programs handle user input via the mouse and keyboard, providing examples of both with mouse_011.spin and keyboard_011.spin. These objects are derivatives of the standard Parallax mouse and keyboard drivers, so nothing new there.
GUI & Graphics Series — Simple VGA Menus v1.0 4 of 21

Parallax Semiconductor AN005
With respect to collision detection, let’s discuss the keyboard first. When talking about the keyboard and GUIs it is not so much a matter of collision detection, but a matter of control “focus.” In other words, when the GUI starts, one control has the keyboard focus. The user can switch the focus to another control, usually with the TAB key. The control can usually be navigated with the arrow keys, with SPACE BAR or ENTER to select or de-select a currently highlighted item. These are the kinds of behaviors you will have to implement in your GUI menus. Now, when it comes to the mouse, things are more complex. The mouse is a pointer with an (x, y) position indicated by the mouse cursor, a block or single character in our case since we are using text VGA graphics. Therefore, the (x,y) mouse cursor position locates a single character location on the VGA text terminal 0..99, 0..49 for the 100x50 character mode used here (800x600 pixels). This is where collision detection comes into play. Every GUI element (menus in this case) needs an algorithm developed that can traverse all the text strings representing the menu items, and then determine if the mouse cursor is within the bounding rectangle of the text string. This is a classic computer science problem, and if not programmed properly can quickly eat up processor cycles and turn into a “O(n2)” problem if coded incorrectly. Here, we will test only a couple menus with a few items at a time, but with if there were thousands or millions? In those cases need a more elegant algorithm. For each control group, such an algorithm detects if the mouse is in the bounding box of the entire control group. Then if the mouse is within the bounding box of individual controls, the algorithm drills down to the controls within, and tests against them, and so forth. This is a binary search of sorts, performing the the least amount of work at each step to make a conclusion. The code for these kinds of tests is a simple “point in rectangle” test shown below: PUB MouseInRect( pX0, pY0, pX1, pY1 ) {{ DESCRIPTION: This method tests to see if the global mouse coords are within the sent rectangular region. Used for collision detection to see if user is over a menu item. PARMS: pX0, pY0 - upper left hand corner of rectangle to test mouse against. pX1, pY1 - lower right hand corner of rectangle to test mouse against. RETURNS: 1 if mouse is within region, 0 otherwise. }} ' is mouse within rect? if ( (gMouseCursX => pX0 AND gMouseCursX =< pX1) AND (gMouseCursY => pY0 AND ← gMouseCursY =< pY1) ) return ( 1 ) else return ( 0 ) ' end PUB --------------------------------------------------------------------- Note that the symbol “←” indicates code that should be on a single line, here and below.
GUI Menu Examples All of the examples in this section require a Propeller development board with VGA, PS/2 mouse and keyboard peripherals. Change the base pin group for the VGA, mouse and keyboard in the CON section of the code as needed. Also, the source assumes a 5 MHz crystal as well, so change as required. All files are included in this note’s zip archive; see Resources on page 21.
GUI & Graphics Series — Simple VGA Menus v1.0 5 of 21
Parallax Semiconductor AN005
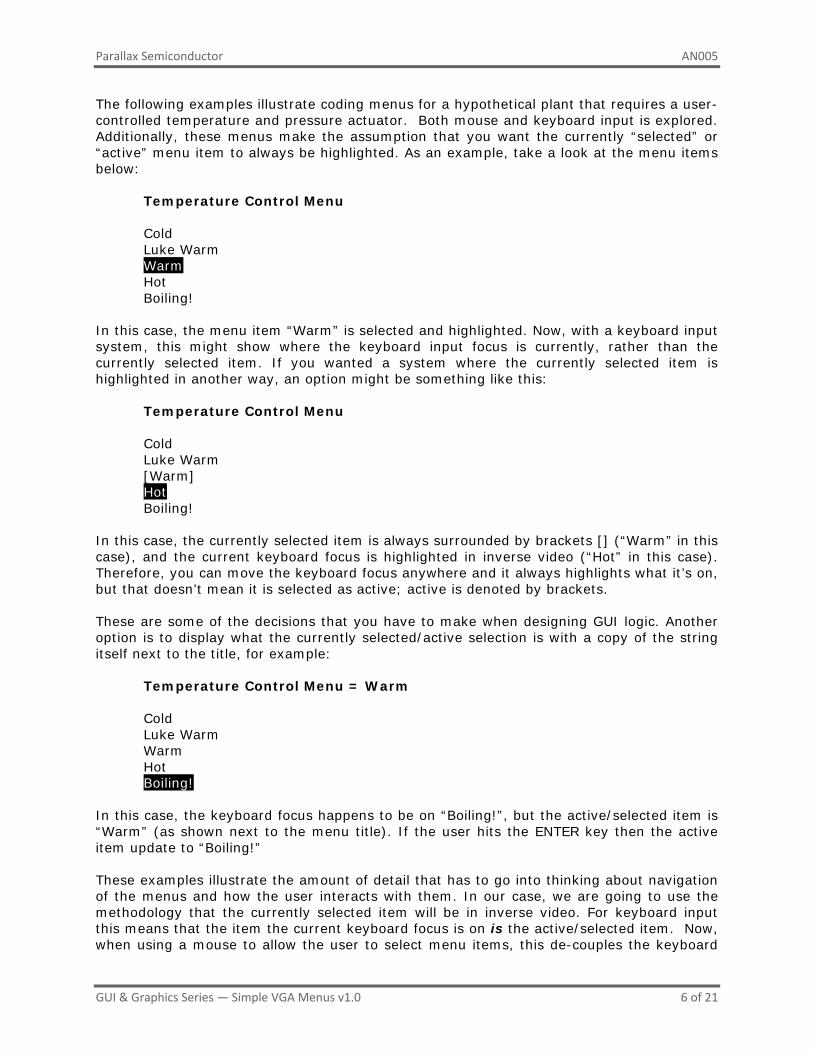
The following examples illustrate coding menus for a hypothetical plant that requires a user-controlled temperature and pressure actuator. Both mouse and keyboard input is explored. Additionally, these menus make the assumption that you want the currently “selected” or “active” menu item to always be highlighted. As an example, take a look at the menu items below:
Temperature Control Menu
Cold Luke Warm Warm Hot Boiling!
In this case, the menu item “Warm” is selected and highlighted. Now, with a keyboard input system, this might show where the keyboard input focus is currently, rather than the currently selected item. If you wanted a system where the currently selected item is highlighted in another way, an option might be something like this:
Temperature Control Menu
Cold Luke Warm [Warm] Hot Boiling!
In this case, the currently selected item is always surrounded by brackets [] (“Warm” in this case), and the current keyboard focus is highlighted in inverse video (“Hot” in this case). Therefore, you can move the keyboard focus anywhere and it always highlights what it’s on, but that doesn’t mean it is selected as active; active is denoted by brackets. These are some of the decisions that you have to make when designing GUI logic. Another option is to display what the currently selected/active selection is with a copy of the string itself next to the title, for example:
Temperature Control Menu = Warm
Cold Luke Warm Warm Hot Boiling!
In this case, the keyboard focus happens to be on “Boiling!”, but the active/selected item is “Warm” (as shown next to the menu title). If the user hits the ENTER key then the active item update to “Boiling!” These examples illustrate the amount of detail that has to go into thinking about navigation of the menus and how the user interacts with them. In our case, we are going to use the methodology that the currently selected item will be in inverse video. For keyboard input this means that the item the current keyboard focus is on is the active/selected item. Now, when using a mouse to allow the user to select menu items, this de-couples the keyboard
GUI & Graphics Series — Simple VGA Menus v1.0 6 of 21
Parallax Semiconductor AN005
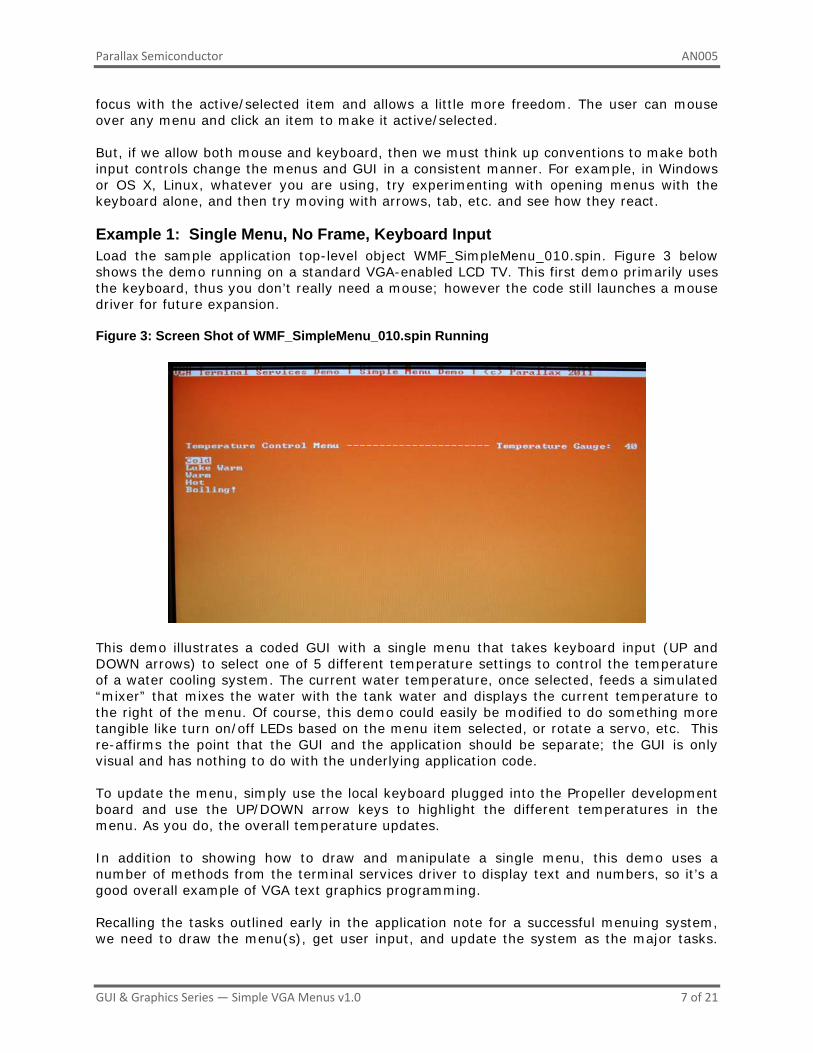
focus with the active/selected item and allows a little more freedom. The user can mouse over any menu and click an item to make it active/selected. But, if we allow both mouse and keyboard, then we must think up conventions to make both input controls change the menus and GUI in a consistent manner. For example, in Windows or OS X, Linux, whatever you are using, try experimenting with opening menus with the keyboard alone, and then try moving with arrows, tab, etc. and see how they react. Example 1: Single Menu, No Frame, Keyboard Input Load the sample application top-level object WMF_SimpleMenu_010.spin. Figure 3 below shows the demo running on a standard VGA-enabled LCD TV. This first demo primarily uses the keyboard, thus you don’t really need a mouse; however the code still launches a mouse driver for future expansion. Figure 3: Screen Shot of WMF_SimpleMenu_010.spin Running
This demo illustrates a coded GUI with a single menu that takes keyboard input (UP and DOWN arrows) to select one of 5 different temperature settings to control the temperature of a water cooling system. The current water temperature, once selected, feeds a simulated “mixer” that mixes the water with the tank water and displays the current temperature to the right of the menu. Of course, this demo could easily be modified to do something more tangible like turn on/off LEDs based on the menu item selected, or rotate a servo, etc. This re-affirms the point that the GUI and the application should be separate; the GUI is only visual and has nothing to do with the underlying application code. To update the menu, simply use the local keyboard plugged into the Propeller development board and use the UP/DOWN arrow keys to highlight the different temperatures in the menu. As you do, the overall temperature updates. In addition to showing how to draw and manipulate a single menu, this demo uses a number of methods from the terminal services driver to display text and numbers, so it’s a good overall example of VGA text graphics programming. Recalling the tasks outlined early in the application note for a successful menuing system, we need to draw the menu(s), get user input, and update the system as the major tasks.
GUI & Graphics Series — Simple VGA Menus v1.0 7 of 21
Parallax Semiconductor AN005
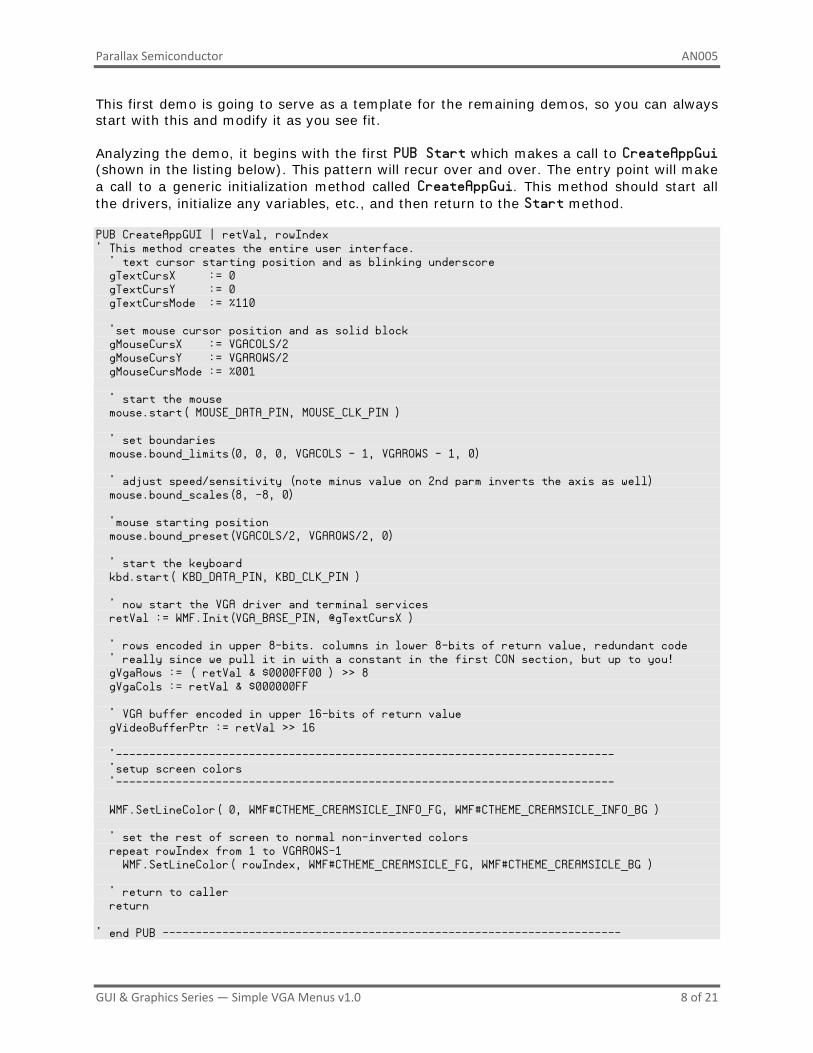
This first demo is going to serve as a template for the remaining demos, so you can always start with this and modify it as you see fit. Analyzing the demo, it begins with the first PUB Start which makes a call to CreateAppGui (shown in the listing below). This pattern will recur over and over. The entry point will make a call to a generic initialization method called CreateAppGui. This method should start all the drivers, initialize any variables, etc., and then return to the Start method. PUB CreateAppGUI | retVal, rowIndex ' This method creates the entire user interface. ' text cursor starting position and as blinking underscore gTextCursX := 0 gTextCursY := 0 gTextCursMode := %110 'set mouse cursor position and as solid block gMouseCursX := VGACOLS/2 gMouseCursY := VGAROWS/2 gMouseCursMode := %001 ' start the mouse mouse.start( MOUSE_DATA_PIN, MOUSE_CLK_PIN ) ' set boundaries mouse.bound_limits(0, 0, 0, VGACOLS - 1, VGAROWS - 1, 0) ' adjust speed/sensitivity (note minus value on 2nd parm inverts the axis as well) mouse.bound_scales(8, -8, 0) 'mouse starting position mouse.bound_preset(VGACOLS/2, VGAROWS/2, 0) ' start the keyboard kbd.start( KBD_DATA_PIN, KBD_CLK_PIN ) ' now start the VGA driver and terminal services retVal := WMF.Init(VGA_BASE_PIN, @gTextCursX ) ' rows encoded in upper 8-bits. columns in lower 8-bits of return value, redundant code ' really since we pull it in with a constant in the first CON section, but up to you! gVgaRows := ( retVal & $0000FF00 ) >> 8 gVgaCols := retVal & $000000FF ' VGA buffer encoded in upper 16-bits of return value gVideoBufferPtr := retVal >> 16 '--------------------------------------------------------------------------- 'setup screen colors '--------------------------------------------------------------------------- WMF.SetLineColor( 0, WMF#CTHEME_CREAMSICLE_INFO_FG, WMF#CTHEME_CREAMSICLE_INFO_BG ) ' set the rest of screen to normal non-inverted colors repeat rowIndex from 1 to VGAROWS-1 WMF.SetLineColor( rowIndex, WMF#CTHEME_CREAMSICLE_FG, WMF#CTHEME_CREAMSICLE_BG ) ' return to caller return ' end PUB ---------------------------------------------------------------------
GUI & Graphics Series — Simple VGA Menus v1.0 8 of 21
Parallax Semiconductor AN005
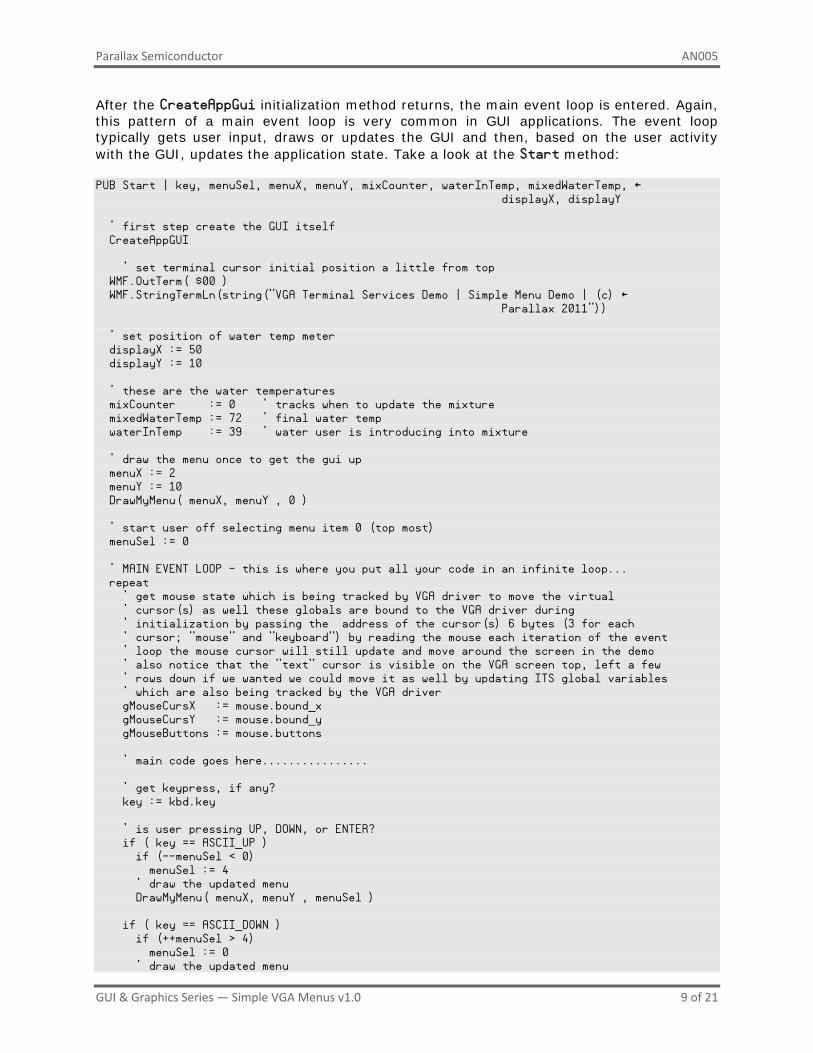
After the CreateAppGui initialization method returns, the main event loop is entered. Again, this pattern of a main event loop is very common in GUI applications. The event loop typically gets user input, draws or updates the GUI and then, based on the user activity with the GUI, updates the application state. Take a look at the Start method: PUB Start | key, menuSel, menuX, menuY, mixCounter, waterInTemp, mixedWaterTemp, ← displayX, displayY ' first step create the GUI itself CreateAppGUI ' set terminal cursor initial position a little from top WMF.OutTerm( $00 ) WMF.StringTermLn(string("VGA Terminal Services Demo | Simple Menu Demo | (c) ← Parallax 2011")) ' set position of water temp meter displayX := 50 displayY := 10 ' these are the water temperatures mixCounter := 0 ' tracks when to update the mixture mixedWaterTemp := 72 ' final water temp waterInTemp := 39 ' water user is introducing into mixture ' draw the menu once to get the gui up menuX := 2 menuY := 10 DrawMyMenu( menuX, menuY , 0 ) ' start user off selecting menu item 0 (top most) menuSel := 0 ' MAIN EVENT LOOP - this is where you put all your code in an infinite loop... repeat ' get mouse state which is being tracked by VGA driver to move the virtual ' cursor(s) as well these globals are bound to the VGA driver during ' initialization by passing the address of the cursor(s) 6 bytes (3 for each ' cursor; "mouse" and "keyboard") by reading the mouse each iteration of the event ' loop the mouse cursor will still update and move around the screen in the demo ' also notice that the "text" cursor is visible on the VGA screen top, left a few ' rows down if we wanted we could move it as well by updating ITS global variables ' which are also being tracked by the VGA driver gMouseCursX := mouse.bound_x gMouseCursY := mouse.bound_y gMouseButtons := mouse.buttons ' main code goes here................ ' get keypress, if any? key := kbd.key ' is user pressing UP, DOWN, or ENTER? if ( key == ASCII_UP ) if (--menuSel < 0) menuSel := 4 ' draw the updated menu DrawMyMenu( menuX, menuY , menuSel ) if ( key == ASCII_DOWN ) if (++menuSel > 4) menuSel := 0 ' draw the updated menu
GUI & Graphics Series — Simple VGA Menus v1.0 9 of 21
Parallax Semiconductor AN005
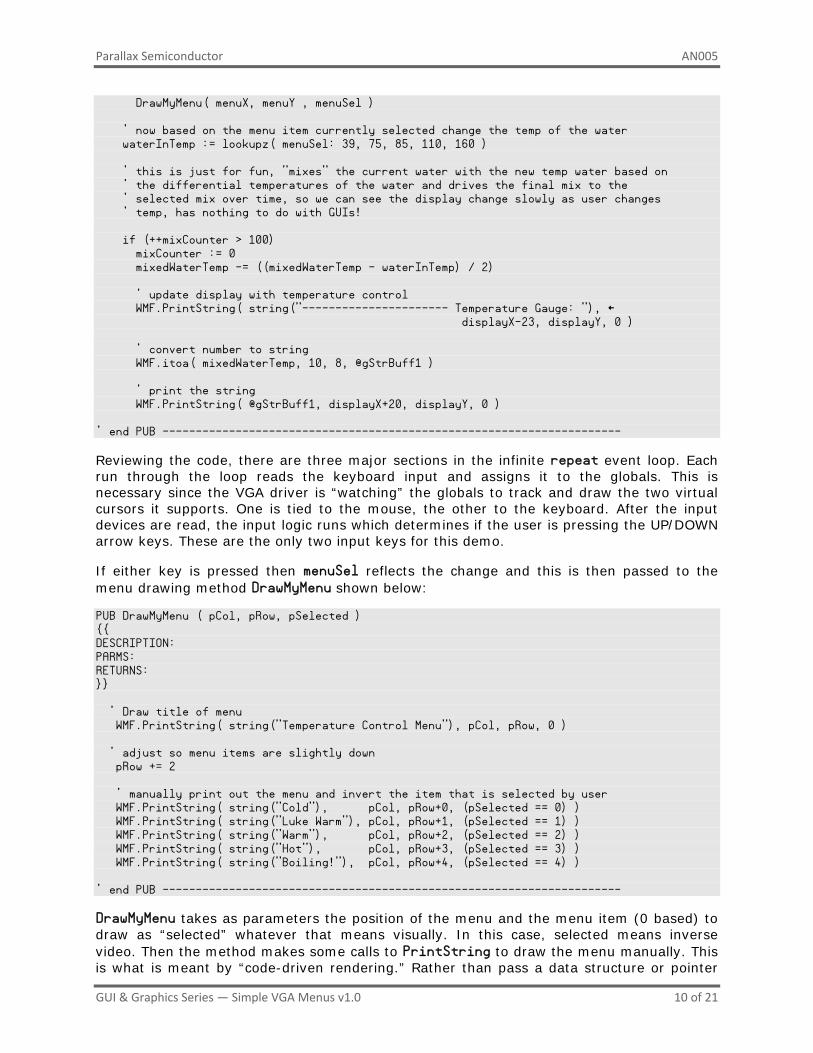
DrawMyMenu( menuX, menuY , menuSel ) ' now based on the menu item currently selected change the temp of the water waterInTemp := lookupz( menuSel: 39, 75, 85, 110, 160 ) ' this is just for fun, "mixes" the current water with the new temp water based on ' the differential temperatures of the water and drives the final mix to the ' selected mix over time, so we can see the display change slowly as user changes ' temp, has nothing to do with GUIs! if (++mixCounter > 100) mixCounter := 0 mixedWaterTemp -= ((mixedWaterTemp - waterInTemp) / 2) ' update display with temperature control WMF.PrintString( string("---------------------- Temperature Gauge: "), ← displayX-23, displayY, 0 ) ' convert number to string WMF.itoa( mixedWaterTemp, 10, 8, @gStrBuff1 ) ' print the string WMF.PrintString( @gStrBuff1, displayX+20, displayY, 0 ) ' end PUB ---------------------------------------------------------------------
Reviewing the code, there are three major sections in the infinite repeat event loop. Each run through the loop reads the keyboard input and assigns it to the globals. This is necessary since the VGA driver is “watching” the globals to track and draw the two virtual cursors it supports. One is tied to the mouse, the other to the keyboard. After the input devices are read, the input logic runs which determines if the user is pressing the UP/DOWN arrow keys. These are the only two input keys for this demo.
If either key is pressed then menuSel reflects the change and this is then passed to the menu drawing method DrawMyMenu shown below: PUB DrawMyMenu ( pCol, pRow, pSelected ) {{ DESCRIPTION: PARMS: RETURNS: }} ' Draw title of menu WMF.PrintString( string("Temperature Control Menu"), pCol, pRow, 0 ) ' adjust so menu items are slightly down pRow += 2 ' manually print out the menu and invert the item that is selected by user WMF.PrintString( string("Cold"), pCol, pRow+0, (pSelected == 0) ) WMF.PrintString( string("Luke Warm"), pCol, pRow+1, (pSelected == 1) ) WMF.PrintString( string("Warm"), pCol, pRow+2, (pSelected == 2) ) WMF.PrintString( string("Hot"), pCol, pRow+3, (pSelected == 3) ) WMF.PrintString( string("Boiling!"), pCol, pRow+4, (pSelected == 4) ) ' end PUB ---------------------------------------------------------------------
DrawMyMenu takes as parameters the position of the menu and the menu item (0 based) to draw as “selected” whatever that means visually. In this case, selected means inverse video. Then the method makes some calls to PrintString to draw the menu manually. This is what is meant by “code-driven rendering.” Rather than pass a data structure or pointer
GUI & Graphics Series — Simple VGA Menus v1.0 10 of 21
Parallax Semiconductor AN005
that points to the information for the menu, we just draw it with brute force. However, that’s the point here, to keep things as simple as possible. Once the method returns, the next section of code executes in the main event loop that updates the display’s temperature gauge with an arbitrary “mixing” algorithm to make the demo more interesting. And that concludes the code base for the menu demo. As you can see, using this brute force approach isn’t too bad. Of course, each program has to have hand-coded menus, but with a bit of copy and paste, you can use this system to implement a GUI system that has 3-5 menus no problem before it becomes unmanageable. Adding More Menus to the Demo and Dealing with Keyboard Focus One question you might have is subtle and has to do with the currently selected item and the keyboard focus. Since this demo has a single menu, whatever the current keyboard focus is highlighting is also the currently active/selected menu item. But, what if there were two or more menus? How would the keyboard focus be switched between the menus? This is where the TAB key is usually employed: when you hit TAB, the current menu is left behind and the next menu in the chain is activated with the keyboard focus on one of the items. But, once you have this flexibility, you then have to decide how to show that a current menu item is activated/selected as well as which one is currently the keyboard focus. So, it can get tricky right away since you have to track where the keyboard focus is as well as have a rendering convention that depicts what menu item is selected on each menu. Additionally, a linked list of some sort is needed to indicate the next “control” or menu in the TAB chain. Another approach is to use multiple keyboard keys to control individual menus. This might be very appropriate for small applications or applications that have two or more “control panels” rather than a single keyboard. In this case, one control panel controls one menu, while another controls another, and so forth. Thus, you don’t need to TAB from one menu to another.
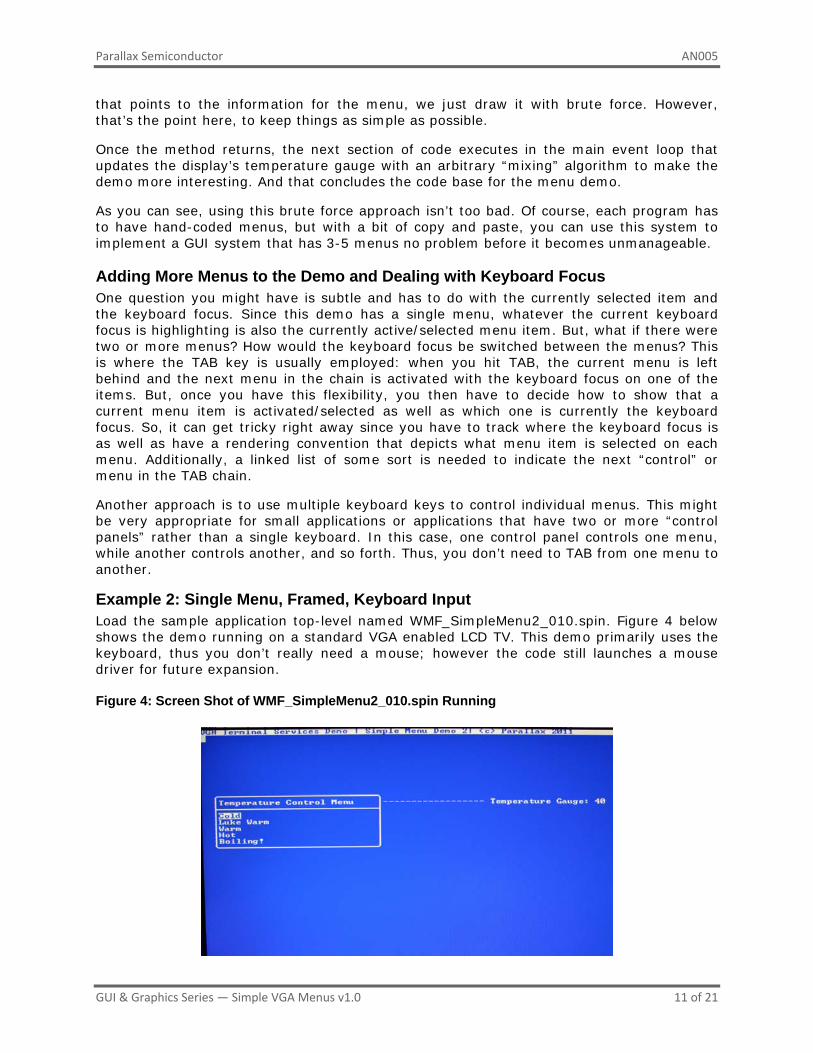
Example 2: Single Menu, Framed, Keyboard Input Load the sample application top-level named WMF_SimpleMenu2_010.spin. Figure 4 below shows the demo running on a standard VGA enabled LCD TV. This demo primarily uses the keyboard, thus you don’t really need a mouse; however the code still launches a mouse driver for future expansion. Figure 4: Screen Shot of WMF_SimpleMenu2_010.spin Running
GUI & Graphics Series — Simple VGA Menus v1.0 11 of 21
Parallax Semiconductor AN005
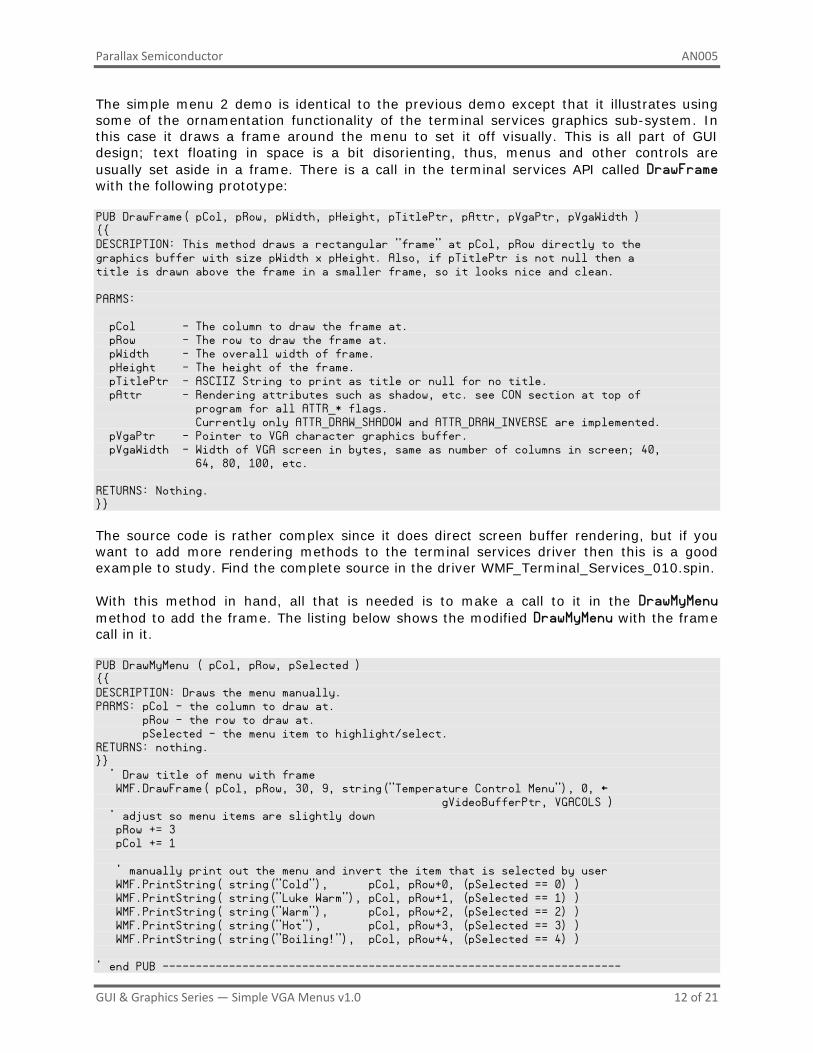
The simple menu 2 demo is identical to the previous demo except that it illustrates using some of the ornamentation functionality of the terminal services graphics sub-system. In this case it draws a frame around the menu to set it off visually. This is all part of GUI design; text floating in space is a bit disorienting, thus, menus and other controls are usually set aside in a frame. There is a call in the terminal services API called DrawFrame with the following prototype: PUB DrawFrame( pCol, pRow, pWidth, pHeight, pTitlePtr, pAttr, pVgaPtr, pVgaWidth ) {{ DESCRIPTION: This method draws a rectangular "frame" at pCol, pRow directly to the graphics buffer with size pWidth x pHeight. Also, if pTitlePtr is not null then a title is drawn above the frame in a smaller frame, so it looks nice and clean. PARMS: pCol - The column to draw the frame at. pRow - The row to draw the frame at. pWidth - The overall width of frame. pHeight - The height of the frame. pTitlePtr - ASCIIZ String to print as title or null for no title. pAttr - Rendering attributes such as shadow, etc. see CON section at top of program for all ATTR_* flags. Currently only ATTR_DRAW_SHADOW and ATTR_DRAW_INVERSE are implemented. pVgaPtr - Pointer to VGA character graphics buffer. pVgaWidth - Width of VGA screen in bytes, same as number of columns in screen; 40, 64, 80, 100, etc. RETURNS: Nothing. }} The source code is rather complex since it does direct screen buffer rendering, but if you want to add more rendering methods to the terminal services driver then this is a good example to study. Find the complete source in the driver WMF_Terminal_Services_010.spin. With this method in hand, all that is needed is to make a call to it in the DrawMyMenu method to add the frame. The listing below shows the modified DrawMyMenu with the frame call in it. PUB DrawMyMenu ( pCol, pRow, pSelected ) {{ DESCRIPTION: Draws the menu manually. PARMS: pCol - the column to draw at. pRow - the row to draw at. pSelected - the menu item to highlight/select. RETURNS: nothing. }} ' Draw title of menu with frame WMF.DrawFrame( pCol, pRow, 30, 9, string("Temperature Control Menu"), 0, ← gVideoBufferPtr, VGACOLS ) ' adjust so menu items are slightly down pRow += 3 pCol += 1 ' manually print out the menu and invert the item that is selected by user WMF.PrintString( string("Cold"), pCol, pRow+0, (pSelected == 0) ) WMF.PrintString( string("Luke Warm"), pCol, pRow+1, (pSelected == 1) ) WMF.PrintString( string("Warm"), pCol, pRow+2, (pSelected == 2) ) WMF.PrintString( string("Hot"), pCol, pRow+3, (pSelected == 3) ) WMF.PrintString( string("Boiling!"), pCol, pRow+4, (pSelected == 4) ) ' end PUB ---------------------------------------------------------------------
GUI & Graphics Series — Simple VGA Menus v1.0 12 of 21

Parallax Semiconductor AN005
A single line of code was added to this method along with some modification of the positioning of strings to accommodate the frame itself. The DrawFrame method supports an “attribute” parameter pAttr which controls added features such as rendering a shadow on the frame. Give it a try by modifying the code in the DrawMyMenu method call to DrawFrame like this: WMF.DrawFrame( pCol, pRow, 30, 9, string("Temperature Control Menu"), ← WMF#ATTR_DRAW_SHADOW, gVideoBufferPtr, VGACOLS ) This is a good example of something that should be used sparingly. It’s tempting to put shadows on everything, but make sure the GUI still looks clean. Shadows and other ornamentations are great as long as they aren’t distracting or make the GUI too busy. Example 2B: Single Menu, Framed, Keyboard and Mouse Input Load the sample application top-level file WMF_SimpleMenu2B_010.spin. Figure 5 below shows the demo running on a standard VGA-enabled LCD TV. This demo uses both the keyboard and mouse. Figure 5: Screen Shot of WMF_SimpleMenu2B_010.spin Running
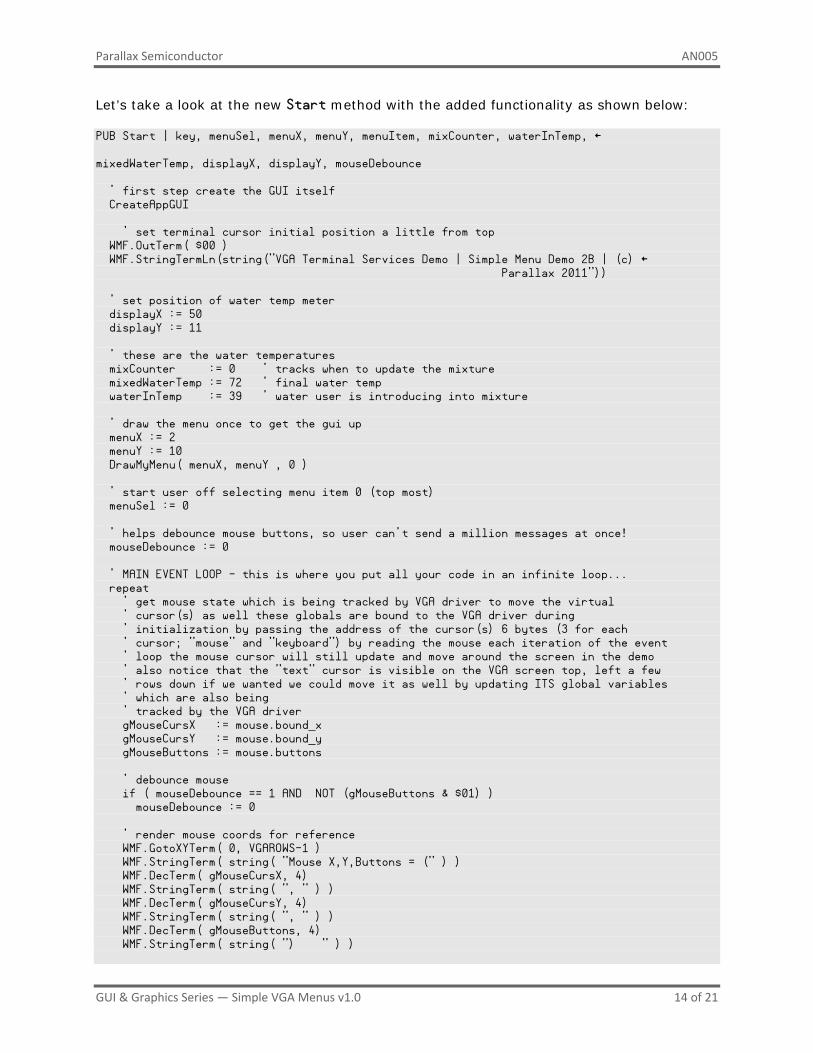
The simple menu 2B demo builds upon the previous demo to support mouse input as well as keyboard input. So, try the demo and use the UP/DOWN arrow keys to change the current menu item selection. Then, using the mouse hover over a menu item, press the left mouse button and the menu item will update. This added functionality was very easy to implement due to the clean design of the software template. In the Start method, code was added to retrieve and print the mouse coordinates as well as is to make calls to new testing methods that compute the collisions with the mouse pointer and the menu item strings.
GUI & Graphics Series — Simple VGA Menus v1.0 13 of 21
Parallax Semiconductor AN005
Let’s take a look at the new Start method with the added functionality as shown below: PUB Start | key, menuSel, menuX, menuY, menuItem, mixCounter, waterInTemp, ← mixedWaterTemp, displayX, displayY, mouseDebounce ' first step create the GUI itself CreateAppGUI ' set terminal cursor initial position a little from top WMF.OutTerm( $00 ) WMF.StringTermLn(string("VGA Terminal Services Demo | Simple Menu Demo 2B | (c) ← Parallax 2011")) ' set position of water temp meter displayX := 50 displayY := 11 ' these are the water temperatures mixCounter := 0 ' tracks when to update the mixture mixedWaterTemp := 72 ' final water temp waterInTemp := 39 ' water user is introducing into mixture ' draw the menu once to get the gui up menuX := 2 menuY := 10 DrawMyMenu( menuX, menuY , 0 ) ' start user off selecting menu item 0 (top most) menuSel := 0 ' helps debounce mouse buttons, so user can't send a million messages at once! mouseDebounce := 0 ' MAIN EVENT LOOP - this is where you put all your code in an infinite loop... repeat ' get mouse state which is being tracked by VGA driver to move the virtual ' cursor(s) as well these globals are bound to the VGA driver during ' initialization by passing the address of the cursor(s) 6 bytes (3 for each ' cursor; "mouse" and "keyboard") by reading the mouse each iteration of the event ' loop the mouse cursor will still update and move around the screen in the demo ' also notice that the "text" cursor is visible on the VGA screen top, left a few ' rows down if we wanted we could move it as well by updating ITS global variables ' which are also being ' tracked by the VGA driver gMouseCursX := mouse.bound_x gMouseCursY := mouse.bound_y gMouseButtons := mouse.buttons ' debounce mouse if ( mouseDebounce == 1 AND NOT (gMouseButtons & $01) ) mouseDebounce := 0 ' render mouse coords for reference WMF.GotoXYTerm( 0, VGAROWS-1 ) WMF.StringTerm( string( "Mouse X,Y,Buttons = (" ) ) WMF.DecTerm( gMouseCursX, 4) WMF.StringTerm( string( ", " ) ) WMF.DecTerm( gMouseCursY, 4) WMF.StringTerm( string( ", " ) ) WMF.DecTerm( gMouseButtons, 4) WMF.StringTerm( string( ") " ) )
GUI & Graphics Series — Simple VGA Menus v1.0 14 of 21

Parallax Semiconductor AN005
' main code goes here................ ' get keypress, if any? key := kbd.key ' is user pressing UP, DOWN, or ENTER? if ( key == ASCII_UP ) if (--menuSel < 0) menuSel := 4 ' draw the updated menu DrawMyMenu( menuX, menuY , menuSel ) if ( key == ASCII_DOWN ) if (++menuSel > 4) menuSel := 0 ' draw the updated menu DrawMyMenu( menuX, menuY , menuSel ) ' new added "mouse" code goes here, ' let's see if user tried to change menu with mouse? ' only do collision detection at the moment user click the mouse down if ( mouseDebounce == 0 AND (gMouseButtons & $01) ) ' debounce mouse first mouseDebounce := 1 ' test if mouse is over menu item? menuItem := MouseOverMyMenu( menuX, menuY ) ' was this a valid menu item? if (menuItem <> -1 ) ' update menu item selected, ' overriding what user might have just done with keyboard menuSel := menuItem ' draw the updated menu DrawMyMenu( menuX, menuY , menuSel ) ' now based on the menu item currently selected change the tem of the water waterInTemp := lookupz( menuSel: 39, 75, 85, 110, 160 ) ' this is just for fun, "mixes" the current water with the new temp water ' based on the differential ' temperatures of the water and drives the final mix to the ' selected mix over time, ' so we can see the display change slowly as user changes temp, ' has nothing to do with GUIs! if (++mixCounter > 100) mixCounter := 0 mixedWaterTemp -= ((mixedWaterTemp - waterInTemp) / 2) ' update display with temperature control WMF.PrintString( string("------------------ Temperature Gauge:"), ← displayX-18, displayY, 0 ) ' convert number to string WMF.itoa( mixedWaterTemp, 10, 8, @gStrBuff1 ) ' print the string WMF.PrintString( @gStrBuff1, displayX+20, displayY, 0 ) ' end PUB ---------------------------------------------------------------------
GUI & Graphics Series — Simple VGA Menus v1.0 15 of 21
Parallax Semiconductor AN005
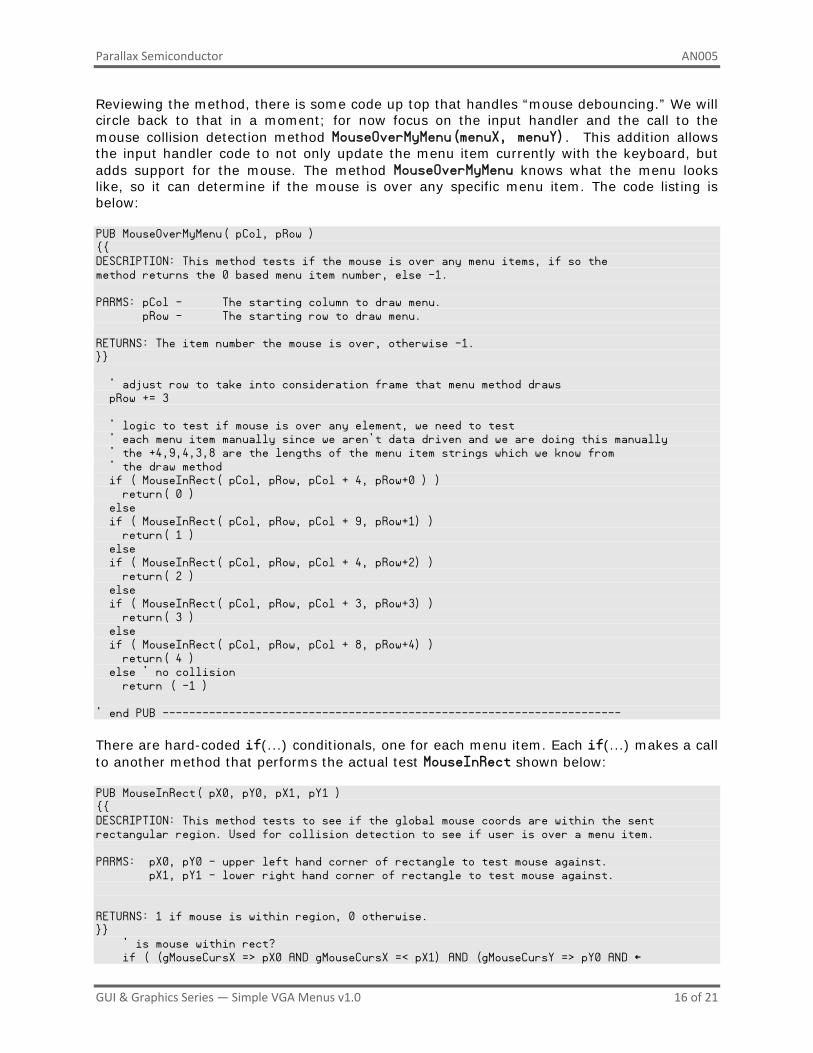
Reviewing the method, there is some code up top that handles “mouse debouncing.” We will circle back to that in a moment; for now focus on the input handler and the call to the mouse collision detection method MouseOverMyMenu(menuX, menuY). This addition allows the input handler code to not only update the menu item currently with the keyboard, but adds support for the mouse. The method MouseOverMyMenu knows what the menu looks like, so it can determine if the mouse is over any specific menu item. The code listing is below: PUB MouseOverMyMenu( pCol, pRow ) {{ DESCRIPTION: This method tests if the mouse is over any menu items, if so the method returns the 0 based menu item number, else -1. PARMS: pCol - The starting column to draw menu. pRow - The starting row to draw menu. RETURNS: The item number the mouse is over, otherwise -1. }} ' adjust row to take into consideration frame that menu method draws pRow += 3 ' logic to test if mouse is over any element, we need to test ' each menu item manually since we aren't data driven and we are doing this manually ' the +4,9,4,3,8 are the lengths of the menu item strings which we know from ' the draw method if ( MouseInRect( pCol, pRow, pCol + 4, pRow+0 ) ) return( 0 ) else if ( MouseInRect( pCol, pRow, pCol + 9, pRow+1) ) return( 1 ) else if ( MouseInRect( pCol, pRow, pCol + 4, pRow+2) ) return( 2 ) else if ( MouseInRect( pCol, pRow, pCol + 3, pRow+3) ) return( 3 ) else if ( MouseInRect( pCol, pRow, pCol + 8, pRow+4) ) return( 4 ) else ' no collision return ( -1 ) ' end PUB --------------------------------------------------------------------- There are hard-coded if(...) conditionals, one for each menu item. Each if(...) makes a call to another method that performs the actual test MouseInRect shown below: PUB MouseInRect( pX0, pY0, pX1, pY1 ) {{ DESCRIPTION: This method tests to see if the global mouse coords are within the sent rectangular region. Used for collision detection to see if user is over a menu item. PARMS: pX0, pY0 - upper left hand corner of rectangle to test mouse against. pX1, pY1 - lower right hand corner of rectangle to test mouse against. RETURNS: 1 if mouse is within region, 0 otherwise. }} ' is mouse within rect? if ( (gMouseCursX => pX0 AND gMouseCursX =< pX1) AND (gMouseCursY => pY0 AND ←
GUI & Graphics Series — Simple VGA Menus v1.0 16 of 21
Parallax Semiconductor AN005
gMouseCursY =< pY1) ) return ( 1 ) else return ( 0 ) ' end PUB --------------------------------------------------------------------- The only remaining details with the mouse are the concept of “debouncing” the buttons and the conventions for mouse actions with the button up/down. Mouse Button Debouncing This subject of debouncing is yet another subtle detail that needs to be worked out when designing GUIs. In other words, how the mouse buttons should behave when click events occur. For example, here are some questions that mouse driver authors typically have to consider when writing mouse code for GUIs:
1. What constitutes a menu item selection exactly? 2. Given that the user has no buttons down on the mouse then hovers over an item and
then presses the mouse button, does that constitute a click, or does the user have to release the button over the item as well?
3. What if the user presses the button on an item, but releases the button off the item? 4. What if the user already has the mouse button down off an item, then hovers over
and item and then releases over the item? As you can see, this simple lists starts to get you thinking. GUI programmers have wrestled with these questions for over 40 years and there is no 100% consensus. In most cases, GUIs follow the rule that if a mouse button is clicked over a menu item (or control in general) then immediately a message is sent, which is the approach used here. (The second school of thought requires that the mouse button be pressed and released over the same menu item or control (Windows® methodology). Of the two approaches, the first is easier to code since the moment the mouse button is clicked, that’s it, the user has made a selection and action is taken. But, the second approach requires memory and state information, the mouse click has to be recorded, and then the code has to determine that both the click and release occurred over the same item or control. With that said, at very least the mouse needs to be debounced even with the first approach. To avoid confusion, debouncing in general when it applies to button presses has to do with the speed at which computers/electronics operate and the speed that humans operate along with the mechanical and noisy nature of switches and controls. For example, when you press a momentary button on a front panel it seems smooth to you, but in actuality the event has 10’s if not 100’s of tiny make/break events as the switch closes and opens and microscopic electrical arcs, vibrations, and so forth make the event unclean. Thus, debouncing circuits handle this by smoothing, averaging, or using clocking techniques to make sure a clean make/break has been made on a switch, so that the switch sends a clean signal that is most likely what the user intended. The mouse button debouncing problem is similar in nature, although not electrical or mechanical since the mouse hardware already debounces the buttons. The debouncing we are talking about here is in the context of the GUI, where we need to make sure that the user has released the mouse button before he/she tries to make a selection. This is so the collision code doesn’t have to waste cycles determining if a mouse click is occurring if the user didn’t finish the last cycle. This is what the newly added debounce code in the Start
GUI & Graphics Series — Simple VGA Menus v1.0 17 of 21
Parallax Semiconductor AN005
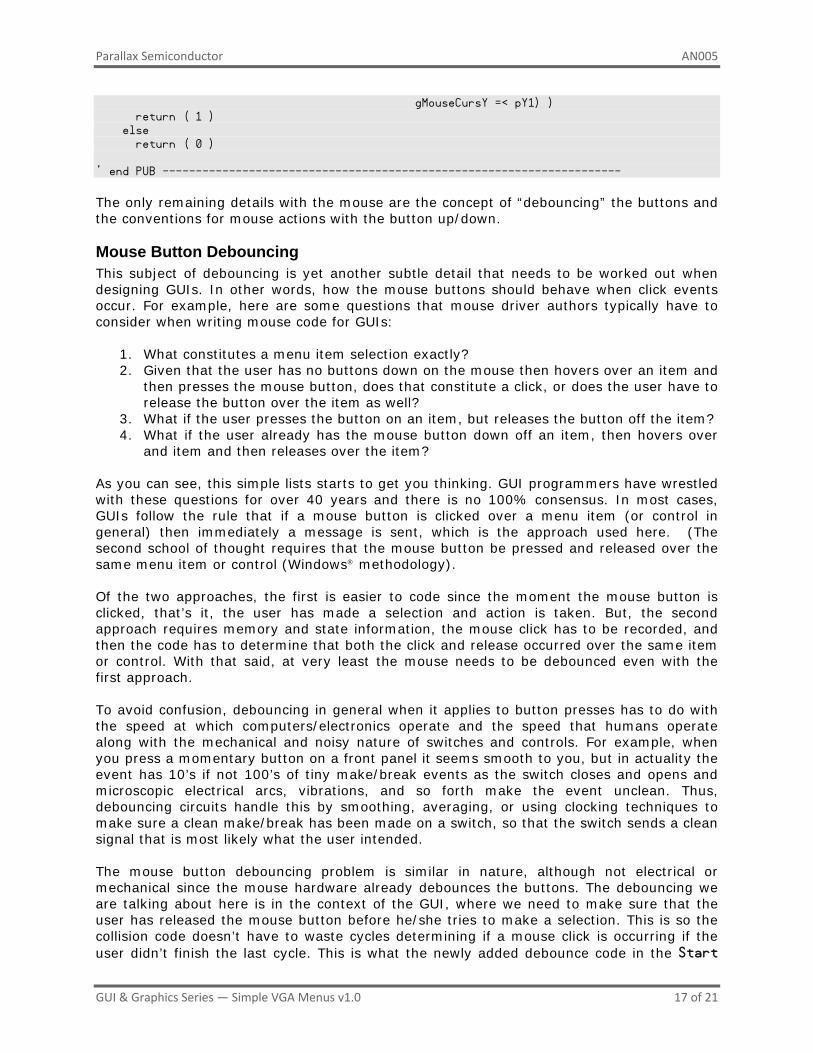
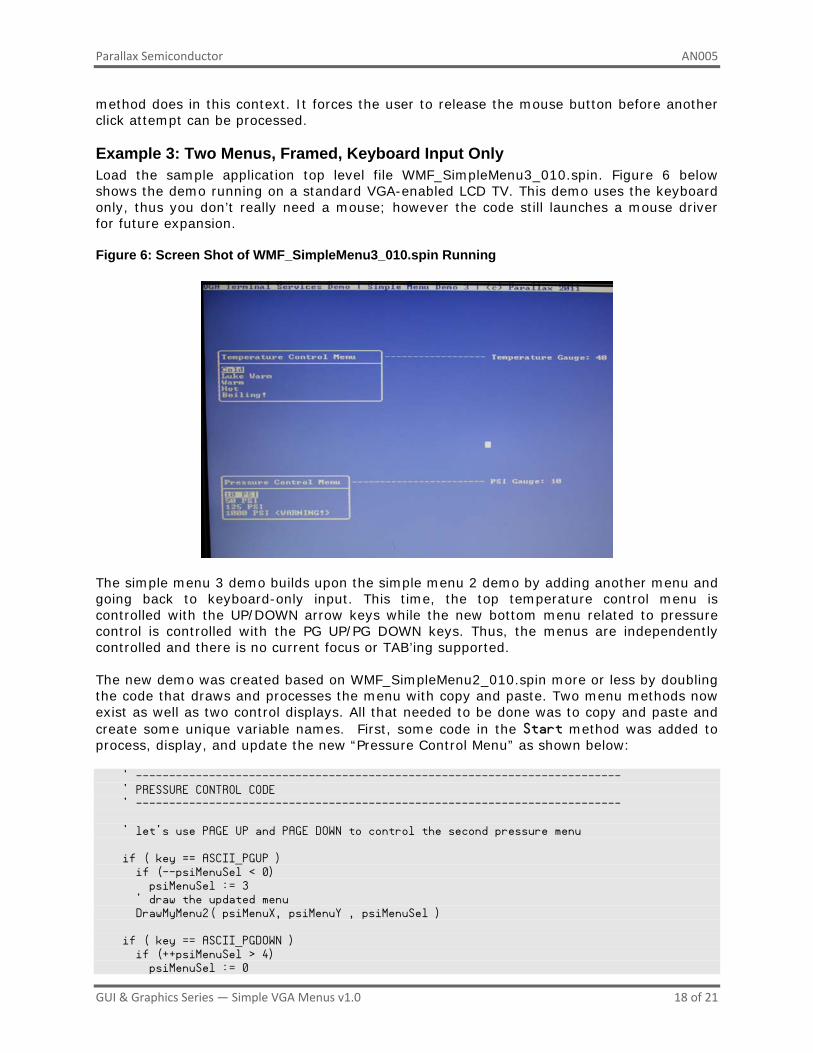
method does in this context. It forces the user to release the mouse button before another click attempt can be processed. Example 3: Two Menus, Framed, Keyboard Input Only Load the sample application top level file WMF_SimpleMenu3_010.spin. Figure 6 below shows the demo running on a standard VGA-enabled LCD TV. This demo uses the keyboard only, thus you don’t really need a mouse; however the code still launches a mouse driver for future expansion. Figure 6: Screen Shot of WMF_SimpleMenu3_010.spin Running
The simple menu 3 demo builds upon the simple menu 2 demo by adding another menu and going back to keyboard-only input. This time, the top temperature control menu is controlled with the UP/DOWN arrow keys while the new bottom menu related to pressure control is controlled with the PG UP/PG DOWN keys. Thus, the menus are independently controlled and there is no current focus or TAB’ing supported. The new demo was created based on WMF_SimpleMenu2_010.spin more or less by doubling the code that draws and processes the menu with copy and paste. Two menu methods now exist as well as two control displays. All that needed to be done was to copy and paste and create some unique variable names. First, some code in the Start method was added to process, display, and update the new “Pressure Control Menu” as shown below: ' ------------------------------------------------------------------------- ' PRESSURE CONTROL CODE ' ------------------------------------------------------------------------- ' let's use PAGE UP and PAGE DOWN to control the second pressure menu if ( key == ASCII_PGUP ) if (--psiMenuSel < 0) psiMenuSel := 3 ' draw the updated menu DrawMyMenu2( psiMenuX, psiMenuY , psiMenuSel ) if ( key == ASCII_PGDOWN ) if (++psiMenuSel > 4) psiMenuSel := 0
GUI & Graphics Series — Simple VGA Menus v1.0 18 of 21
Parallax Semiconductor AN005
' draw the updated menu DrawMyMenu2( psiMenuX, psiMenuY , psiMenuSel ) ' now based on the menu item currently selected change the pressure psiSetting := lookupz( psiMenuSel: 10, 50, 125, 1000 ) ' update display with pressure control WMF.PrintString( string("------------------------ PSI Gauge:"), ← psiDisplayX-24, psiDisplayY, 0 ) ' convert number to string WMF.itoa( psiSetting, 10, 8, @gStrBuff1 ) ' print the string WMF.PrintString( @gStrBuff1, psiDisplayX+12, psiDisplayY, 0 ) ' end PUB --------------------------------------------------------------------- As you can see, the code is almost identical to the temperature processing code. Finally, a new method draws the pressure menu: PUB DrawMyMenu2 ( pCol, pRow, pSelected ) {{ DESCRIPTION: PARMS: RETURNS: }} ' Draw title of menu with frame WMF.DrawFrame( pCol, pRow, 24, 8, string("Pressure Control Menu"), 0, ← gVideoBufferPtr, VGACOLS ) ' adjust so menu items are slightly down pRow += 3 pCol += 1 ' manually print out the menu and invert the item that is selected by user WMF.PrintString( string("10 PSI"), pCol, pRow+0, (pSelected == 0) ) WMF.PrintString( string("50 PSI"), pCol, pRow+1, (pSelected == 1) ) WMF.PrintString( string("125 PSI"), pCol, pRow+2, (pSelected == 2) ) WMF.PrintString( string("1000 PSI (WARNING!)"), pCol, pRow+3, (pSelected == 3) ) ' end PUB --------------------------------------------------------------------- Again, this copy and paste technique with “coded” menus works fine for a small number of menus, but imagine if we had five or ten menus; it would get tedious keeping track of everything, and making changes would be error prone. In those cases, use a more data-driven technique. But, this software pattern is more than adequate for small jobs (which in most cases is what microcontrollers do).
Adding More GUI Elements If you want to add more GUI elements such buttons, lists, labels, etc. hopefully you can see how easy this is to do. Labels and other static GUI elements are nothing more than making calls to the printing methods. However, dynamic GUI elements are a little more challenging. For example, to add buttons to the GUI controls, just look at the software pattern used for the menus and instead of making menus with multiple items, you would make menus with a single item. In essence, this is a button.
GUI & Graphics Series — Simple VGA Menus v1.0 19 of 21
Parallax Semiconductor AN005
Furthermore, since buttons don’t indicate a selection of one of n items as menus do, you don’t need to highlight the buttons in the same way—simply track when the user clicks one. Of course, the issues of what to do when the mouse hovers over a button and the moment the mouse button is clicked have to be decided. Should the button animate and look like it is depressed? Should it turn inverse video? Should a button click event require that the mouse button both be pressed and released over the button? And so forth. Finally, with buttons and many other controls the issue of keyboard focus really starts to come to the forefront. Thus, GUI applications with keyboard-only support must have a way of chaining controls together via TAB’ing, or some other mechanism for moving from control to control when no mouse is present. Again, this is up to you.
Layout Considerations Laying out a GUI can be challenging since it’s an artistic process. The best advice is to employ multi-way symmetry. In other words, line elements up in all dimensions. Here are some tips: Align GUI elements on the left/right margins and with each other on both x and y. Make sure the spacing between GUI elements is equidistant. Make sure the spacing between controls and the edges of the screen is adequate.
Don’t make GUI elements touch the screen edges. This makes it look crowded. Put important GUI elements to the top and left, less important to the bottom right. In general, don’t mix high traffic and low traffic GUI elements in the same regions of
the screen. Don’t use a lot of colors. Too many colors can tire the eyes. Try making menu item strings of similar length, so the bounding box of the menu
isn’t over-large to accommodate a single menu item string.
Summary This application note has discussed the complex and creative design of GUI applications with focus on simple menus. Both keyboard and mouse input devices have been considered as well as singular and many menu controls have been explored. A coded methodology was used rather than data driven to illustrate that hard coded GUIs are possible, but not ideal for large scale GUI applications.
GUI & Graphics Series — Simple VGA Menus v1.0 20 of 21
Parallax Semiconductor AN005
GUI & Graphics Series — Simple VGA Menus v1.0 21 of 21
Resources The following example code files are available as a zip archive from this application note’s web page: www.parallaxsemiconductor.com/an004. WMF_SimpleMenu_010.spin WMF_SimpleMenu2_010.spin WMF_SimpleMenu2B_010.spin WMF_SimpleMenu3_010.spin WMF_Terminal_Services_010.spin VGA_HiRes_Text_010.spin Mouse_011.spin Keyboard_011.spin
References 1. AN004: GUI & Graphics Series — Getting Started with VGA and Terminal Output:
www.parallaxsemiconductor.com/an004
Revision History Version 1.0: original document.
Parallax, Inc., dba Parallax Semiconductor, makes no warranty, representation or guarantee regarding the suitability of its products for any particular purpose, nor does Parallax, Inc., dba Parallax Semiconductor, assume any liability arising out of the application or use of any product, and specifically disclaims any and all liability, including without limitation consequential or incidental damages even if Parallax, Inc., dba Parallax Semiconductor, has been advised of the possibility of such damages. Reproduction of this document in whole or in part is prohibited without the prior written consent of Parallax, Inc., dba Parallax Semiconductor. Copyright © 2011 Parallax, Inc. dba Parallax Semiconductor. All rights are reserved. Propeller and Parallax Semiconductor are trademarks of Parallax, Inc. All other trademarks herein are the property of their respective owners.