ardino uno
DESCRIPTION
uno , simulink,encoded gear motors, simply connect it to a computer with a USB cable or power it with a AC-to-DC adapter or battery to get started• A SoftwareSerial library allows for serial communication on any of the Uno's digital pins.TRANSCRIPT

® ®
Learning Basic Mechatronics concepts using the Arduino Board and MATLAB
rks,
Inc.
g
Giampiero Campa PhD Technical Evangelist
009
The
Mat
hWoGiampiero Campa, PhD, Technical Evangelist
The MathWorks, 400 Continental Blvd, Suite 600-028, El Segundo, CA, 90245
giampiero campa@mathworks com

® ®
OutlineOutline
A few challenges with Mechatronics projects
A d i I t d ti & M ti ti Arduino Introduction & Motivation
Analog and Digital IO Analog and Digital IO
Motor ControlMotor Control
Arduino target and Useful Links
2

® ®
Sensing & Data AcquisitionSensing & Data Acquisition
Distance/Range Position/Orientation Force/Pressure Distance/Range, Position/Orientation, Force/Pressure, Touch, Orientation, Motion/Speed, Environment, Optical, Chemical, Flow, Voltage/Current, sensor selection is largely application related but also related to:
Data acquisition system (Analog and Digital input) Data acquisition system (Analog and Digital input) Number of sensors Ranges A/D conversion issues as Resolution and Sampling Rate Signal Conditioning Delay/Bandwidth
3
Delay/Bandwidth

® ®
Processing & Programming PlatformProcessing & Programming Platform
External Microcontroller/Microprocessor Board External Microcontroller/Microprocessor Board Development-Prototyping Environment Low-Level Programming Language, Compiler/Assembler Connection to computer (or LCD) for visualization DAQ typically already there Stand Alone Issues, power requirements, p q
ComputerC ti t DAQ (USB PCI S i l Wi l ) Connection to DAQ (USB, PCI, Serial, Wireless)
Programming-Analysis Environment OS / Drivers (Real Time ?)
4
Embedded / Small Form Factor Computer

® ®
Acting (Digital & Analog Outputs PWM)Acting (Digital & Analog Outputs, PWM)
Relays
Motors DC/Steppers/Servos
Si l A lifi ti Signal Amplification Power Suppliers, Batteries Forward/Reverse, H-Bridges
Displays
5
® ®
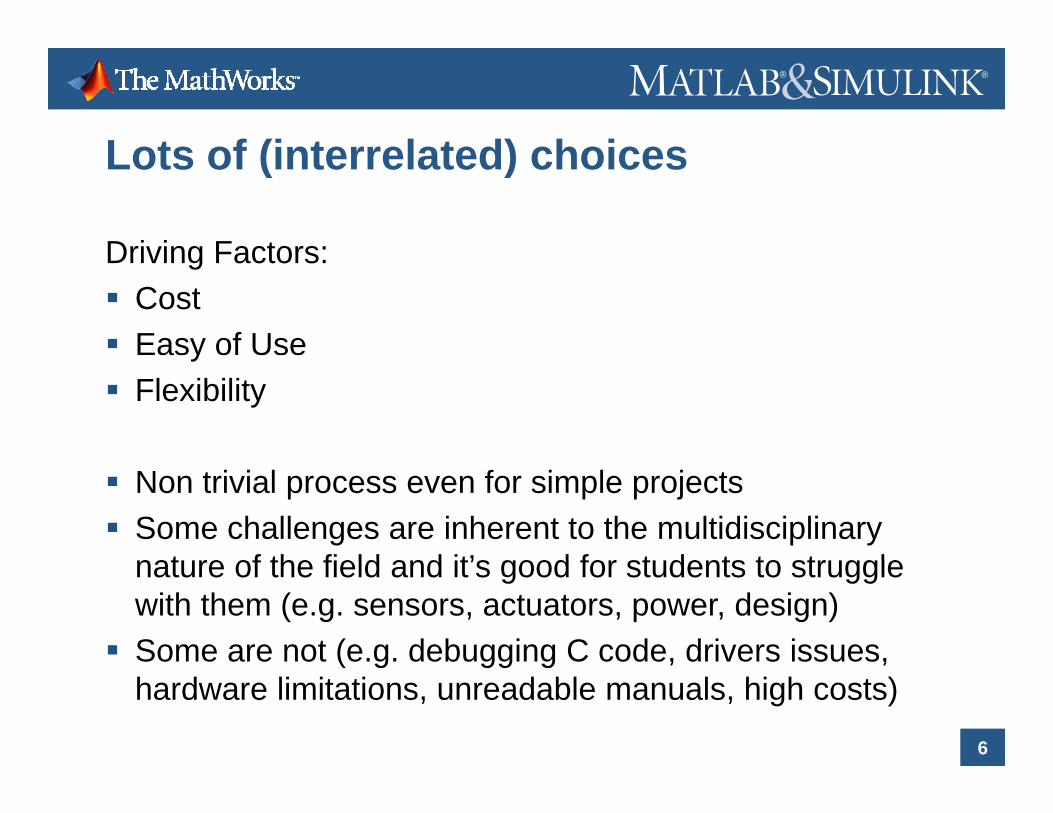
Lots of (interrelated) choicesLots of (interrelated) choices
Driving Factors:Driving Factors: Cost Easy of Usey Flexibility
Non trivial process even for simple projects Some challenges are inherent to the multidisciplinary
nat re of the field and it’s good for st dents to str gglenature of the field and it’s good for students to struggle with them (e.g. sensors, actuators, power, design)
Some are not (e.g. debugging C code, drivers issues,
6
( g gg g , ,hardware limitations, unreadable manuals, high costs)
® ®
OutlineOutline
A few challenges with Mechatronics projects
A d i I t d ti & M ti ti Arduino Introduction & Motivation
Analog and Digital IO Analog and Digital IO
Motor ControlMotor Control
Arduino target and Useful Links
7

® ®
ArduinoArduino
Arduino is an open-source microcontroller board, with an associated development environment.
8

® ®
PhilosophyPhilosophy
The schematics and the software are released under the Creative Commons License
Manufacturing and Distributing an official Arduino product is subject to a few restrictions (basically the authors needis subject to a few restrictions (basically the authors need to be contacted) to make sure that: Things work properly.
Th d t fit i t th ll j t The product fits into the overall project. It is manufactured under reasonably fair labor conditions.
9
Some form of contribution might be traded in this case
® ®
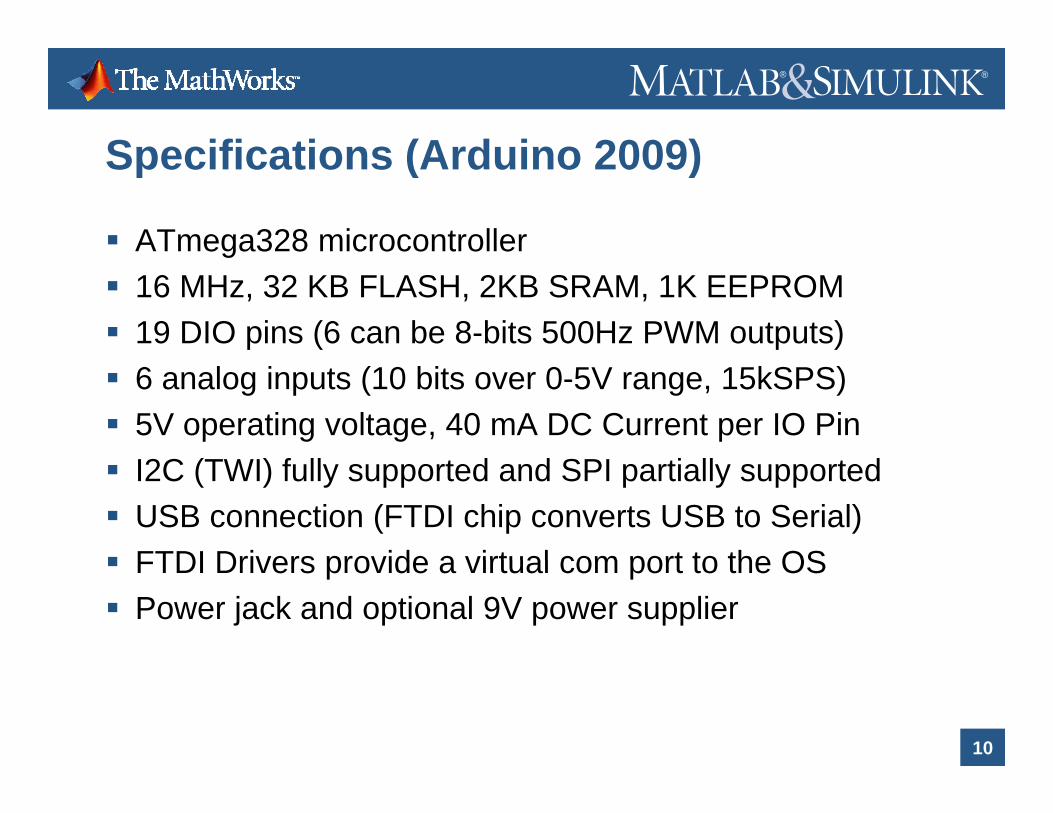
Specifications (Arduino 2009)Specifications (Arduino 2009)
ATmega328 microcontrollerg 16 MHz, 32 KB FLASH, 2KB SRAM, 1K EEPROM 19 DIO pins (6 can be 8-bits 500Hz PWM outputs) 6 analog inputs (10 bits over 0-5V range, 15kSPS) 5V operating voltage, 40 mA DC Current per IO Pin
C ( ) f S I2C (TWI) fully supported and SPI partially supported USB connection (FTDI chip converts USB to Serial) FTDI Drivers provide a virtual com port to the OS FTDI Drivers provide a virtual com port to the OS Power jack and optional 9V power supplier
10
® ®
ShieldsShields
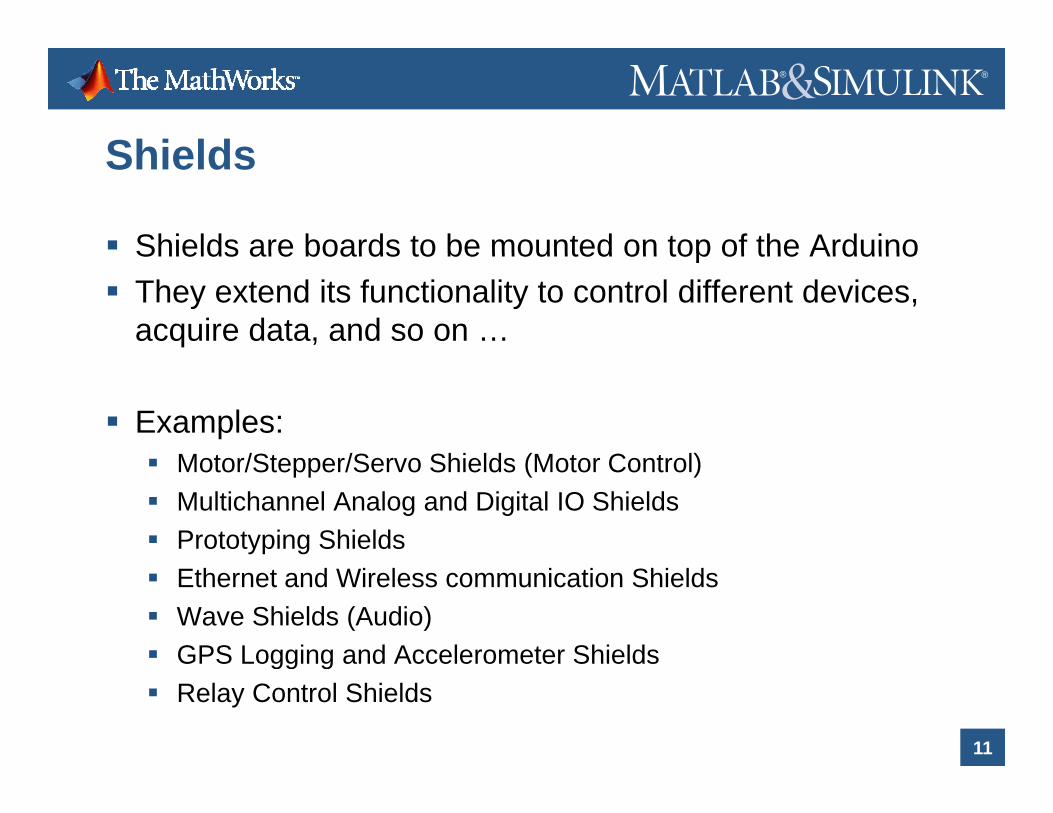
Shields are boards to be mounted on top of the ArduinoShields are boards to be mounted on top of the Arduino They extend its functionality to control different devices,
acquire data, and so on …
Examples:M t /St /S Shi ld (M t C t l) Motor/Stepper/Servo Shields (Motor Control)
Multichannel Analog and Digital IO Shields Prototyping Shields Ethernet and Wireless communication Shields Wave Shields (Audio) GPS Logging and Accelerometer Shields
11
GPS Logging and Accelerometer Shields Relay Control Shields

® ®
OutlineOutline
A few challenges with Mechatronics projects
A d i I t d ti & M ti ti Arduino Introduction & Motivation
Analog and Digital IO Analog and Digital IO
Motor ControlMotor Control
Arduino target and Useful Links
12

® ®
What is Arduino good for ?What is Arduino good for ?
Projects requiring Analog and Digital IO
Mechatronics Projects using Servo, DC or Stepper Motors
Projects with volume/size and/or budget constraints
P j t i i t f fl ibilit d Projects requiring some amount of flexibility and adaptability (i.e. changing code and functions on the fly)
13

® ®
What is Arduino good for ?What is Arduino good for ?
Basically any Mechatronics project requiring sensing and acting, provided that computational requirements are not too high (e.g. can’t do image processing with it)
Ideal for undergraduate/graduate Mechatronics Labs and Ideal for undergraduate/graduate Mechatronics Labs and Projects
There is a very large community of people using it for all kind of projects, and a very lively forum where it is possible to get timely support
14
possible to get timely support
® ®
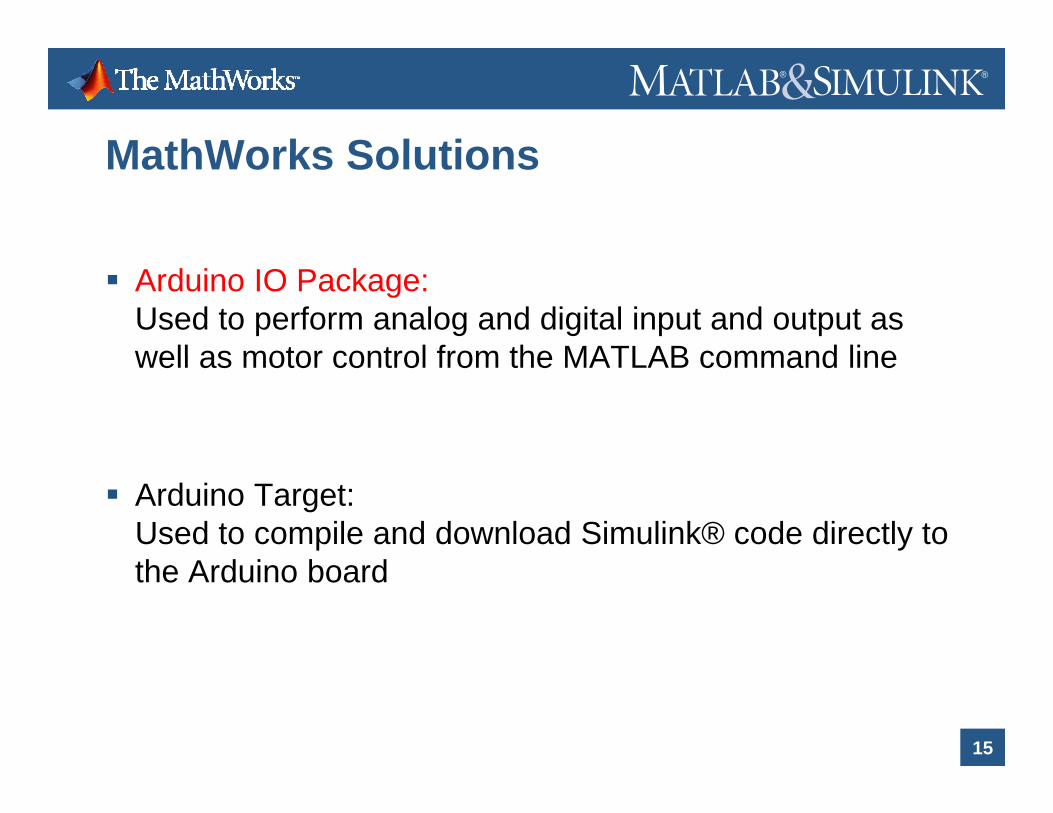
MathWorks SolutionsMathWorks Solutions
Arduino IO Package:Used to perform analog and digital input and output as well as motor control from the MATLAB command linewell as motor control from the MATLAB command line
Arduino Target: Used to compile and download Simulink® code directly to th A d i b dthe Arduino board
15

® ®
Arduino IO : ConceptArduino IO : Concept
16
® ®
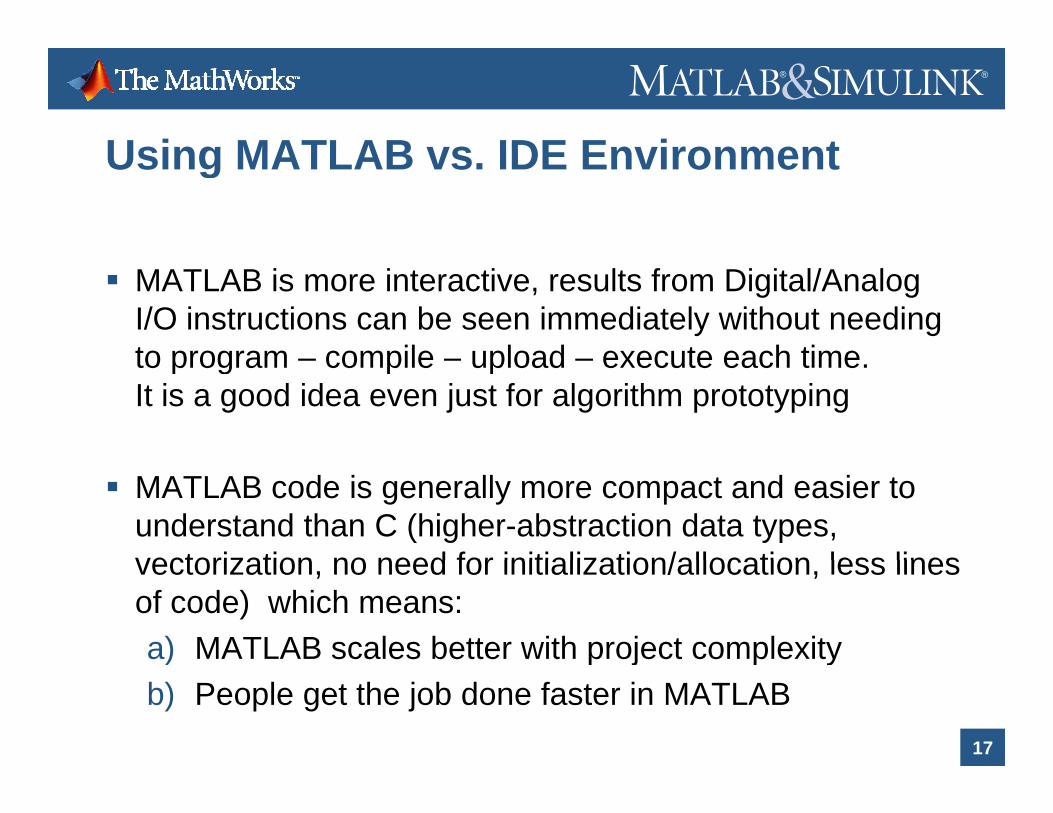
Using MATLAB vs IDE EnvironmentUsing MATLAB vs. IDE Environment
MATLAB is more interactive, results from Digital/Analog I/O instructions can be seen immediately without needing to program compile upload execute each timeto program – compile – upload – execute each time.It is a good idea even just for algorithm prototyping
MATLAB code is generally more compact and easier to understand than C (higher-abstraction data types, vectorization no need for initialization/allocation less linesvectorization, no need for initialization/allocation, less lines of code) which means:a) MATLAB scales better with project complexity
17
) p j p yb) People get the job done faster in MATLAB

® ®
Using MATLAB vs IDE EnvironmentUsing MATLAB vs. IDE Environment
For wider-breadth projects (that might include data p j ( ganalysis, signal processing, calculations, simulation, statistics, control design …) MATLAB is better suited
Engineering Departments typically need to introduce MATLAB during the first years, so this package will allowMATLAB during the first years, so this package will allow professors to keep the same environment and students to practice more MATLAB
People might already be more familiar with MATLAB than with C, both in industry and university
18
with C, both in industry and university

® ®
OutlineOutline
A few challenges with Mechatronics projects
A d i I t d ti & M ti ti Arduino Introduction & Motivation
Analog and Digital IO Analog and Digital IO
Motor ControlMotor Control
Arduino target and Useful Links
19

® ®
Analog & Digital IO: WorkflowAnalog & Digital IO: Workflow
Plug board USE:Plug boardConnect Assign Pin Mode
Digital InputDigital InputDigital OutputAnalog InputA l O t t
DisconnectUnplugAnalog Output p g
20
® ®
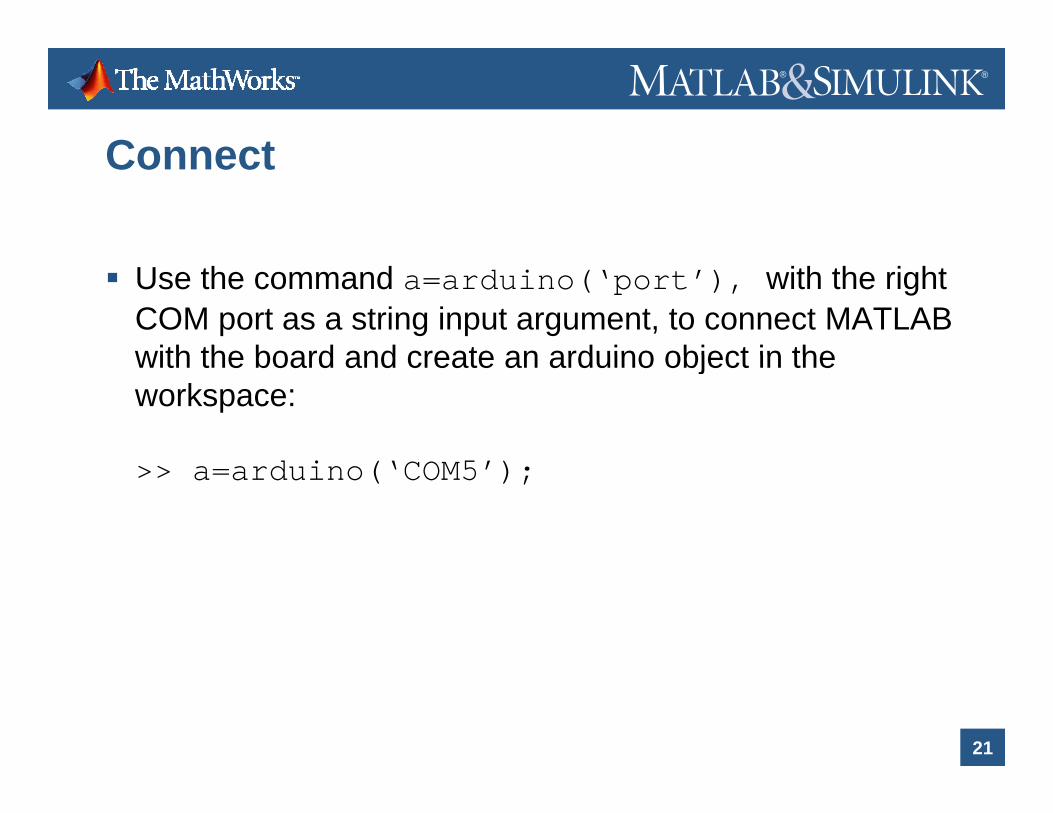
ConnectConnect
Use the command a=arduino(‘port’), with the right COM port as a string input argument, to connect MATLAB with the board and create an arduino object in thewith the board and create an arduino object in the workspace:
>> a=arduino(‘COM5’);
21

® ®
Assign Pin Mode (input/output)Assign Pin Mode (input/output)
Use the command a.pinMode(pin,str)to get or set the mode of a specified pin:
Examples:>> a.pinMode(11,'output')>> a.pinMode(10,'input')>> val=a.pinMode(10)>> a.pinMode(5)>> a.pinMode(5)>> a.pinMode;
22

® ®
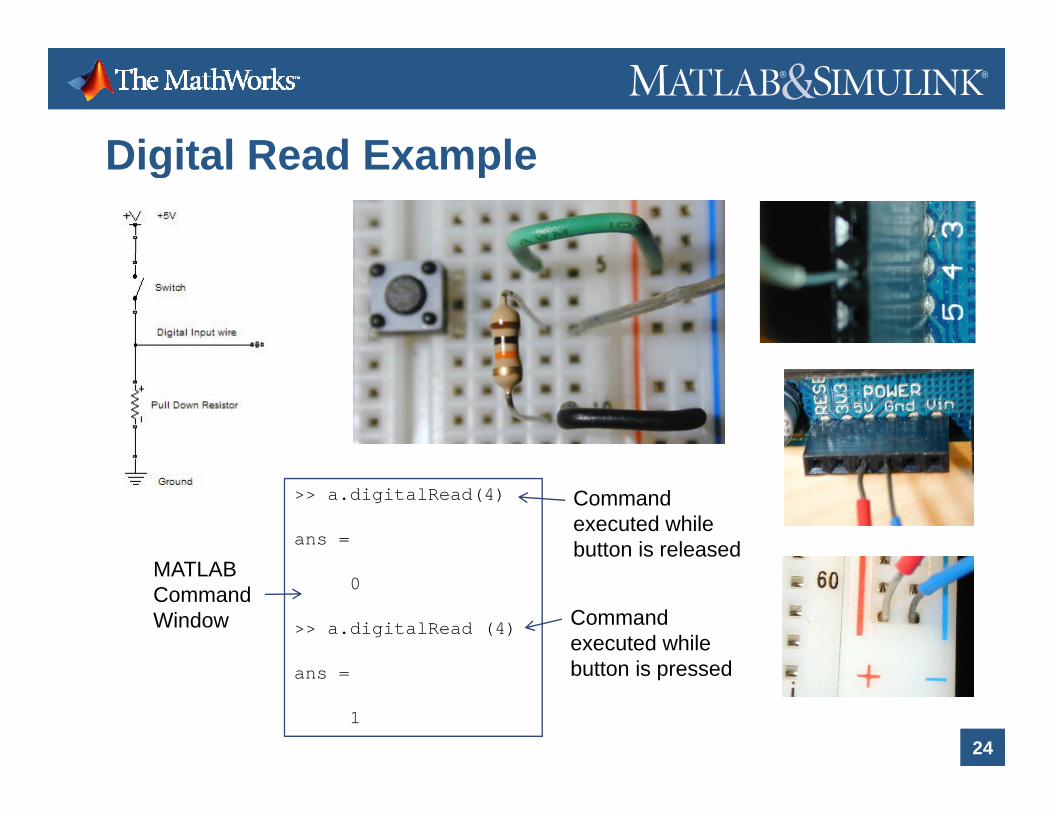
Digital Read (digital input)Digital Read (digital input)
Use the command a.digitalRead(pin) to read the digital status of a pin:
Examples:>> val=a.digitalRead(4)
This returns the value (0 or 1) of the digital pin number 4
23
® ®
Digital Read ExampleDigital Read Example
>> a.digitalRead(4)
ans =
Command executed while button is released
0
>> a.digitalRead (4) Command executed while b tt i d
MATLAB Command Window
24
ans =
1
button is pressed
® ®
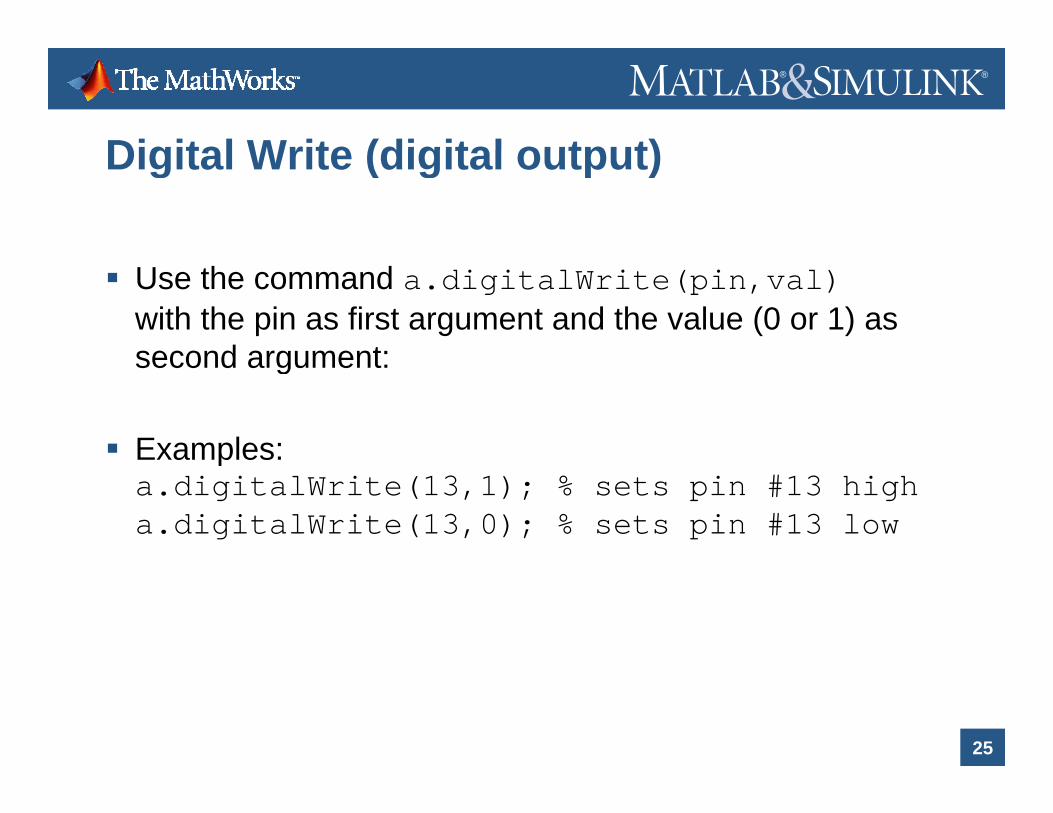
Digital Write (digital output)Digital Write (digital output)
Use the command a.digitalWrite(pin,val) with the pin as first argument and the value (0 or 1) as second argument:second argument:
Examples:Examples:a.digitalWrite(13,1); % sets pin #13 higha.digitalWrite(13,0); % sets pin #13 low
25

® ®
Digital Write ExampleDigital Write Example
MATLAB
>> a.digitalWrite(9,1)>> di it lW it (9 0)
MATLAB Command Window
>> a.digitalWrite(9,0)
Led OnLed Off
26
® ®
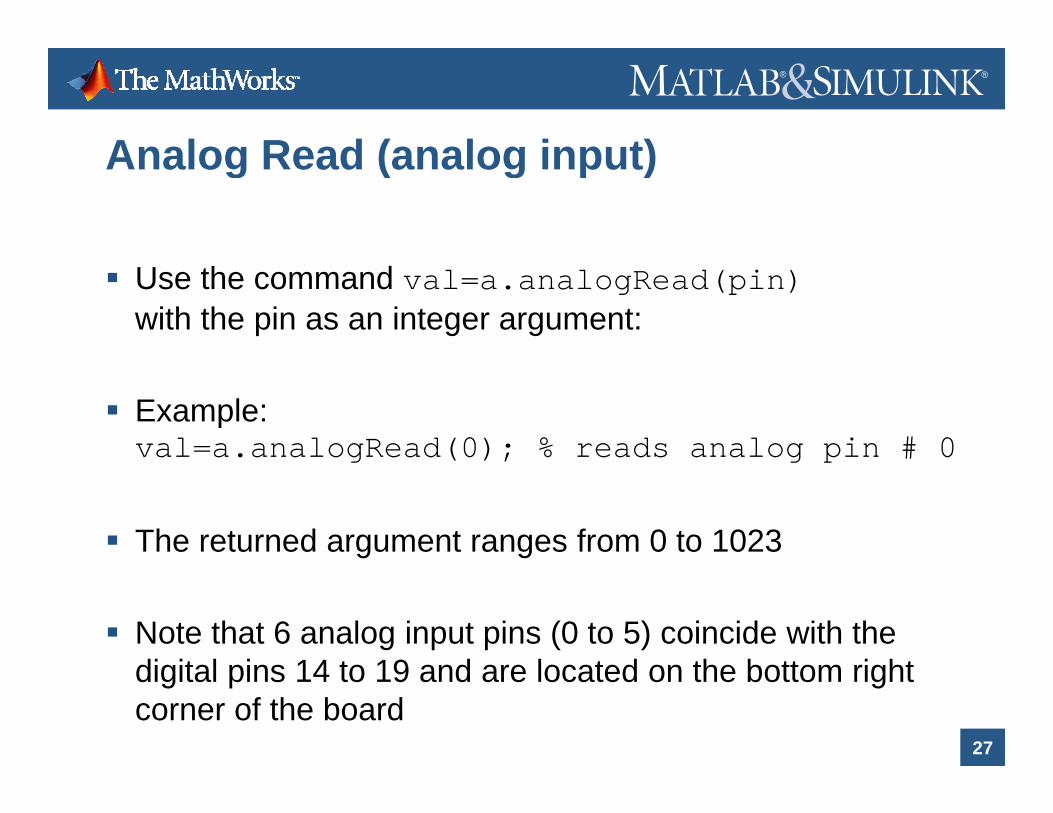
Analog Read (analog input)Analog Read (analog input)
Use the command val=a.analogRead(pin)with the pin as an integer argument:
Example: val=a.analogRead(0); % reads analog pin # 0 g ( ); g p #
The returned argument ranges from 0 to 1023
Note that 6 analog input pins (0 to 5) coincide with the di it l i 14 t 19 d l t d th b tt i ht
27
digital pins 14 to 19 and are located on the bottom right corner of the board

® ®
Analog Read ExampleAnalog Read Example
>> a.analogRead(3)MATLAB Command
ans =
285
Command Window
>> a.analogRead(3)
ans =
855
28
855
® ®
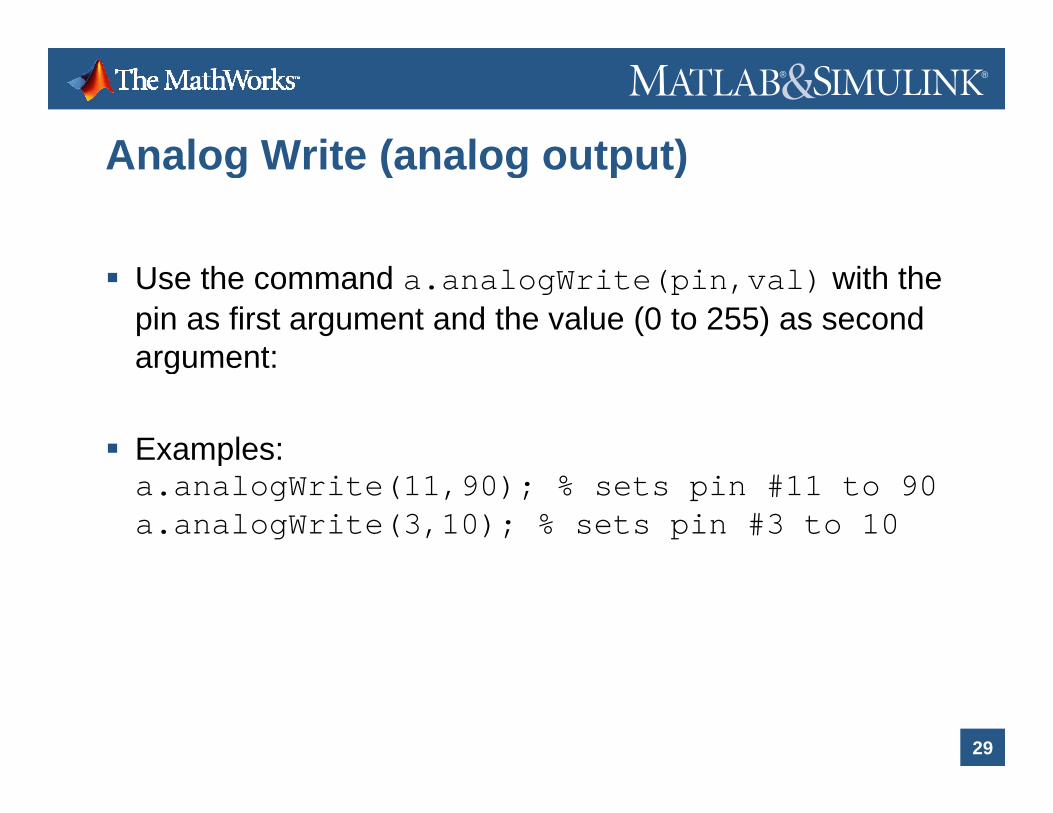
Analog Write (analog output)Analog Write (analog output)
Use the command a.analogWrite(pin,val) with the pin as first argument and the value (0 to 255) as second argument:argument:
Examples:Examples: a.analogWrite(11,90); % sets pin #11 to 90a.analogWrite(3,10); % sets pin #3 to 10
29

® ®
Analog Write ExampleAnalog Write Example
MATLAB
>> a.analogWrite(9,10)>> l W it (9 50)
MATLAB Command Window
>> a.analogWrite(9,50)
Led On (20%)Led On (4%)
30
® ®
DisconnectDisconnect
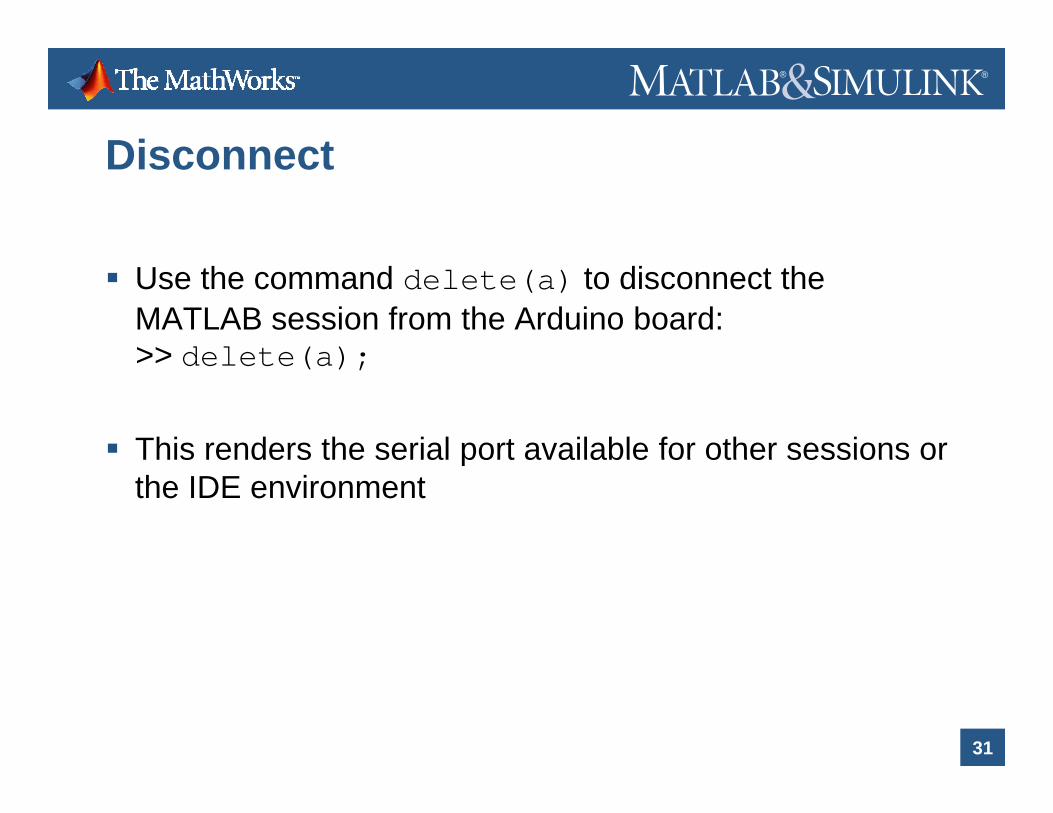
Use the command delete(a) to disconnect the MATLAB session from the Arduino board:>> delete(a);>> delete(a);
This renders the serial port available for other sessions orThis renders the serial port available for other sessions or the IDE environment
31

® ®
Example : The blink challenge projectExample : The blink challenge project
This challenge is described in the last part of the LadyadaArduino tutorial, http://www.ladyada.net/learn/arduino/ and it consists in designing a circuit with 5 LEDs and 4 modesit consists in designing a circuit with 5 LEDs and 4 modes (user switches mode by pushing a button):
1. All LEDs Off2. All LEDs On3 LED bli ki i lt l ith i bl f3. LEDs blinking simultaneously with variable frequency
regulated by a potentiometer4 LEDs blinking one after the other (wave like) with
32
4. LEDs blinking one after the other (wave like) with variable speed regulated by a potentiometer

® ®
SchematicsSchematics
33
® ®
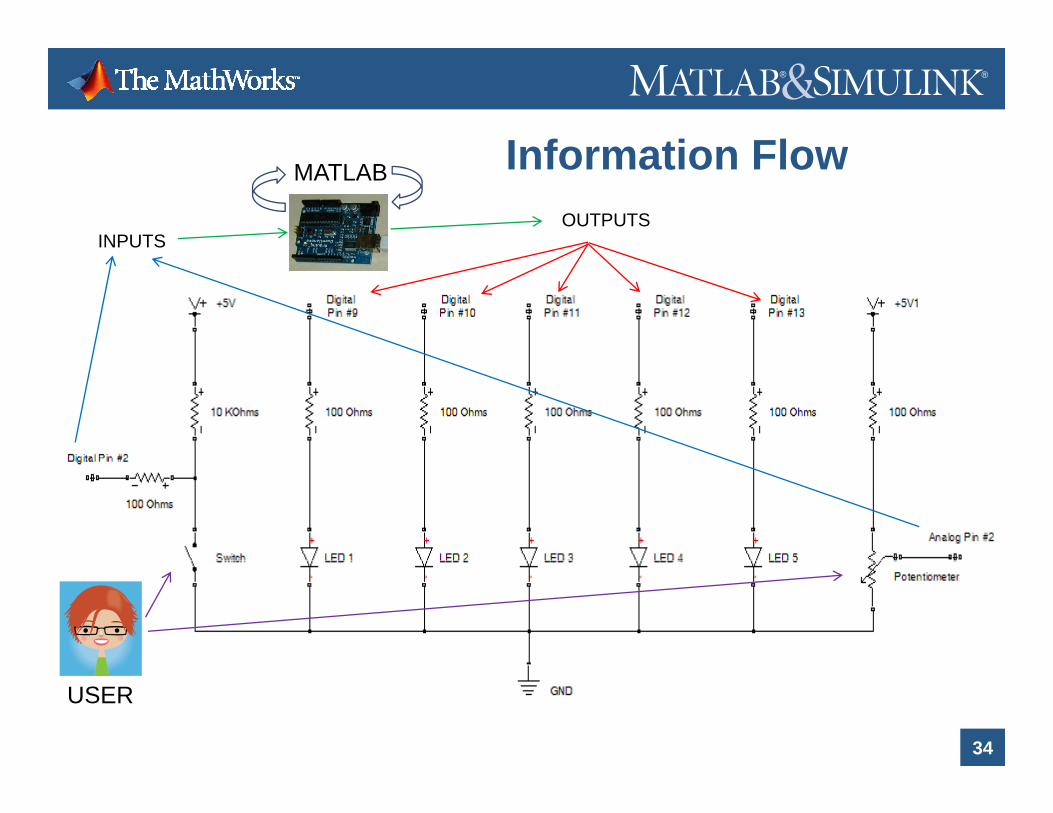
Information FlowInformation Flow
INPUTSOUTPUTS
MATLAB
34
USER

® ®
MATLAB CodeMATLAB Code% initialize pinsdisp('Initializing Pins ...');
% get previous stateprev=a.digitalRead(bPin);p( g )
% sets digital input pinsa.pinMode(2, 'INPUT'); a.pinMode(3, 'INPUT'); a.pinMode(4, 'INPUT');
% start loopdisp('Starting main loop, push button to change state ...');
% loop for 1 minutetica.pinMode(7, 'INPUT');
a.pinMode(8, 'INPUT');
% sets digital and analog (pwm) output pins a.pinMode(5, 'OUTPUT'); % pwm available herea pinMode(6 'OUTPUT'); % pwm available here
ticwhile toc/60 < 1
% read analog inputain=a.analogRead(aPin);v=100*ain/1024;a.pinMode(6, OUTPUT ); % pwm available here
a.pinMode(9, 'OUTPUT'); % pwm available herea.pinMode(10,'OUTPUT'); % pwm available herea.pinMode(11,'OUTPUT'); % pwm available herea.pinMode(12,'OUTPUT'); a.pinMode(13,'OUTPUT');
;
% read current button value% note that button has to be kept pressed a few seconds to make sure% the program reaches this point and changes the current button value curr=a.digitalRead(bPin);
% button pin and analog pinbPin=2;aPin=2;
% initialize statet t 0
% button is being released, change state% delay corresponds to the "on" time of each led in state 3 (wave)if (curr==1 && prev==0),
state=mod(state+1,4);disp(['state = ' num2str(state) ' delay = ' num2str(v/200)]);
35
state=0; disp([ state = num2str(state) , delay = num2str(v/200)]);end

® ®
MATLAB CodeMATLAB Code% toggle state all on or off
if (state<2)
% waveif (state==3),
f i 4 8if (state<2),for i=9:13,
a.digitalWrite(i,state);end
end
for i=4:8,a.digitalWrite(9+mod(i,5),0);a.digitalWrite(9+mod(i+1,5),1);pause(v/200);
enda.digitalWrite(13,0);
end
% blink all leds with variable delayif (state==2),
for j=0:1,% analog output pinsf i 9 11
end
% update stateprev=curr;
endfor i=9:11,a.analogWrite(i,20*(i-8)*j);
end% digital output only pinsfor i=12:13,
a digitalWrite(i j);
end
% turn everything offfor i=9:13, a.digitalWrite(i,0); enda.digitalWrite(i,j);
endpause((15*v*(1-j)+4*v*j)/1000);
endend
g ( )
36

® ®
Prototyping ShieldPrototyping Shield
The schematics was implemented using the prototyping shield:
This shield allows for an easy prototyping of projects
37
based on the Arduino board

® ®
ImplementationImplementation
Pot to regulate
Button to change moderegulate
on/off LEDs delay
mode
ArduinoArduino Board underneath
38
® ®
OutlineOutline
A few challenges with Mechatronics projects
A d i I t d ti & M ti ti Arduino Introduction & Motivation
Analog and Digital IO Analog and Digital IO
Motor ControlMotor Control
Arduino target and Useful Links
39

® ®
Motor ShieldMotor ShieldServo Ports # 1 & 2
Motor Ports # 3 & 4Stepper Port #2
Motor Ports # 1 & 2Stepper Port #1 ppStepper Port #1
Arduino
40
Board underneath
External Power Connector
Jumper on == same power source for both Arduino and motor shield

® ®
Motor Shield characteristicsMotor Shield characteristics
2 connections for 5V 'hobby' servos connected to the2 connections for 5V hobby servos connected to the Arduino's high-resolution dedicated timer
Up to 4 bi-directional DC motors with individual 8-bit speed selection
Up to 2 stepper motors (unipolar or bipolar) with single coil, double coil, interleaved or micro-stepping.
4 H-Bridges: L293D chipset provides 0.6A per bridge (1 2A k) ith th l h td t ti 4 5V t 36V
41
(1.2A peak) with thermal shutdown protection, 4.5V to 36V
® ®
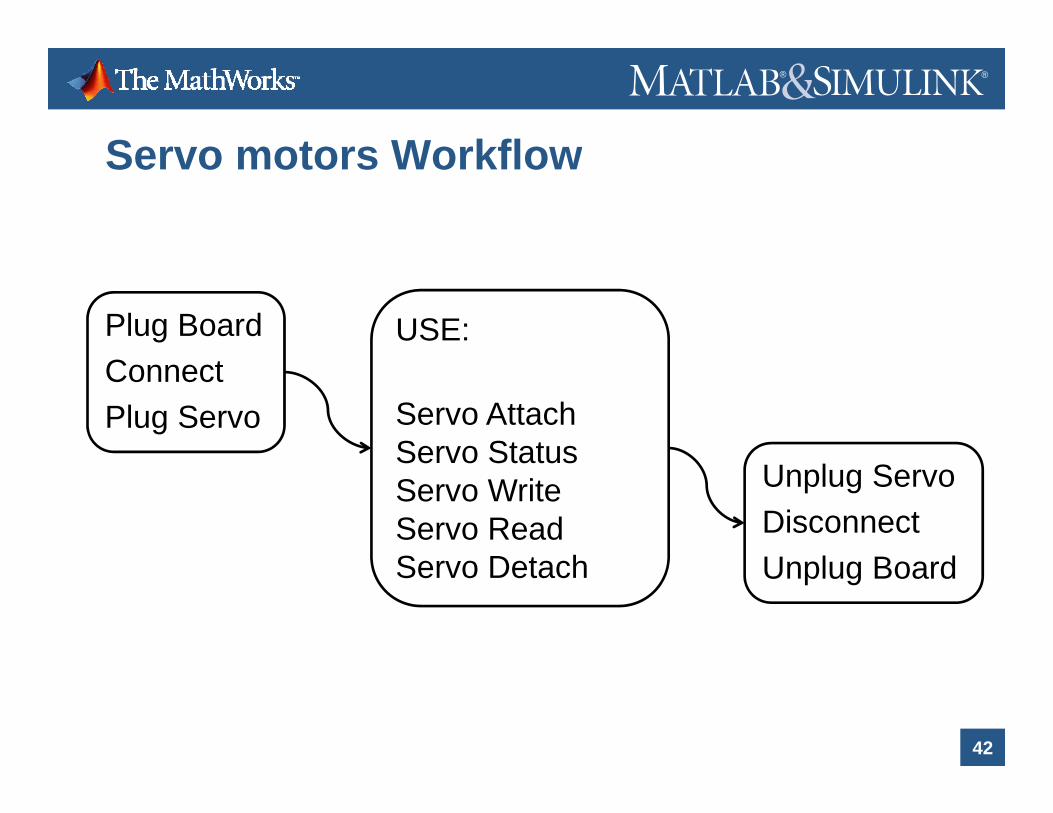
Servo motors WorkflowServo motors Workflow
Plug Board USE:ConnectPlug Servo Servo Attach
Servo StatusServo StatusServo WriteServo ReadS D t h
Unplug ServoDisconnectU l B dServo Detach Unplug Board
42
® ®
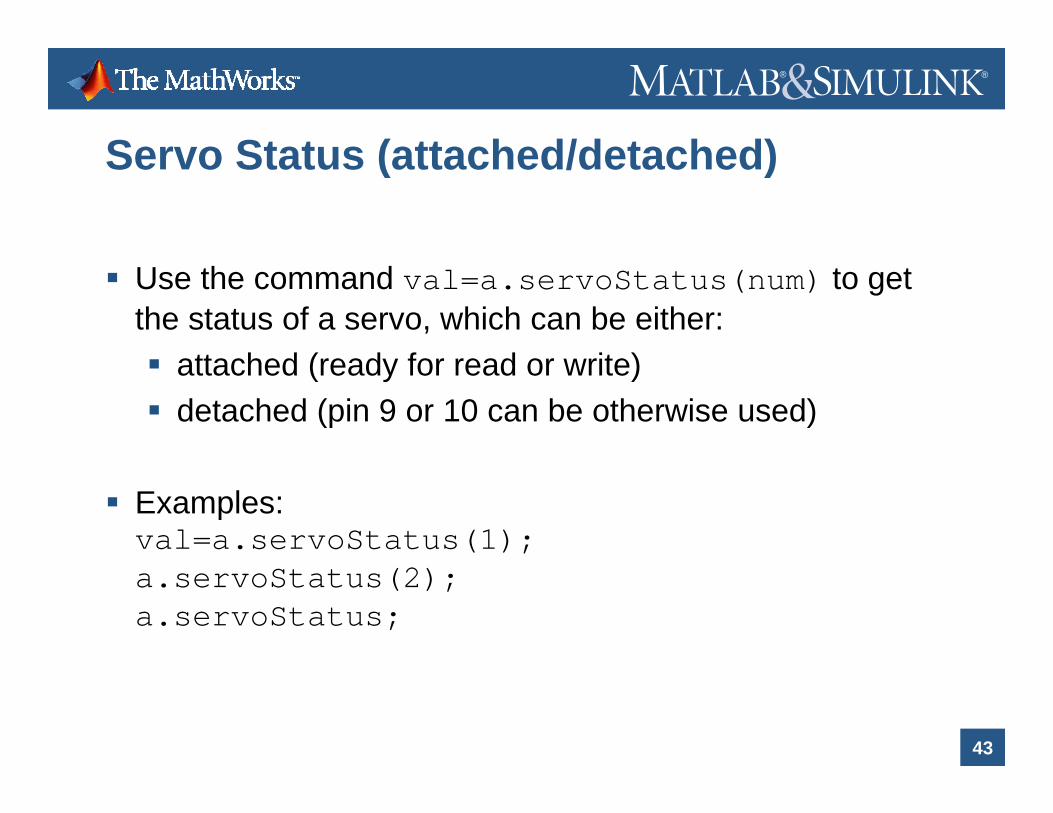
Servo Status (attached/detached)Servo Status (attached/detached)
Use the command val=a.servoStatus(num) to get the status of a servo, which can be either:
tt h d ( d f d it ) attached (ready for read or write) detached (pin 9 or 10 can be otherwise used)
Examples: val=a.servoStatus(1); a.servoStatus(2);a.servoStatus;
43
® ®
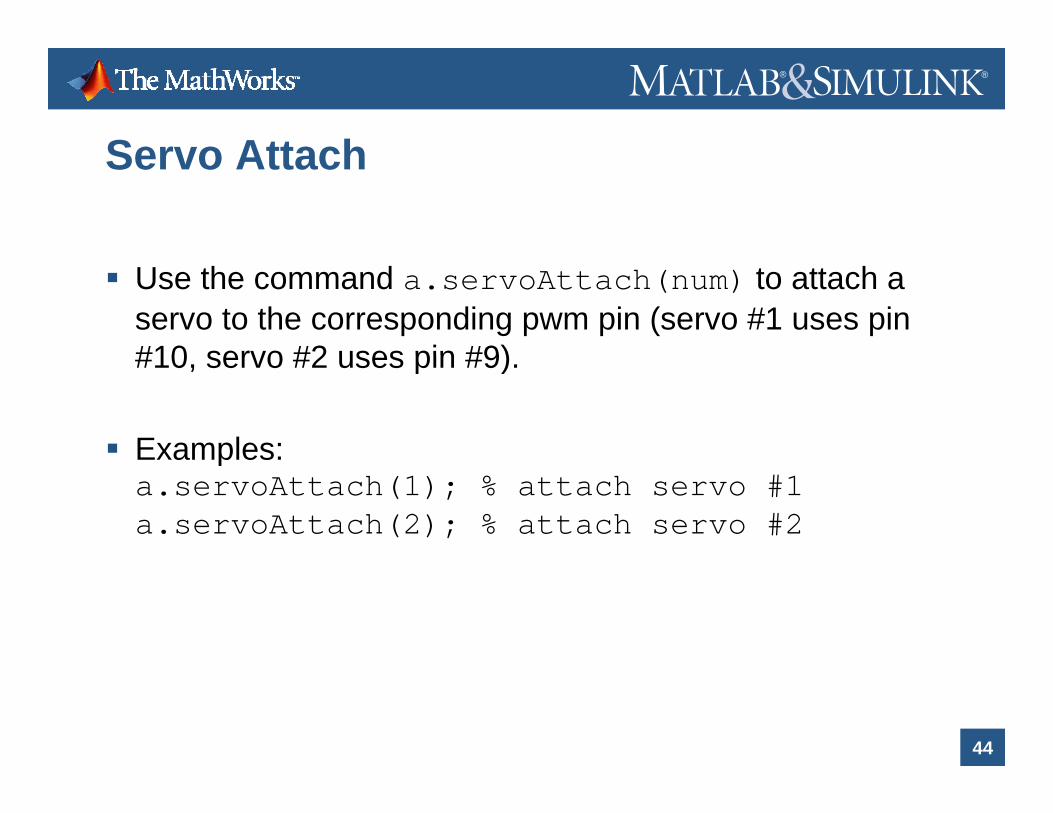
Servo AttachServo Attach
Use the command a.servoAttach(num) to attach a servo to the corresponding pwm pin (servo #1 uses pin #10 servo #2 uses pin #9)#10, servo #2 uses pin #9).
Examples:Examples: a.servoAttach(1); % attach servo #1 a.servoAttach(2); % attach servo #2
44

® ®
Servo ReadServo Read
Use the command val=a.servoRead(num) to read the angle from a servo. The argument is the number of the servoservo.
The returned value is the angle in degrees, typically from 0 to 180.yp y
Examples: val=a.servoRead(1); % read angle servo #1 val=a.servoRead(2); % read angle servo #2
45
val a.servoRead(2); % read angle servo #2
® ®
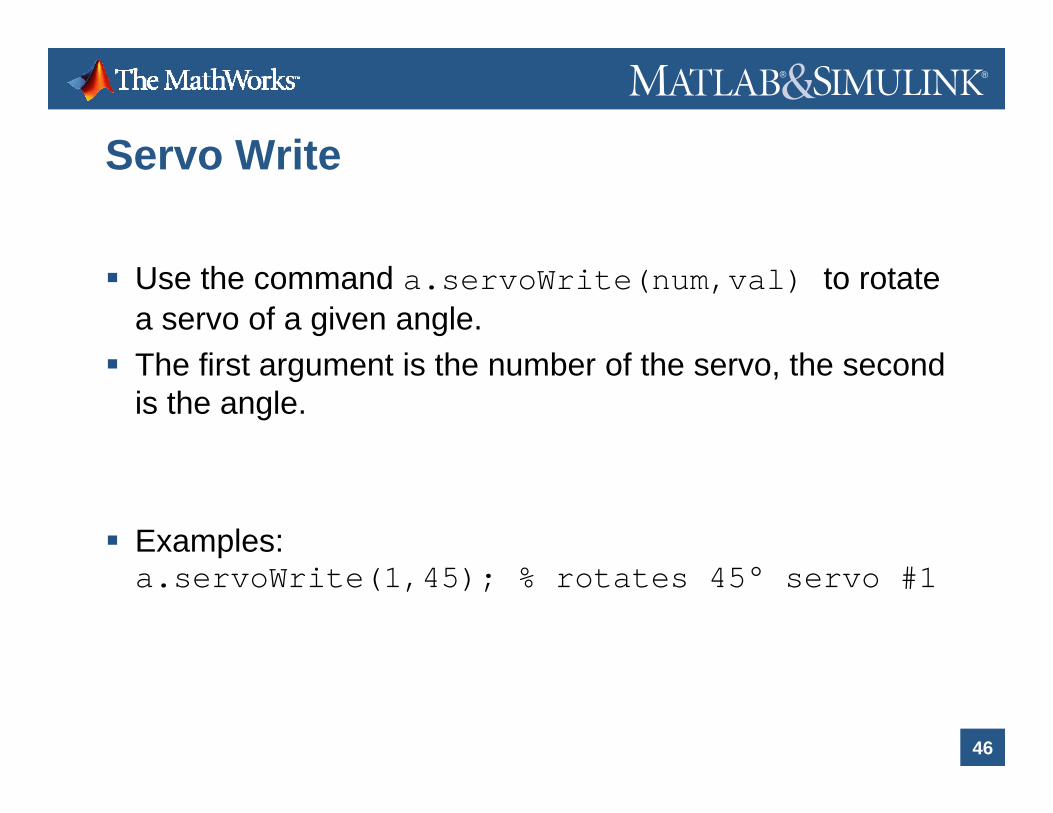
Servo WriteServo Write
Use the command a.servoWrite(num,val) to rotate a servo of a given angle. Th fi t t i th b f th th d The first argument is the number of the servo, the second is the angle.
Examples: a.servoWrite(1,45); % rotates 45° servo #1
46

® ®
Servo DetachServo Detach
Use the command a.servoDetach(num) to detach a servo from the corresponding pwm pin.
Examples: a.servoDetach(1); % detach servo #1 ( ); #a.servoDetach(2); % detach servo #2
47

® ®
Servo ExampleServo Example>> a.servoAttach(2)
>> a servoWrite(2 5)
MATLAB Command Wi d
External Power:6V Lantern Battery
Power Jumper on (suggested)
>> a.servoWrite(2,5)
>> a.servoWrite(2,180)
>> a.servoRead(2)
Window:
ans =
180Servo #2
48

® ®
DC and Stepper motors WorkflowDC and Stepper motors Workflow
Plug Board USE:ConnectWire Motor
S t S dSet SpeedRun (or Step)
UnwireDisconnectU lUnplug
49

® ®
DC Motor SpeedDC Motor Speed
Use the command val=a.motorSpeed(num,val); to p ,get or set the speed of a DC motor.
The first argument, num, is the number of the motor (1 to 4) th d t i th d (0 t 255)4) the second argument is the speed (0 to 255)
Examples: Examples: a.motorSpeed(4,200);val=a.motorSpeed(1);
t S d(3)a.motorSpeed(3);a.motorSpeed;
50
Note: nothing moves unless we issue a run command …
® ®
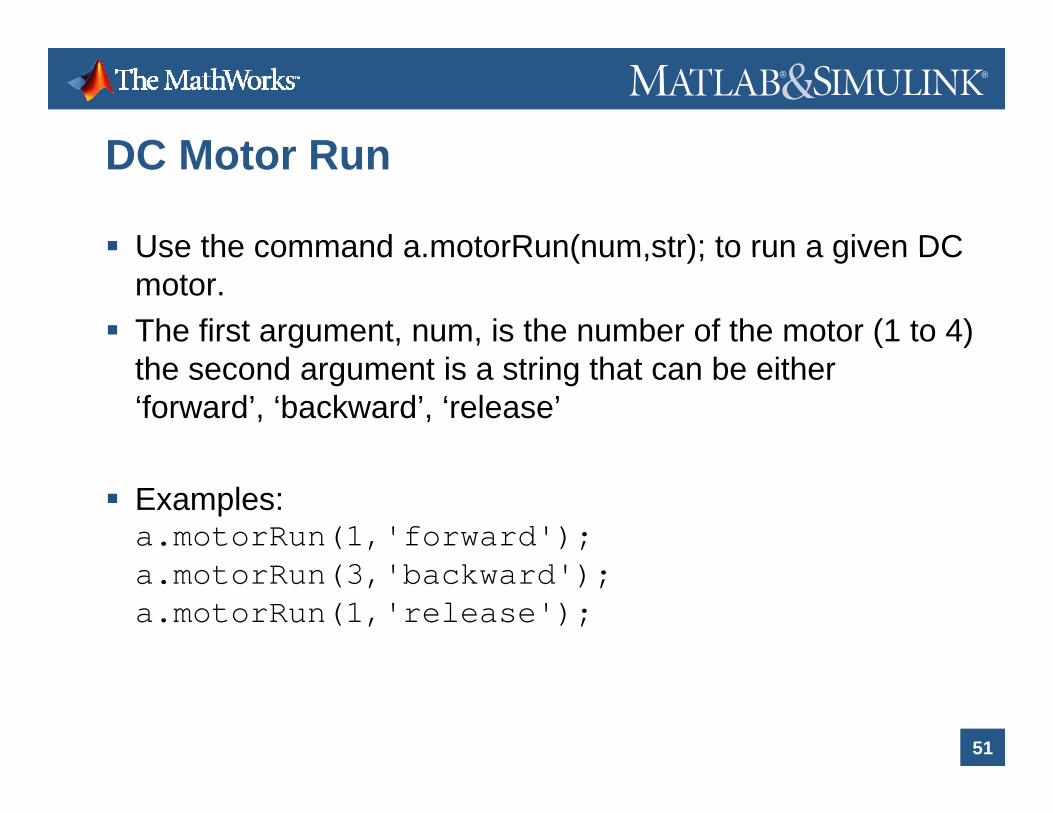
DC Motor RunDC Motor Run
Use the command a motorRun(num str); to run a given DCUse the command a.motorRun(num,str); to run a given DC motor.
The first argument, num, is the number of the motor (1 to 4) the second argument is a string that can be either ‘forward’, ‘backward’, ‘release’
Examples: a.motorRun(1,'forward'); a.motorRun(3,'backward'); a.motorRun(1,'release');
51

® ®
DC Motor: ExampleDC Motor: Example
>> t S d(3 100)MATLAB >> a.motorSpeed(3,100)
>> a.motorRun(3,’forward’)
MATLAB Command Window:
(running)
Motor #3
52

® ®
Stepper Motor SpeedStepper Motor Speed
Use the command val=a.stepperSpeed(num,val); pp p ,to get or set the speed of a stepper motor.
The first argument, num, is the number of the motor (1 to 4) th d t i th d i RPM (0 t 255)4) the second argument is the speed in RPM (0 to 255)
Examples: Examples: a.stepperSpeed(2,50)val=a.stepperSpeed(1);
t S d(3)a.stepperSpeed(3);a.stepperSpeed;
53
Again, nothing moves unless we issue a step command ...

® ®
Stepper Motor StepStepper Motor Step
Use the commandUse the command a.stepperStep(num,str,sty,steps); to advance a stepper motor of a certain number of steps. Wh i th b f th t (1 2) Where num is the number of the stepper (1 or 2), str can be either “forward”, “backward”, “release”, sty is the style of motion and can be “single”, ‘double’, ‘interleave’, g , , ,‘microstep’, steps is the number of steps (0 to 255)
Examples: a.stepperStep(1,'forward’,‘interleave’,50);a.stepperStep(1,‘backward’,‘double’,200);
54
pp p( , , , );a.stepperStep(1,'release');

® ®
Stepper Motor: ExampleStepper Motor: Example
>> t S d(1 50)MATLAB >> a.stepperSpeed(1,50)
>> a.stepperStep(1,'backward','microstep',100)
MATLAB Command Window:
Arduino Target, Links, Conclusion
Stepper #1 Coil #1
Coil #2
55
® ®
OutlineOutline
A few challenges with Mechatronics projects
A d i I t d ti & M ti ti Arduino Introduction & Motivation
Analog and Digital IO Analog and Digital IO
Motor ControlMotor Control
Arduino target and Useful Links
56
® ®
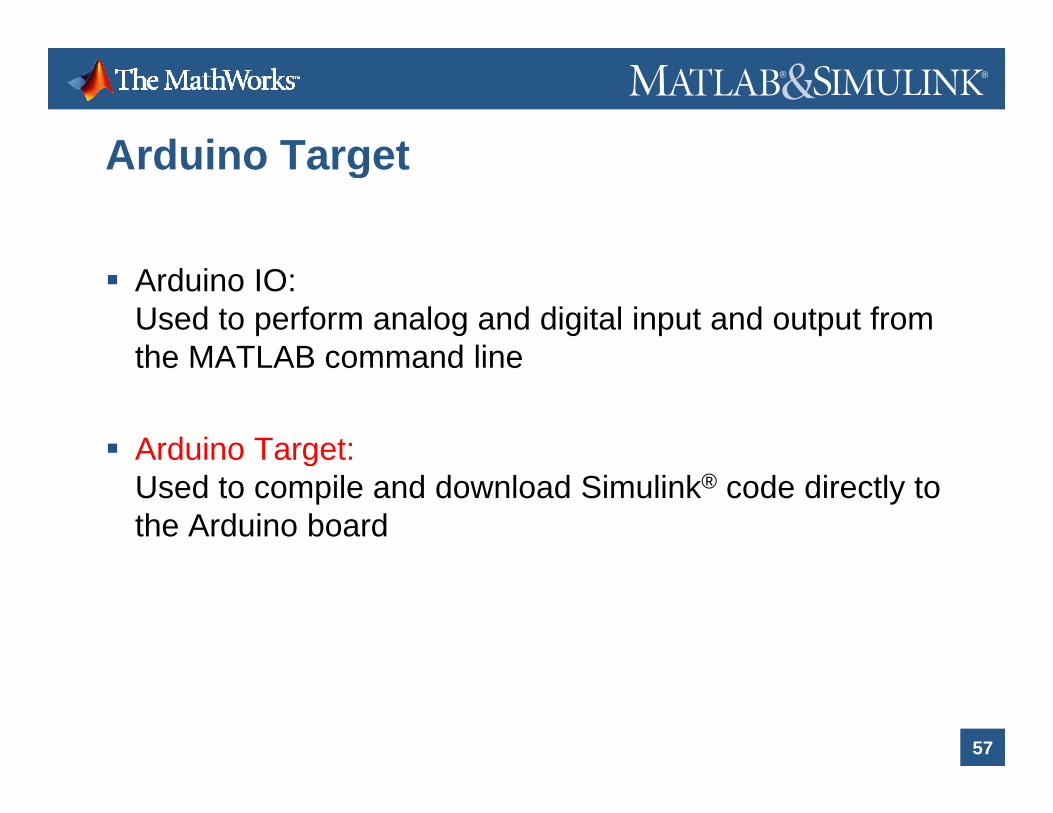
Arduino TargetArduino Target
Arduino IO:Used to perform analog and digital input and output from the MATLAB command linethe MATLAB command line
Arduino Target:Arduino Target: Used to compile and download Simulink® code directly to the Arduino board
57

® ®
Arduino Target LibraryArduino Target Library
58
® ®
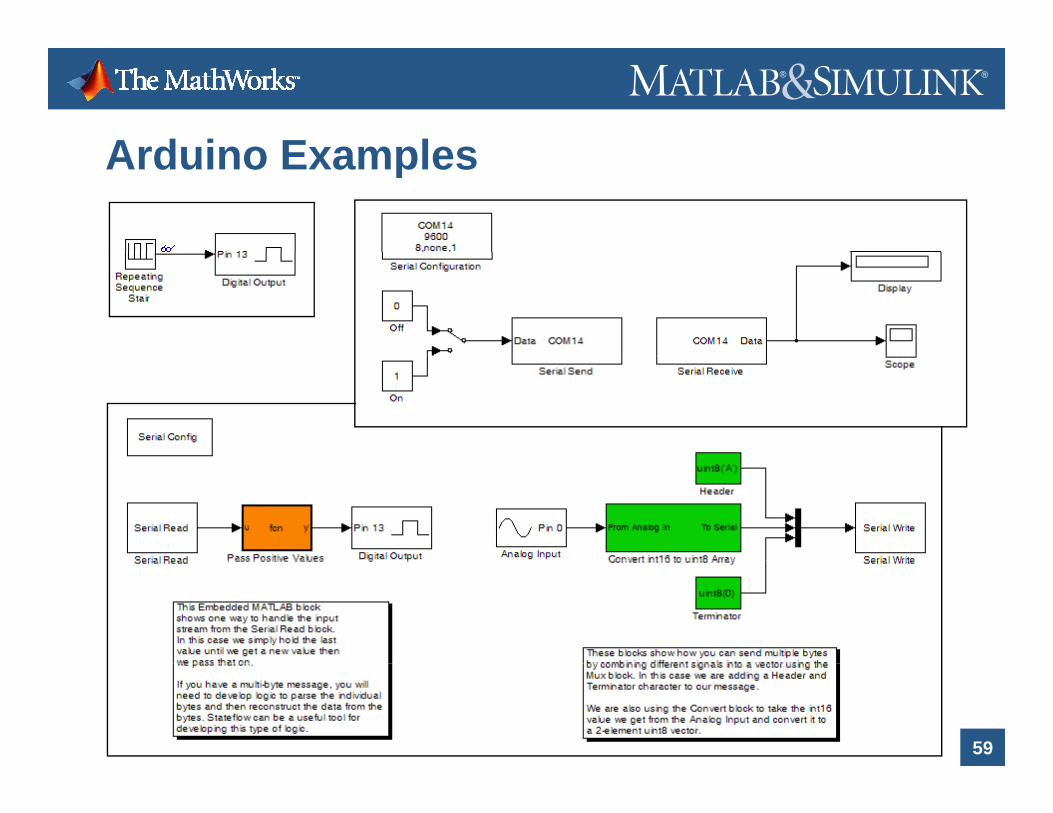
Arduino ExamplesArduino Examples
59

® ®
Useful Links: Buying an ArduinoUseful Links: Buying an Arduino
An extensive list of sites where you can buy an Arduino is here:http://www arduino cc/en/Main/Buyhttp://www.arduino.cc/en/Main/Buy
In the US, Adafruit industriesIn the US, Adafruit industrieshttp://www.adafruit.com/provides a starter pack that includes pretty much everything that you need to get started with the boardeverything that you need to get started with the board.
60

® ®
Useful Links: Buying MotorsUseful Links: Buying Motors
RC Servos from Pololu:http://www.pololu.com/catalog/category/23
DC Motors from Pololu:http://www.pololu.com/catalog/category/51
Jameco for Stepper Motors and pretty much everything:http://www.jameco.com/
List of Hobbyist and Surplus Stores:htt // l d d t/lib / /h bb i t ht l
61
http://www.ladyada.net/library/procure/hobbyist.html
® ®
Useful Links: Getting Started GuidesUseful Links: Getting Started Guides
Official Arduino web site: http://arduino.cc/en/ Knowledge base: http://www.freeduino.org/
Official Getting Started guide: http://arduino.cc/en/Guide/HomePage
The LadyAda Tutorial: The LadyAda Tutorial:http://www.ladyada.net/learn/arduino/
MATLAB ArduinoIO package, send me an email here: [email protected] li k A d i T t h f i MATLAB C t l
62
Simulink Arduino Target: search for in MATLAB Central (or google for “Arduino Target”)

® ®
ConclusionConclusion
Arduino is an inexpensive open-source microcontroller board, well suited for a wide range of projects
Arduino + ArduinoIO package + MATLAB = inexpensive and interactive Analog and Digital IO frominexpensive and interactive Analog and Digital IO from the MATLAB command line
Arduino + Motor Shield + ArduinoIO package + MATLAB = inexpensive and interactive Motor Control from the MATLAB command line
63
MATLAB command line