basic editing lesson 2- part 2. navigating and searching through a document find command options,...
TRANSCRIPT
Basic EditingLesson 2- Part 2
Navigating and Searching Through a Document
• Find command options, the mouse, scroll bars, and various keystroke and keyboard shortcut commands to navigate through Word documents.
Navigating and Searching Through a Document
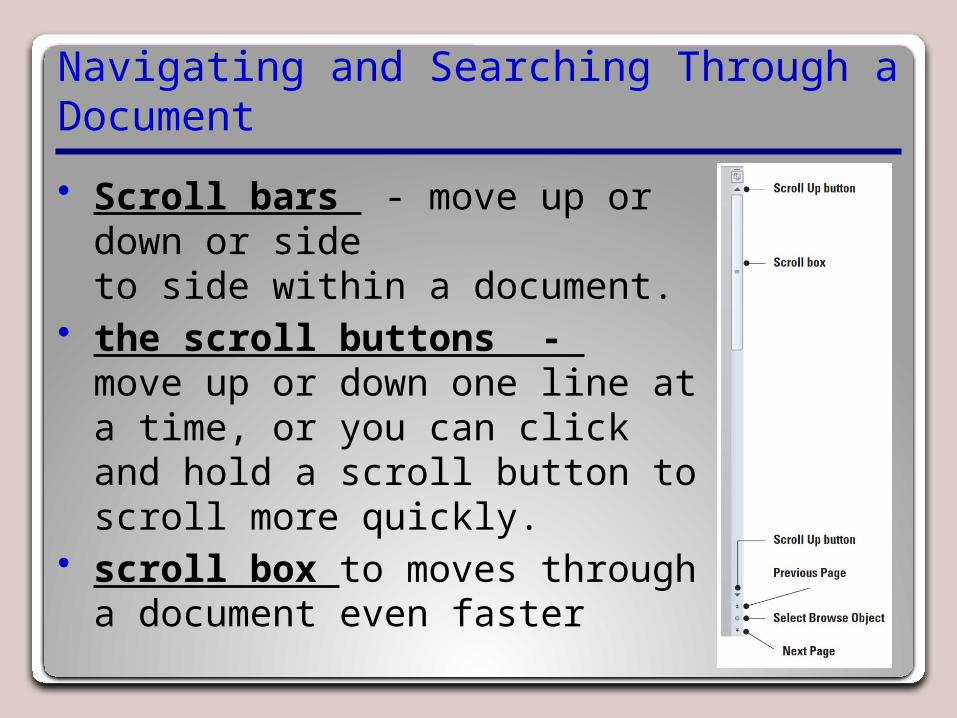
• Scroll bars - move up or down or side to side within a document.
• the scroll buttons - move up or down one line at a time, or you can click and hold a scroll button to scroll more quickly.
• scroll box to moves through a document even faster
Using the Mouse and Scroll Bar to Navigate
• Using the mouse in combination with the scroll bar is a simple way to scroll through a document.
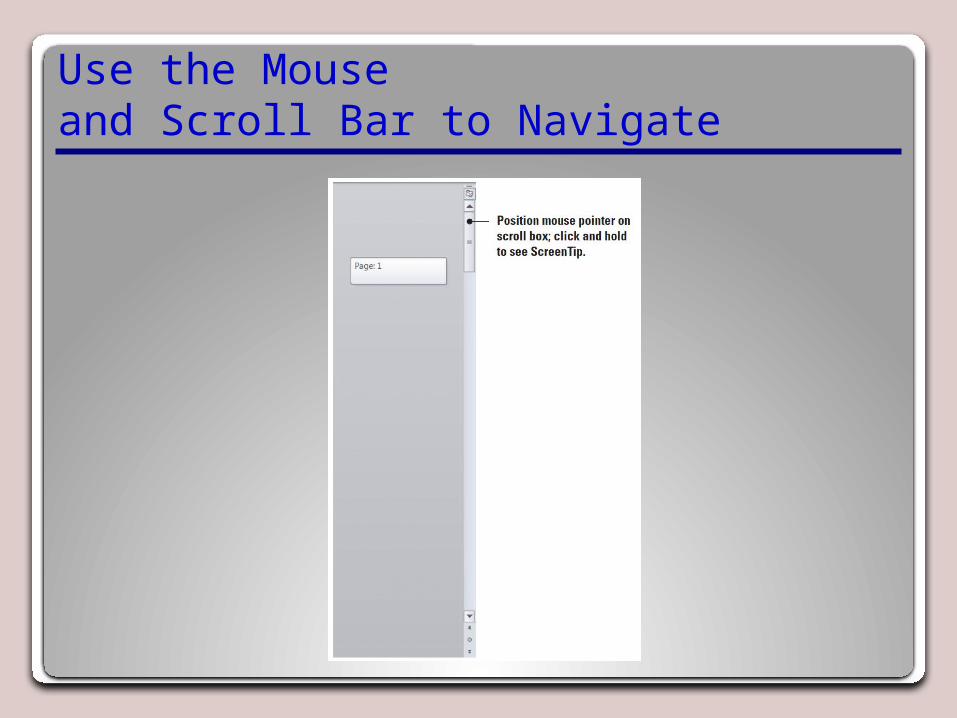
Use the Mouse and Scroll Bar to Navigate

Use the Mouse and Scroll Bar to Navigate
Click the Select Browse Object button. A menu appears with various commands you can use to browse for specific text or elements within your document as shown below.
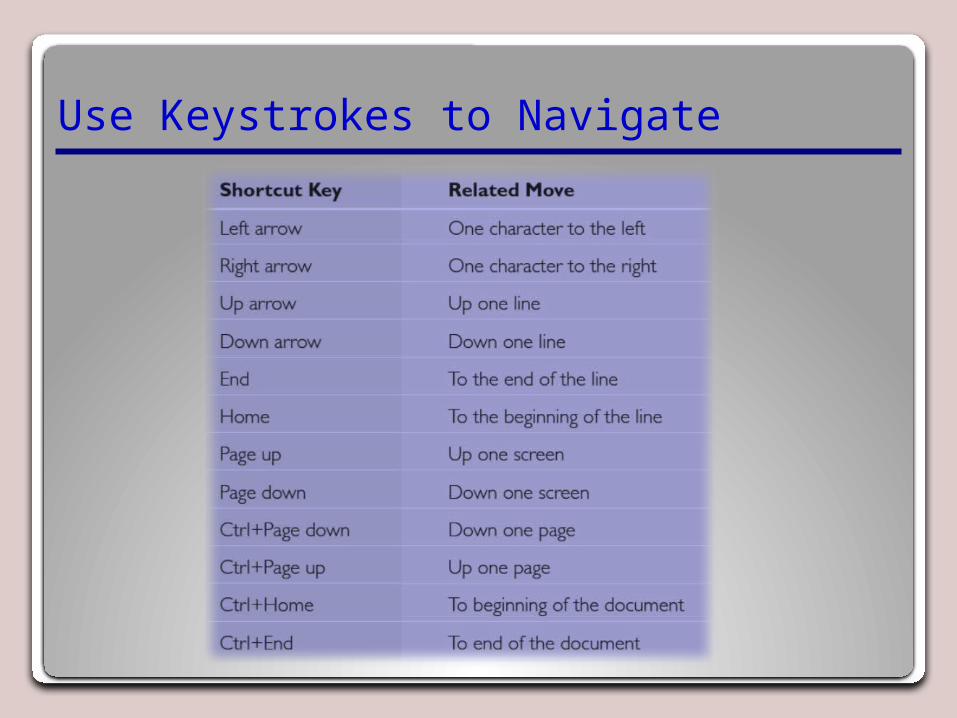
Use Keystrokes to Navigate
Searching within a Document
• Word’s Find command located in 2 places: –Navigation Pane in the Show
group on the View tab, –Home tab in the Editing group.
Searching within a Document
• Navigation Pane, you can easily locate specific text, graphics, objects, and equations within a document.–The document will contain
highlighted text, and the Navigation Pane will display the results in a yellow border. The third tab, Browse the results from your current search, will place the results in the order they appear in the document.
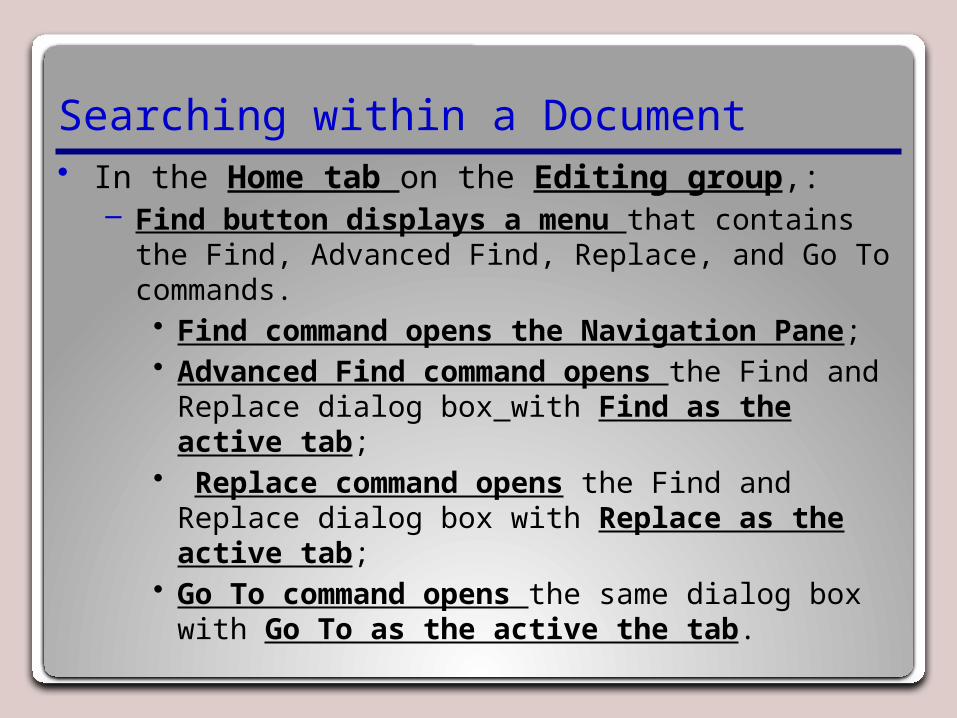
Searching within a Document• In the Home tab on the Editing group,:
– Find button displays a menu that contains the Find, Advanced Find, Replace, and Go To commands. • Find command opens the Navigation Pane; • Advanced Find command opens the Find and
Replace dialog box with Find as the active tab;
• Replace command opens the Find and Replace dialog box with Replace as the active tab;
• Go To command opens the same dialog box with Go To as the active the tab.
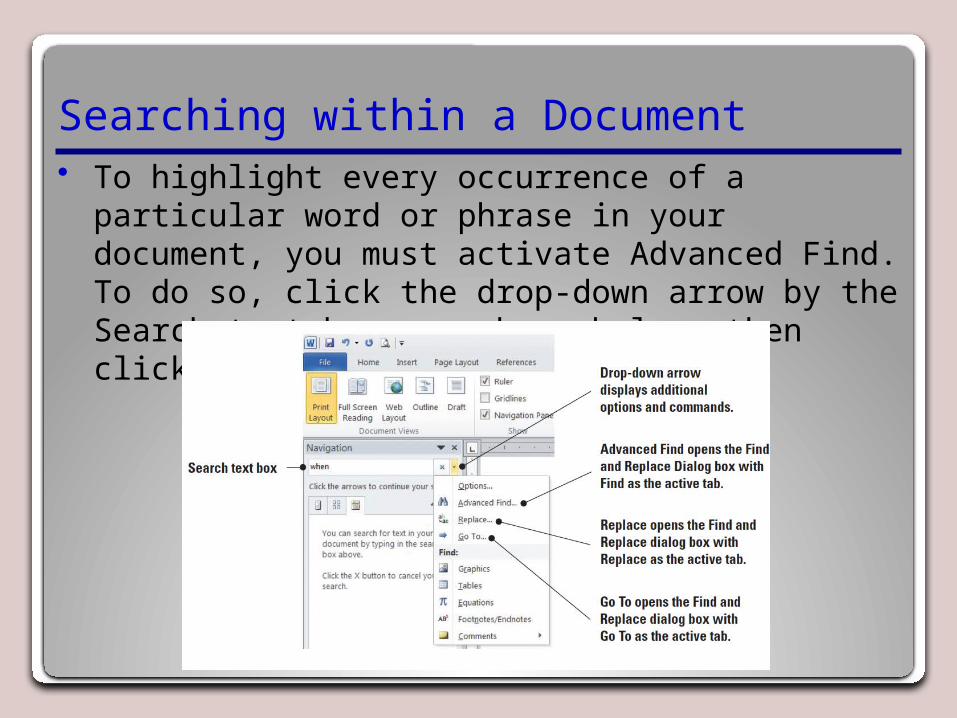
Searching within a Document• To highlight every occurrence of a particular word
or phrase in your document, you must activate Advanced Find. To do so, click the drop-down arrow by the Search text box, as shown below, then click Advanced Find.
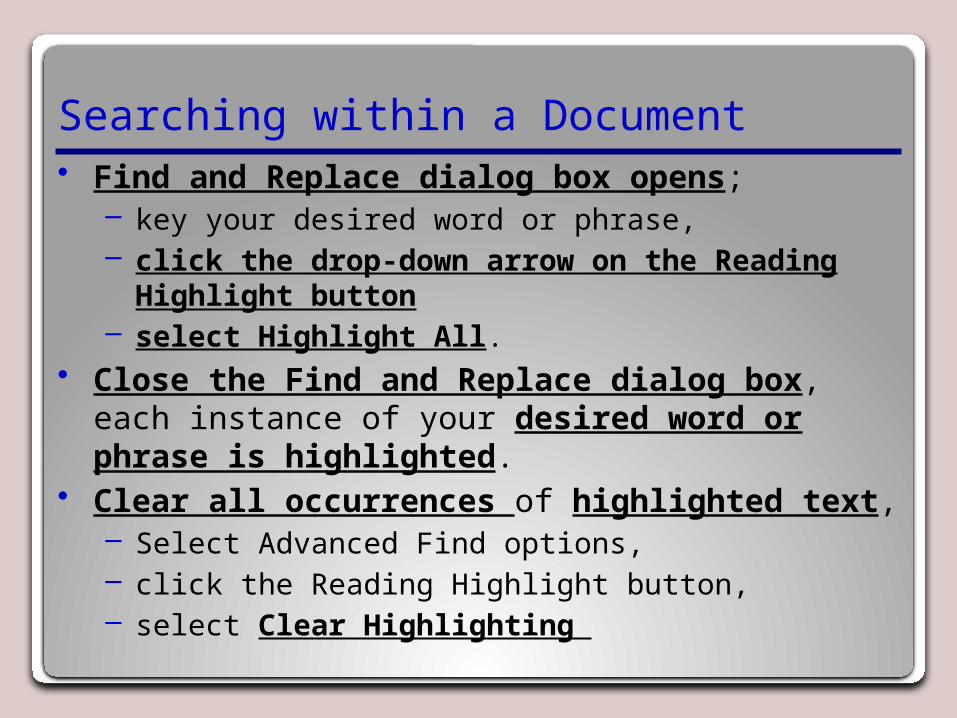
Searching within a Document• Find and Replace dialog box opens;
– key your desired word or phrase, – click the drop-down arrow on the Reading
Highlight button– select Highlight All.
• Close the Find and Replace dialog box, each instance of your desired word or phrase is highlighted.
• Clear all occurrences of highlighted text, – Select Advanced Find options, – click the Reading Highlight button, – select Clear Highlighting
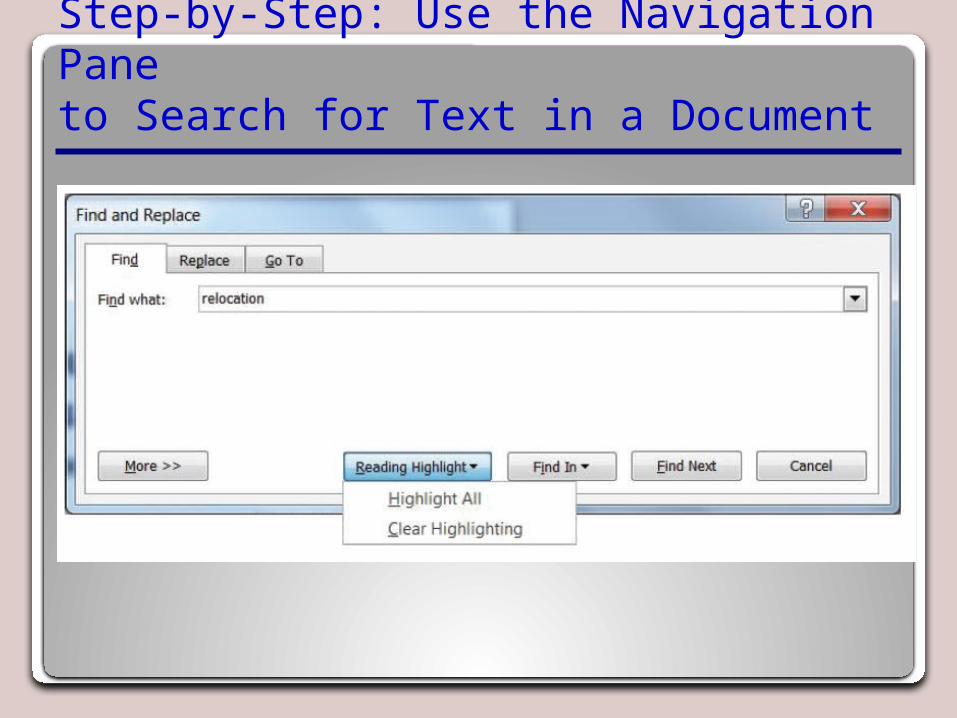
Step-by-Step: Use the Navigation Pane to Search for Text in a Document
Replacing Text in a Document
• Replace command opens the Find and Replace dialog box. – It can replace one word or phrase
with another. –search for and replace formatting—
such as a specific font color, bolding, or italics.
–search for and replace special characters and document elements such as page breaks and tabs.
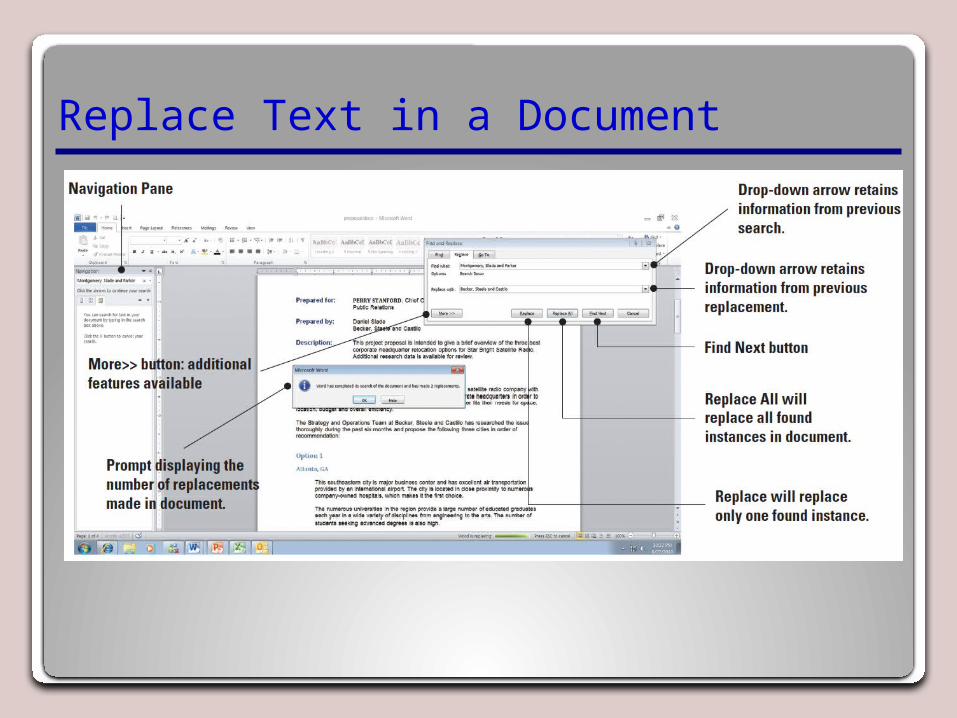
Replace Text in a Document
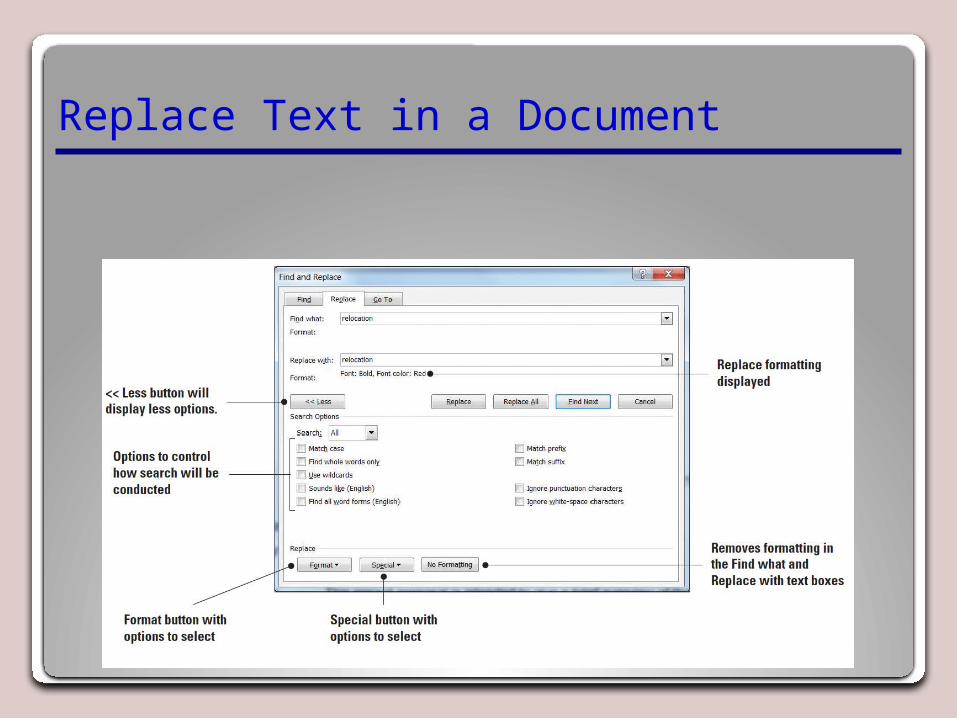
Replace Text in a Document
Using the Go To Command to Navigate a Long Document
• The Go To command and Select Browse Object button provide ways to navigate through longer documents quickly.
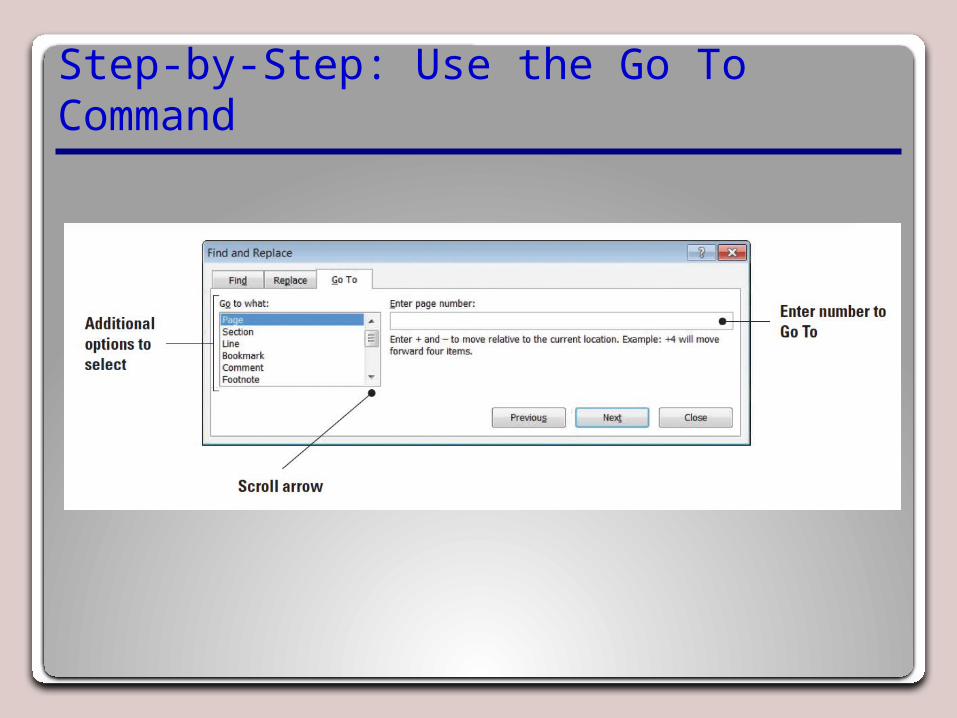
Step-by-Step: Use the Go To Command
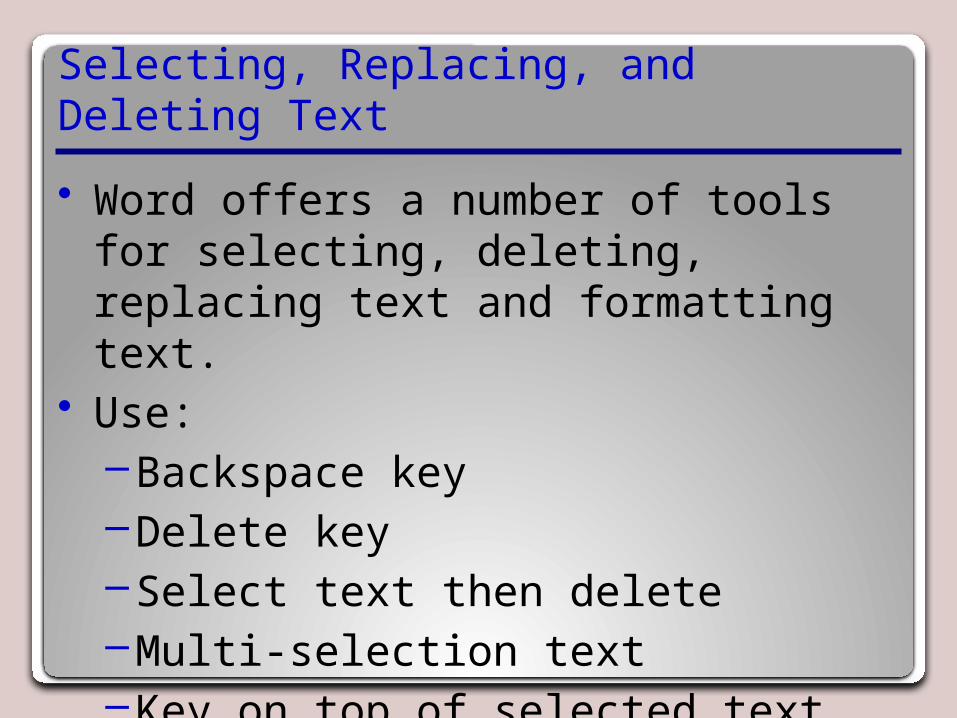
Selecting, Replacing, and Deleting Text
• Word offers a number of tools for selecting, deleting, replacing text and formatting text.
• Use: –Backspace key–Delete key–Select text then delete–Multi-selection text–Key on top of selected text
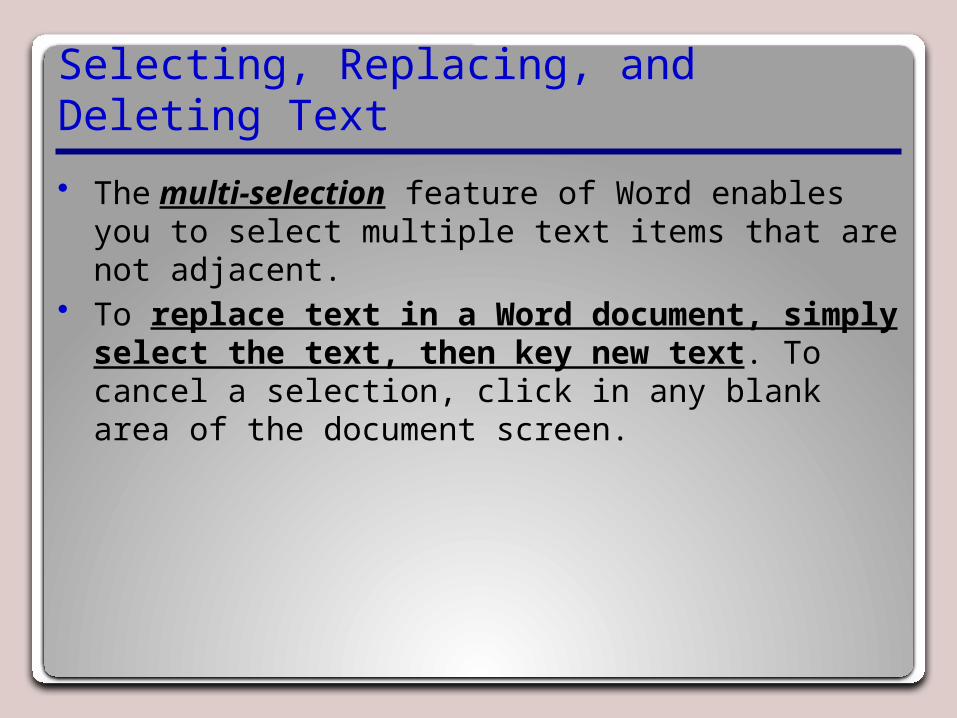
Selecting, Replacing, and Deleting Text
• The multi-selection feature of Word enables you to select multiple text items that are not adjacent.
• To replace text in a Word document, simply select the text, then key new text. To cancel a selection, click in any blank area of the document screen.
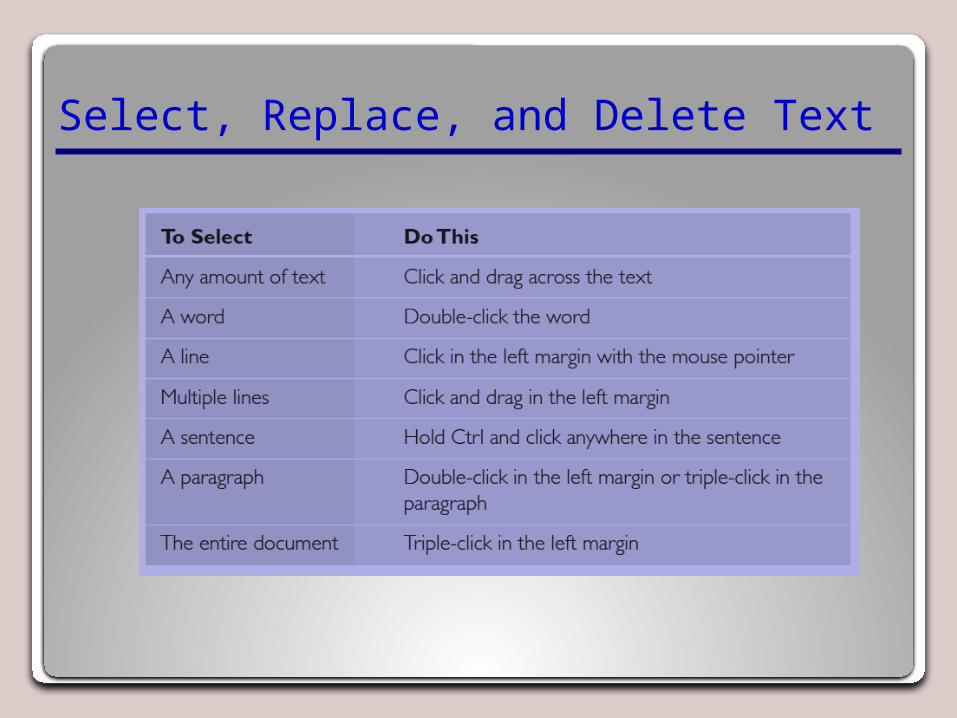
Select, Replace, and Delete Text
Select, Replace, and Delete Text
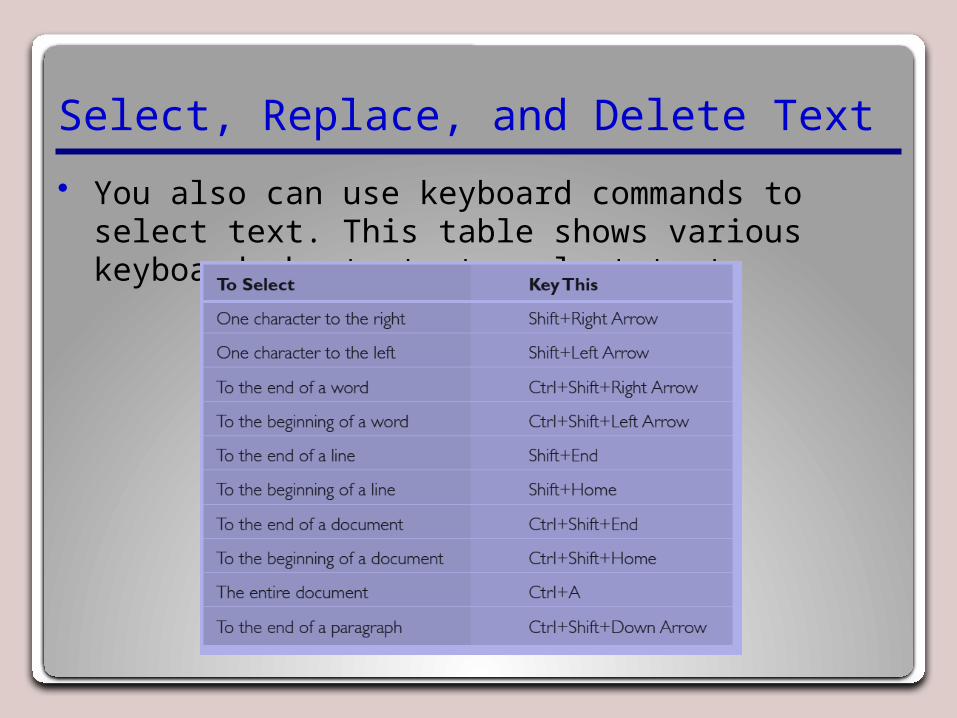
• You also can use keyboard commands to select text. This table shows various keyboard shortcuts to select text.
Cutting, Copying, and Pasting Text
• Cut (Move) text, Word removes it from the original location and places the deleted text in the Clipboard collection.
• Copy text, Word places a duplicate copy in the Clipboard.
• Paste command then pastes text from the Clipboard to a new location in either the original document or a new document.
Cutting, Copying, and Pasting Text
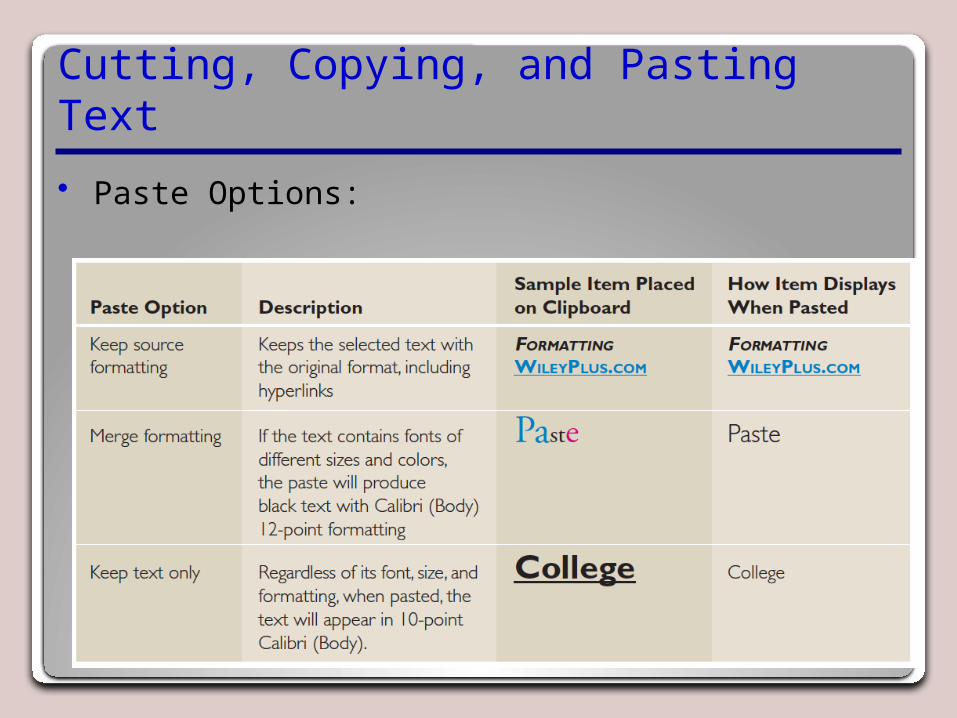
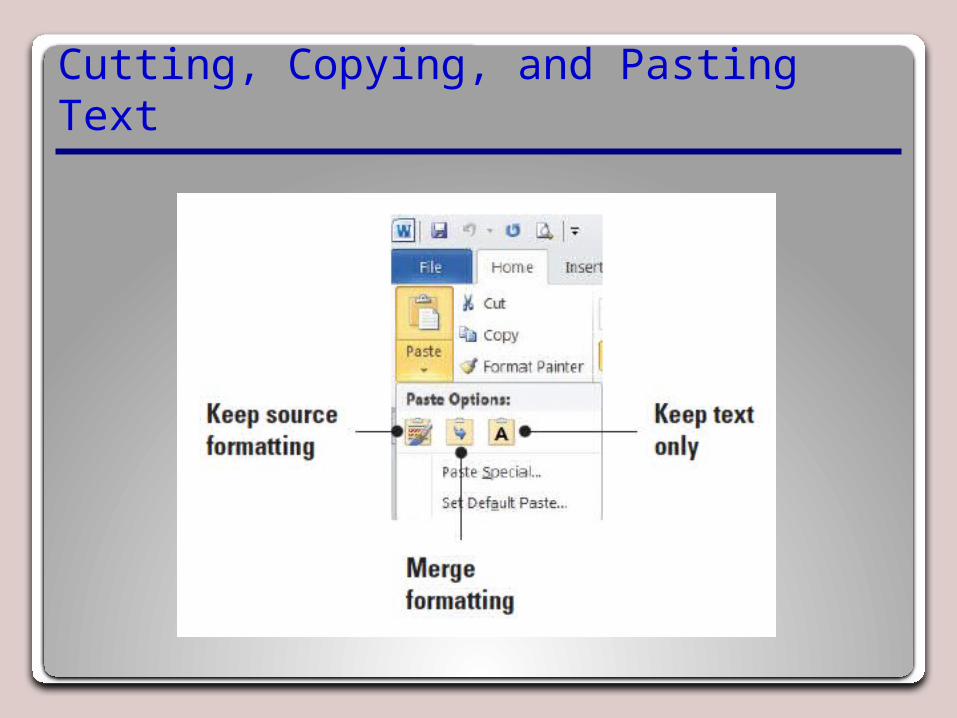
• Paste Options:
Cutting, Copying, and Pasting Text
Copying and Moving Text with Clipboard Commands
• The Clipboard enables you to cut or copy multiple items and paste them into any Office document.
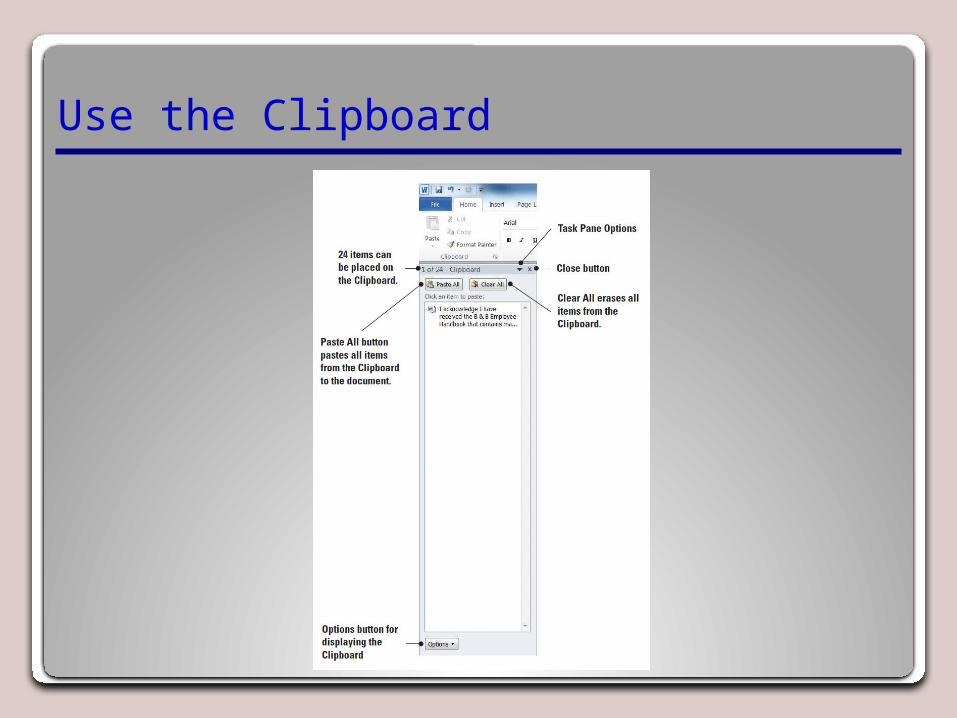
Use the Clipboard
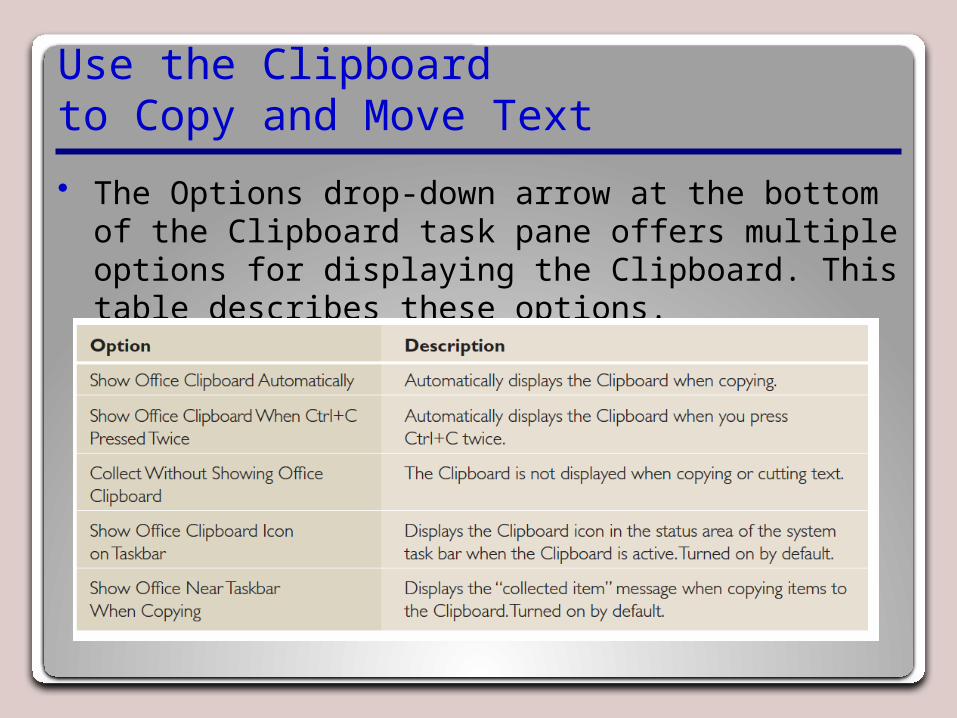
Use the Clipboard to Copy and Move Text
• The Options drop-down arrow at the bottom of the Clipboard task pane offers multiple options for displaying the Clipboard. This table describes these options.
Using the Mouse to Copy or Move Text
• Drag and Drop (using mouse)–Copy - Hold the Ctrl key while you
drag to copy the text--the pointer shows a box with a plus sign (+).
–Cut – Drag text – pointer shows a blank box
****Text that you cut or copy using the mouse is not stored in the Clipboard collection.