before you print! · welcome to the ocean lapbook! this lapbook covers only temperate oceans. it...
TRANSCRIPT

Welcome to the Ocean Lapbook! This lapbook covers only temperate oceans. It does not cover coral reefs.
There is a free coral reefs lapbook at Homeschoolshare.com.
All of the information you need for this lapbook comes from this site:
http://www.mbgnet.net/salt/oceans/
This site inspired the lapbook. Every page just screamed lapbook at me. You’ll see I was inspired to make
some new types of pieces.
You can make this as simply or as detailed as you like. There is space for writing for older students. The pull
tabs piece can be left as is for younger students or extra could be written in by older students. Likewise the
zonation piece can be just colored by younger students or all of the space can be filled with info by older stu-
dents.
Before you print! Decide if you want to print out the cover. You don't have to use up your ink to print it
out if you don’t want to. Also the last two pages are just pictures of some of the lapbook pieces. You don’t
need to print those out.
This lapbook is from the Just Us blog at http://hebrews110.wordpress.com. It is free to use and to share, but it
may not be used for commercial benefit.
Blessings,
Lee Giles
Be on the lookout for my novel, The King Will Make a Way (to be published in 2010). It’s a Christian novel for
your homeschool family. Learn more at my blog.
You’ll notice a few changes on your version. For instance, when I went to put this together I realized to make
it fit the Venn Diagram piece needed to be up and down not horizontal. So I rotated the words in your version.
There are more pictures of the pieces in the back.

Bar Graph of Ocean Depth (Use the Data Depth of Ocean link)
Cut along the black outline of the whole piece on the next page.
Fold the paper in half so that the words are on the outside.
Use the data to measure how far to cut for each ocean (approximate).
Use the dotted guide lines to help you cut in the right place. You will cut in two
places for each ocean. The wider spaces are the bars for the graph. The
little spaces between the dotted lines are the spaces between the bars on
the graph. Fold the bars down to crease at the end of where you cut. You
could color the bars and the ocean names to match if you like.
When you are done cutting, fold in half in the opposite direction so that
the words are now on the inside. Push out your bars so that they pop out.
Close the whole thing and crease everything well.
Cut out the rectangle title on the page after that. Glue your graph into this. The
words and picture will be behind the ocean names part of your graph.
You can write in the space provided that 3/4 of the earth’s surface is
oceans.
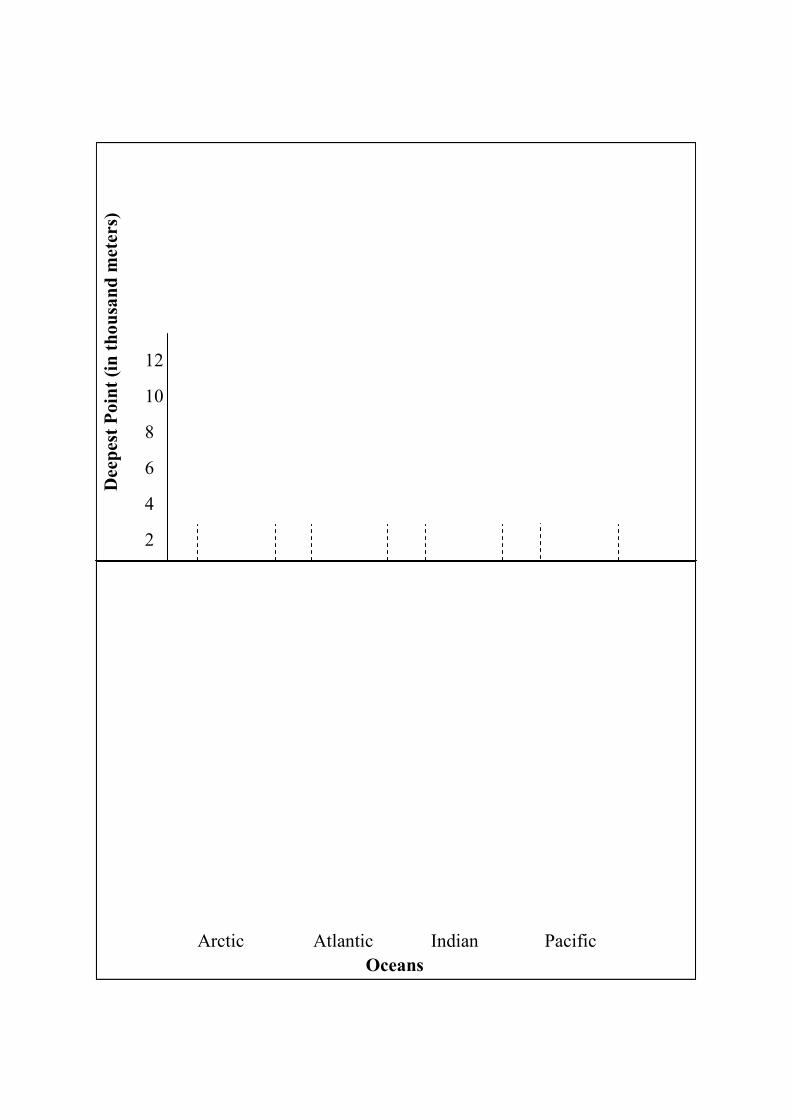
Deepest Point (in thousand meters)
4
8
6
2
10
12
Arctic Atlantic Indian Pacific
Oceans

How Deep is the Ocean?

Kelp Forest (use the Forests link)
Cut out the piece on the next page as one piece. Fold on the lines so that the
words and picture are the cover
Go to the website and click on the forests link.
Click on the image of the kelp.
Print out this image (or create your own kelp) .
Cut around it—doesn’t have to be exact.
Make and attach labels to the different parts.
Cut a cube of sponge about a centimeter wide and an inch long. Attach to the
back of your kelp and attach to the middle section of the piece.
You can add more kelp you create from green paper. Add them on with
different size sponge cubes.
You can just decorate it with drawn on or 3-D kelp or you can add
information about kelp forests on the right and left hand sides. On the
Links blog there is a link to read about 2 different types of kelp that you
could write about. To make my little kelp I copied the picture, pasted it
into a Word document, then dragged the corners to shrink it.
If you want your piece closed tight, you can use ribbon (hole punch each side
and string through). Decide this before you write on the other side so
you don’t put holes in your writing! Or you could put a brad loosely on
each side and tie a string around one side and just wrap it once around
the other side. To cover up the brad on the other side you could put your
info on separate paper and then attach it. (For my string I took a short
piece of yarn and pulled out one of the strands.)
Kelp image is from:
Ben Fertig Ian image library (ian.umces.edu/imagelibrary/)
Free to use if you post this credit notice.
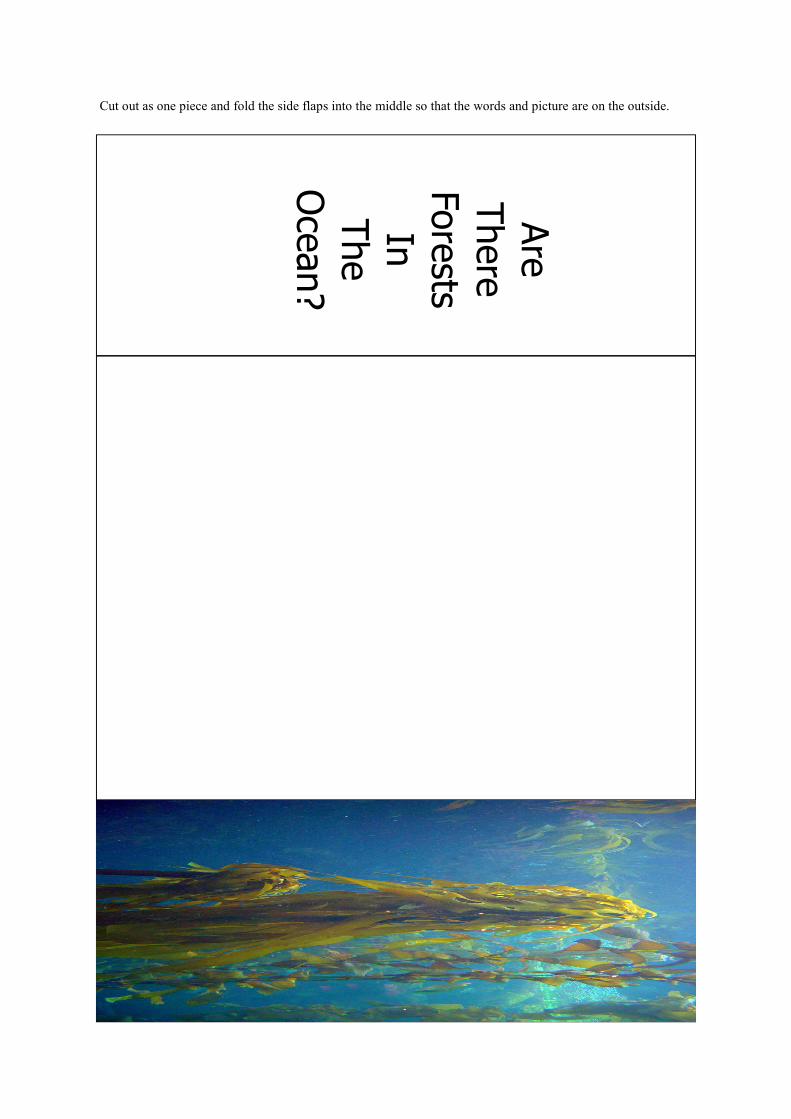
Are
There
Forests In
The
Ocean?
Cut out as one piece and fold the side flaps into the middle so that the words and picture are on the outside.

Cut out each rectangle on the black
lines and stack as described on the next
page.
The piece on the right gets stacked on top of the
wider one of the same height. This is the Neritic
piece. These other three get stacked on top of all
the other pieces, fattest to skinniest.
Splash
Zone
Intertid
al
Subtid
al
Neritic
Aphotic
Pelagic

Cut out each rectangle on the black lines.
Stack with the others with the shortest in front. Then the three from the other page go in front. Make a cover
out of sand colored paper (if possible). Cut it to look like the descending land in the diagram. Staple all to-
gether. Older students can write about each one. Use the Light Zones page. Younger students can color the
levels darker and darker instead of writing on them. This piece goes with the “Zonation” page of the site.
Disphotic
Euphotic
Oceanic

It would be a good idea to color
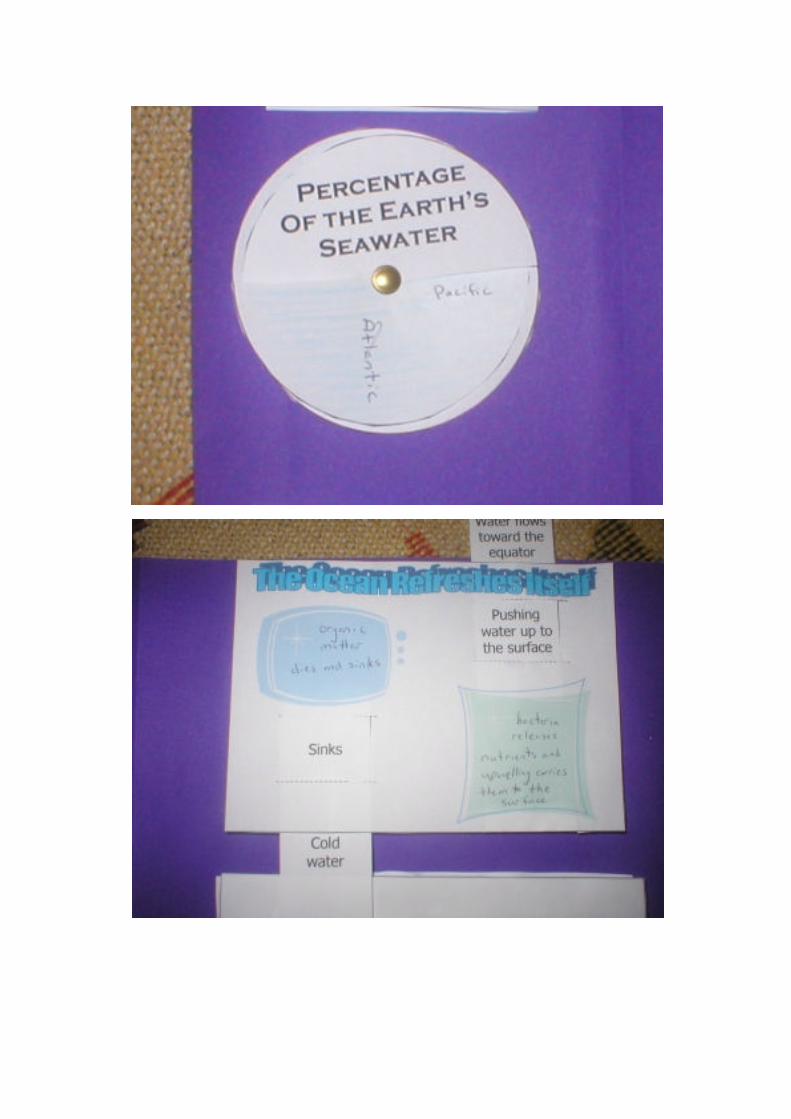
this one in blue.
IMPORTANT: When attaching
to the lapbook pull this circle
out until it says “Atlantic,” then
glue only the 1/4 of the title
circle that is showing in the
back. Don’t glue down any of
this circle!
Cut out both circles and cut
along the black line on each.
You are going to put the one
below directly behind this one
and attach with a brad securely.
You will pull the edge of the
back one through the slit you
made in this one. Pull it out the
correct percentage
(approximately) and write At-
lantic (or Pacific) right by the
slit. Find the information on the
“Atlantic and Pacific Oceans”
page.
So in the lapbook, you will pull
it out until it says the ocean
name and that shows you the
percentage of the world’s sea-
water.
Percentage
Of the Earth’s
Seawater

Atlantic
Pacific
Both
Cut out as one piece. Fold in half and crease well. Cut on the two black lines separating the
words to make three flaps. Simply fill in one thing in each from the website or search for some
more info on your own.

Cold water
Sinks Water flows toward the equator
Pushing water up to the surface
Cut the rectangle above
as one piece. Keep on the
tabs. Cut along the dot-
ted lines.
Fold the tabs back and
glue them down. You
will also put glue on the
back of these tabs to at-
tach it to the lapbook.
Cut out the skinny rec-
tangles along the black
lines.
Insert the “cold water”
strip to the left so that it
pulls down.
Insert the “water flows”
strip to the right so that it
pulls up.
In the blue sections you
could use the info in the
other animated diagram
on the webpage to write
“Organic…”
When you attach to the
lapbook, only glue down
the sides and middle.
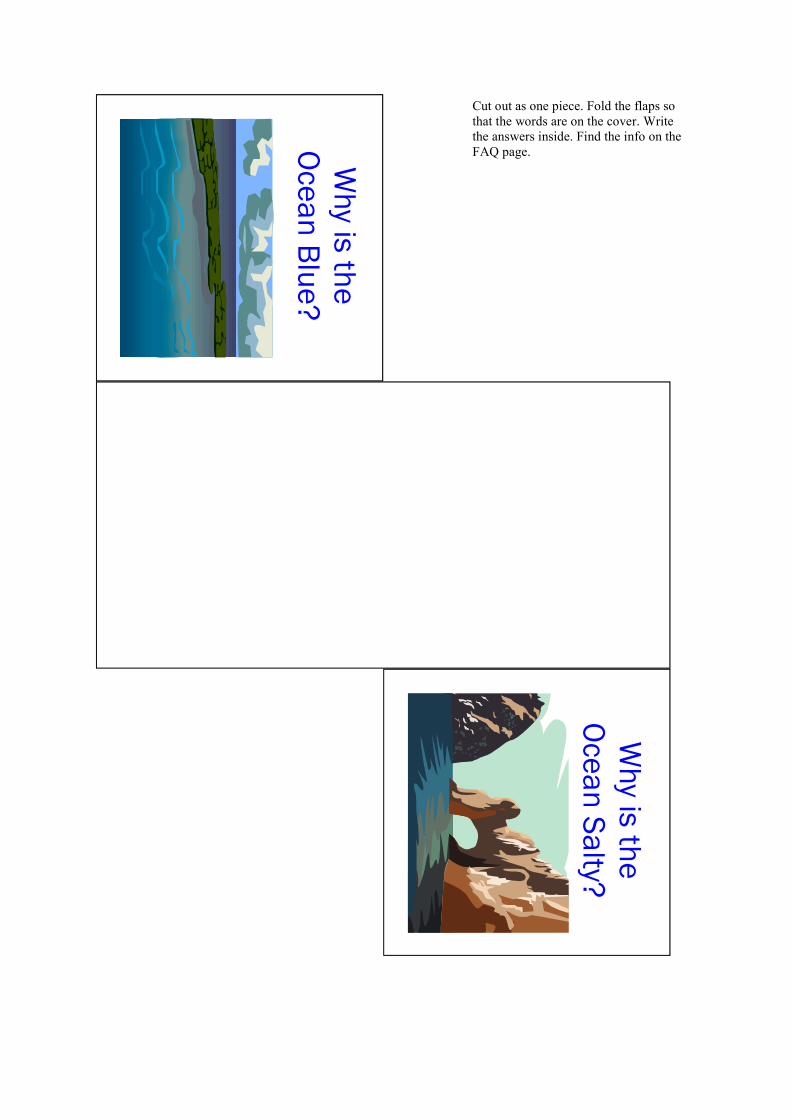
Cut out as one piece. Fold the flaps so
that the words are on the cover. Write
the answers inside. Find the info on the
FAQ page. Why is the
Ocean Blue?
Why is the
Ocean Salty?

What Causes Waves?
Cut the top rectangle out as one
piece. Fold matchbook style.
Find the info on the FAQ page.
Ocean Lapbook