cascading style sheet (css) (2)
DESCRIPTION
ÂTRANSCRIPT
Cascading Style Sheet (CSS)
1.Introduction
CSS, or simply style, lets you assign severalproperties at once to all the elements onyour page marked with a particular tag.
For example, you can display all your H1headers in a particular size, font, and color.Although you could use HTML tags toachieve some of this, styles offer several.
Advantages
- Style save time. Imagine setting the font foreach header and each paragraph in a long webpage. With style, you type a single line foreach element at the top of the page. This alsomakes it easy to change styles for the wholepage.
- Style let you control text in ways that are outof reach of HTML tags.
- You can also use styles together withJavaScript to create dynamic effects known asDHTML.
- Style make it easy to create a common formatfor all your Web pages will. And you still onlyhave to define the styles once. Make changesin one centralized place and all the pages willbe updated at once.
The Downsize of CSS
The biggest disadvantage of using style sheets isthat no browser supports them completely. EvenInternet Explorer 5 does not support it all.
The Anatomy of Style
A style is made up of a tag name (H1, P, etc.) andone or more definitions (or declaration). In thiscase, the tags name is also called a selector.
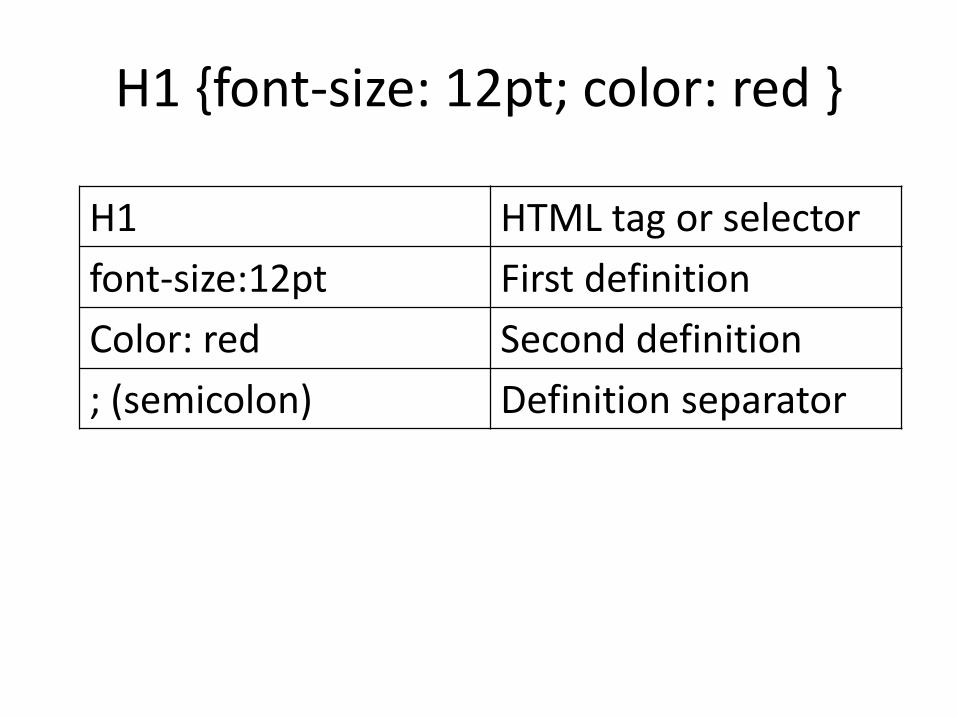
H1 {font-size: 12pt; color: red }
H1 HTML tag or selector
font-size:12pt First definition
Color: red Second definition
; (semicolon) Definition separator
– Each definition contains a property, a colon andone or more values. For example, to change thecolor of text, you use the color property with avalue of say, red. The definition, then, would readcolor: red.
– Some properties <BODY style=“background:blue”> This style is being applied locally using thestyle attribute. Any HTML tag may contain thisattribute.
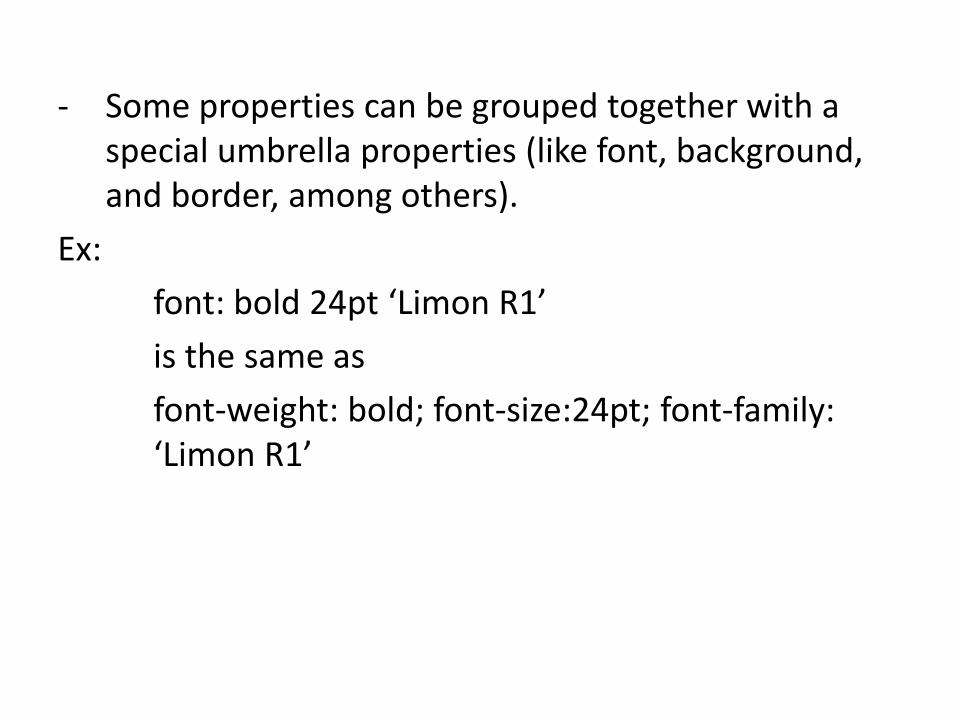
- Some properties can be grouped together with a special umbrella properties (like font, background, and border, among others).
Ex:
font: bold 24pt ‘Limon R1’
is the same as
font-weight: bold; font-size:24pt; font-family: ‘Limon R1’
2.Setting Up Style Sheet
• There are 3 ways to apply style sheets:
locally, internally, and externally. You canuse any one or all these methods.
• The local method will override this internalmethod, which will in turn override theexternal method. In fact, this is whereCascading Style Sheets get their name.
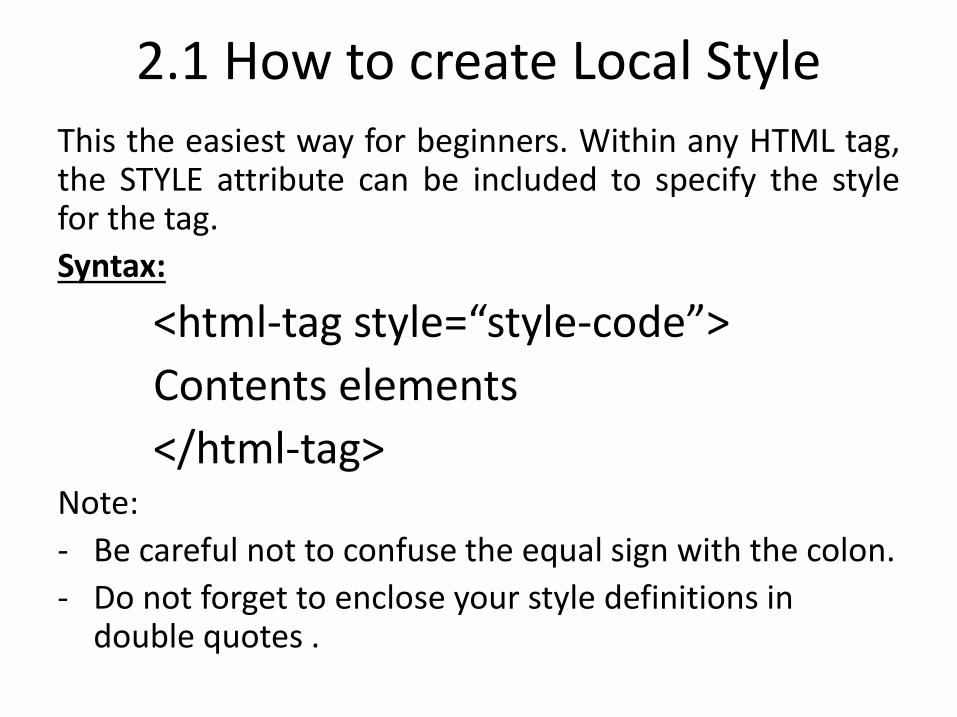
2.1 How to create Local StyleThis the easiest way for beginners. Within any HTML tag,the STYLE attribute can be included to specify the stylefor the tag.
Syntax:
<html-tag style=“style-code”>
Contents elements
</html-tag>Note:
- Be careful not to confuse the equal sign with the colon.
- Do not forget to enclose your style definitions in double quotes .
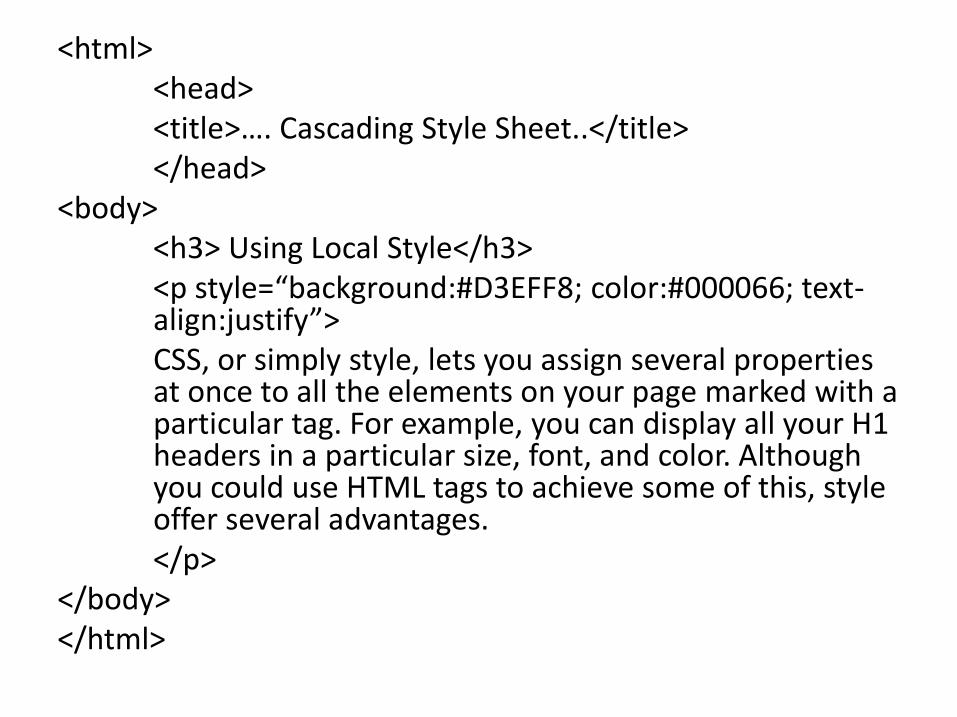
<html><head><title>…. Cascading Style Sheet..</title></head>
<body><h3> Using Local Style</h3><p style=“background:#D3EFF8; color:#000066; text-align:justify”>CSS, or simply style, lets you assign several properties at once to all the elements on your page marked with a particular tag. For example, you can display all your H1 headers in a particular size, font, and color. Although you could use HTML tags to achieve some of this, style offer several advantages.</p>
</body></html>
2.2 How to create Internal Style Sheets
- Internal style sheets are ideal for individualpages with lots of text. They let you set thestyle at the top of your page that should beused throughout an HTML document.
- If you plan to apply the style to more than onepage, you’re better off using external stylesheets.
- The following are the steps in creating aninternal style sheet:
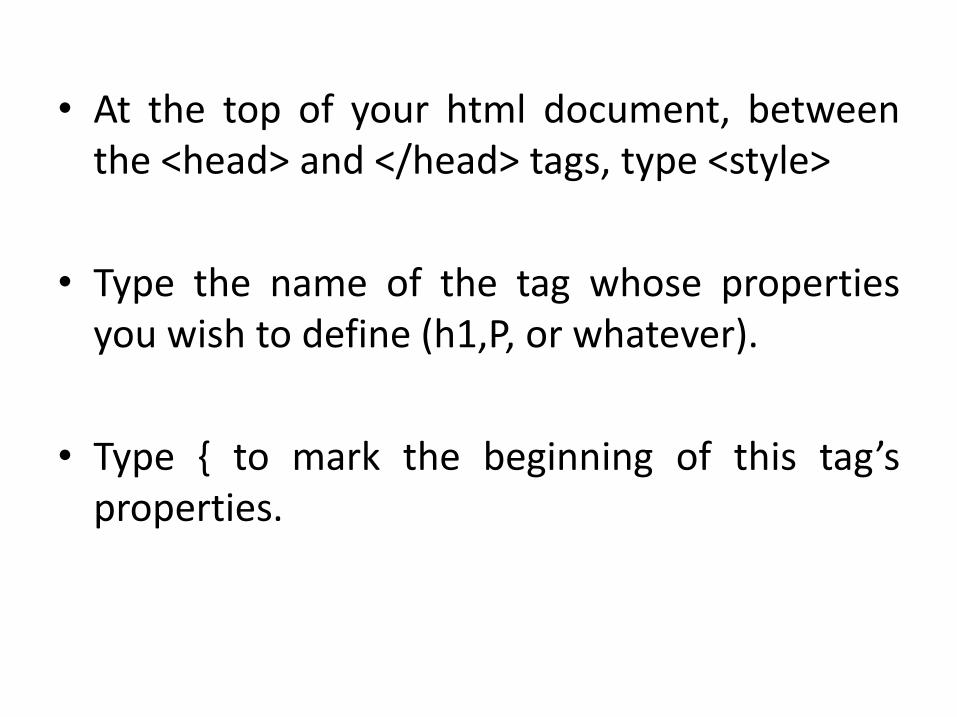
• At the top of your html document, betweenthe <head> and </head> tags, type <style>
• Type the name of the tag whose propertiesyou wish to define (h1,P, or whatever).
• Type { to mark the beginning of this tag’sproperties.
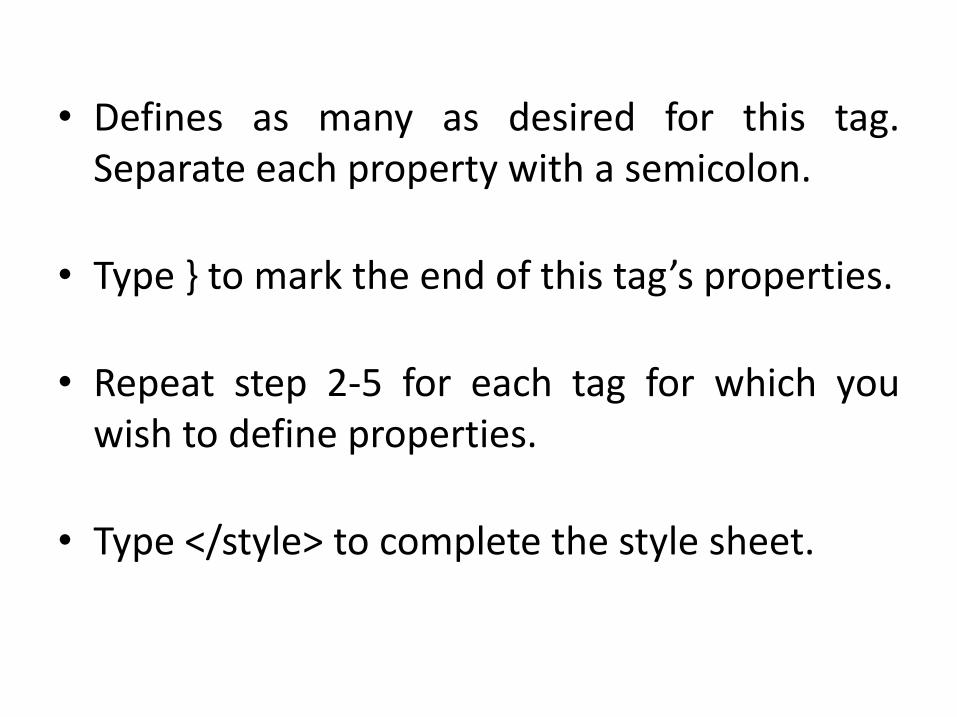
• Defines as many as desired for this tag.Separate each property with a semicolon.
• Type } to mark the end of this tag’s properties.
• Repeat step 2-5 for each tag for which youwish to define properties.
• Type </style> to complete the style sheet.
<html>
<head>
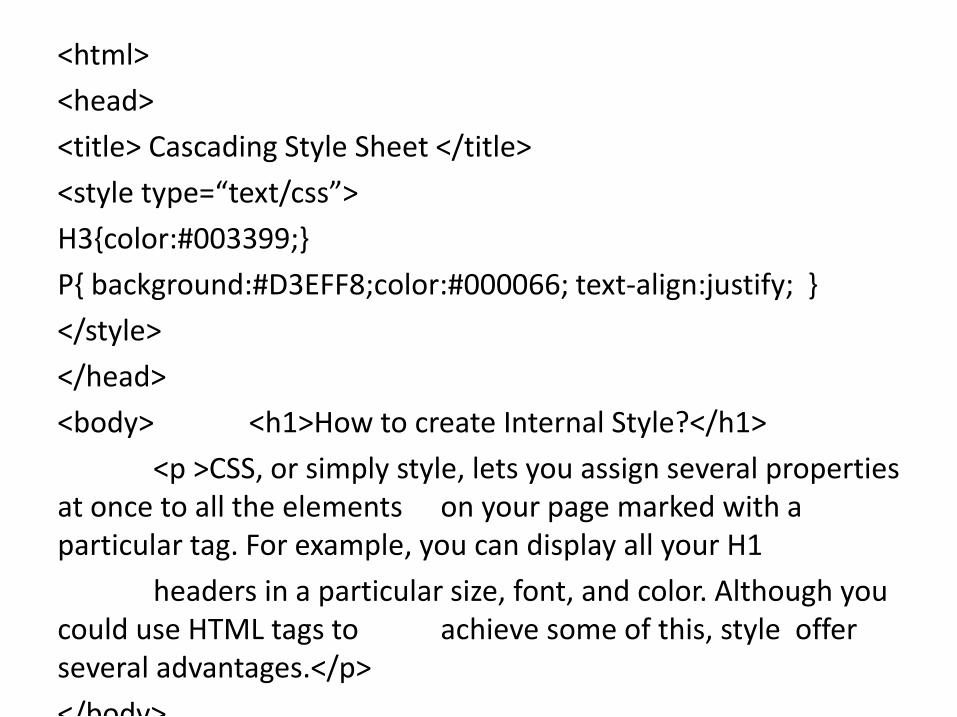
<title> Cascading Style Sheet </title>
<style type=“text/css”>
H3{color:#003399;}
P{ background:#D3EFF8;color:#000066; text-align:justify; }
</style>
</head>
<body> <h1>How to create Internal Style?</h1>
<p >CSS, or simply style, lets you assign several properties at once to all the elements on your page marked with a particular tag. For example, you can display all your H1
headers in a particular size, font, and color. Although you could use HTML tags to achieve some of this, style offer several advantages.</p>
</body>

2.3 How to create External Style
External style sheets are ideal for giving allthe pages on your Web site a commonlook. Instead of getting their styles fromindividual internal style sheet, you can seteach page to get the external style sheets,you create a text document to contain thestyle settings.
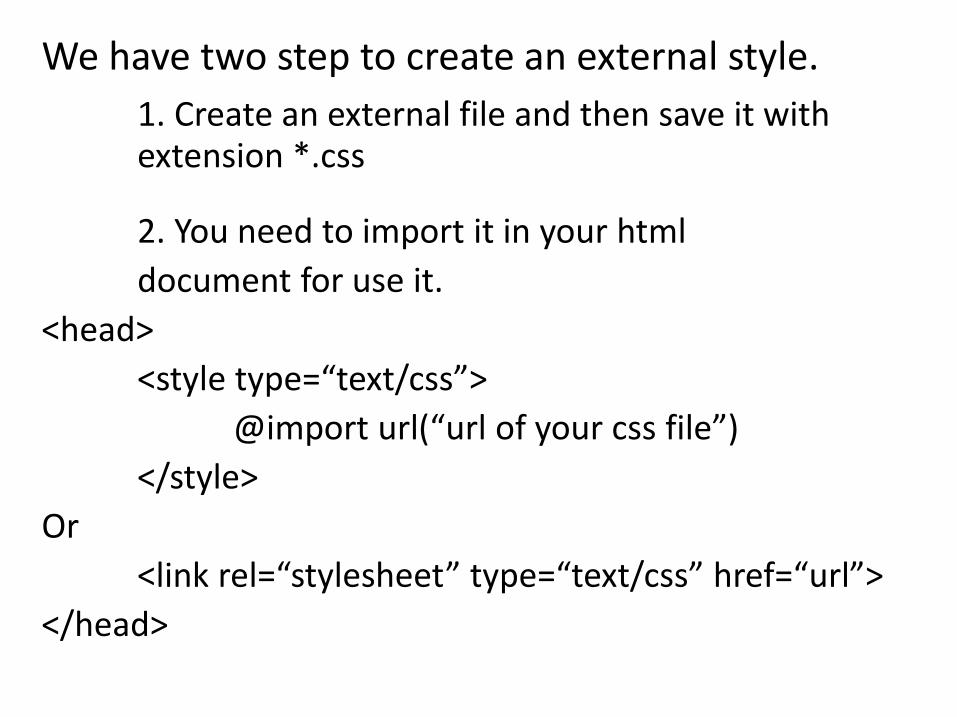
We have two step to create an external style.
1. Create an external file and then save it with extension *.css
2. You need to import it in your html
document for use it.
<head>
<style type=“text/css”>
@import url(“url of your css file”)
</style>
Or
<link rel=“stylesheet” type=“text/css” href=“url”>
</head>
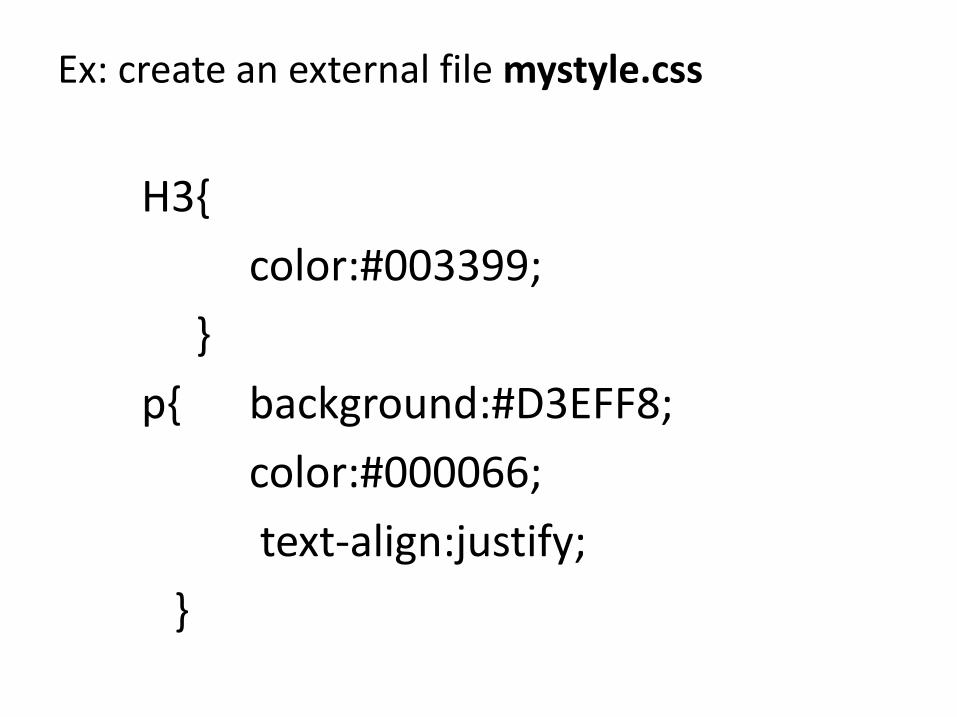
Ex: create an external file mystyle.css
H3{
color:#003399;
}
p{ background:#D3EFF8;
color:#000066;
text-align:justify;
}
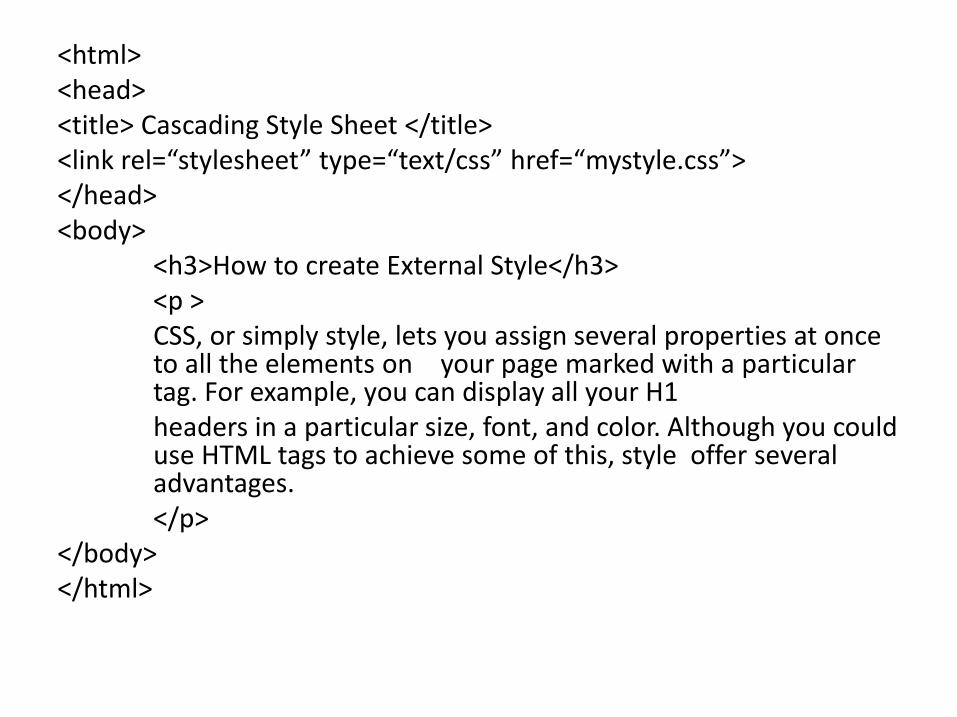
<html><head><title> Cascading Style Sheet </title><link rel=“stylesheet” type=“text/css” href=“mystyle.css”></head><body>
<h3>How to create External Style</h3><p >CSS, or simply style, lets you assign several properties at once to all the elements on your page marked with a particular tag. For example, you can display all your H1 headers in a particular size, font, and color. Although you could use HTML tags to achieve some of this, style offer several advantages.</p>
</body></html>
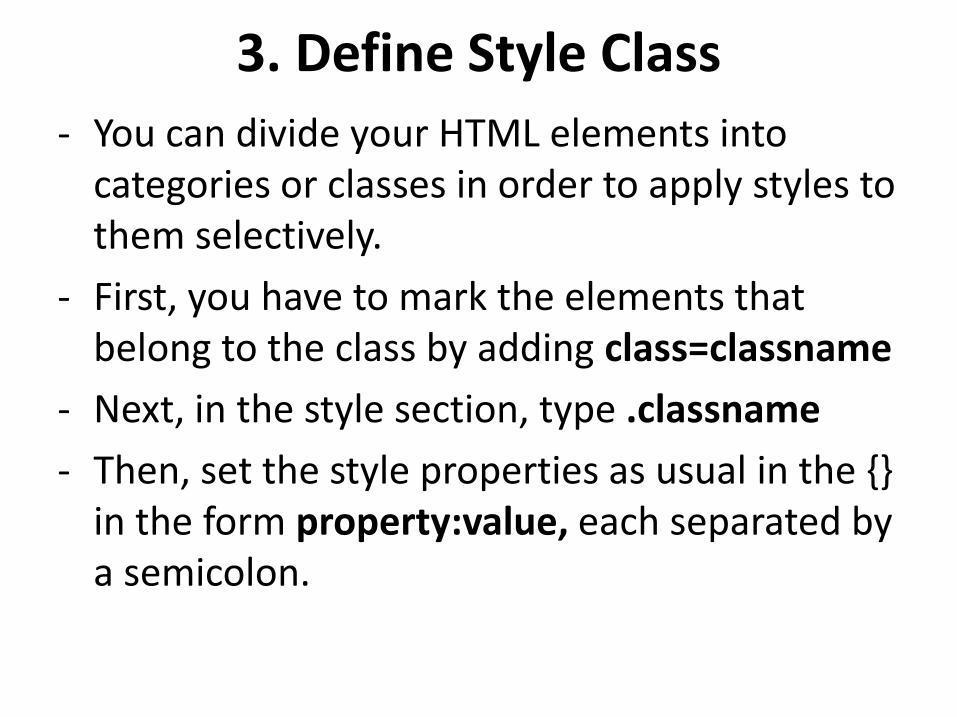
3. Define Style Class
- You can divide your HTML elements into categories or classes in order to apply styles to them selectively.
- First, you have to mark the elements that belong to the class by adding class=classname
- Next, in the style section, type .classname
- Then, set the style properties as usual in the {} in the form property:value, each separated by a semicolon.
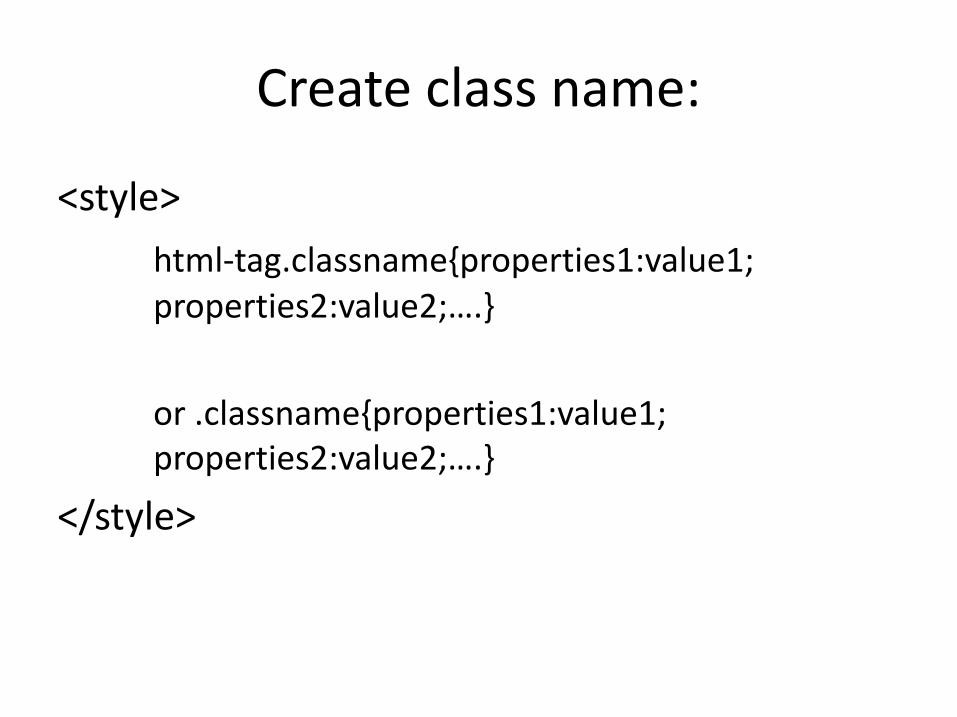
Create class name:
<style>
html-tag.classname{properties1:value1; properties2:value2;….}
or .classname{properties1:value1; properties2:value2;….}
</style>
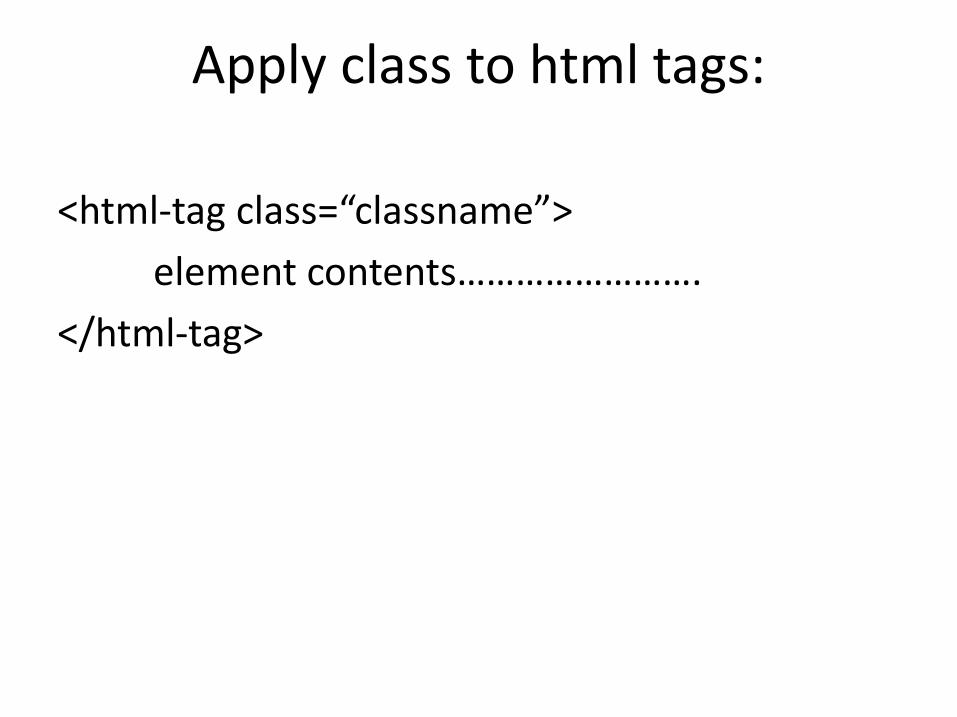
Apply class to html tags:
<html-tag class=“classname”>
element contents…………………….
</html-tag>
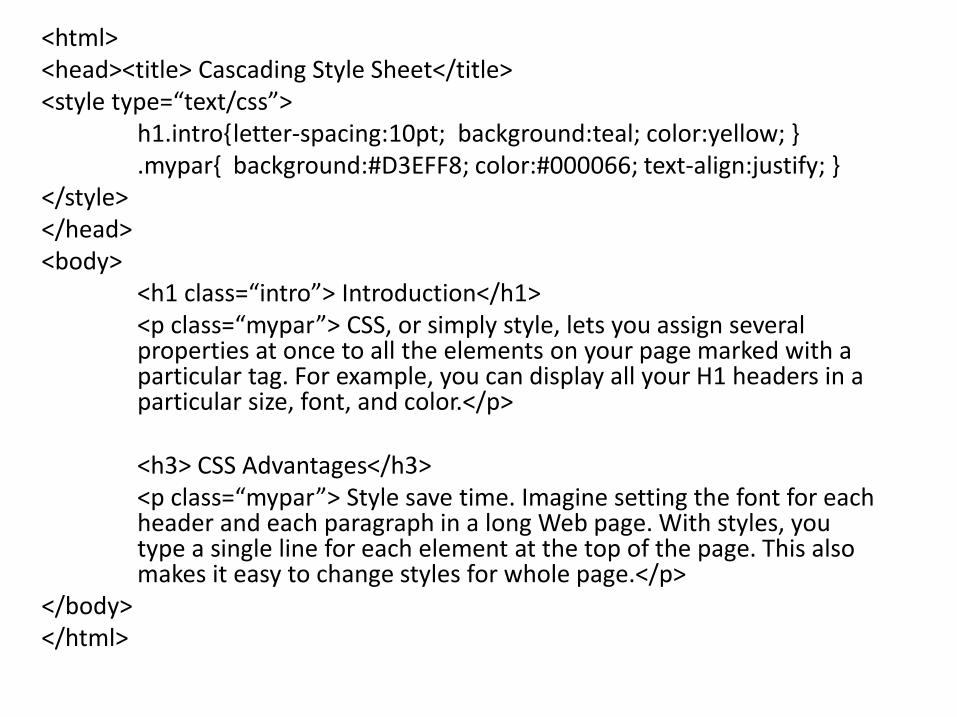
<html><head><title> Cascading Style Sheet</title><style type=“text/css”>
h1.intro{letter-spacing:10pt; background:teal; color:yellow; }.mypar{ background:#D3EFF8; color:#000066; text-align:justify; }
</style></head><body>
<h1 class=“intro”> Introduction</h1><p class=“mypar”> CSS, or simply style, lets you assign several properties at once to all the elements on your page marked with a particular tag. For example, you can display all your H1 headers in a particular size, font, and color.</p>
<h3> CSS Advantages</h3><p class=“mypar”> Style save time. Imagine setting the font for each header and each paragraph in a long Web page. With styles, you type a single line for each element at the top of the page. This also makes it easy to change styles for whole page.</p>
</body></html>
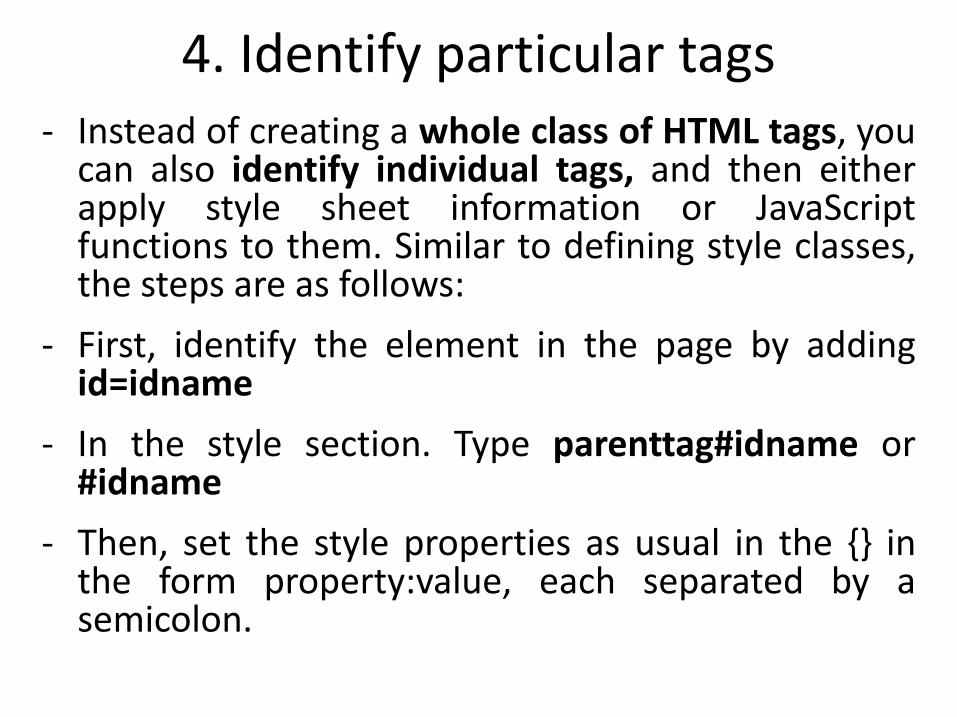
4. Identify particular tags- Instead of creating a whole class of HTML tags, you
can also identify individual tags, and then eitherapply style sheet information or JavaScriptfunctions to them. Similar to defining style classes,the steps are as follows:
- First, identify the element in the page by addingid=idname
- In the style section. Type parenttag#idname or#idname
- Then, set the style properties as usual in the {} inthe form property:value, each separated by asemicolon.
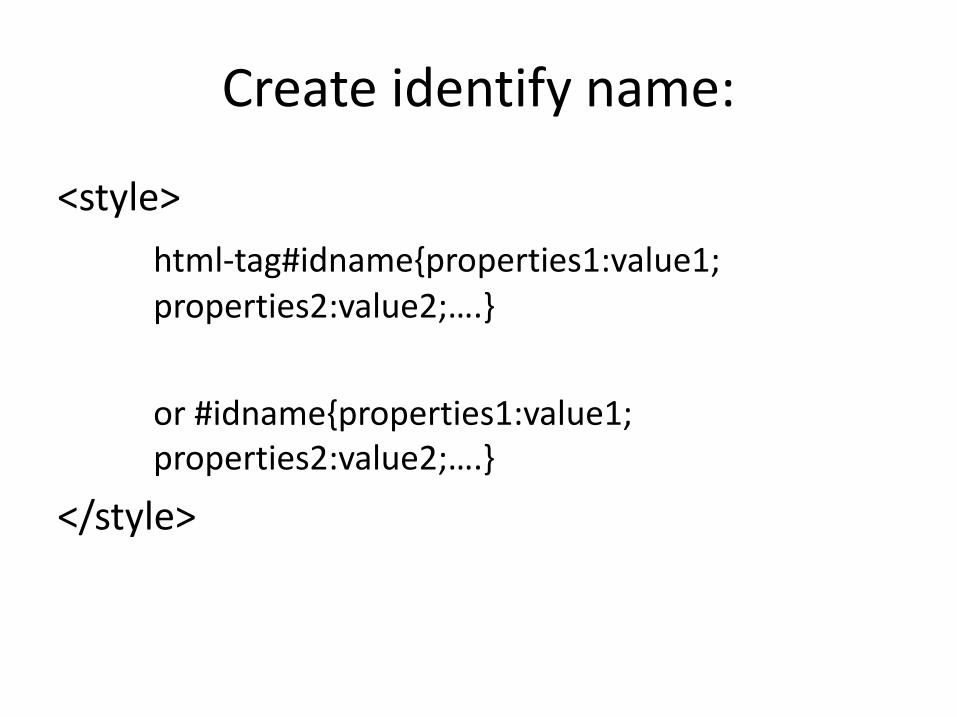
Create identify name:
<style>
html-tag#idname{properties1:value1; properties2:value2;….}
or #idname{properties1:value1; properties2:value2;….}
</style>
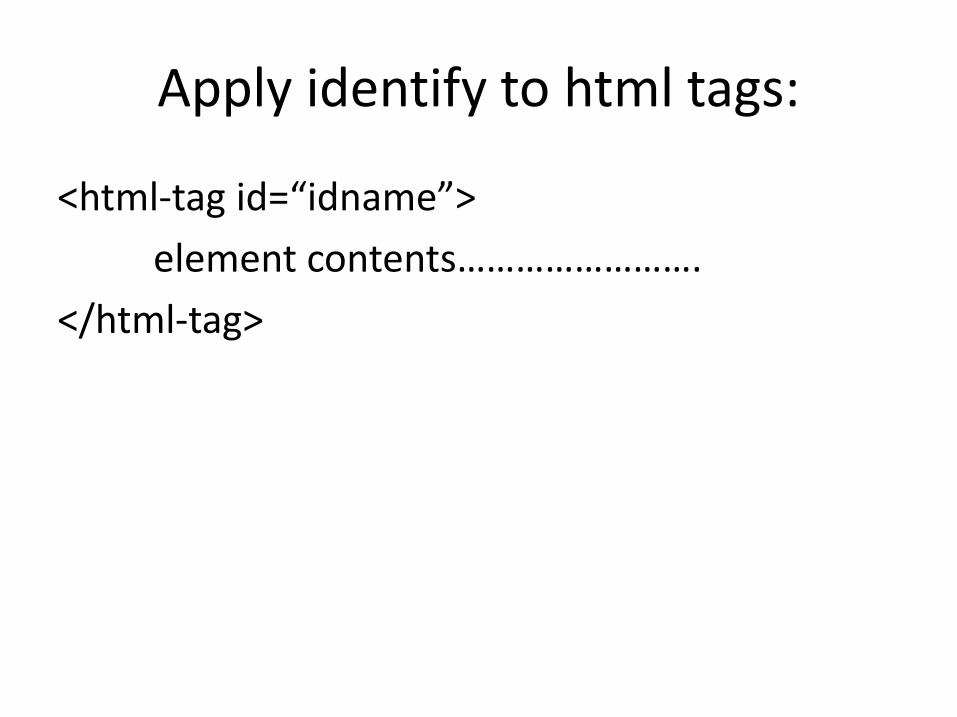
Apply identify to html tags:
<html-tag id=“idname”>
element contents…………………….
</html-tag>
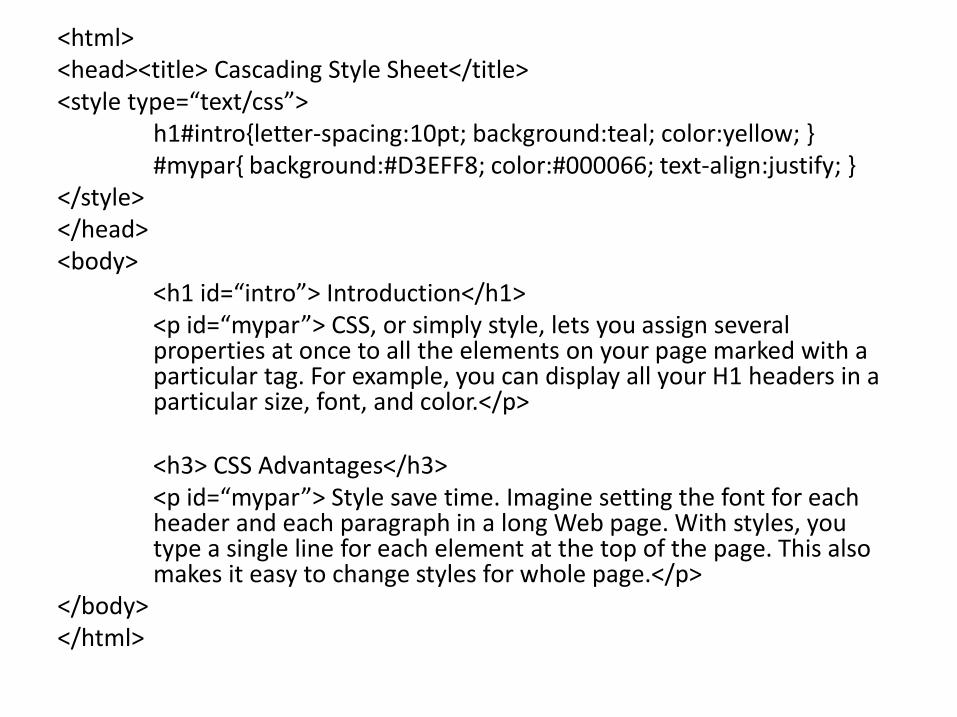
<html><head><title> Cascading Style Sheet</title><style type=“text/css”>
h1#intro{letter-spacing:10pt; background:teal; color:yellow; }#mypar{ background:#D3EFF8; color:#000066; text-align:justify; }
</style></head><body>
<h1 id=“intro”> Introduction</h1><p id=“mypar”> CSS, or simply style, lets you assign several properties at once to all the elements on your page marked with a particular tag. For example, you can display all your H1 headers in a particular size, font, and color.</p>
<h3> CSS Advantages</h3><p id=“mypar”> Style save time. Imagine setting the font for each header and each paragraph in a long Web page. With styles, you type a single line for each element at the top of the page. This also makes it easy to change styles for whole page.</p>
</body></html>
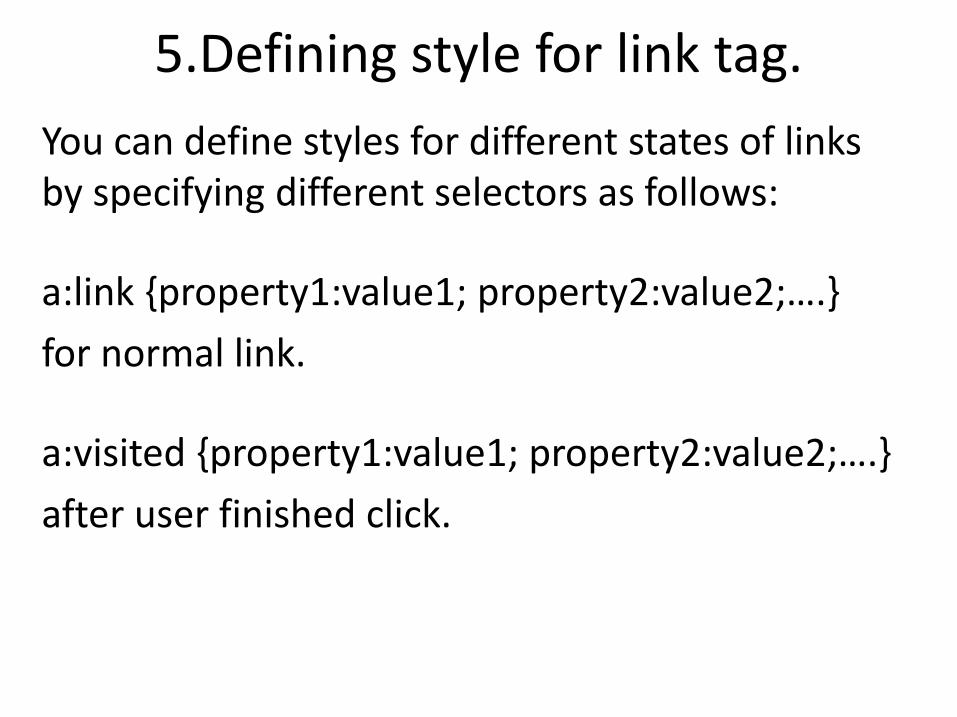
5.Defining style for link tag.
You can define styles for different states of links by specifying different selectors as follows:
a:link {property1:value1; property2:value2;….}
for normal link.
a:visited {property1:value1; property2:value2;….}
after user finished click.

a:hover {property1:value1; property2:value2;….}when mouse over.
a:active {property1:value1; property2:value2;….} when mouse press.
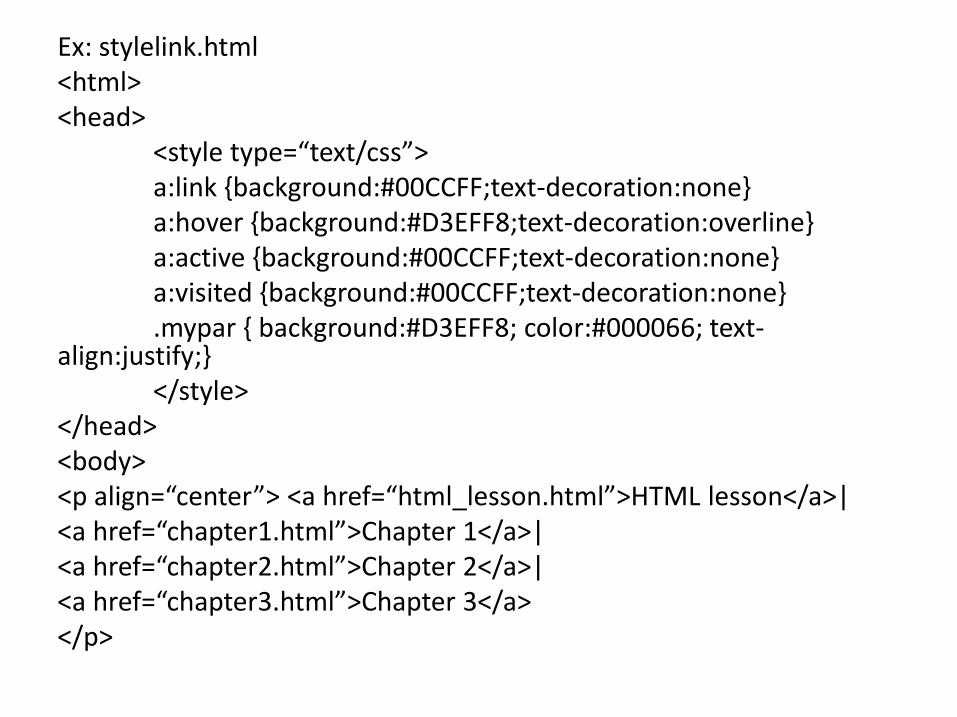
Ex: stylelink.html<html><head>
<style type=“text/css”>a:link {background:#00CCFF;text-decoration:none}a:hover {background:#D3EFF8;text-decoration:overline}a:active {background:#00CCFF;text-decoration:none}a:visited {background:#00CCFF;text-decoration:none}.mypar { background:#D3EFF8; color:#000066; text-
align:justify;}</style>
</head><body><p align=“center”> <a href=“html_lesson.html”>HTML lesson</a>|<a href=“chapter1.html”>Chapter 1</a>|<a href=“chapter2.html”>Chapter 2</a>|<a href=“chapter3.html”>Chapter 3</a></p>
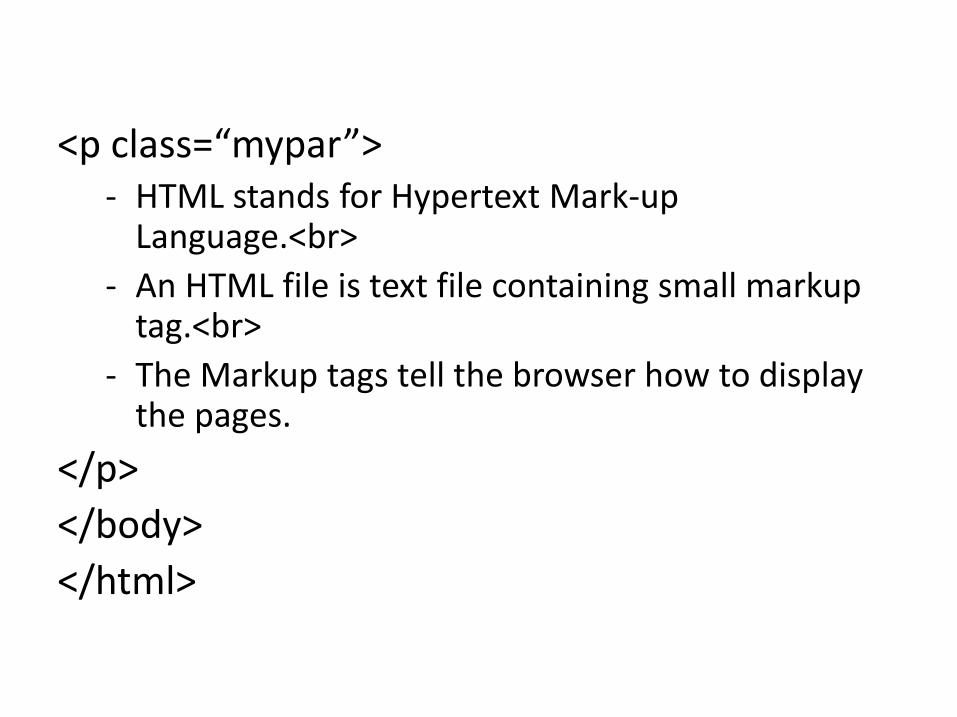
<p class=“mypar”>- HTML stands for Hypertext Mark-up
Language.<br>
- An HTML file is text file containing small markup tag.<br>
- The Markup tags tell the browser how to display the pages.
</p>
</body>
</html>
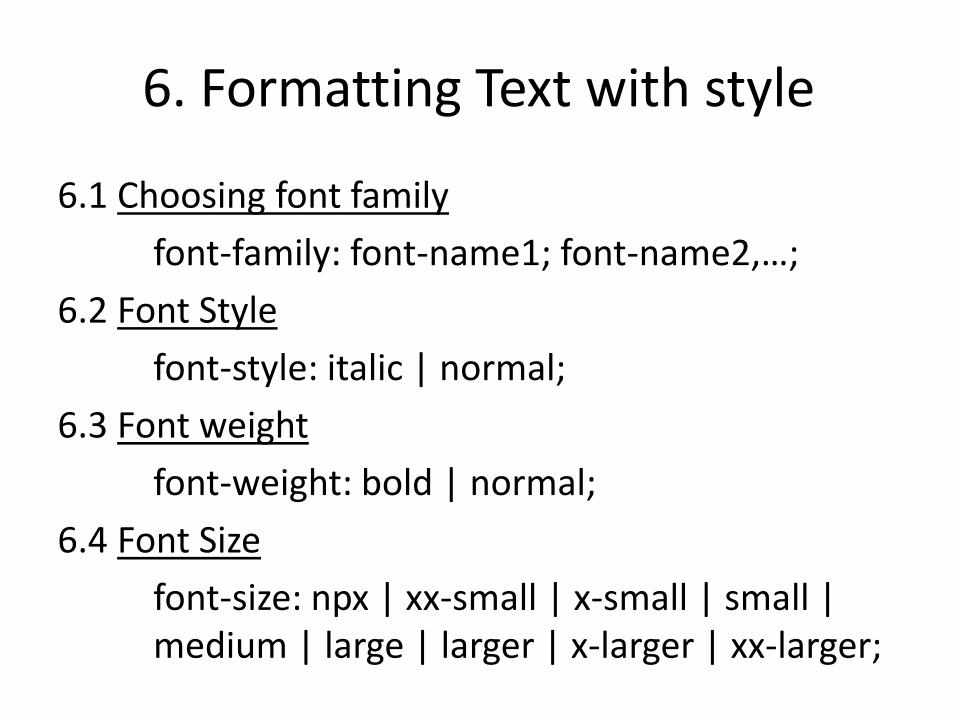
6. Formatting Text with style
6.1 Choosing font family
font-family: font-name1; font-name2,…;
6.2 Font Style
font-style: italic | normal;
6.3 Font weight
font-weight: bold | normal;
6.4 Font Size
font-size: npx | xx-small | x-small | small | medium | large | larger | x-larger | xx-larger;
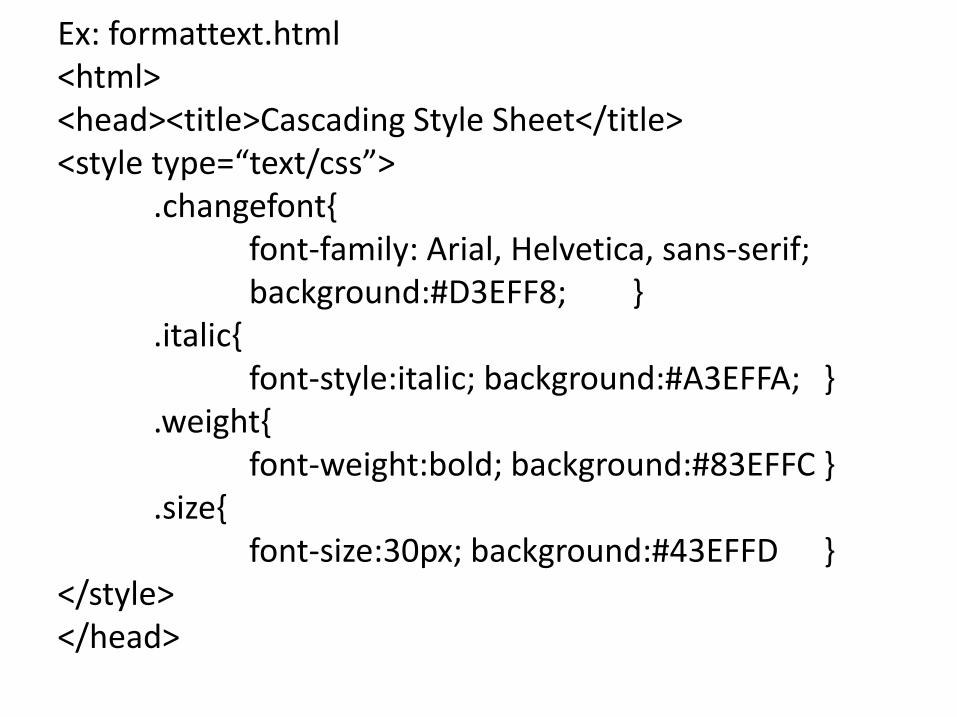
Ex: formattext.html<html><head><title>Cascading Style Sheet</title><style type=“text/css”>
.changefont{font-family: Arial, Helvetica, sans-serif;background:#D3EFF8; }
.italic{font-style:italic; background:#A3EFFA; }
.weight{font-weight:bold; background:#83EFFC }
.size{font-size:30px; background:#43EFFD }
</style></head>
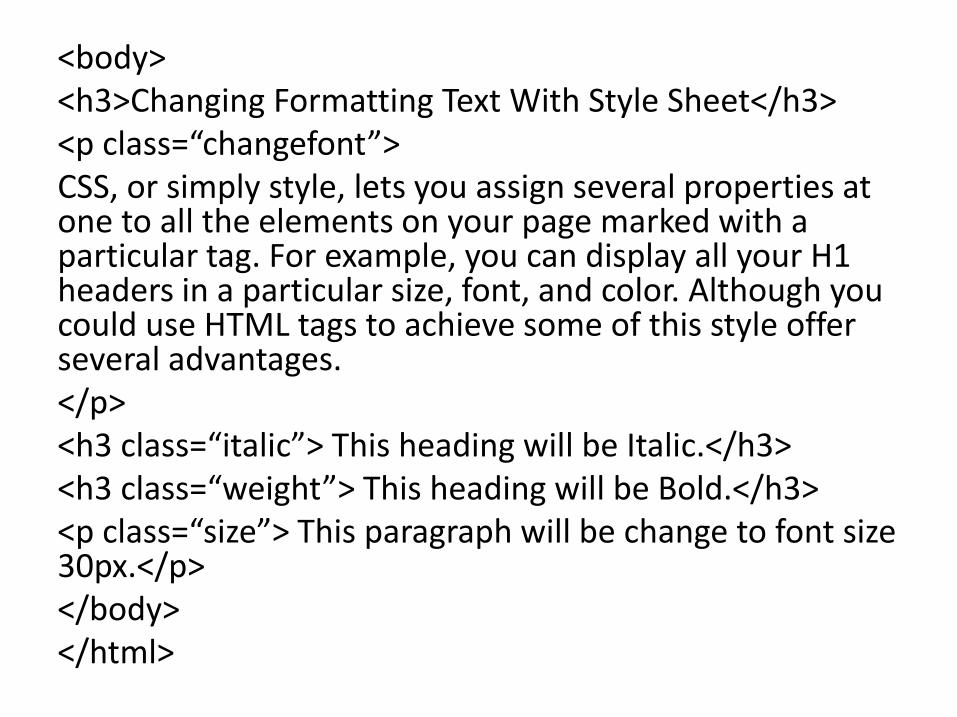
<body><h3>Changing Formatting Text With Style Sheet</h3><p class=“changefont”>CSS, or simply style, lets you assign several properties at one to all the elements on your page marked with a particular tag. For example, you can display all your H1 headers in a particular size, font, and color. Although you could use HTML tags to achieve some of this style offer several advantages.</p><h3 class=“italic”> This heading will be Italic.</h3><h3 class=“weight”> This heading will be Bold.</h3><p class=“size”> This paragraph will be change to font size 30px.</p></body></html>
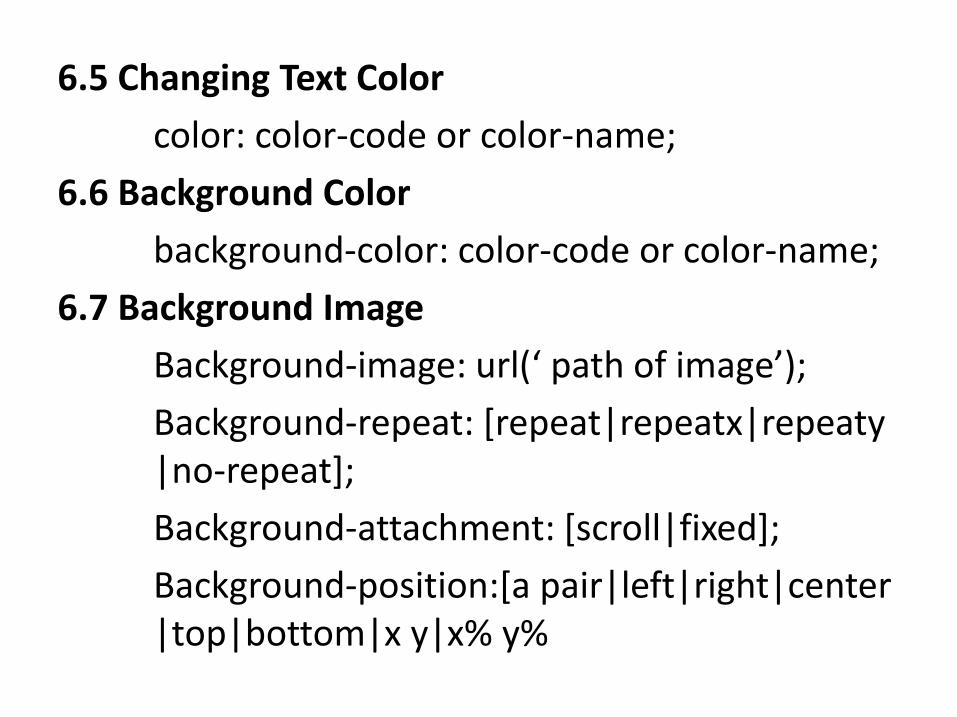
6.5 Changing Text Color
color: color-code or color-name;
6.6 Background Color
background-color: color-code or color-name;
6.7 Background Image
Background-image: url(‘ path of image’);
Background-repeat: [repeat|repeatx|repeaty|no-repeat];
Background-attachment: [scroll|fixed];
Background-position:[a pair|left|right|center|top|bottom|x y|x% y%
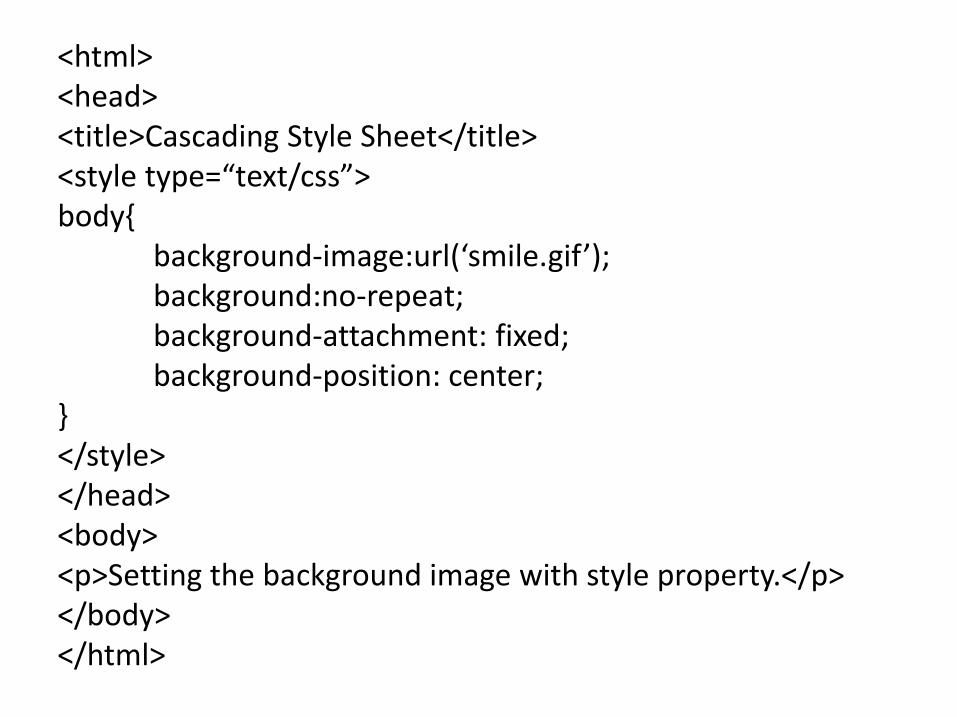
<html><head><title>Cascading Style Sheet</title><style type=“text/css”>body{
background-image:url(‘smile.gif’);background:no-repeat;background-attachment: fixed;background-position: center;
}</style></head><body><p>Setting the background image with style property.</p></body></html>
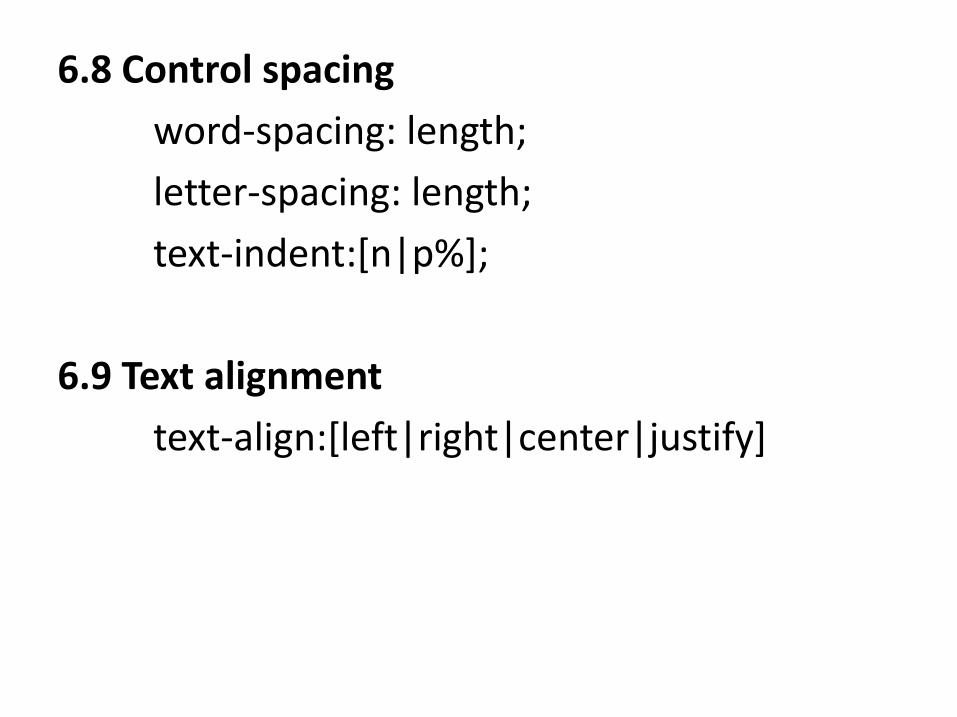
6.8 Control spacing
word-spacing: length;
letter-spacing: length;
text-indent:[n|p%];
6.9 Text alignment
text-align:[left|right|center|justify]
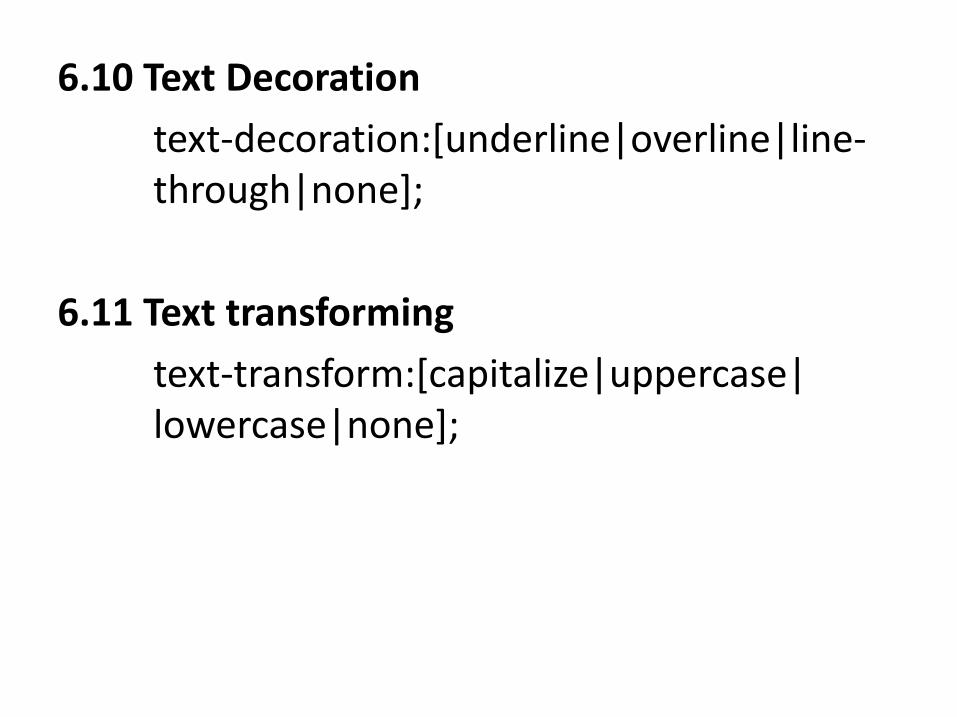
6.10 Text Decoration
text-decoration:[underline|overline|line-through|none];
6.11 Text transforming
text-transform:[capitalize|uppercase| lowercase|none];
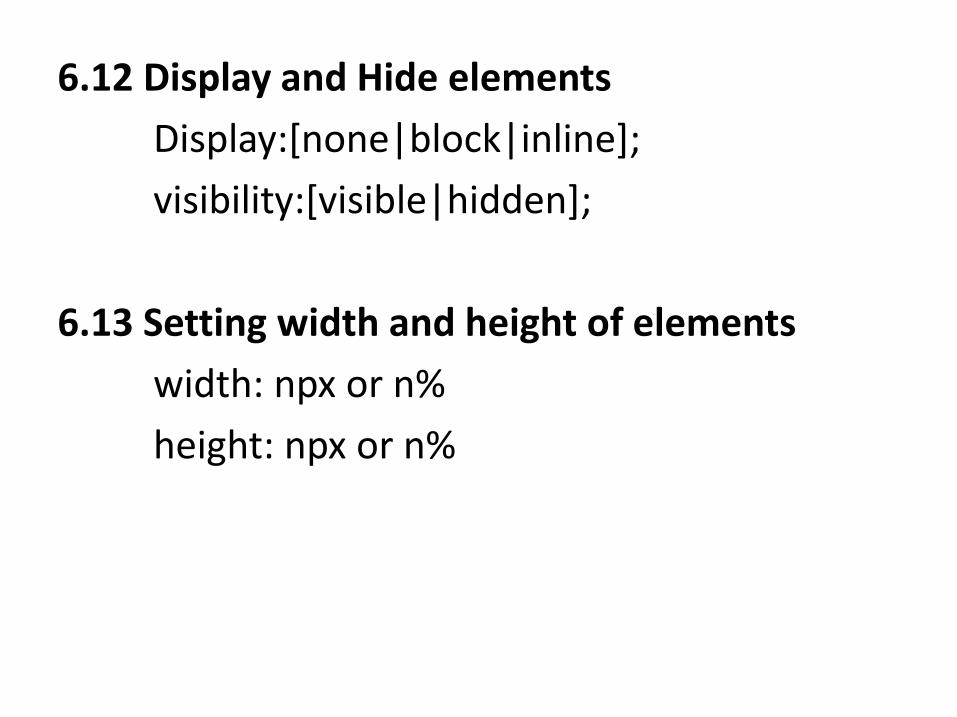
6.12 Display and Hide elements
Display:[none|block|inline];
visibility:[visible|hidden];
6.13 Setting width and height of elements
width: npx or n%
height: npx or n%
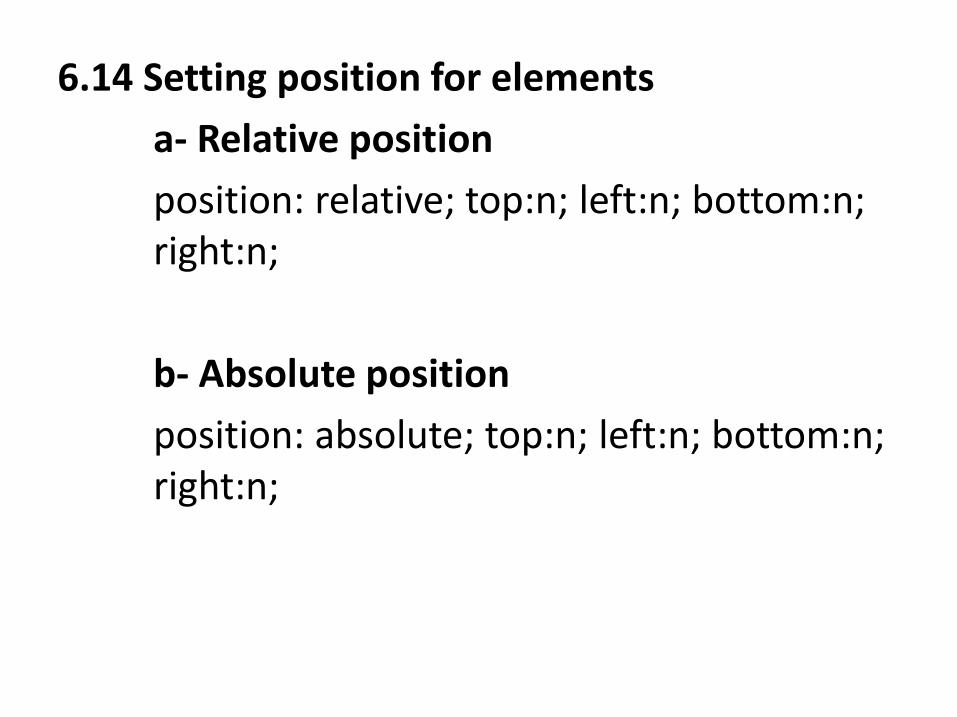
6.14 Setting position for elements
a- Relative position
position: relative; top:n; left:n; bottom:n; right:n;
b- Absolute position
position: absolute; top:n; left:n; bottom:n; right:n;
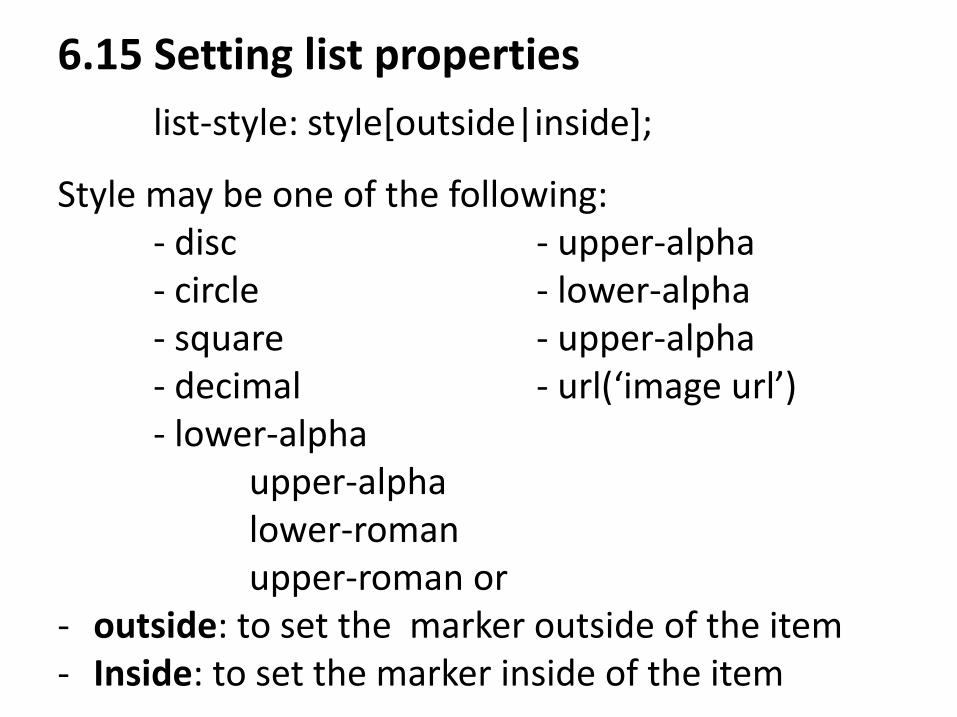
6.15 Setting list properties
list-style: style[outside|inside];
Style may be one of the following:- disc - upper-alpha- circle - lower-alpha- square - upper-alpha- decimal - url(‘image url’)- lower-alpha
upper-alphalower-romanupper-roman or
- outside: to set the marker outside of the item- Inside: to set the marker inside of the item
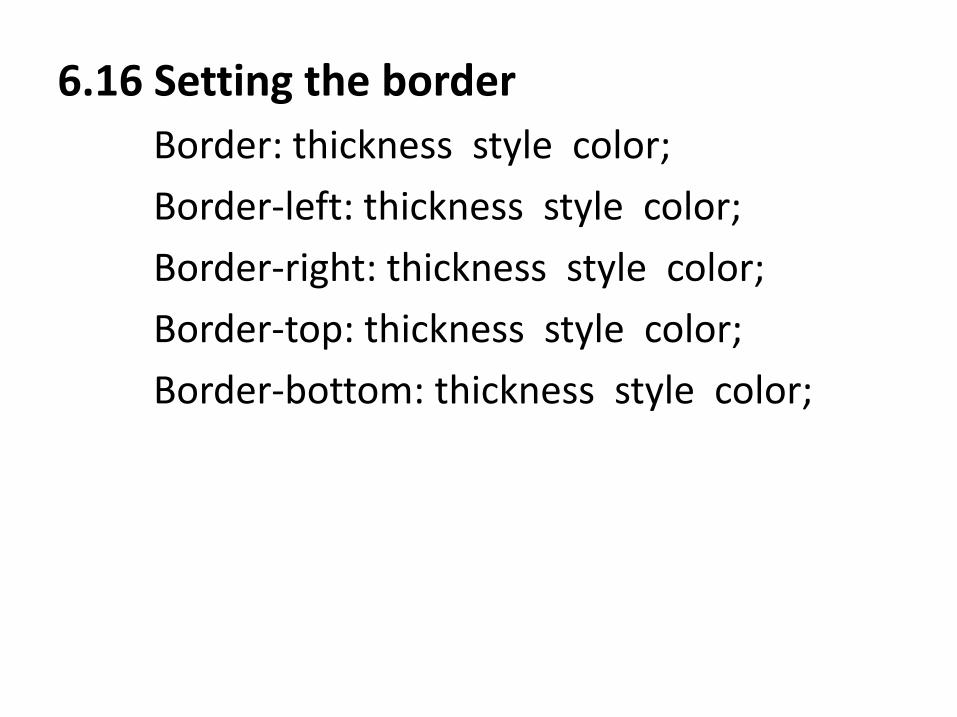
6.16 Setting the border
Border: thickness style color;
Border-left: thickness style color;
Border-right: thickness style color;
Border-top: thickness style color;
Border-bottom: thickness style color;
Thickness
–thin
–medium
–thick
–absolute(ex: 2px)
Style
–none
–dotted
–dashed
–solid
–hidden
–double
–groove
–ridge
– inset
–outset
6.17 Add padding around an element
Padding is the extra space around the contents of an element but inside the border.
- padding-left:n;
- padding-right:n;
- padding-top:n;
- padding-bottom:n;

6.18 Setting the margin around an element
- margin-left:n;
- margin-right:n;
- margin-top:n;
- margin-bottom:n;
7. Create custom HTML tag
HTML 4 includes two generic tags that can be combined with CLASS and ID in order to create custom HTML tags.

Block-level vs Inline
Block-level
Generally begins on a new line and can contain all other element and text.
Inline
Usually do not begin on a new line and can only contain other inline elements and text.
DIV and SPAN
The 2 tags don’t do much by themselves. They are combined with CLASS and ID to create custom HTML tags.
- DIV is for block-level elements and SPAN is for inline elements
- Style can be applied to these elements just other HTML elements.
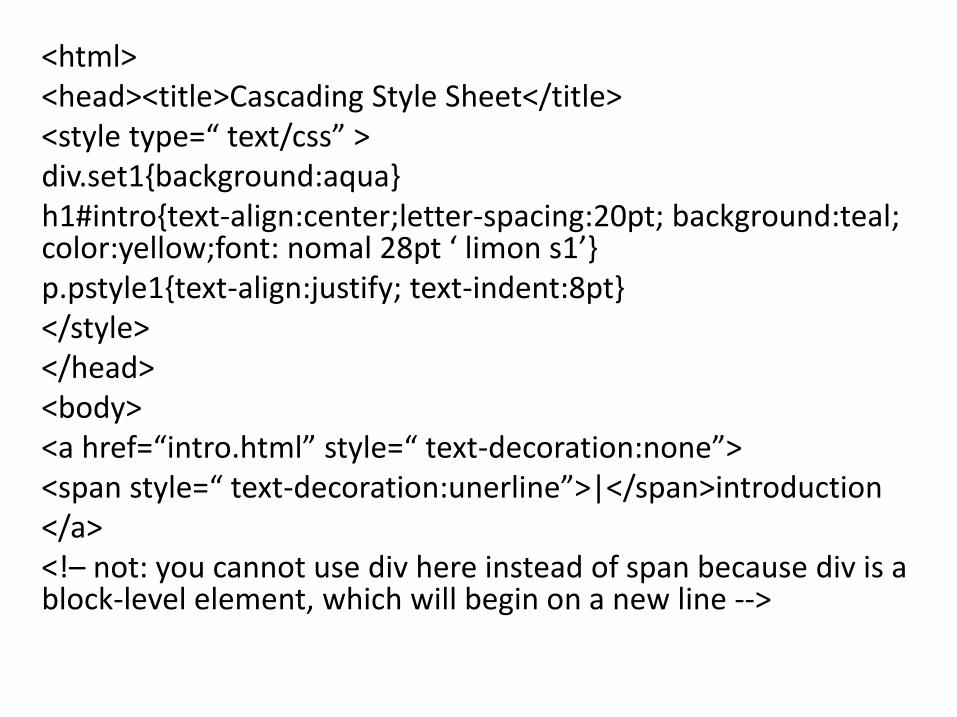
<html><head><title>Cascading Style Sheet</title><style type=“ text/css” >div.set1{background:aqua}h1#intro{text-align:center;letter-spacing:20pt; background:teal; color:yellow;font: nomal 28pt ‘ limon s1’}p.pstyle1{text-align:justify; text-indent:8pt}</style></head><body><a href=“intro.html” style=“ text-decoration:none”><span style=“ text-decoration:unerline”>|</span>introduction</a><!– not: you cannot use div here instead of span because div is a block-level element, which will begin on a new line -->
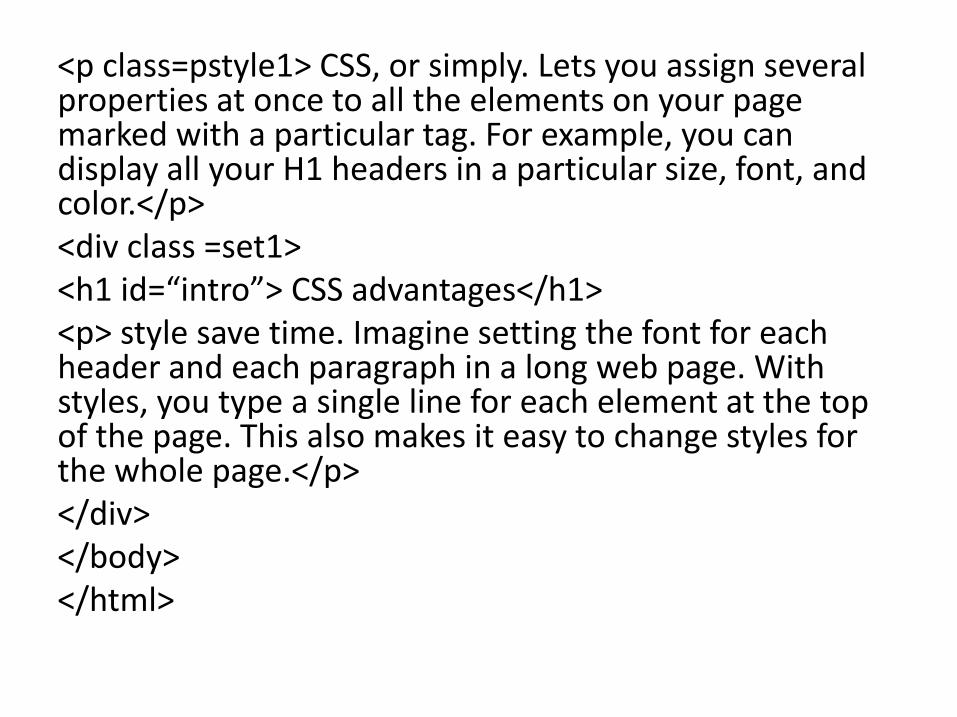
<p class=pstyle1> CSS, or simply. Lets you assign several properties at once to all the elements on your page marked with a particular tag. For example, you can display all your H1 headers in a particular size, font, and color.</p><div class =set1><h1 id=“intro”> CSS advantages</h1><p> style save time. Imagine setting the font for each header and each paragraph in a long web page. With styles, you type a single line for each element at the top of the page. This also makes it easy to change styles for the whole page.</p></div></body></html>
The End