“cascading style sheets” for styling www...
TRANSCRIPT
“Cascading Style Sheets” for styling WWW information
DSC340 Mike Pangburn
CSS Advantages
¤ Makes website more flexible ¤ CSS is reusable ¤ Change stylesheet to change design of many pages ¤ Example: CSS Zen garden
http://www.csszengarden.com/
¤ Easier to maintain ¤ Cleaner HTML code ¤ Separates styles from HTML tags and page content ¤ Consistent look across entire website that is easily
maintained by changing styles in one place.
CSS Disadvantages
¤ Not uniformly supported by all browsers. ¤ Firefox adheres to CSS standards more
than IE ¤ For this course we use Firefox

CSS: adding style
¤ CSS allows you to add “style” to an HTML (web page) element ¤ E.g., color, size, or positioning information
¤ There are two aspects to adding style to a web page via CSS ¤ Specifying what the style looks like
¤ Called the CSS style “Declaration”
¤ Naming the HTML (or XML) element to which the style applies
¤ Referred to as specifying the CSS “Selector”
CSS: adding style
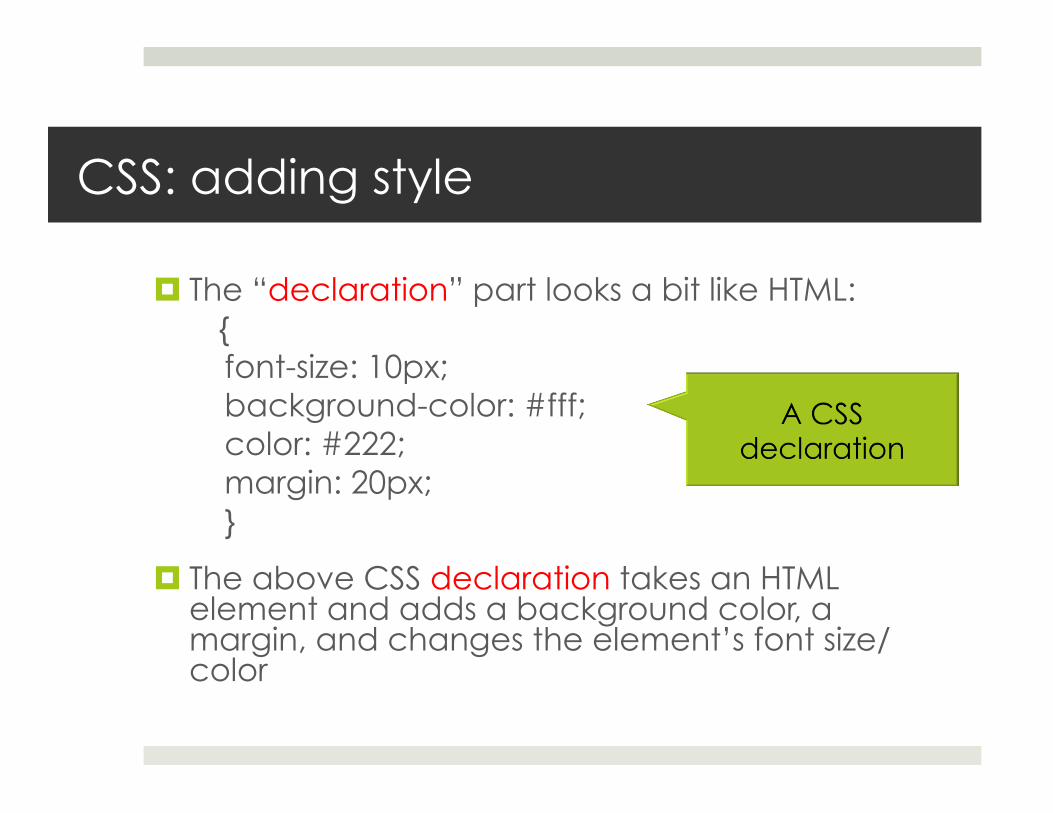
¤ The “declaration” part looks a bit like HTML: {
font-size: 10px; background-color: #fff; color: #222; margin: 20px; }
¤ The above CSS declaration takes an HTML element and adds a background color, a margin, and changes the element’s font size/color
CSS: adding style
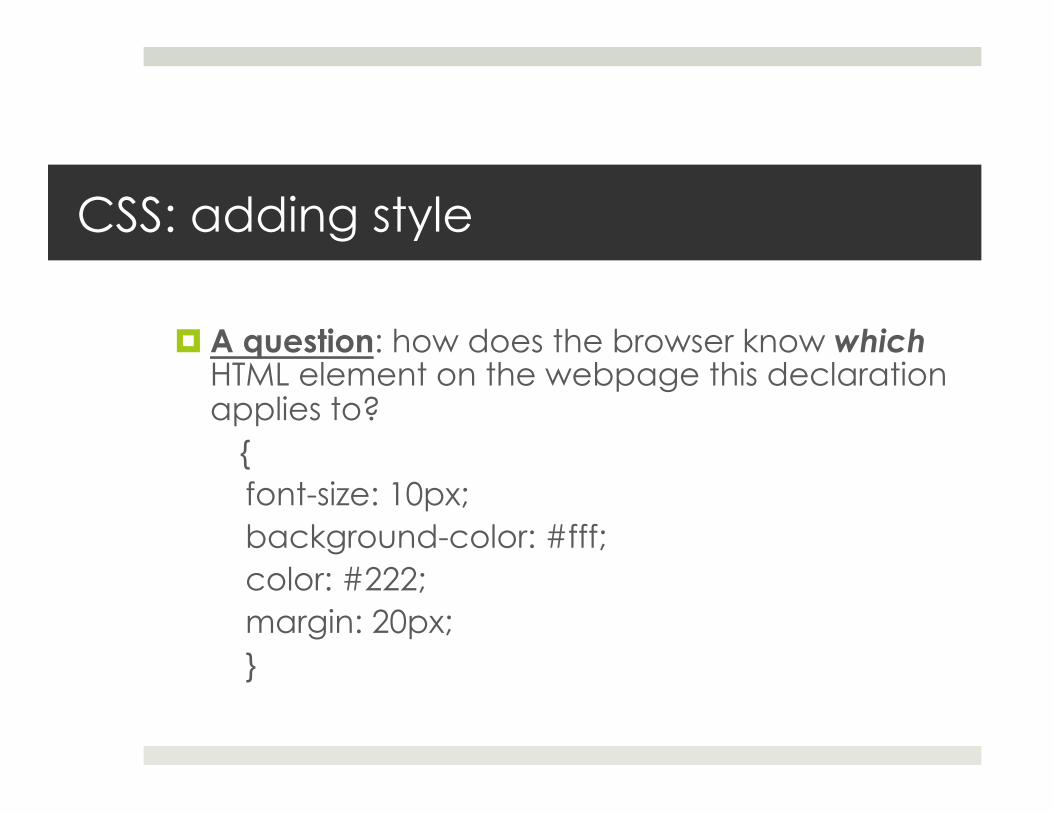
¤ A question: how does the browser know which HTML element on the webpage this declaration applies to? {
font-size: 10px; background-color: #fff; color: #222; margin: 20px; }
CSS: adding style
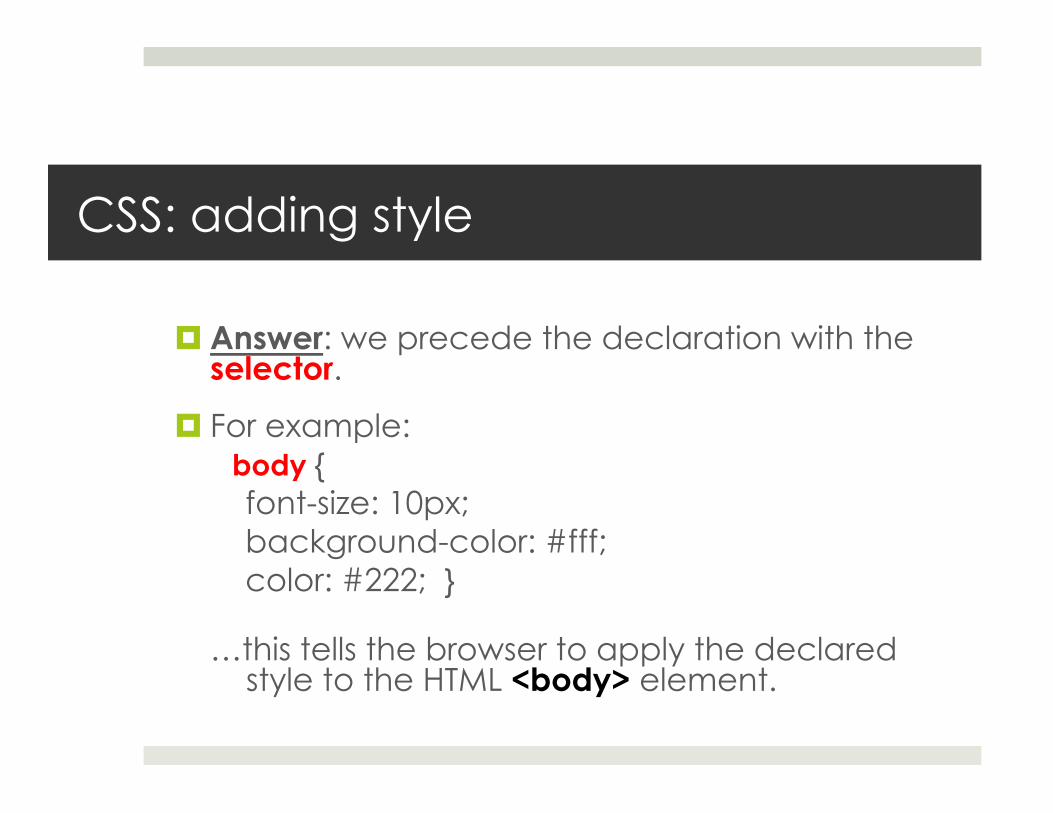
¤ Answer: we precede the declaration with the selector.
¤ For example: body {
font-size: 10px; background-color: #fff; color: #222; }
…this tells the browser to apply the declared style to the HTML <body> element.
The most basic kind of CSS selector
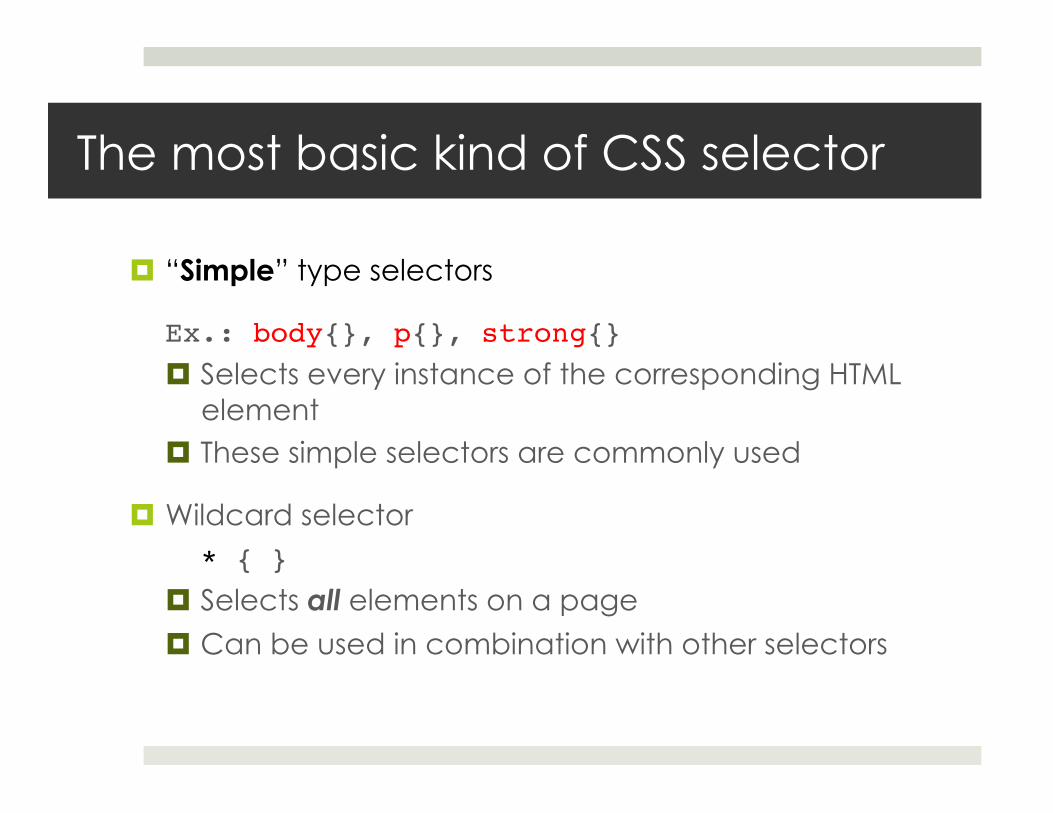
¤ “Simple” type selectors
!Ex.: body{}, p{}, strong{}!¤ Selects every instance of the corresponding HTML
element ¤ These simple selectors are commonly used
¤ Wildcard selector !* { }!
¤ Selects all elements on a page
¤ Can be used in combination with other selectors

Aside: grouping selectors ¤ You can apply the same declaration to a
group of selectors by listing all of the desired selector names separated by commas.
¤ Example: h1, h2, h3, h4, h5, h6 {color:#ff0000; font-family:sans-serif}!
CSS: selector flexibility
¤ The usefulness of selectors relates to how much specificity you have in selecting different parts of a web page.
¤ Simple example: your personal webpage ¤ You may not want the same font/color type
style throughout the entire <body> element
CSS: selector flexibility
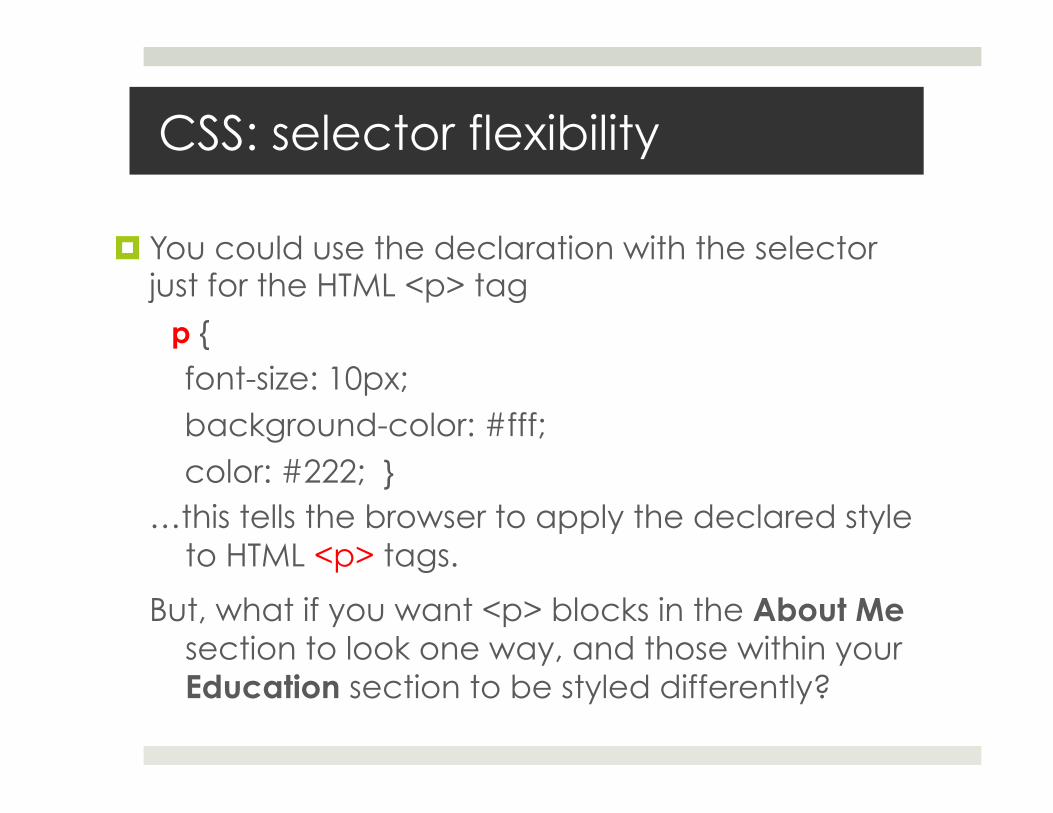
¤ You could use the declaration with the selector just for the HTML <p> tag p {
font-size: 10px; background-color: #fff; color: #222; }
…this tells the browser to apply the declared style to HTML <p> tags.
But, what if you want <p> blocks in the About Me section to look one way, and those within your Education section to be styled differently?
Naming HTML elements
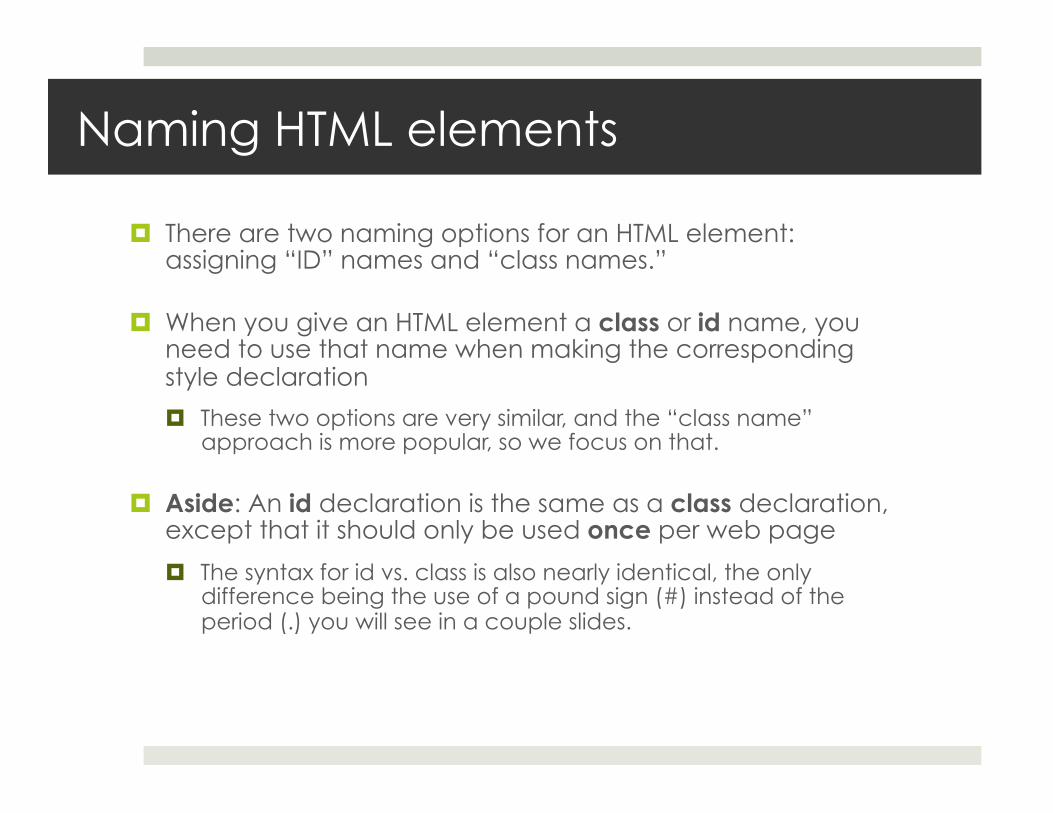
¤ There are two naming options for an HTML element: assigning “ID” names and “class names.”
¤ When you give an HTML element a class or id name, you need to use that name when making the corresponding style declaration
¤ These two options are very similar, and the “class name” approach is more popular, so we focus on that.
¤ Aside: An id declaration is the same as a class declaration, except that it should only be used once per web page
¤ The syntax for id vs. class is also nearly identical, the only difference being the use of a pound sign (#) instead of the period (.) you will see in a couple slides.
Example: naming HTML elements
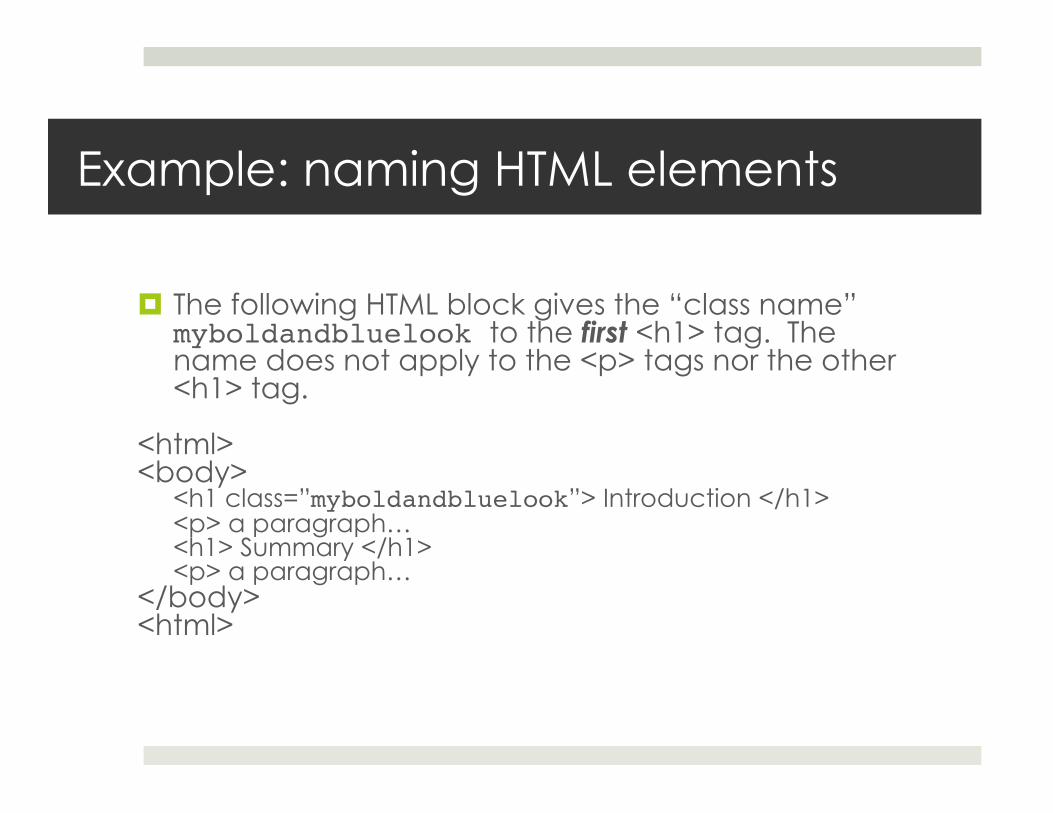
¤ The following HTML block gives the “class name” myboldandbluelook to the first <h1> tag. The name does not apply to the <p> tags nor the other <h1> tag.
<html> <body>
<h1 class=”myboldandbluelook”> Introduction </h1> <p> a paragraph… <h1> Summary </h1> <p> a paragraph…
</body> <html>

Connecting a style declaration to a class name
¤ To connect a style declaration to a particular class name you wrote into your HTML document, you simply precede the class declaration with: .theclassname ¤ Example .myboldandbluelook!{! font-weight: bold;! color: blue;!}!!
Aside: if you want this style to be used only once in the web page, then specify it as an ID style with this slight syntax change:
#myboldandbluelook!{! font-weight: bold;! color: blue;!}
More on selector options
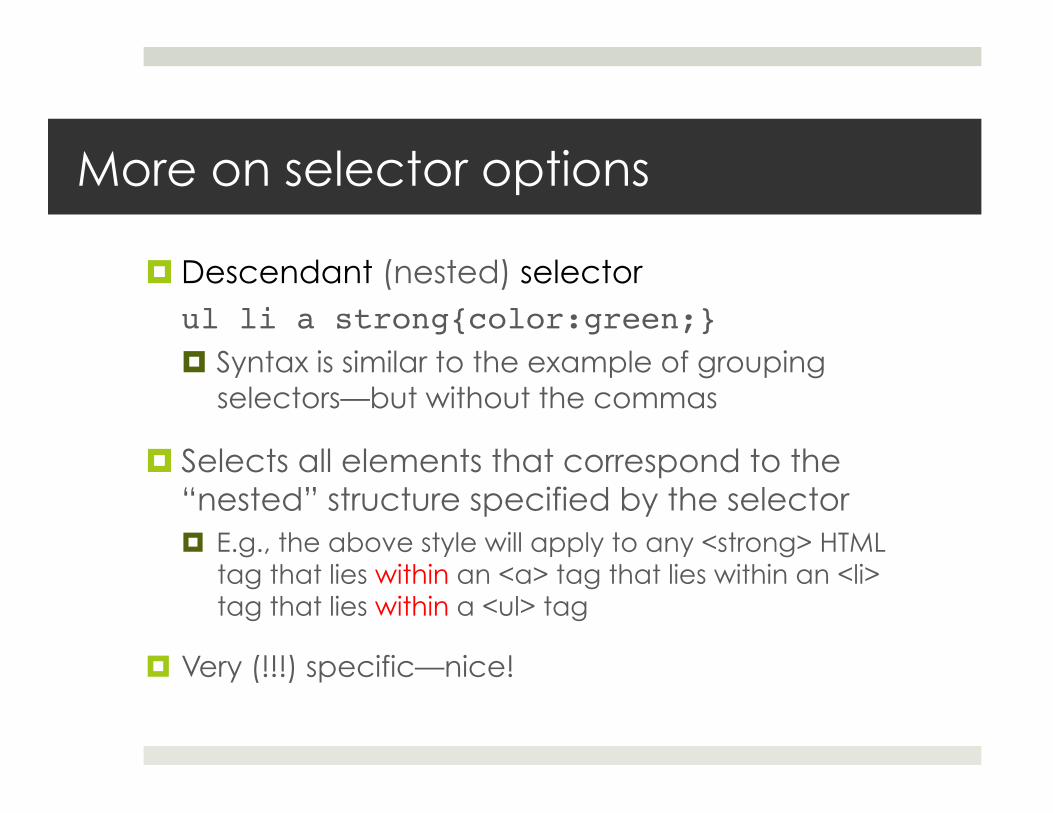
¤ Descendant (nested) selector ul li a strong{color:green;}!¤ Syntax is similar to the example of grouping
selectors—but without the commas
¤ Selects all elements that correspond to the “nested” structure specified by the selector ¤ E.g., the above style will apply to any <strong> HTML
tag that lies within an <a> tag that lies within an <li> tag that lies within a <ul> tag
¤ Very (!!!) specific—nice!
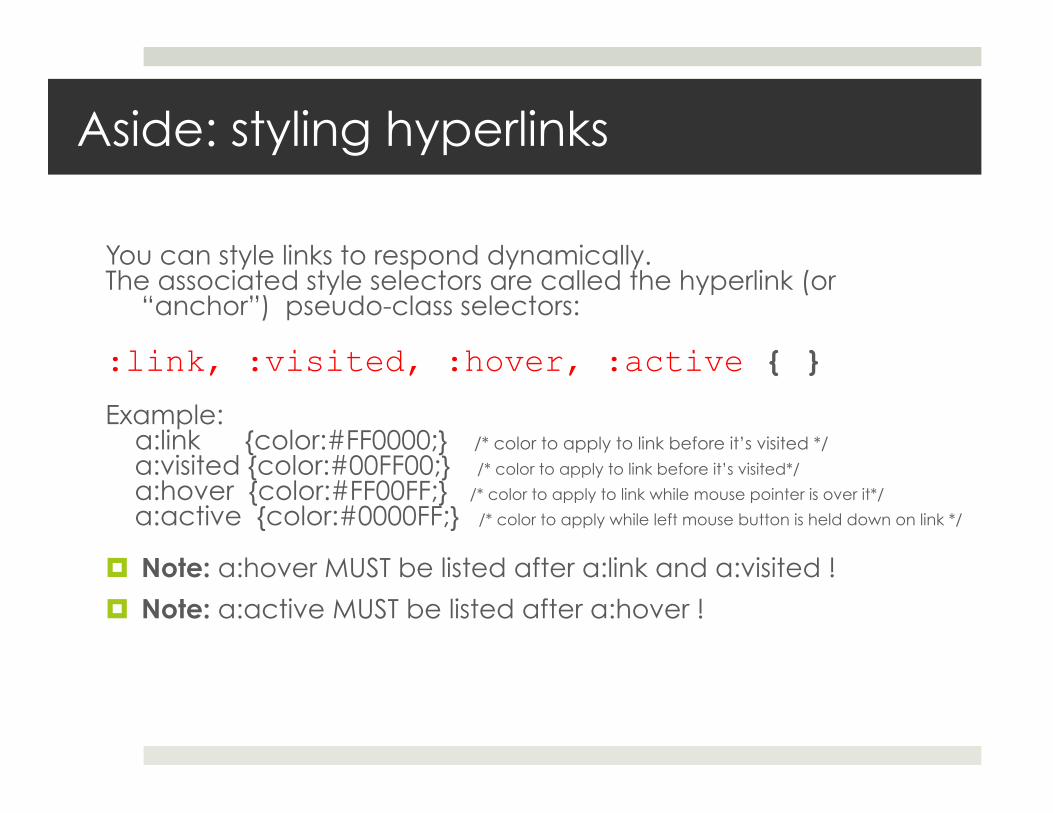
Aside: styling hyperlinks
You can style links to respond dynamically. The associated style selectors are called the hyperlink (or
“anchor”) pseudo-class selectors:
:link, :visited, :hover, :active { }
Example: a:link {color:#FF0000;} /* color to apply to link before it’s visited */
a:visited {color:#00FF00;} /* color to apply to link before it’s visited*/ a:hover {color:#FF00FF;} /* color to apply to link while mouse pointer is over it*/ a:active {color:#0000FF;} /* color to apply while left mouse button is held down on link */
¤ Note: a:hover MUST be listed after a:link and a:visited !
¤ Note: a:active MUST be listed after a:hover !
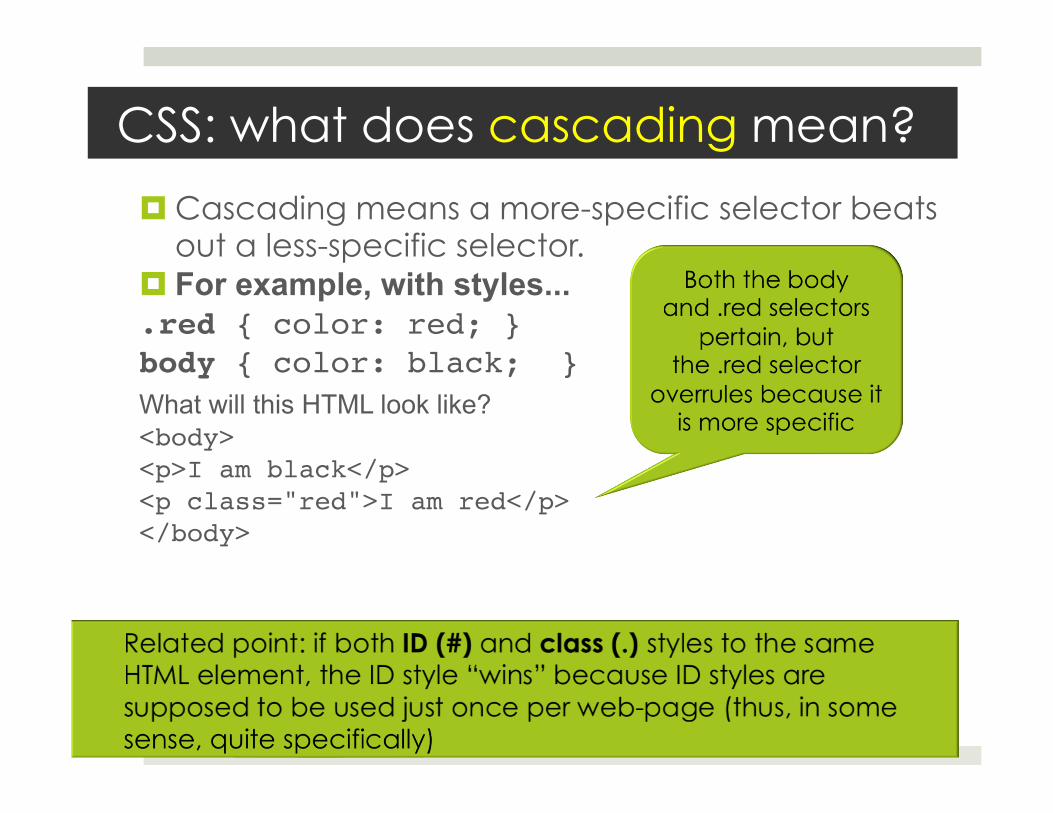
CSS: what does cascading mean?
¤ Cascading means a more-specific selector beats out a less-specific selector.
¤ For example, with styles... .red { color: red; }!body { color: black; }!What will this HTML look like? <body>!<p>I am black</p> !<p class="red">I am red</p>!</body> !
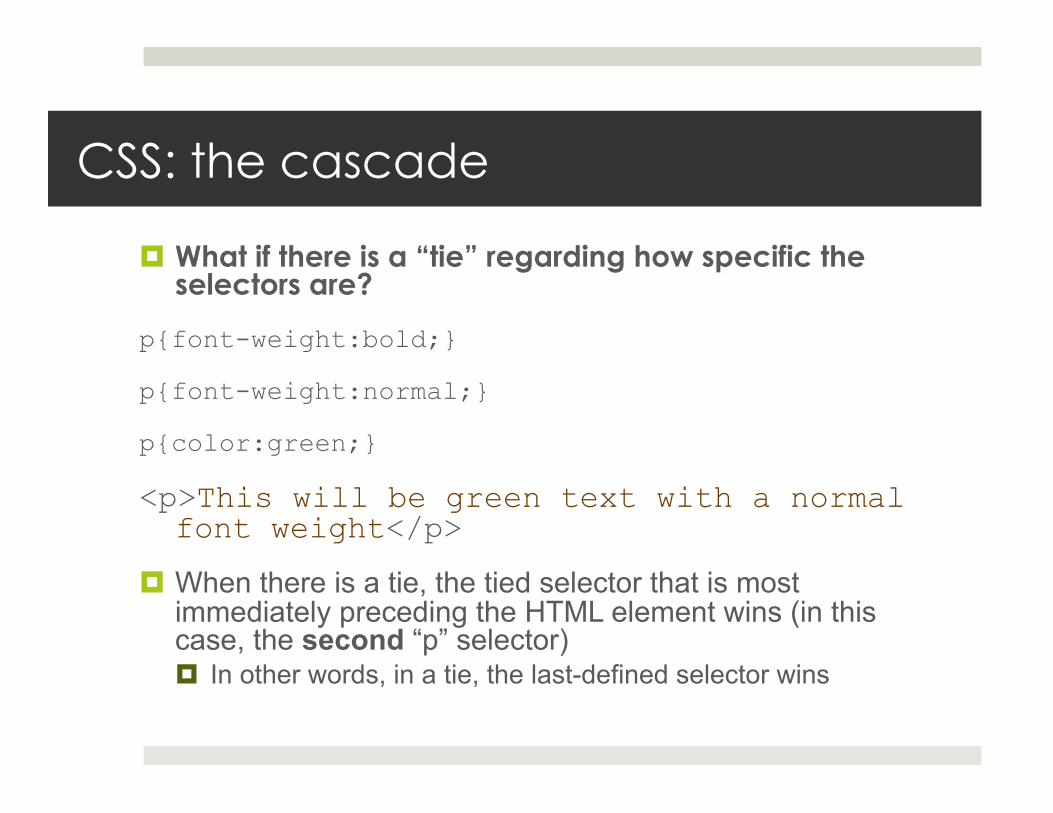
CSS: the cascade
¤ What if there is a “tie” regarding how specific the selectors are?
p{font-weight:bold;}
p{font-weight:normal;}
p{color:green;}
<p>This will be green text with a normal font weight</p>
¤ When there is a tie, the tied selector that is most immediately preceding the HTML element wins (in this case, the second “p” selector) ¤ In other words, in a tie, the last-defined selector wins
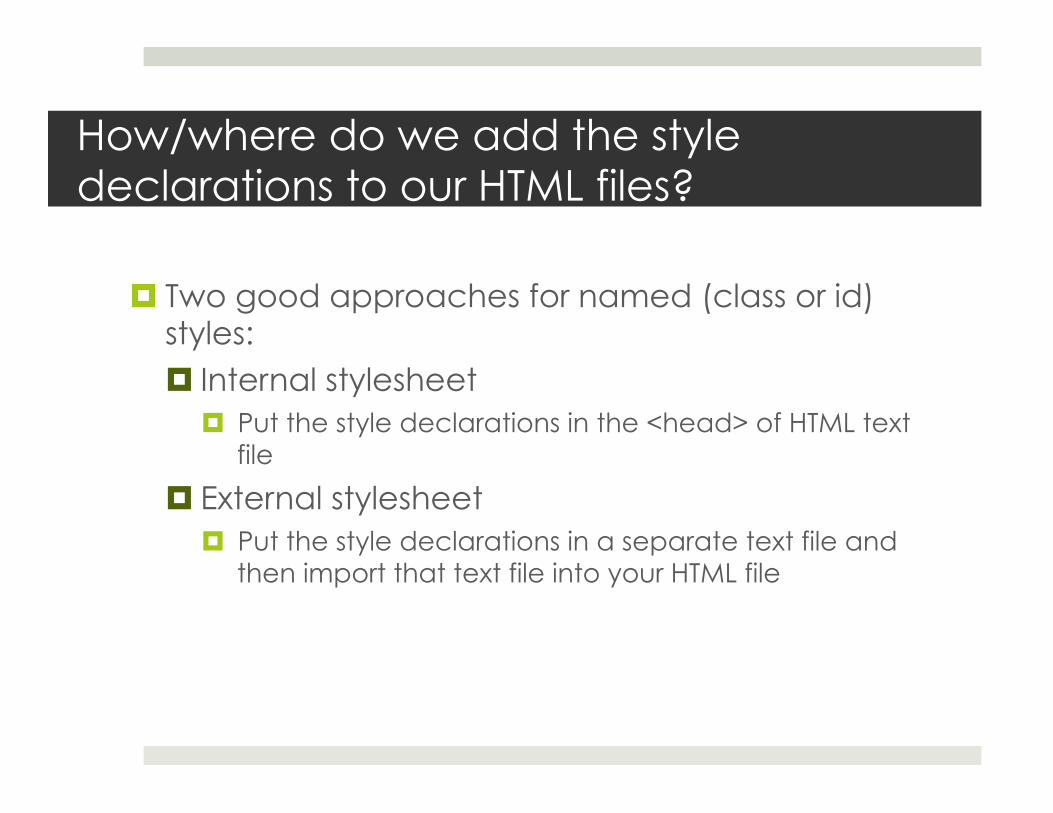
How/where do we add the style declarations to our HTML files?
¤ Two good approaches for named (class or id) styles: ¤ Internal stylesheet
¤ Put the style declarations in the <head> of HTML text file
¤ External stylesheet ¤ Put the style declarations in a separate text file and
then import that text file into your HTML file
How/where do we add the style declarations to our HTML files?
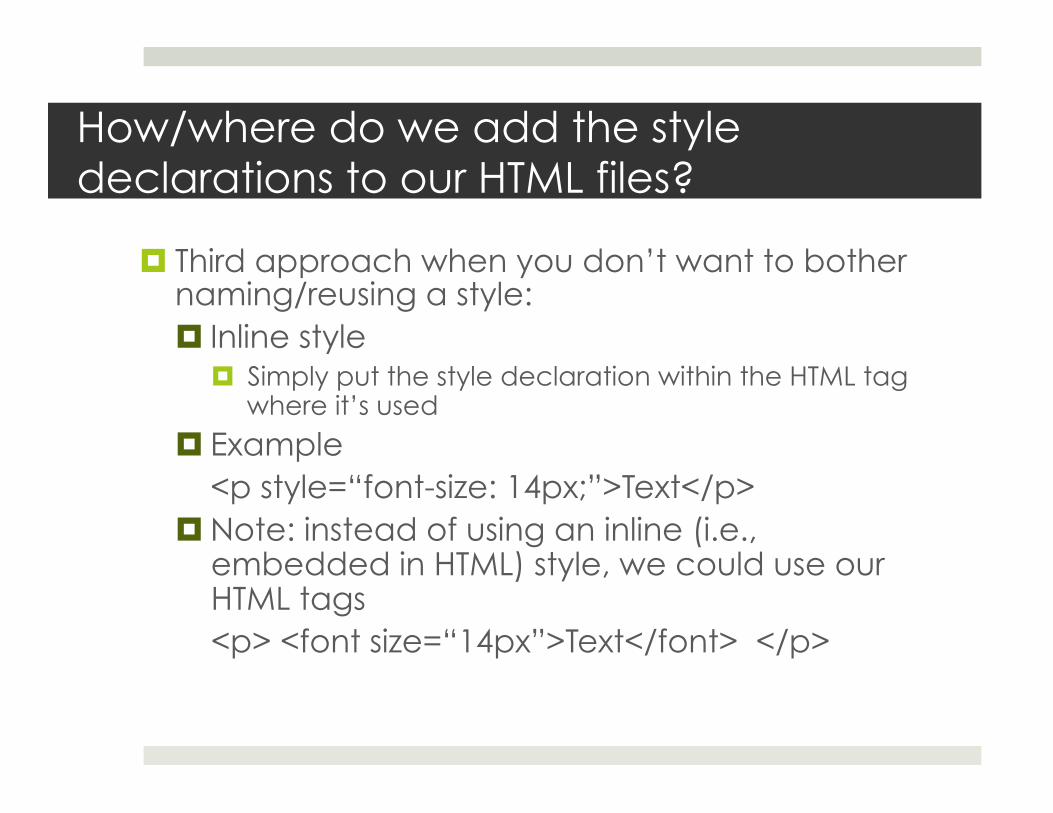
¤ Third approach when you don’t want to bother naming/reusing a style: ¤ Inline style
¤ Simply put the style declaration within the HTML tag where it’s used
¤ Example <p style=“font-size: 14px;”>Text</p> ¤ Note: instead of using an inline (i.e.,
embedded in HTML) style, we could use our HTML tags <p> <font size=“14px”>Text</font> </p>
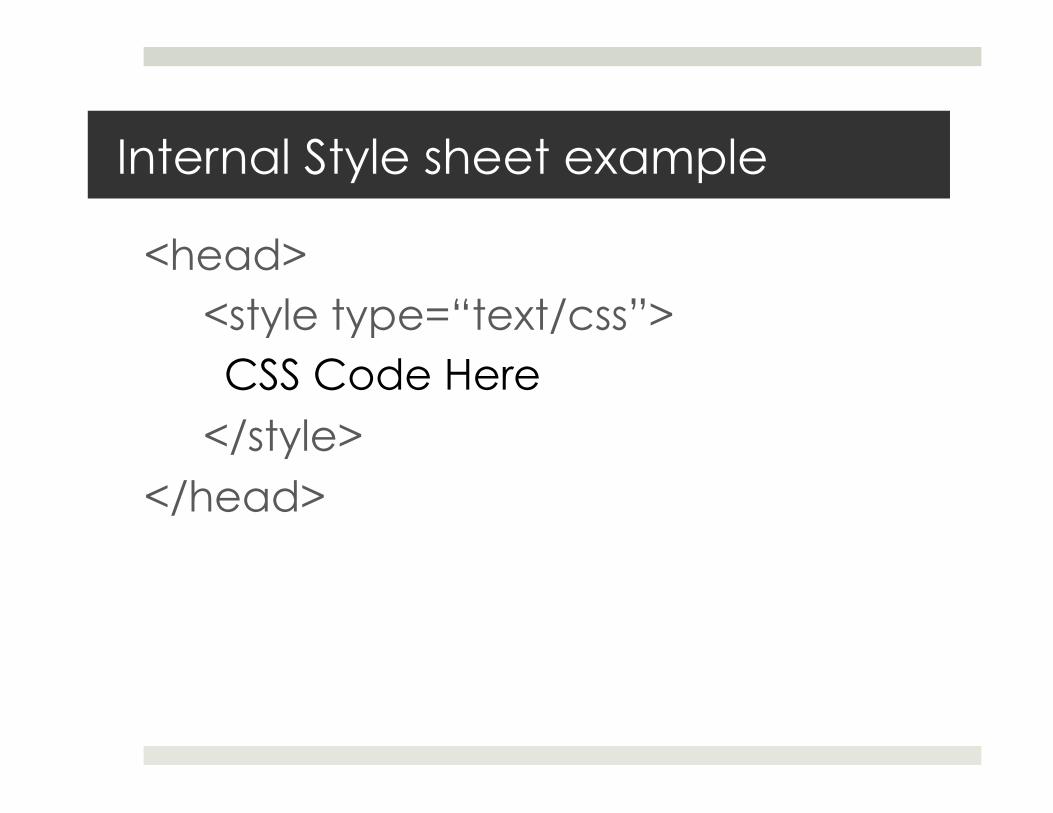
Internal Style sheet example
<head> <style type=“text/css”> CSS Code Here </style>
</head>
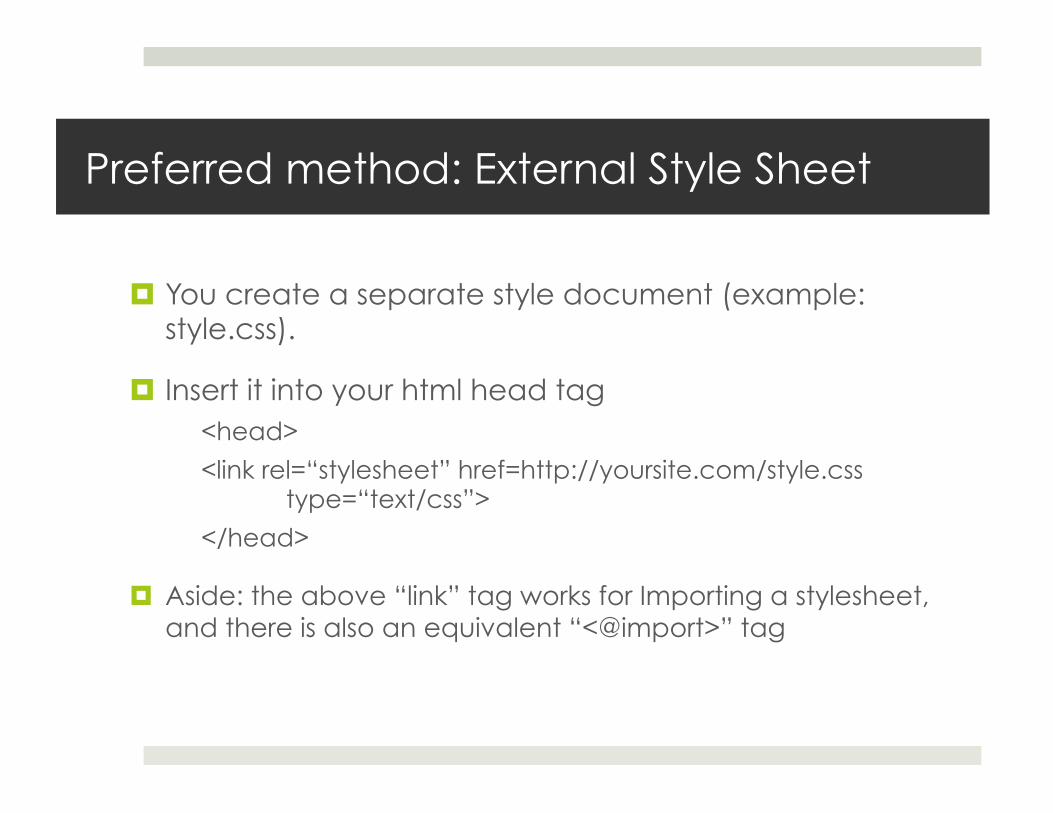
Preferred method: External Style Sheet
¤ You create a separate style document (example: style.css).
¤ Insert it into your html head tag <head>
<link rel=“stylesheet” href=http://yoursite.com/style.css type=“text/css”>
</head>
¤ Aside: the above “link” tag works for Importing a stylesheet, and there is also an equivalent “<@import>” tag

Recap: 3 places to define styles
¤ Inline – apply style attribute to a single tag ¤ Takes a lot of work to maintain across a
website
¤ Internal, (“embedded,” “global”) ¤ stylesheet defined in the <head> tag of a
page
¤ External style sheet (a .css text file) ¤ same functionality as Internal
Resources
¤ Nice description for beginners: ¤ http://www.cssbasics.com/introduction-to-
css/
¤ Nice tutorial for beginners: ¤ http://www.w3.org/Style/Examples/011/
firstcss