chapter 11 preoperative and postoperative care · chapter 11 preoperative and postoperative care...
TRANSCRIPT
Chapter 11 Preoperative and Postoperative Care
Procedure 75 Shaving the Operative Site
Procedure 76 Coughing And Deep Breathing Exercises
Procedure 77 Incentive Spirometry
Procedure 78 Applying The Pneumatic Compression Device
Procedure 79 Applying The Hypothermia-Hyperthermia Blanket
Procedure 80 Setting Up Traction (Claw-Type Basic Frame)

PERFORMANCE REVIEW CHECKLIST
Procedure 75
Shaving the Operative Site
Name of Patient Care Technician ________________________ Date of Program ______ to ______
Social Security Number or Identification Number _______________________________
Program Code Number (if any) _________________
S=Satisfactory PerformanceU=Unsatisfactory Performance
Place a full signature to correspond with each set of initials appearing below.
Supplies needed:
• Disposable exam gloves• Disposable underpad• Bath blanket or other drape• Washbasin of warm water• Disposable prep kit containing disposable drape, razor, gauze sponges, and soaped scrub
sponge• Washcloth• Towel• Plastic bag for used supplies
Initials Corresponding Signature of Instructor Title
Procedure Guidelines S/U Date Initials S/U Date Initials
1. Perform your beginning procedure actions.
2. Position the disposable underpad under the area to be shaved.
3. Open the disposable prep kit. Remove the drape and position it over the operative area.
4. Wet the sponge in the basin. Squeeze it so it is moist but not dripping.

__________________________________ _______________
Instructor Signature Date
__________________________________ _______________
Student Signature Date
5. Apply the sponge to the area to be scrubbed. Begin scrubbing in a circular motion in the center of the area, working outward. Work up a good lather on the skin.
6. Hold the skin above the area to be shaved taut with the nondominant hand. With the dominant hand, hold the razor at a 45-degree angle, shaving in the direction of hair growth. Keep the razor in contact with the skin, if possible, to minimize cuts and nicks. Avoid applying pressure, and use smooth strokes to prevent abrasions. Remove hair from the razor as often as necessary with the gauze sponges. Rinse the razor as often as necessary. Apply more soap to the skin as needed to keep the skin soapy and wet.
7. Empty the basin and rinse it well. Refill it with clean warm water.
8. Rinse the skin with a washcloth and pat dry with the towel.
9. Ask the RN to check the prep. You may be instructed to perform a 10-minute surgical scrub to the area.
10. Perform your procedure completion actions.
Procedure Guidelines S/U Date Initials S/U Date Initials

PERFORMANCE REVIEW CHECKLIST
Procedure 76
Coughing And Deep Breathing Exercises
Name of Patient Care Technician ________________________ Date of Program ______ to ______
Social Security Number or Identification Number _______________________________
Program Code Number (if any) _________________
S=Satisfactory PerformanceU=Unsatisfactory Performance
Place a full signature to correspond with each set of initials appearing below.
Supplies needed:
• Disposable exam gloves• Pillow (if needed)• Emesis basin• Tissues• Mouthwash• Cup• Plastic bag for soiled items
Initials Corresponding Signature of Instructor Title
Procedure Guidelines S/U Date Initials S/U Date Initials
1. Perform your beginning procedure actions.
2. Instruct the patient to hold a pillow across the abdomen or chest to splint the incision, if he or she had recent abdominal or chest surgery. He or she may also place one hand on either side of the rib cage, or place the hands over the operative site.

__________________________________ _______________
Instructor Signature Date
__________________________________ _______________
Student Signature Date
3. Tell the patient to hold the pillow across the surgical site and inhale slowly through the nose. Hold the breath for 3 seconds, then exhale slowly through the mouth. If the patient has lung disease, advise him or her to exhale slowly through puckered lips. Make sure the hand on the pillow rises on inhalation.
4. Hold the breath for 3 seconds, then slowly exhale through the mouth.
5. Tell the patient to take another slow, deep breath through the nose. Have the patient hold the breath for 3 seconds, then cough two or three times in a row during exhalation while squeezing the pillow over the surgical site.
6. Make sure you are wearing gloves to assist with tissues and the emesis basin to remove secretions, if necessary.
7. Repeat this exercise 5 to 10 times, or as ordered.
8. After the procedure, offer mouthwash to rinse the mouth.
9. Perform your procedure completion actions
Procedure Guidelines S/U Date Initials S/U Date Initials

PERFORMANCE REVIEW CHECKLIST
Procedure 77
Incentive Spirometry
Name of Patient Care Technician ________________________ Date of Program ______ to ______
Social Security Number or Identification Number _______________________________
Program Code Number (if any) _________________
S=Satisfactory PerformanceU=Unsatisfactory Performance
Place a full signature to correspond with each set of initials appearing below.
Supplies needed:
• Disposable exam gloves• Incentive spirometer• Tissue• Emesis basin• Mouthwash• Cup• Straw• Plastic bag for soiled items
Initials Corresponding Signature of Instructor Title
Procedure Guidelines S/U Date Initials S/U Date Initials
1. Perform your beginning procedure actions.
2. Assist the patient to sit in the high Fowler’s position.
3. Instruct the patient to exhale slowly, emptying the lungs as much as possible.
4. Have the patient place the spirometer mouthpiece between the teeth, closing the lips around the device.

__________________________________ _______________
Instructor Signature Date
__________________________________ _______________
Student Signature Date
5. Tell the patient to take a slow, deep breath, using the diaphragm. Prompt the patient to keep breathing in until the indicator on the device reaches the highest level possible. The patient should work toward the goal each time he or she uses the incentive spirometer. (If the patient achieves the goal, notify the appropriate person. The goal may be advanced.)
6. Instruct the patient to hold the breath for 3 to 5 seconds.
7. Tell the patient to exhale normally. Encourage the patient to cough to loosen secretions. Instruct the patient to take several normal breaths before using the spirometer again. The patient should take 5 to 10 breaths each time, or as ordered.
8. Provide the emesis basin and tissues if the patient coughs up secretions. Assist as necessary. Make sure you are wearing gloves.
9. Instruct the patient to rest briefly between breaths, then repeat the procedure.
10. Offer the patient mouthwash to rinse the mouth. Assist as necessary.
11. Perform your procedure completion actions.
Procedure Guidelines S/U Date Initials S/U Date Initials

PERFORMANCE REVIEW CHECKLIST
Procedure 78
Applying The Pneumatic Compression Device
Name of Patient Care Technician ________________________ Date of Program ______ to ______
Social Security Number or Identification Number _______________________________
Program Code Number (if any) _________________
S=Satisfactory PerformanceU=Unsatisfactory Performance
Place a full signature to correspond with each set of initials appearing below.
Supplies needed:
• Hosiery of proper size• Compression controller
Initials Corresponding Signature of Instructor Title
Procedure Guidelines S/U Date Initials S/U Date Initials
1. Perform your beginning procedure actions.
2. Open the hose, laying them flat on the bed with the markings opposite the knee and ankle.
3. Lift the leg, sliding the hose under it. Begin on the side of the leg opposite the plastic tubing. Wrap the sleeve around the leg with the opening in front, over the knee.
4. Beginning at the ankle, fasten the Velcro® fasteners securely. Next, secure the ankle and calf, then the thigh.
5. Check the fit by inserting two fingers between the sleeve and the patient’s leg. The fit should feel snug, but not tight.
6. Wrap the other leg, beginning on the side opposite the plastic tubing. After wrapping the leg, check the fit.

__________________________________ _______________
Instructor Signature Date
__________________________________ _______________
Student Signature Date
7. Attach the plastic tubing on each leg to the compression controller by lining up the arrows on the tubing.
8. Plug the controller in and turn on the power.
9. Remain with the patient for one complete cycle to ensure that he or she tolerates the procedure.
10. Perform your procedure completion actions.
Procedure Guidelines S/U Date Initials S/U Date Initials

PERFORMANCE REVIEW CHECKLIST
Procedure 79
Applying The Hypothermia-Hyperthermia Blanket
Name of Patient Care Technician ________________________ Date of Program ______ to ______
Social Security Number or Identification Number _______________________________
Program Code Number (if any) _________________
S=Satisfactory PerformanceU=Unsatisfactory Performance
Place a full signature to correspond with each set of initials appearing below.
Supplies needed:
• Disposable exam gloves• Hypothermia-hyperthermia blanket• Blanket cover• Sterile distilled water• Skin or rectal probe• Tape• Thermometer• Blood pressure cuff• Stethoscope• 2 bath blankets• 2 gowns• Towel• Covers for the patient’s hands and feet, if desired• Plastic bag for used supplies
Initials Corresponding Signature of Instructor Title
Procedure Guidelines S/U Date Initials S/U Date Initials
1. Perform your beginning procedure actions.
2. Take the patient’s vital signs and record them.
3. Cover the patient with a bath blanket for modesty.

__________________________________ _______________
Instructor Signature Date
__________________________________ _______________
Student Signature Date
4. Turn the patient on the side. Fold the blanket in half lengthwise, then fold it again, as you would the bottom sheet in the occupied bedmaking procedure. Slide the blanket halfway across the bed, on top of the sheet. Align the top edge of the blanket with the patient’s neck.
5. Turn the patient on the opposite side, then unfold the blanket.
6. Fold a bath blanket under the patient’s head, or use the pillow, as instructed by the RN.
7. Apply lanolin to exposed areas of the patient’s skin.
8. If the blanket is set for automatic operation, apply gloves and insert the rectal probe. Tape it in place.
9. Remove gloves and discard according to facility policy.
10. Cover the patient with a sheet or a second blanket, as directed by the RN. Pull the bath blanket out without exposing the patient.
11. Wrap the patient’s hands and feet to prevent chilling, if desired.
12. Perform your procedure completion actions.
Procedure Guidelines S/U Date Initials S/U Date Initials

PERFORMANCE REVIEW CHECKLIST
Procedure 80
Setting Up Traction (Claw-Type Basic Frame)
Name of Patient Care Technician ________________________ Date of Program ______ to ______
Social Security Number or Identification Number _______________________________
Program Code Number (if any) _________________
S=Satisfactory PerformanceU=Unsatisfactory Performance
Place a full signature to correspond with each set of initials appearing below.
Supplies needed:
• Claw-type frame consisting of:— 102” plain bar— 2 66” swivel clamp bars— 2 headboard clamps— 2 footboard clamps— Trapeze— Clamp for trapeze— Rubber bumper for headboard
Initials Corresponding Signature of Instructor Title
Procedure Guidelines S/U Date Initials S/U Date Initials
1. Perform your beginning procedure actions.
2. Attach a headboard clamp and a footboard clamp to each end of the swivel clamp bars.
3. Fasten one swivel clamp bar to the footboard and one to the headboard by turning the knobs clockwise until they are tight and secure. Pull the rubberized bar on the headboard clamp back until it is tight.
4. Position the 102” bar horizontally across the swivel clamp bars. Position the knobs facing up. Turn the knobs clockwise until they are tight and secure.
__________________________________ _______________
Instructor Signature Date
__________________________________ _______________
Student Signature Date
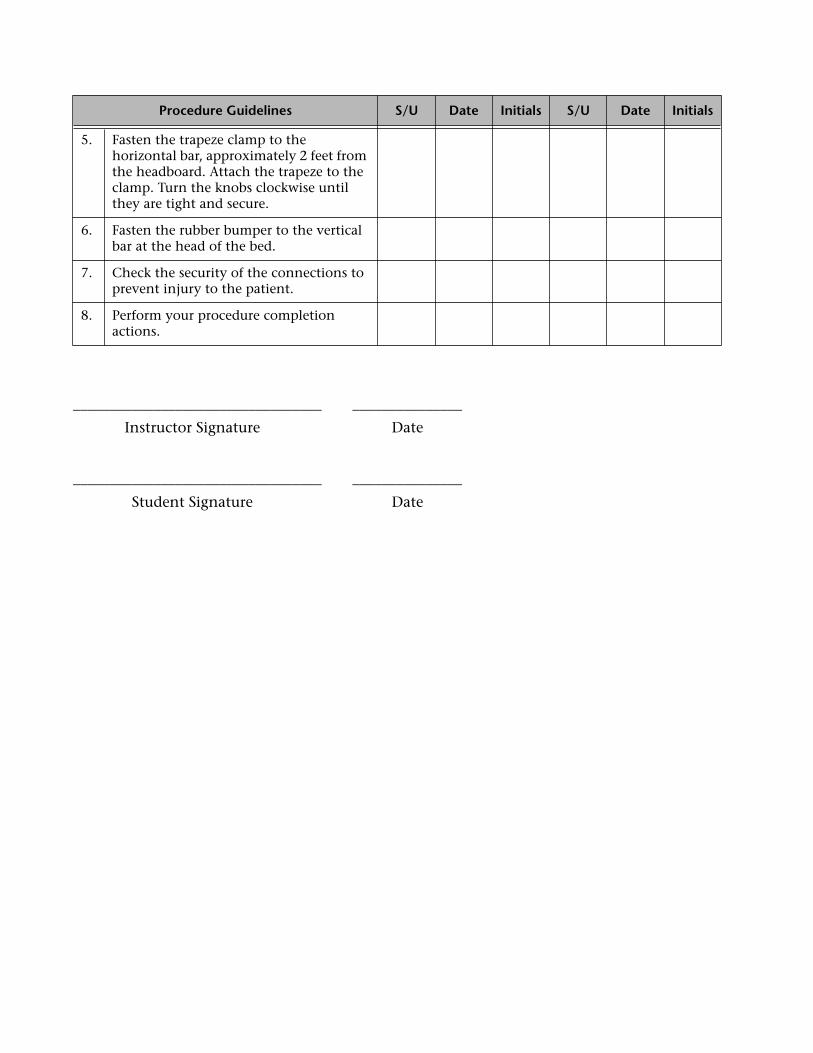
5. Fasten the trapeze clamp to the horizontal bar, approximately 2 feet from the headboard. Attach the trapeze to the clamp. Turn the knobs clockwise until they are tight and secure.
6. Fasten the rubber bumper to the vertical bar at the head of the bed.
7. Check the security of the connections to prevent injury to the patient.
8. Perform your procedure completion actions.
Procedure Guidelines S/U Date Initials S/U Date Initials