chapter:03 getting started with programming using ide
DESCRIPTION
CHAPTER:03 Getting Started with Programming Using IDE. Prepared By Vinay Alexander. =>Learning Objectives After studying this lesson the students will be able to: create a project create a new form - PowerPoint PPT PresentationTRANSCRIPT

CHAPTER:03
Getting Started with Programming Using IDE
Prepared By Vinay Alexander

=>Learning Objectives•After studying this lesson the students will be able to:
•create a project
•create a new form
•appreciate the concept and importance of a Graphical User Interface and an Integrated Development Environment understand the need and use of components like Button, Text Field, Labels, Password Field, Text Area and Radio Buttons.
•add components to the form and change the properties of the components attach code with components of the form
•develop small applications involving simple calculations with integers and decimal numbers.
=>IDE(Integrated development environment): It is an application program consisting of different development tools needed for developing an application.
=>Java is both a programming language and a platform.
=>Platform: Combination of hardware and system software. That is OS Windows vista,Windows NT etc.

History of Java• 1991 Oak project at Sun and developed by James Gosling
– small, robust, architecture independent, Object-Oriented, language to control interactive TV.
– didn’t go anywhere• 1995 Oak becomes Java
– Focus on the web• 1996 Java 1.0 available• 1997 (March) Java 1.1 - some language changes, much larger library,
new event handling model • 1997 (September) Java 1.2 beta – huge increase in libraries including
Swing, new collection classes, J2EE• 1998 (October) Java 1.2 final (Java2!)• 2000 (April) Java 1.3 final• 2001 Java 1.4 final (assert)• 2004 Java 1.5 (parameterized types, enum, …) (Java5!)• 2005 J2EE 1.5

What is a Java ?
• Java is a high level programming language that is very similar to C and C ++.
• Java is an object-oriented language.• Java is platform independent.• Java is multi-threaded. • Java is a general-purpose, high-level programming language.
– The features of Java
• Java program is both compiled and interpreted.
• Write once, run anywhere
• Java is a software-only platform running on top of other, hardware-based platforms.
– Java Virtual Machine (Java VM)
– The Java Application Programming Interface (JAVA API)
• Java is Object-Oriented• In Java, data are encapsulated by the procedures defined over them.
• Advantage of object-oriented programming- Application independence- Software reuse- Easy maintenance of programs
• Platform IndependenceA platform is basically some combination of hardwareand software running within a system:CPU and operating system
- An executable program (object code) may not be executedon different machines (platforms) due to the fact that eachmachine has its own machine instruction set.
• Java solves the platform-independence problem by using byte codes and the so-called Java Virtual Machine (JVM).
• JVM:The JVM is some software that implements a virtual or imaginary machine inside your computer.
• Accordingly, a Java program will be executed in two phases: compiling and interpreting
• The first phase (Java compiler)• It compiles the program, but instead of generating machine code
specific to hardware, it generates byte codes.• Byte codes are instructions that looks like machine code but are not
specific to any one processor.
• The second phase (Java interpreter)- The interpreter will read in the byte code and translate it into native
machine instructions.- The Java byte code interpreter is often called the Java Virtual machine or
the Java Runtime.• By the traditional language, a program is compiled into machine
code or processor instructions.- These instructions are specific to the processor your
computer is running.

Ordinary Compilation Process
• A Program is a set of instructions given to a computer.
• The program or code written by a programmer is called the Source code.
• The process of converting a source code into machine code is called compilation.
• The converting machine code depends a lot on the platform it is executed upon. That means for different platform different machine code is produced

Ordinary Compilation Process
Java Source Compiler forWindow Xp
Compiler for Unix
Compiler for macintosh
Machine codeFor Window Xp
Machine codeFor UNIX
Machine codeFor Macintosh

Java Programming Lang.
“Write once, run anywhere”
Generates byteCode Implementation of the Java Virtual Machine (JVM) Spec.
Characteristics of Java• Java is simple
• Java is object-oriented
• Java is distributed
• Java is interpreted
• Java is robust
• Java is secure
• Java is architecture-neutral
• Java is portable
• Java’s performance
• Java is multithreaded
• Java is dynamic
• Write once, run anywhere.
• Platform Independence

=>RAD(Rapid application Development) describes a method of developing software through the use of pre-programmed tools or wizards. The pre-programmed tools or controls are simply dropped on a screen to visually design the interface of application.

=> Introduction of NetBeans : Creating a new Project=>Creating a new Form
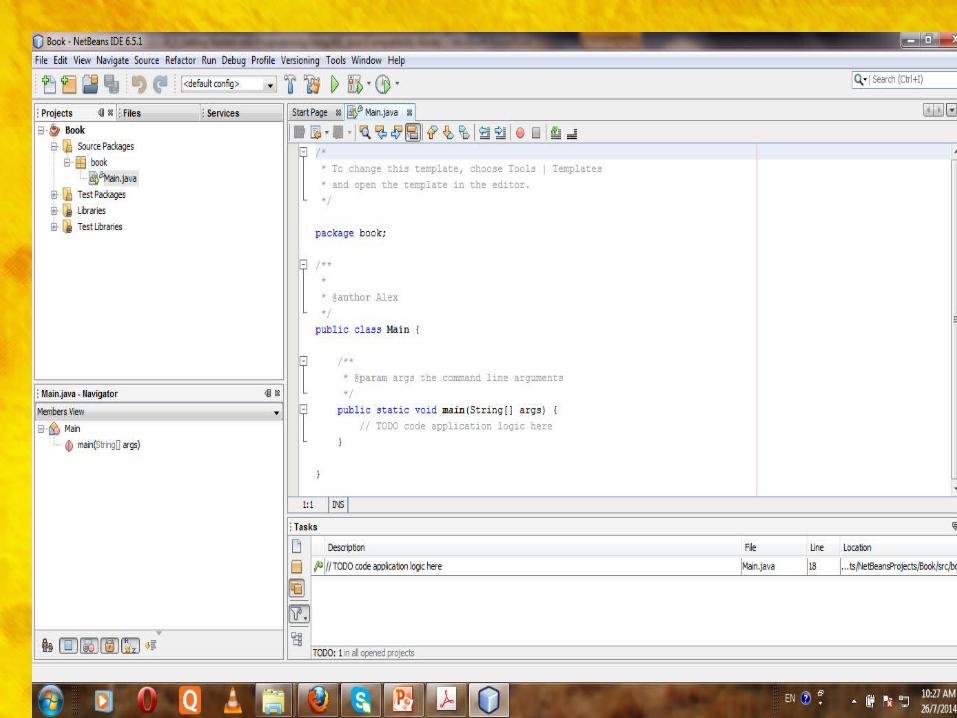
To create a new application project called "Book":
1. Choose File > New Project. Alternately, click the New Project icon in the toolbar.
2. From the Categories pane select Java and in the Projects pane, choose Java Application. Click Next.
3. Enter a name (in this case Book) in the Project Name field and specify the project location by clicking on the Browse button. By default the project is saved in the NetBeans Projects folder in My Documents and so this is the default Project location displayed in this field.
4. Ensure that the Set as Main Project checkbox is selected and clear the Create Main Class field.
5. Click Finish.
Netbeans creates the Book folder on your system in the designated location. This folder
will contain all of the associated files of the project. The next step is to create a form. To
proceed with building our form, we need to create a container within which we will place the other required components of the form like a button. For all our applications we will choose the JFrame Form as the container to place other components.

=>Creating a new FormTo create a JFrame Form container:
1. In the Projects window, right-click the Book node and choose New > Jframe Form as shown in Figure 2. Enter Form Example 1 as the Class Name. This will be the name of your form.
3. Enter Book as the package. This should be the name given while creating the Project.
4. Click Finish.


Adding a Button Component to a Form: We want to add a button so follow the given steps to add a JButton to the form:
1.In the Palette window, select the JButton component from the Swing Controls category
2.Move the cursor over the Form. When the guidelines appear (as displayed in Figure ) indicating that the JButton is positioned in the desired location, click to place the button.
=>The JButton is added to the form as displayed in Figure.The button is added on the form, a corresponding node representing the component is added to the Inspector window


=>Attaching Code to a Form Component:After placing the button, the next step is to write a code to exit from the application on the click of this button. To do the same, double click on the button to attach a code with the event i.e. click of the button. Double clicking on the component opens up the source window and places the cursor on the point where code is to be added. Note that certain code is pre generated and cannot be changed. In the Source window add the single codeline as shown in Figure


Executing a File
Now that the code for the first application is ready let us test our first application. To execute the application simply select Run>Run File or press Shift+F6 as shown in Figure


• Quick Recap - Steps for developing a Simple application
• Step 1: Create a new Project
• Step 2: Add a JFrame form
• Step 3: Add the desired component from the Palette window using drag and drop
• feature
• Step 4: Associate code with the component by double clicking the component.
• Step 5: Add the source code.
• Step 6: Test the form by pressing Shift+F6.

=>Changing Properties of Components
Each component of our application including the form has certain attributes associated with it. The Properties Window displays the names and values of the attributes (properties) of the currently selected component. We can edit the values of most properties in the Properties window.
•We want to change the text displayed on the button. There are four ways of doing the same in the design view:
• Select the button component by clicking on it. In the Properties window highlight the text property and type STOP in the textbox adjacent to it as displayed in Figure Alternatively select the object. Left click on the button to highlight the display text. Type STOP and press Enter.
• Select the object > Press F2 - to make the display text editable. Type in the new text and press Enter.
• Right click on the button component and select Edit Text from the Drop down menu to make the display text editable. Type in the new text and press Enter.
• Using the Properties window, it is also possible to change the Font and Foreground property of the button as displayed in Figure


Familiarizing with the Netbeans GUI Interface•GUI : it allows us to interact with the various components through visual elements including pictures, graphical icons, symbols and visual indicators. For example to add a button we simply have to drag the button icon From the Swing Controls tab in the Palette. Similarly as we are writing code, small visual indicators appear informing us about the errors in the code. The Netbeans GUI Builder's various windows include four main components

These components are explained below:1. Design Area: The GUI Builder's primary window for creating and editing Java GUI forms. The toolbar's Source and Design toggle buttons enable us to view the source code or a graphical view of its GUI components. The additional toolbar buttons provide convenient access to common commands, such as aligning components, setting component auto-resizing behaviour, and previewing forms.
2. Inspector: Provides a graphic representation of all the components, both visual and non-visual, in our application as a tree hierarchy. The Inspector also provides visual feedback about what component in the tree is currently being edited in the GUI Builder as well as allows us to organize components in the available panels.
3. Palette. Contains a customizable list of available components containing tabs for JFC/Swing, AWT, and JavaBeans components, as well as layout managers. In addition, we can create, remove, and rearrange the categories displayed in the Palette using the customizer.4. Properties Window. Displays the properties of the component currently selected in the GUI Builder, Inspector window, Projects window, or Files window


=>setText(). This method is used to change the display text of a component (label, text field or button) during run time. The syntax of this method is given be•Syntax:
component.setText("text")
The "text" is the display text to be shown for the mentioned component.low:

=>getText(): This is used to return the text contained in the referred text component. It is generally used to retrieve the value typed by the user in a textbox or label. The syntax for this method is given below:•Syntax: jtextField1.getText()
This command is used to retrieve the value of the text Field named jtextField1.

We want to display the message in the second text field along with the name of the user which has been entered in the first text field. jTextField1.getText()=>retrieves the name entered by the user in the first text field using getText()."Good Morning" + jTextField1.getText()=>The message "Good Morning" is concatenated with the name retrieved from the first text field using the + symbol.jTextField2.setText("Good Morning" + jTextField1.getText())
•The display text of the second text field is set to the concatenated message using setText().

This alternate uses the concat() method to add the two strings together. The syntax of this method is:Syntax: string1.concat(string2)
=>This will result in adding the string2 at the end of the string1. For example:
"sham".concat("poo")
returns shampoo

• Using the Text Area Component: The text field allows the user to enter a single line of text only. If we want to accept multiline input or want to display multiline output, then what do we do? The Text Area component is a solution for this problem. This component allows us to accept multiline input from the user or display multiple lines of information. This component automatically adds vertical or horizontal scroll bars as and when required during run time.

=>Handling a Password Field Component: Now the question arises that what should be done if we want that the text input by the user should not be displayed as characters but as special characters (so that it is not readable by anyone)? The answer is simple. Use the Password Field instead of the normal text field. This component allows confidential input like passwords which are single line.


The code has introduced us to two new methods:=>Integer.toString() - used to convert an Integer value to String type=>Integer.parseInt() - to convert a value to Integer type.=>jTextField1.getText()
•retrieves the value entered by the user in the first text field using getText(). This value by default is treated as a string i.e. a group of characters and not as a number

=>12 * Integer.parseInt( jTextField1.getText())
=>The string value needs to be converted to an integer number and this is achieved using the parseInt() method. After converting it to a number it is multiplied by 12.=>Integer.toString(12 * Integer.parseInt( jTextField1.getText()))
=>The value calculated is a number which is to be displayed in a text field. So before displaying it needs to be converted to a string type and this is achieved using the toString() method.

=>jTextField2.setText(Integer.toString(12 * Integer.parseInt( jTextField1.getText())))=>The converted value needs to be displayed in the second text field. This is achieved using the setText() method.

=>Double.parseDouble() - to convert a value to Double type. We are already familiar with setText(), getText()and toString() so now we are ready to understand the code.jTextField1.getText()and jTextField2.getText()
•retrieves the value entered by the user in the first and second text fields respectively using getText(). These values by default are treated as strings i.e.a group of characters and not as numbers•Double.parseDouble( jTextField1.getText()) and•Double.parseDouble( jTextField2.getText())

=>The string values need to be converted to numbers with decimals and this is achieved using the parseDouble() method. After converting both the values they are multiplied to get the total amount payable.=>Double.toString(Double.parseDouble( jTextField1.getText())
=>Double.parseDouble( jTextField2.getText()))•The value calculated is a number with decimals which is to be displayed in a text field. So before displaying it needs to be converted to a string type and this is achieved using the toString() method.

=>jTextField3.setText(Double.toString(Double.parseDouble( jTextField1.getText())=>Double.parseDouble(jTextField2.getText()))•The converted value is displayed in the third text field using the setText() method.

Summary:=>Forms are used to accept data (input) and submit data to an external agent for processing.
=>A project in Netbeans acts as a storage place for all the forms and codes created in one application
=>A JFrame Form acts as a container to place other components like the button, text field and text area
=>The Palette Window contains a customizable list of available components containing tabs for JFC/Swing, AWT, and JavaBeans components, as well as layout managers.
=>The Swing Controls can be differentiated from other components as they are preceded with a 'j' like jButton and jTextField
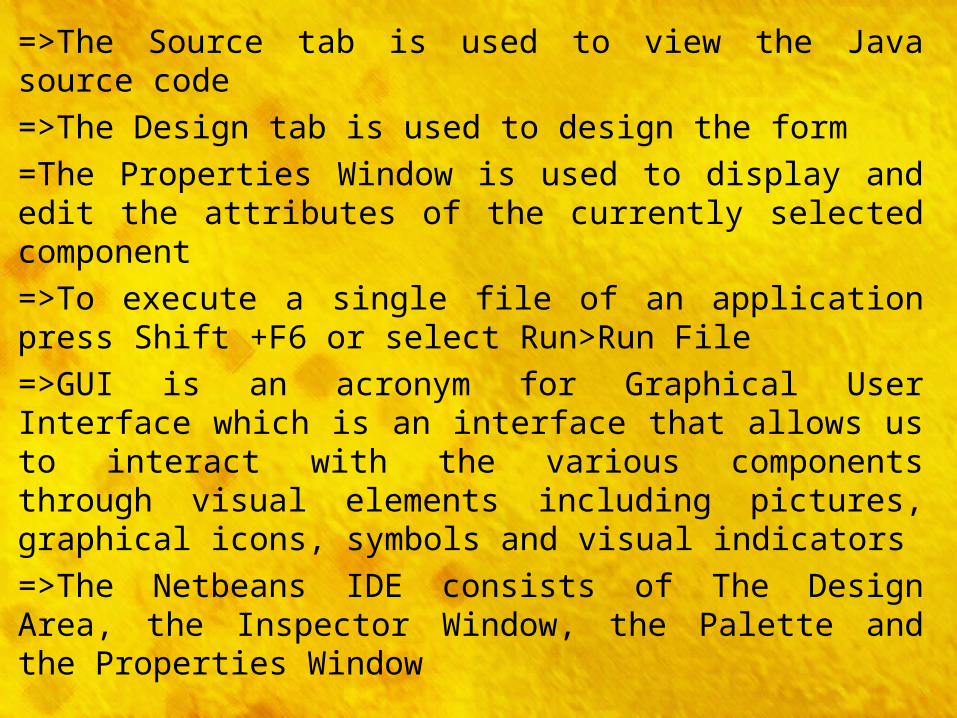
=>The Source tab is used to view the Java source code
=>The Design tab is used to design the form=The Properties Window is used to display and edit the attributes of the currently selected component=>To execute a single file of an application press Shift +F6 or select Run>Run File=>GUI is an acronym for Graphical User Interface which is an interface that allows us to interact with the various components through visual elements including pictures, graphical icons, symbols and visual indicators=>The Netbeans IDE consists of The Design Area, the Inspector Window, the Palette and the Properties Window
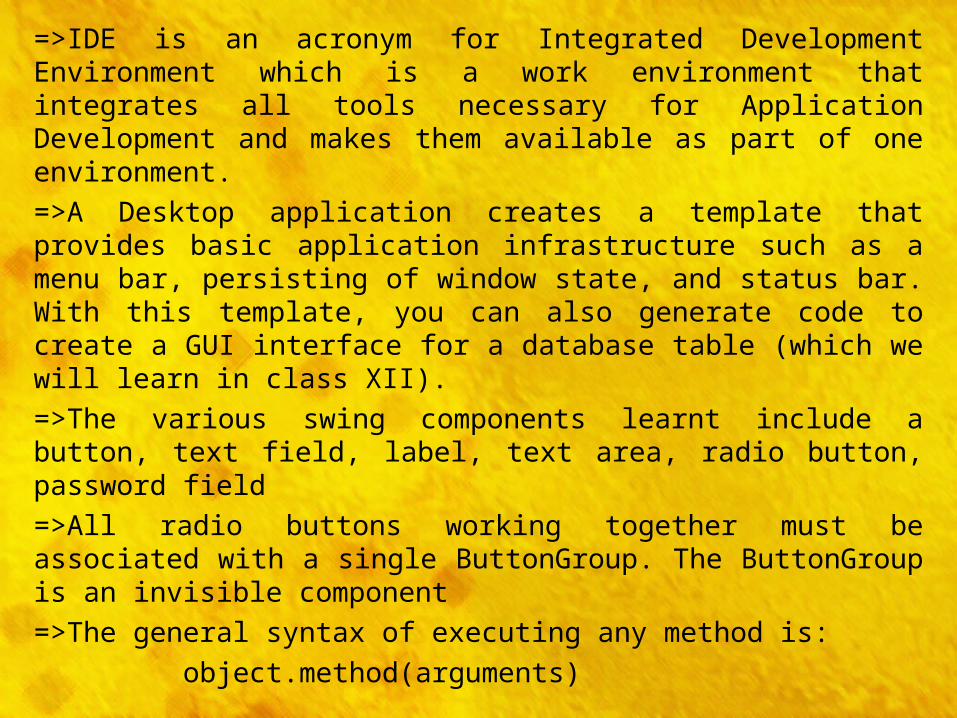
=>IDE is an acronym for Integrated Development Environment which is a work environment that integrates all tools necessary for Application Development and makes them available as part of one environment.=>A Desktop application creates a template that provides basic application infrastructure such as a menu bar, persisting of window state, and status bar. With this template, you can also generate code to create a GUI interface for a database table (which we will learn in class XII).=>The various swing components learnt include a button, text field, label, text area, radio button, password field=>All radio buttons working together must be associated with a single ButtonGroup. The ButtonGroup is an invisible component=>The general syntax of executing any method is: object.method(arguments)

For example:1. Integer.parseInt("10")In this example Integer is the object, parseInt() the method and 10 is theargument supplied.2. jTextField1.setText("Welcome")•In this example jTextField1 is the object, setText() the method and "Welcome“ is the argument supplied.•The concat() method or the string concatenation symbol(+) may be used to add two strings together•A brief summary of all the methods learnt in this chapter is given in the table
•below:


END
51
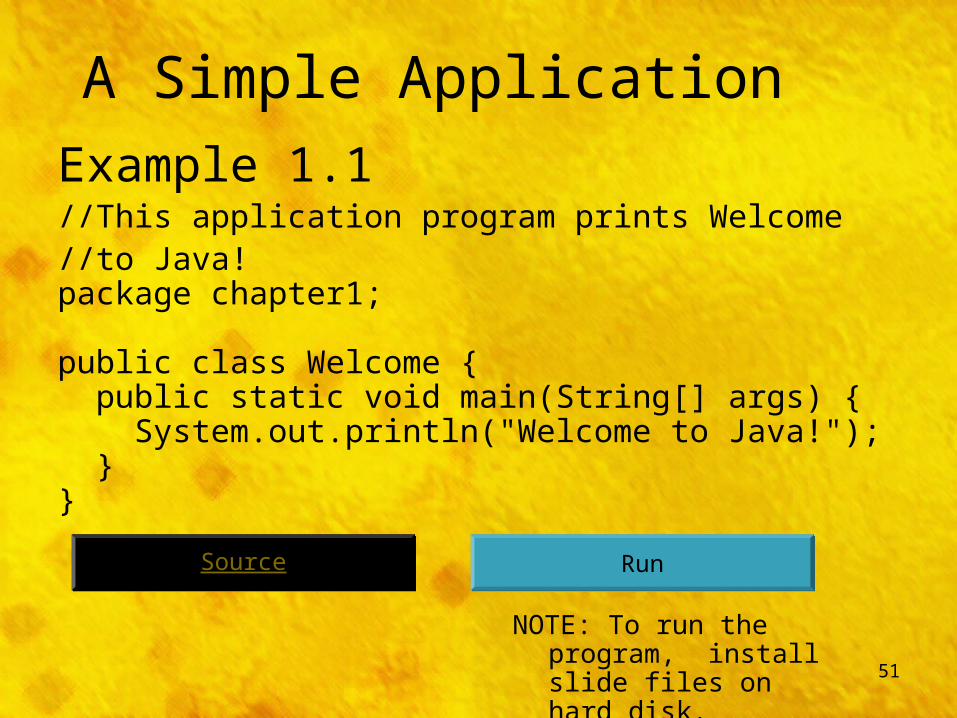
A Simple Application
Example 1.1//This application program prints Welcome//to Java! package chapter1;
public class Welcome { public static void main(String[] args) { System.out.println("Welcome to Java!"); }}
RunRunSourceSource
NOTE: To run the program, install slide files on hard disk.

52
Example
javac Welcome.java
java Welcome
output:...

53
Comments
In Java, comments are preceded by two slashes (//) in a line, or enclosed between /* and */ in one or multiple lines. When the compiler sees //, it ignores all text after // in the same line. When it sees /*, it scans for the next */ and ignores any text between /* and */.

54
Package
The second line in the program (package chapter1;) specifies a package name, chapter1, for the class Welcome. Forte compiles the source code in Welcome.java, generates Welcome.class, and stores Welcome.class in the chapter1 folder.

55
Reserved Words
Reserved words or keywords are words that have a specific meaning to the compiler and cannot be used for other purposes in the program. For example, when the compiler sees the word class, it understands that the word after class is the name for the class. Other reserved words in Example 1.1 are public, static, and void. Their use will be introduced later in the book.

56
Modifiers
Java uses certain reserved words called modifiers that specify the properties of the data, methods, and classes and how they can be used. Examples of modifiers are public and static. Other modifiers are private, final, abstract, and protected. A public datum, method, or class can be accessed by other programs. A private datum or method cannot be accessed by other programs. Modifiers are discussed in Chapter 6, "Objects and Classes."

57
Statements
A statement represents an action or a sequence of actions. The statement System.out.println("Welcome to Java!") in the program in Example 1.1 is a statement to display the greeting "Welcome to Java!" Every statement in Java ends with a semicolon (;).

58
Blocks
A pair of braces in a program forms a block that groups components of a program.
public class Test { public static void main(String[] args) { System.out.println("Welcome to Java!"); } }
Class block
Method block

59
Classes
The class is the essential Java construct. A class is a template or blueprint for objects. To program in Java, you must understand classes and be able to write and use them. The mystery of the class will continue to be unveiled throughout this book. For now, though, understand that a program is defined by using one or more classes.

60
MethodsWhat is System.out.println? It is a method: a collection of statements that performs a sequence of operations to display a message on the console. It can be used even without fully understanding the details of how it works. It is used by invoking a statement with a string argument. The string argument is enclosed within parentheses. In this case, the argument is "Welcome to Java!" You can call the same println method with a different argument to print a different message.

61
main MethodThe main method provides the control of program flow. The Java interpreter executes the application by invoking the main method. The main method looks like this: public static void main(String[] args) { // Statements;}
62
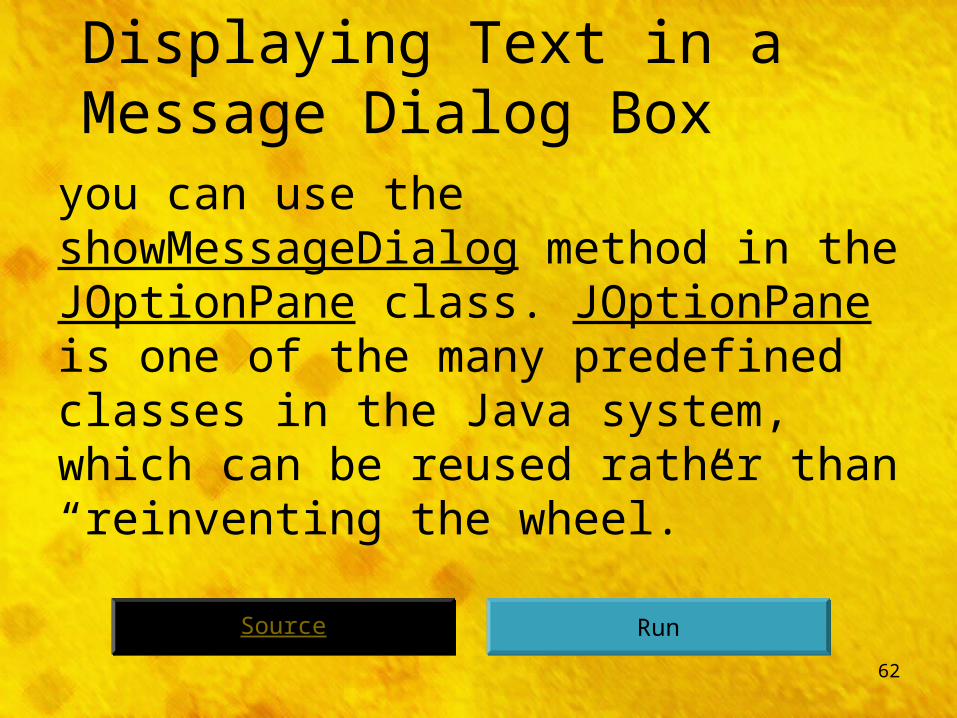
Displaying Text in a Message Dialog Box
you can use the showMessageDialog method in the JOptionPane class. JOptionPane is one of the many predefined classes in the Java system, which can be reused rather than “reinventing the wheel.”
RunRunSourceSource

63
The showMessageDialog Method
JOptionPane.showMessageDialog(null, "Welcome to Java!",
"Example 1.2", JOptionPane.INFORMATION_MESSAGE));

64
The exit Method Use Exit to terminate the program and stop all threads.
NOTE: When your program starts, a thread is spawned to run the program. When the showMessageDialog is invoked, a separate thread is spawned to run this method. The thread is not terminated even you close the dialog box. To terminate the thread, you have to invoke the exit method.