contentschiefapprentice.com/.../2016/05/table_of_contents.pdf · section 1 using advanced cad to...
TRANSCRIPT

SECTION 1
Using Advanced CAD to Create 2D and 3D Objects in Chief
Architect 1
Introduction………………………………………………………………………………..2
CHAPTER 1 THE BASIC EDIT TYPES 3
Steps: Working with the Different Edit Types........................................................................3
Can You Do It?....................................................................................................................11
CONTENTS
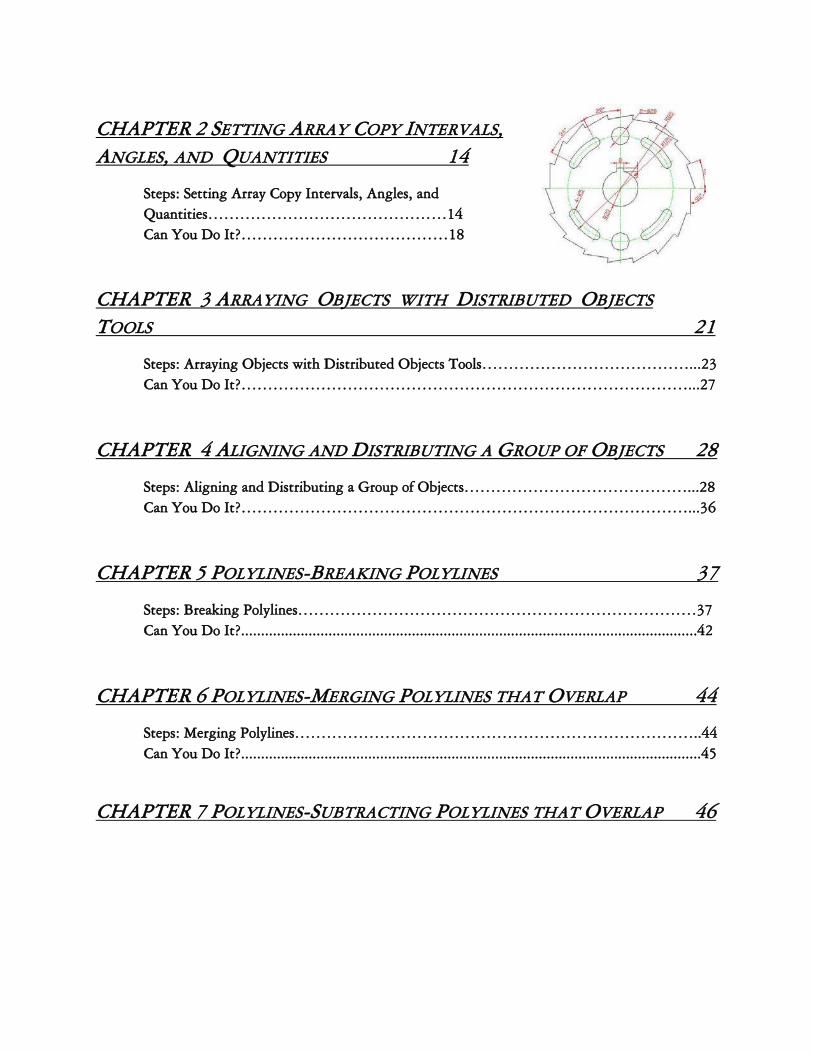
CHAPTER 2 SETTING ARRAY COPY INTERVALS,
ANGLES, AND QUANTITIES 14
Steps: Setting Array Copy Intervals, Angles, and
Quantities………………………………………14
Can You Do It?…………………………………18
CHAPTER 3 ARRAYING OBJECTS WITH DISTRIBUTED OBJECTS
TOOLS 21
Steps: Arraying Objects with Distributed Objects Tools…………………………………...23
Can You Do It?…………………………………………………………………………...27
CHAPTER 4 ALIGNING AND DISTRIBUTING A GROUP OF OBJECTS 28
Steps: Aligning and Distributing a Group of Objects……………………………………...28
Can You Do It?…………………………………………………………………………...36
CHAPTER 5 POLYLINES-BREAKING POLYLINES 37
Steps: Breaking Polylines…………………………………………………………………37
Can You Do It?...................................................................................................................42
CHAPTER 6 POLYLINES-MERGING POLYLINES THAT OVERLAP 44
Steps: Merging Polylines…………………………………………………………………..44
Can You Do It?....................................................................................................................45
CHAPTER 7 POLYLINES-SUBTRACTING POLYLINES THAT OVERLAP 46
Steps: Subtracting Polylines……………………………………………………………….46
Can You Do It?....................................................................................................................52
CHAPTER 7 USING THE LINE STYLE EDITOR 55
Steps: Using the Line Style Editor…………………………………………………………55
Can You Do It?....................................................................................................................60
CHAPTER 9 TRANSFERRING LINE STYLE AND LAYER INFORMATION
BETWEEN PLANS 61
Steps: Transferring Layer Information and Line Style Attributes…………………………...61
CHAPTER 10 USING THE TRIM AND EXTEND COMMNANDS 64
Steps: Using the Trim and Extend Commands…………………………………………….64
Can You Do It?…………………………………………………………………………...68
CHAPTER 11 DRAWING REVISION CLOUDS 71
Steps: Drawing Revision Clouds…………………………………………………………...71
CHAPTER 12 USING THE NUDGE TOOL 77
Steps: Using the Nudge Tool……………………………………………………………...77
CHAPTER 13 PLACING INSERTION POINTS IN CAD BLOCKS 80
Steps: Placing Insertion Points in CAD Blocks……………………………………………80
Can You Do It?…………………………………………………………………………...84
CHAPTER 14 DISPLAYING TEXT LABELS FOR CAD OBJECTS 85
Steps: Displaying Text Labels for CAD Objects …………………………………………...85
SECTION 2
ADVANCED CEILINGS 91
Introduction………………………………………………………………………………92
CHAPTER 15 BASIC CEILING TYPES AND THEIR MATERIALS 92
Steps: Basic Ceiling Types and their Materials……………………………………………..92
CHAPTER 16 DRAWING CATHEDRAL CEILINGS 98
Step: Drawing Cathedral Ceilings ………………………………………………………...98
Can You Do It?..................................................................................................................101
CHAPTER 17 DRAWING VAULTED AND CURVED CEILINGS 102
Steps: Drawing Vaulted and Curved Ceilings ……………………………………………103
Can You Do It?..................................................................................................................108
CHAPTER 18 CREATING TRAY CEILING EFFECTS BY RAISING THE
CEILING 109
Steps: Creating Tray Ceiling Effects……………………...………………………………109
Can You Do It?..................................................................................................................112
CHAPTER 19 DRAWING A SUSPENDED CEILING WITH GRID AND
TILE 113
Steps: Drawing a Suspended Ceiling with Grid and Tile …………………………………113
Can You Do It?..................................................................................................................123
CHAPTER 20 CREATING A COFFERED CEILING ELEMENT WITH
RECESSED BACKLIT PANEL 123
Steps: Creating a Coffered Ceiling Element with Recessed Backlit Panel …………………124
Can You Do It?..................................................................................................................131
CHAPTER 21 CREATING A COFFERED CEILING WITH MULTIPLE
RECESSED PANELS 131
Steps: Creating a Coffered Ceiling with Multiple Recessed Panels………………………………...132
Can You Do It?………………………………………………….................................................135
SECTION 3
ADVANCED FLOORS 137
Introduction……………………………………………………………………………138
CHAPTER 22 CUTTING A HOLE IN A FLOOR PLATFORM 138
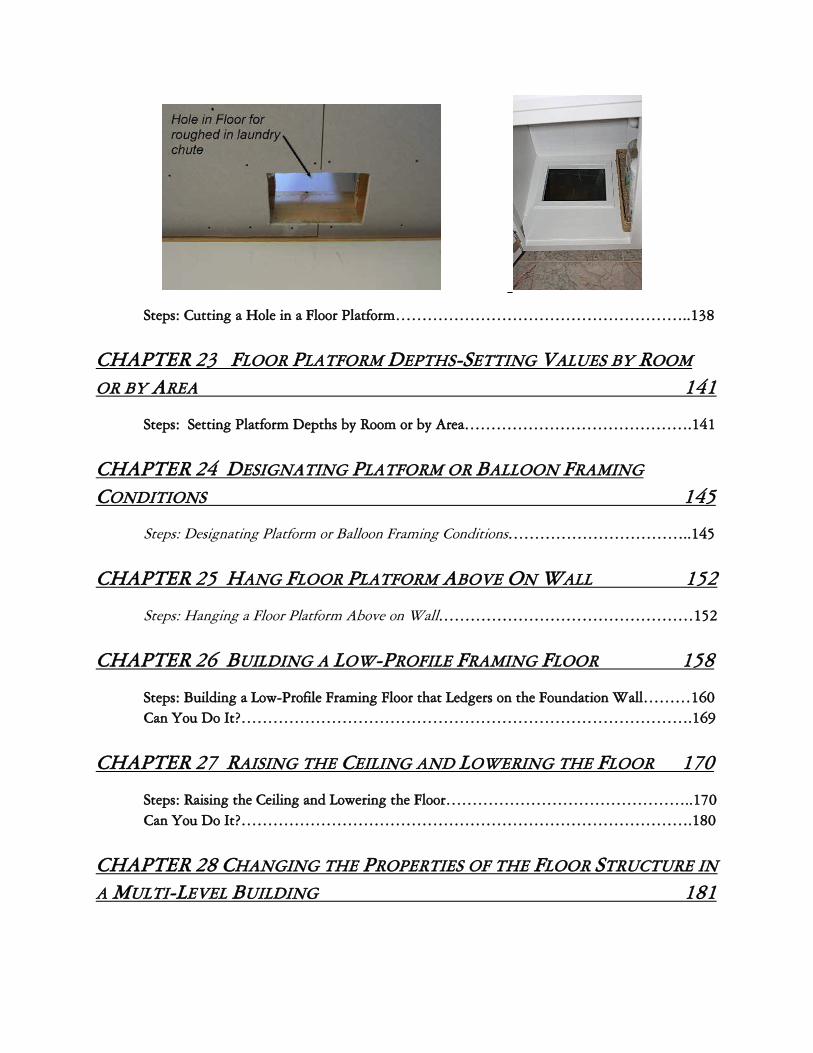
Steps: Cutting a Hole in a Floor Platform………………………………………………..138
CHAPTER 23 FLOOR PLATFORM DEPTHS-SETTING VALUES BY ROOM
OR BY AREA 141
Steps: Setting Platform Depths by Room or by Area…………………………………….141
CHAPTER 24 DESIGNATING PLATFORM OR BALLOON FRAMING
CONDITIONS 145
Steps: Designating Platform or Balloon Framing Conditions……………………………..145
CHAPTER 25 HANG FLOOR PLATFORM ABOVE ON WALL 152
Steps: Hanging a Floor Platform Above on Wall…………………………………………152
CHAPTER 26 BUILDING A LOW-PROFILE FRAMING FLOOR 158
Steps: Building a Low-Profile Framing Floor that Ledgers on the Foundation Wall………160
Can You Do It?………………………………………………………………………….169
CHAPTER 27 RAISING THE CEILING AND LOWERING THE FLOOR 170
Steps: Raising the Ceiling and Lowering the Floor………………………………………..170
Can You Do It?………………………………………………………………………….180
CHAPTER 28 CHANGING THE PROPERTIES OF THE FLOOR STRUCTURE IN
A MULTI-LEVEL BUILDING 181
Steps: Changing the Properties of the Floor Structure…………………………………….181
SECTION 4
ADVANCED FOUNDATIONS 187
Introduction……………………………………………………………………………..188
CHAPTER 29 FOUNDATION WITH PARTIALLY EXPOSED BRICK AND A
BRICK LEDGE 188
Steps: Creating a Foundation with a Brick Ledge………………………………………...188
Can You Do It?………………………………………………………………………….194
CHAPTER 30 MONOLITHIC SLAB TECHNOLOGY FOR CHIEF ARCHITECT
X4 AND X5 195
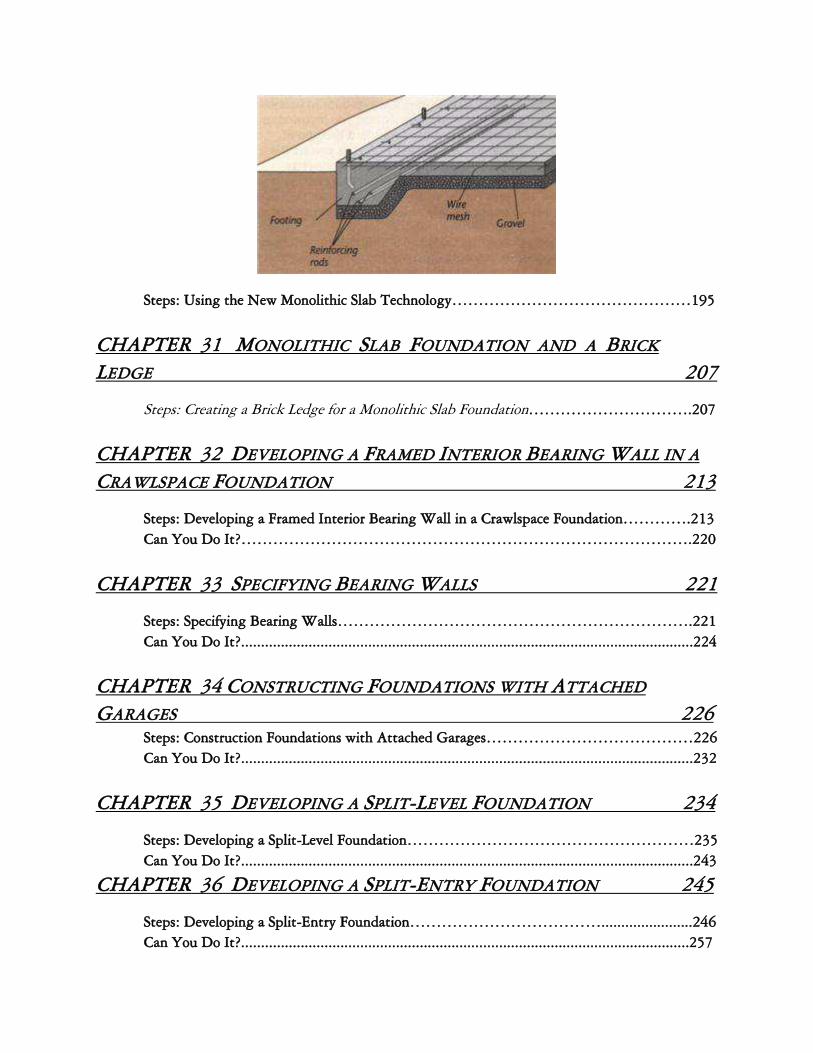
Steps: Using the New Monolithic Slab Technology………………………………………195
CHAPTER 31 MONOLITHIC SLAB FOUNDATION AND A BRICK
LEDGE 207
Steps: Creating a Brick Ledge for a Monolithic Slab Foundation………………………….207
CHAPTER 32 DEVELOPING A FRAMED INTERIOR BEARING WALL IN A
CRAWLSPACE FOUNDATION 213
Steps: Developing a Framed Interior Bearing Wall in a Crawlspace Foundation………….213
Can You Do It?………………………………………………………………………….220
CHAPTER 33 SPECIFYING BEARING WALLS 221
Steps: Specifying Bearing Walls………………………………………………………….221
Can You Do It?..................................................................................................................224
CHAPTER 34 CONSTRUCTING FOUNDATIONS WITH ATTACHED
GARAGES 226 Steps: Construction Foundations with Attached Garages…………………………………226
Can You Do It?..................................................................................................................232
CHAPTER 35 DEVELOPING A SPLIT-LEVEL FOUNDATION 234
Steps: Developing a Split-Level Foundation………………………………………………235
Can You Do It?..................................................................................................................243
CHAPTER 36 DEVELOPING A SPLIT-ENTRY FOUNDATION 245
Steps: Developing a Split-Entry Foundation……………………………….......................246
Can You Do It?.................................................................................................................257

SECTION 5
ADVANCE FLOOR AND CEILING FRAMING 259
Introduction……………………………………………………………………………260
CHAPTER 37 CREATING GENERAL FRAMING IN CHIEF ARCHITECT 260
Steps: Creating General Framing in Chief Architect……………………………………...260
CHAPTER 38 CREATING MORE THAN ONE MUD SILL ON A
FOUNDATION WALL 269
Steps: Creating a Double Mud Sill Plate………………………………………………….269
CHAPTER 39 USING BEAMS AND BEARING LINES TO CUT JOISTS 274
Steps: Using Beams and Bearing Lines to Cut Joists……………………………………...274
CHAPTER 40 CREATING COMPLEX FLOOR SYSTEMS WITH MULTI-
DIRECTIONAL JOIST S AND DIFFERENT JOIST DEPTHS 280
Steps: Mixing Joist Depths and Directions on the Same Floor…………………………….280
CHAPTER 41 FLOOR JOIST SYSTEMS SUPPORTED BY BEAMS AND
POSTS 288
Steps: Using Chief Architect’s Beam and Post Tools……………………………………...288
CHAPTER 42 CREATING EXPOSED DECORATIVE BEAMS 297
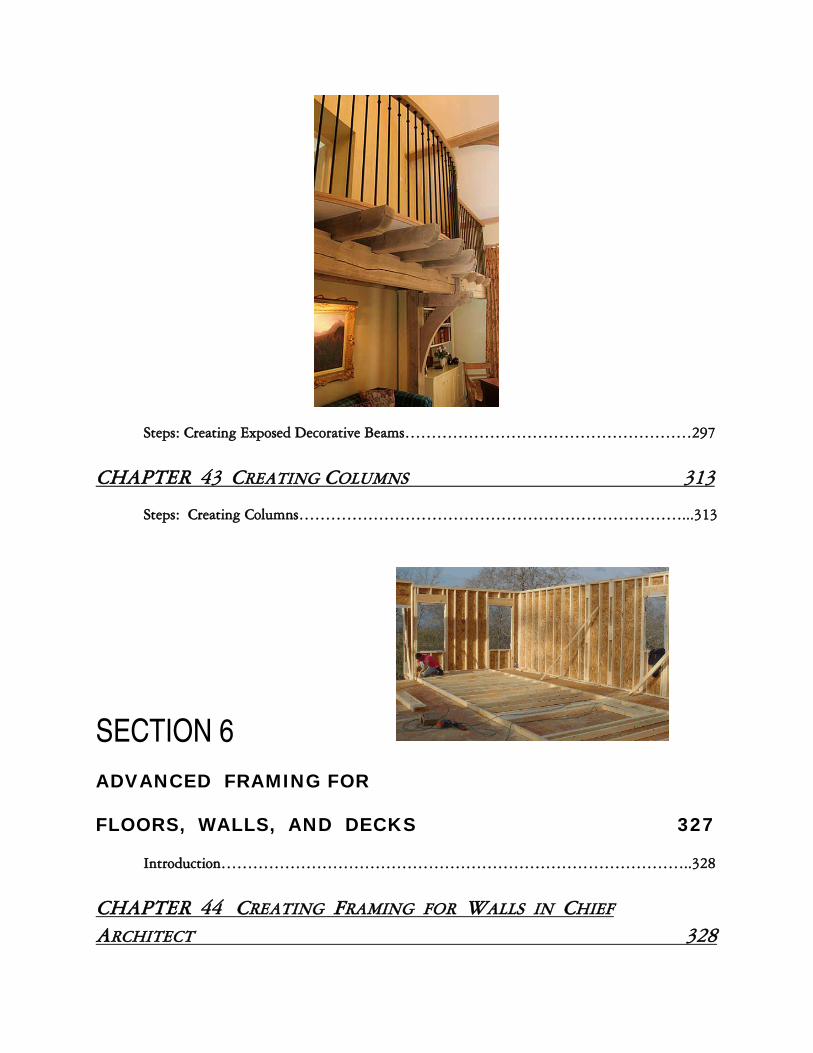
Steps: Creating Exposed Decorative Beams………………………………………………297
CHAPTER 43 CREATING COLUMNS 313
Steps: Creating Columns………………………………………………………………...313
SECTION 6
ADVANCED FRAMING FOR
FLOORS, WALLS, AND DECKS 327
Introduction……………………………………………………………………………..328
CHAPTER 44 CREATING FRAMING FOR WALLS IN CHIEF
ARCHITECT 328

Steps: Building Wall Framing in Chief Architect…………………………………………329
CHAPTER 45 REPORTING HOW FRAMING REPORTS TO YOUR MATERIAL
LISTS 343
Steps: Specifying how Framing Reports to your Material Lists……………………………343
CHAPTER 46 USING THE MATERIALS LIST AND THE MASTER LIST
TOGETHER 351
Steps: Using the Materials List and the Master List Together…………………………….352
CHAPTER 47 USING THE WALL FRAMING DETAIL TO EDIT WALL
FRAMING 360
Steps: Using the Wall Framing Detail to Edit Wall Framing…………………………….360
CHAPTER 48 HOW TO KEEP A WALL FROM FRAMING 368
Steps: How to Keep a Wall from Framing……………………………………………….369
CHAPTER 49 VARYING THE SPACING OF STUDS FOR DIFFERENT
WALLS 372
Steps: Varying the Spacing of Studs for Different Walls………………………………….372
CHAPTER 50 ALIGNING FRAMING MEMBERS USING THE FRAMING
REFERENCE TOOL 376
Steps: Using the Framing Reference……………………………………………………...376
CHAPTER 51 CREATING BLOCKING AND BRACING 381
Steps: Creating Blocking and Bracing………………………………………………........382
CHAPTER 52 USING THE INTERSECT/JOIN TWO LINES TOOL TO MITER
FRAMING JOINTS 388
Steps: Mitering a Framing Joint……………………………………………….................389
CHAPTER 53 DISPLAYING FRAMING AS CAD LINES 391
Steps: Displaying Framing as CAD Lines………………………………………………...392
CHAPTER 54 FLOOR AND CEILING TRUSSES 395
Steps: Framing with Floor and Ceiling Trusses…………………………………………...396
CHAPTER 55 CREATING BALLOON FRAMING 402
Steps: Creating Balloon Framing………………………………………………................403
CHAPTER 56 FRAMING DECKS AND BALCONIES 408
Steps: Framing Decks and Balconies………………………………………………..........409
CHAPTER 57 MANUEL PLACEMENT OF DECK POSTS AND FOOTINGS ON
A TERRAIN 419
Steps: Placing Deck Posts and Footing on a Terrain……………………………………...419
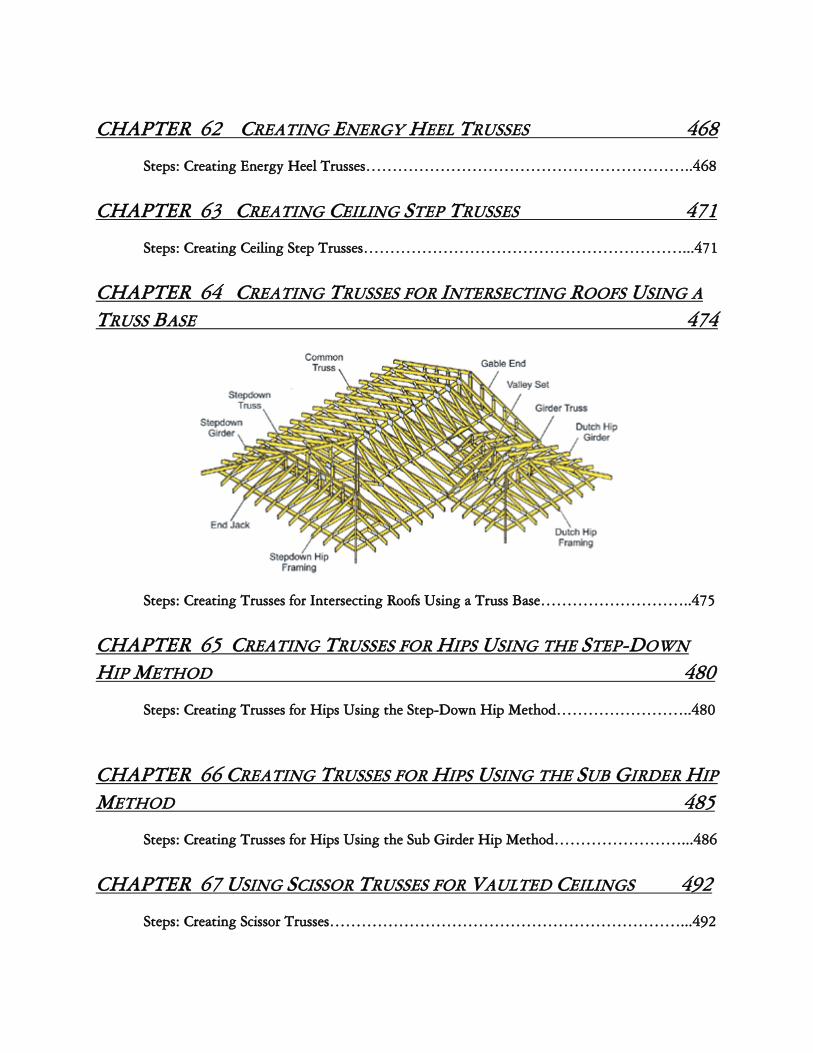
SECTION 7
ADVANCED ROOF FRAMING 425
Introduction……………………………………………………………………………426
CHAPTER 58 FRAMING A ROOF IN CHIEF ARCHITECT 427
Steps: Framing a Roof in Chief Architect………………………………………………....427
CHAPTER 59 USING ROOF TRUSSES TO FRAME A ROOF 453
Steps: Framing a Truss Roof System in Chief Architect…………………………………...456
CHAPTER 60 ELIMINATING THE LOOKOUTS IN A TRUSS ROOF
SYSTEM 462
Steps: Eliminating the Lookouts in a Truss Roof System………………………………….462
CHAPTER 61 CREATING CANTILEVERED TRUSSES 464
Steps: Creating Cantilevered Trusses……………………………………………………..465
CHAPTER 62 CREATING ENERGY HEEL TRUSSES 468
Steps: Creating Energy Heel Trusses……………………………………………………..468
CHAPTER 63 CREATING CEILING STEP TRUSSES 471
Steps: Creating Ceiling Step Trusses……………………………………………………...471
CHAPTER 64 CREATING TRUSSES FOR INTERSECTING ROOFS USING A
TRUSS BASE 474
Steps: Creating Trusses for Intersecting Roofs Using a Truss Base………………………..475
CHAPTER 65 CREATING TRUSSES FOR HIPS USING THE STEP-DOWN
HIP METHOD 480
Steps: Creating Trusses for Hips Using the Step-Down Hip Method……………………..480
CHAPTER 66 CREATING TRUSSES FOR HIPS USING THE SUB GIRDER HIP
METHOD 485
Steps: Creating Trusses for Hips Using the Sub Girder Hip Method……………………...486
CHAPTER 67 USING SCISSOR TRUSSES FOR VAULTED CEILINGS 492
Steps: Creating Scissor Trusses…………………………………………………………...492
CHAPTER 68 DEVELOPING ATTIC TRUSSES FOR USABLE ATTIC
SPACE 496
Steps: Framing with Attic Trusses………………………………………………………..496
CHAPTER 69 EDITING A TRUSS AND LOCKING IT 502
Steps: Editing a Truss and Locking It…………………………………………………….502
CHAPTER 70 FRAMING A SKYLIGHT 505
Steps: Framing a Skylight by Locking a Truss……………………………………………505
CHAPTER 71 TRUSS LABELS AND CREATING A SCHEDULE 513
Steps: Looking at Truss Labels and Creating a Schedule………………………………….513
SECTION 8
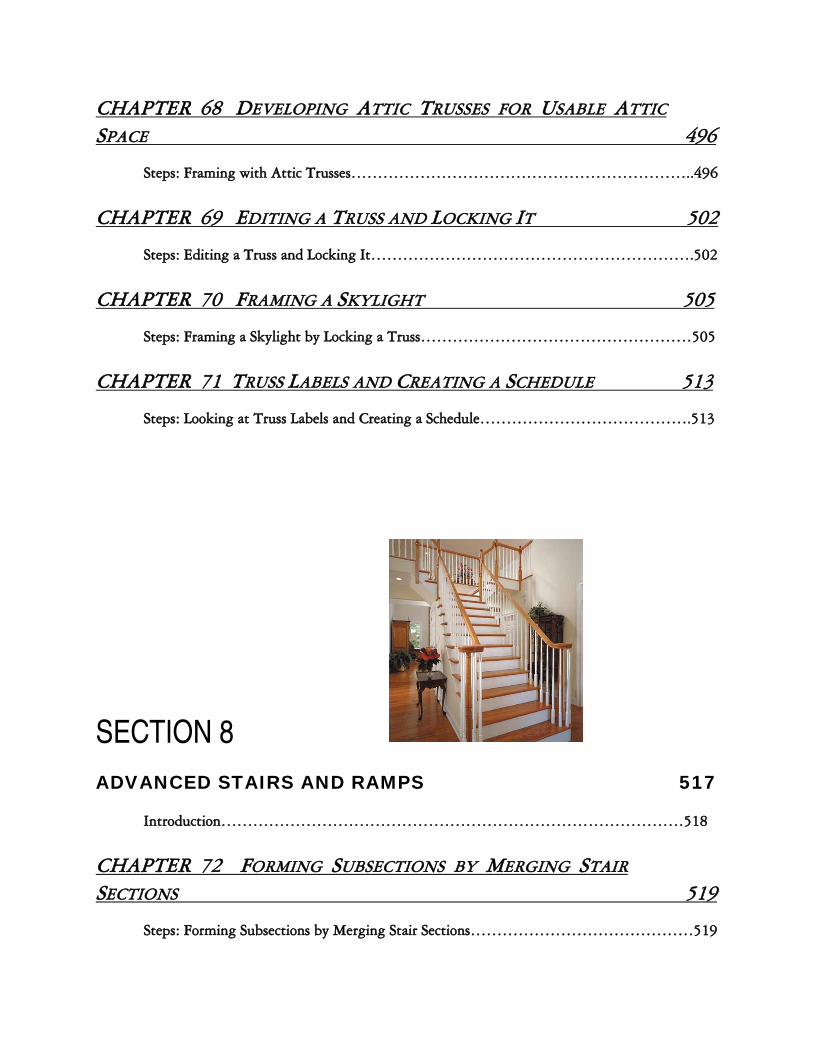
ADVANCED STAIRS AND RAMPS 517
Introduction……………………………………………………………………………518
CHAPTER 72 FORMING SUBSECTIONS BY MERGING STAIR
SECTIONS 519
Steps: Forming Subsections by Merging Stair Sections……………………………………519
CHAPTER 73 STAIR FEATURES IN CHIEF ARCHITECT 525
Steps: Stair Features in Chief Architect……………………………………………….......526
CHAPTER 74 PLACING RAILINGS IN THE MIDDLE OF STAIRWAYS 544
Steps: Placing Railings in the Middle of Stairways………………………………………..544
CHAPTER 75 RAMPS 547
Steps: Placing Ramps…………………………………………………………………….548
CHAPTER 76 THE STAIR AND RAMP LANDING TOOL 562
Steps: Working with the Stair and Ramp Landing Tools…………………………………562
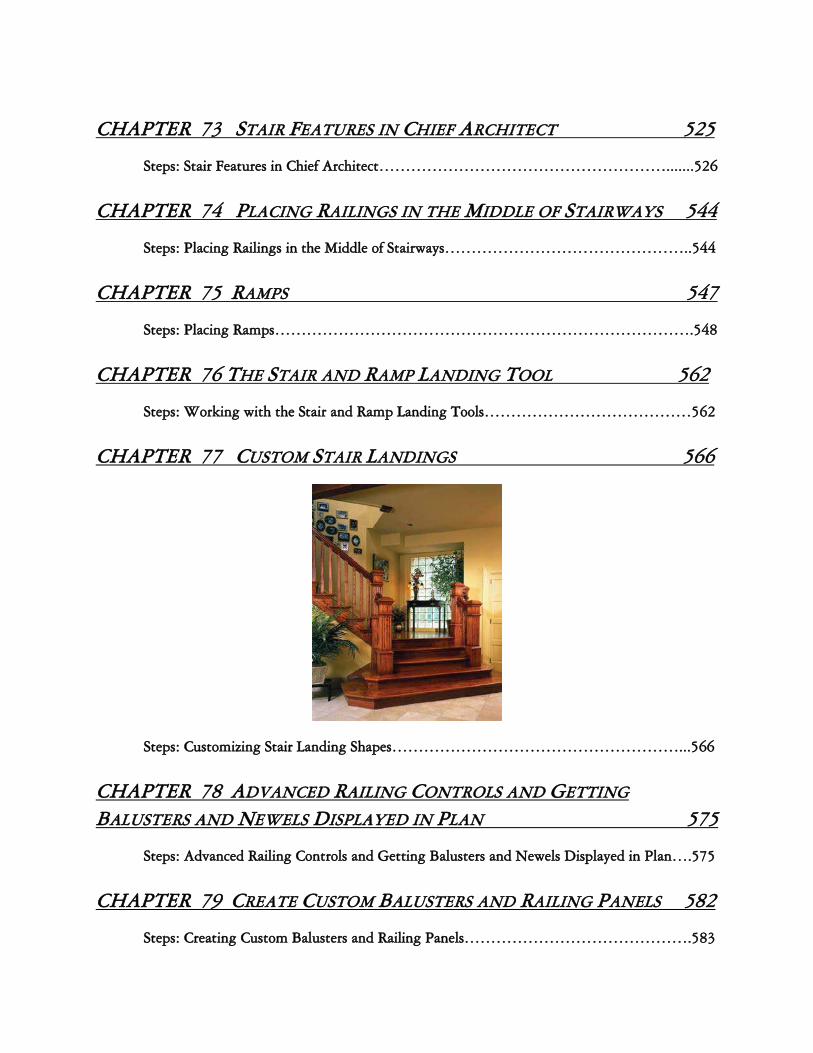
CHAPTER 77 CUSTOM STAIR LANDINGS 566
Steps: Customizing Stair Landing Shapes………………………………………………...566
CHAPTER 78 ADVANCED RAILING CONTROLS AND GETTING
BALUSTERS AND NEWELS DISPLAYED IN PLAN 575
Steps: Advanced Railing Controls and Getting Balusters and Newels Displayed in Plan….575
CHAPTER 79 CREATE CUSTOM BALUSTERS AND RAILING PANELS 582
Steps: Creating Custom Balusters and Railing Panels…………………………………….583
CHAPTER 80 CREATING A STAIR WITH A SINGLE STEEL STRINGER 590
Steps: Creating a Stair with a Single Steel Stringer……………………………………….590
CHAPTER 81 CREATING AN EXTERIOR STAIR TO THE 2ND FLOOR FROM
GRADE 592
Steps: Creating an Exterior Stair to the 2nd Floor from Grade……………………………..592
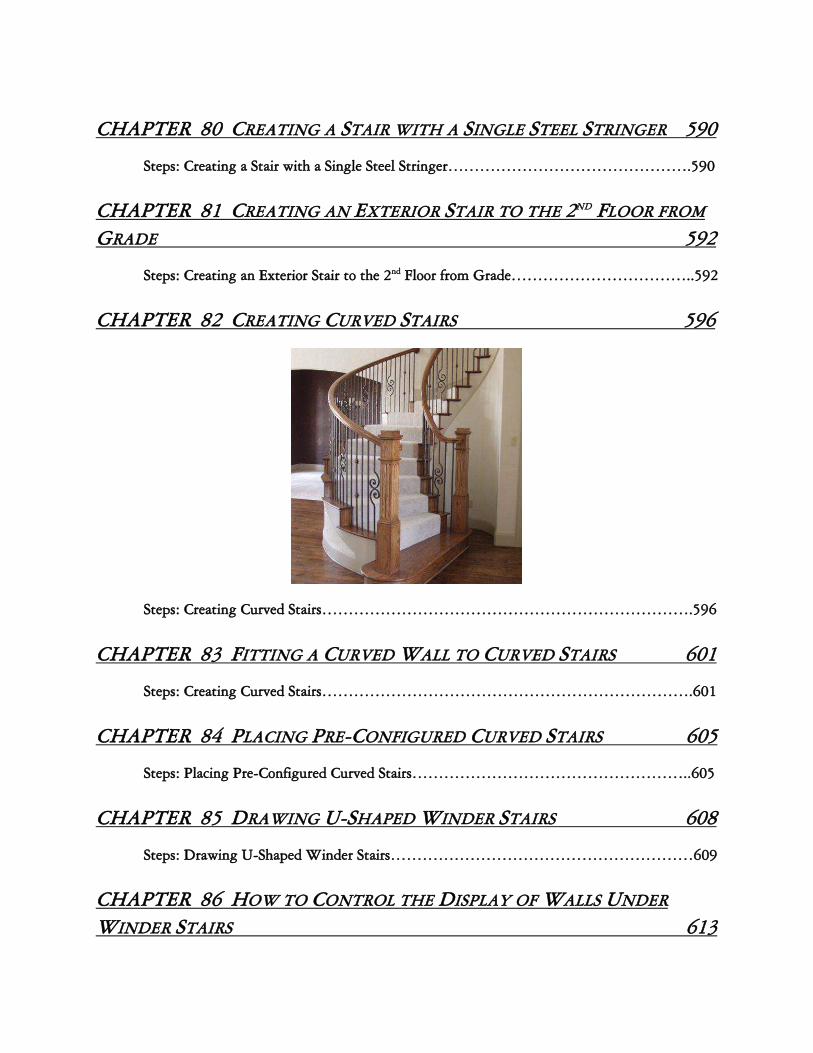
CHAPTER 82 CREATING CURVED STAIRS 596
Steps: Creating Curved Stairs…………………………………………………………….596
CHAPTER 83 FITTING A CURVED WALL TO CURVED STAIRS 601
Steps: Creating Curved Stairs…………………………………………………………….601
CHAPTER 84 PLACING PRE-CONFIGURED CURVED STAIRS 605
Steps: Placing Pre-Configured Curved Stairs……………………………………………..605
CHAPTER 85 DRAWING U-SHAPED WINDER STAIRS 608
Steps: Drawing U-Shaped Winder Stairs…………………………………………………609
CHAPTER 86 HOW TO CONTROL THE DISPLAY OF WALLS UNDER
WINDER STAIRS 613
Steps: How to Control the Display of Walls Under Winder Stairs………………………..613
SECTION 9
LABELS AND MACROS IN CHIEF ARCHITECT 621
Introduction……………………………………………………………………………622
CHAPTER 87 USING MACROS TO CONTROL THE DISPLAY OF ROOM
LABELS 622
Steps: Using Macros to Control the Display of Room Labels……………………………...622
CHAPTER 88 TEXT LABELS AND TEXT MACROS 626
Steps: Working with Text Labels and Text Macros…………………………….................626
CHAPTER 89 CREATING MACROS WITH THE RUBY CONSOLE 637
Steps: Creating Macros with the Ruby Console…………………………….......................637
CHAPTER 90 WORKING WITH LABEL MACROS 645
Steps: Working with Label Macros…………………………….........................................645
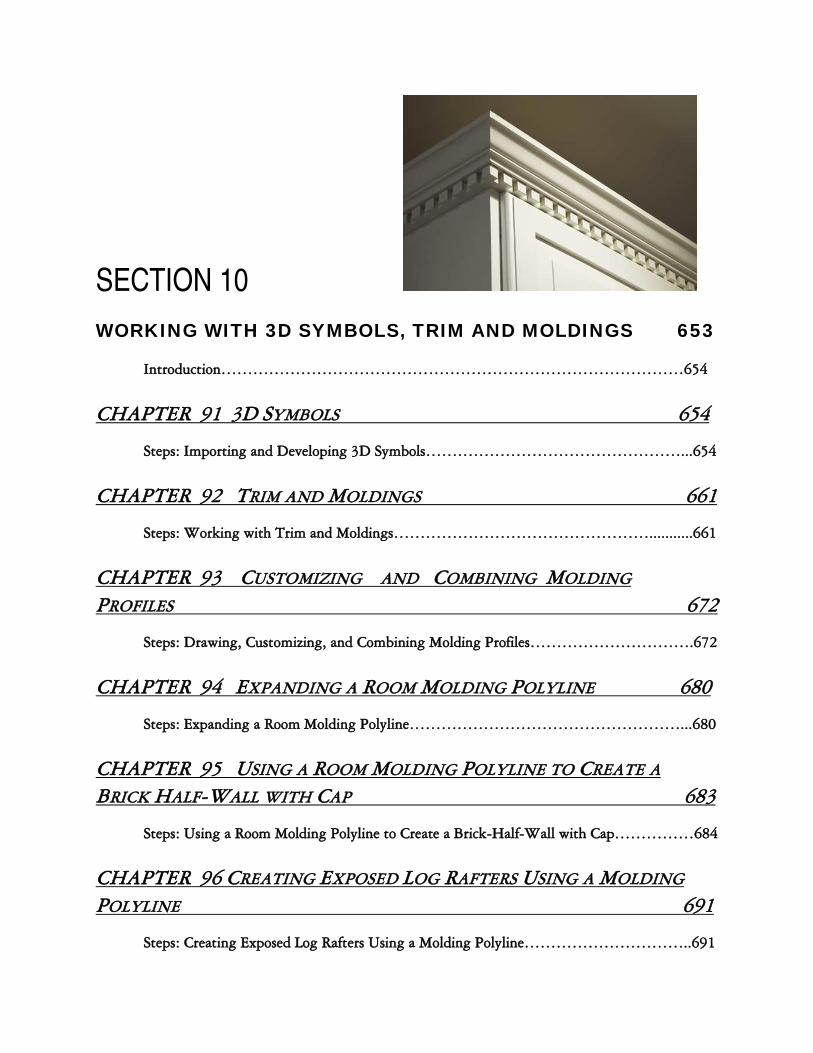
SECTION 10
WORKING WITH 3D SYMBOLS, TRIM AND MOLDINGS 653
Introduction……………………………………………………………………………654
CHAPTER 91 3D SYMBOLS 654
Steps: Importing and Developing 3D Symbols…………………………………………...654
CHAPTER 92 TRIM AND MOLDINGS 661
Steps: Working with Trim and Moldings…………………………………………...........661
CHAPTER 93 CUSTOMIZING AND COMBINING MOLDING
PROFILES 672
Steps: Drawing, Customizing, and Combining Molding Profiles………………………….672
CHAPTER 94 EXPANDING A ROOM MOLDING POLYLINE 680
Steps: Expanding a Room Molding Polyline……………………………………………...680
CHAPTER 95 USING A ROOM MOLDING POLYLINE TO CREATE A
BRICK HALF-WALL WITH CAP 683
Steps: Using a Room Molding Polyline to Create a Brick-Half-Wall with Cap……………684
CHAPTER 96 CREATING EXPOSED LOG RAFTERS USING A MOLDING
POLYLINE 691
Steps: Creating Exposed Log Rafters Using a Molding Polyline…………………………..691
CHAPTER 97 CREATING A DECORATIVE SKYLIGHT WITH A CUSTOM
MOLDING 699
Steps: Creating a Decorative Skylight with a Custom Molding…………………………...699
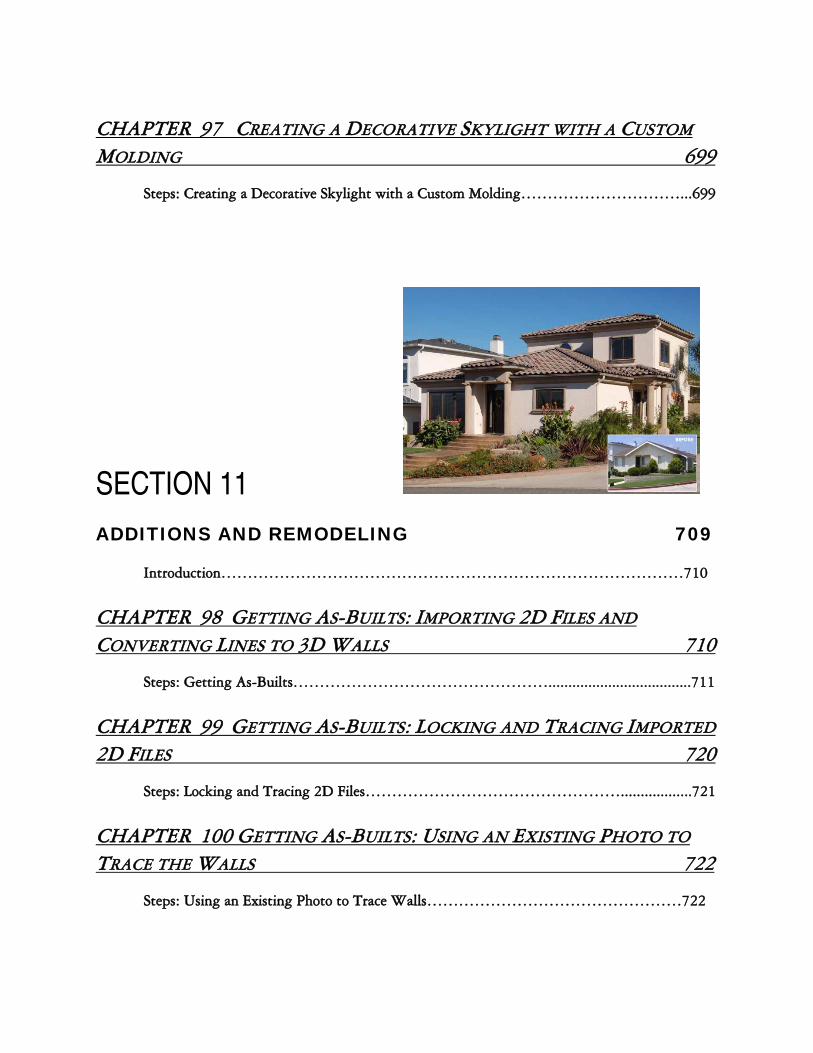
SECTION 11
ADDITIONS AND REMODELING 709
Introduction……………………………………………………………………………710
CHAPTER 98 GETTING AS-BUILTS: IMPORTING 2D FILES AND
CONVERTING LINES TO 3D WALLS 710
Steps: Getting As-Builts…………………………………………....................................711
CHAPTER 99 GETTING AS-BUILTS: LOCKING AND TRACING IMPORTED
2D FILES 720
Steps: Locking and Tracing 2D Files…………………………………………..................721
CHAPTER 100 GETTING AS-BUILTS: USING AN EXISTING PHOTO TO
TRACE THE WALLS 722
Steps: Using an Existing Photo to Trace Walls…………………………………………722

CHAPTER 101 GETTING AN AS-BUILT MASK TO DISPLAY ON A
REMODEL PLAN 724
Steps: Getting an As-Built Mask to Display on a Remodel Plan………………………….724
CHAPTER 102 SETTING UP LAYERS TO SHOW EXISTING, DEMOLITION,
AND NEW 727
Steps: Setting up Layers to Show Existing, Demolition, and New………………………...727
CHAPTER 103 SETTING UP WALL TYPES TO SHOW EXISTING,
DEMOLITION, AND NEW 730
Steps: Setting up Wall Types to Show Existing, Demolition, and New…………………...730
CHAPTER 104 SETTING UP LAYERS AND ROOM DEFINITION TO SHOW
DEMOLITION WALLS AND NEW MATERIALS 734
Steps: Setting up Layers and Room Definition to Show Demolition Walls and New
Materials………………………………………………………………………………...735
CHAPTER 105 CREATING 3D VIEWS OF YOUR REMODEL PROJECT 741
Steps: Showing Remodel and Addition Components in 3D Views…………………...........742
CHAPTER 106 DIFFERENTIATING NEW FRAMING AND CALCULATING
MATERIALS 746
Steps: Differentiating New Framing and Calculating Materials…………………..............747

CHAPTER 107 CREATING AN AUTOMATICALLY UPDATEABLE WALL
LEGEND 751
Steps: Creating an Automatically Updateable Wall Legend…………………....................751
CHAPTER 108 DEVELOPING MATCHING TEXTURES FOR DECK
BUILDING MATERIALS 754
Steps: Developing Matching Textures for Deck Building Materials…………………........754
CHAPTER 109 PLACING A WINDOW AT THE JUNCTURE OF TWO
INLINE WALLS 759
Steps: Placing a Window at the Juncture of Two Inline Walls…………………................760
CHAPTER 110 MATERIALS CALCULATIONS USING MATERIAL LIST
POLYLINES 771
Steps: Materials Calculations using Material List Polylines…………………......................772