configuration manager
TRANSCRIPT

Configuration Manager
2012 Implementation
and Administration

Developing a Configuration Manager
2012 Design
Based on the Company XYZ existing environment, the recommendation
would be to have a Primary Site Server in San Francisco and a Primary Site
Server in Paris based on the local IT presence and the requirement for local
administrative control. The recommendation would be to place
Secondary Site Servers in London and Tokyo based on the size of the
offices. Given the small size of the New York office with only five users, no
servers will be placed there.

Configuring Installation Prerequisites
Before implementing SCCM 2012, several prerequisite steps need to be
taken to prepare Active Directory and the Site Servers. These steps ensure
that the SCCM implementation goes smoothly.
The required SCCM prerequisites are as follows:
Extending the Active Directory schema
Configuring the System Management container in Active Directory
Adding Windows roles and features on Site Servers

The software requirements include the
following:
Windows Server 2008 64-bit SP2 or Windows Server 2008 R2 operating
system
Windows Active Directory domain
NET Framework 3.51 SP1
NET Framework 4.0
SQL Server 2008 SP2 with Cumulative Update 7 or SQL Server 2008 R2 SP1
with
Cumulative Update 4 (can be on a separate server)
Opened TCP port 1433 and 4022 for SQL replication

Extending the Active Directory Schema
The Active Directory schema should be extended to support dynamic
client assignment during Configuration Manager agent deployment and
to assist clients with the location of Configuration Manager server
infrastructure. When the Active Directory schema is extended, clients can
use the values provided through Active Directory to locate regional Site
Servers and Distribution Points for package and content delivery.

To extend the Active Directory schema,
execute the following steps:
1. Log on to a domain controller with an administrative account that is a member of the
Schema Admins group.
2. Copy the EXTADSCH.exe from \SMSSETUP\BIN\x64\ on the Configuration Manager installation
media to a local folder on the Active Directory domain controller with the schema master FSMO
role.
3. Open a command window as an administrator and execute the EXTADSCH.exe command
with a Schema Admin account.
Configuring the System Management
Container
When the Active Directory schema has been extended, Configuration Manager Site Servers
store information about the hierarchy in special Active Directory objects. These objects are
kept in a specific folder in the System container of the domain partition. The location for these
objects doesn’t exist by default, and must be manually created and configured.
In a distributed Configuration Manager hierarchy, it is considered best practice to place the
Configuration Manager Site Servers in a custom security group, and delegate this security
group’s permissions to the System Management container in Active Directory. The following
tasks assume the Configuration Manager Site Servers (CM1, CM2, CM3, CM4, and CM5) are
members of the “SCCM Site Servers” universal security group. If this group doesn’t exist, create
it before continuing.
The System Management container holds the Configuration Manager
objects in Active Directory. This container can be created with the ADSI
Edit console on the DC1 domain controller.
To create the System Management container with ADSI Edit, complete the
following steps:

1. Run ADSI Edit from DC1.
2. Right-click the ADSI Edit node and select Connect To.
3. Type Domain in the Name field.
4. Select Default Naming Context from the list of well-known naming contexts.
5. Click OK.
6. Expand Default Naming Context.

Expand DC=companyxyz,DC=com.
Select the CN=System container.
Right-click CN=System, click New, and then click Object.
Select Container from the list and click Next.
Enter System Management for the CN attribute value, and then click Next.
12. Click Finish to complete the change.
The permissions for the System Management container need to be configured before the
first Site Server is implemented.
To set the System Management container permission with ADSI Edit, complete the following
steps:

1. Right-click the System Management container and select Properties.
2. Select the Security tab.
3. Click Advanced.
4. Click Add.
5. Type SCCM Site Servers and click OK.
6. Continue with the default selection of This Object and All Descendant Objects from
Apply To.
7. Choose Allow in front of Full Control in the Permissions field and then click OK.
8. Click OK two times to commit all the changes and then close ADSI Edit.

Adding Windows Roles and Features on
Site Servers
The majority of client communications is over HTTP or HTTPS, which is serviced by the Windows IIS
web server. IIS is a key component of many Configuration Manager Site Systems roles. This
includes the Site Server itself in the following optional roles:
Application Catalog Web Service Point
Application Catalog Website Point
Distribution Point
Enrollment Point
Enrollment Proxy Point

Fallback Status Point
Management Point
Software Update Point

It is important to make sure that IIS is installed correctly on each of the Site Systems; otherwise,
SCCM will not operate correctly.
To implement IIS on the Site Server and Component Servers on a Windows Server 2008 R2–
based system, complete the following steps:
1. Open Server Manager on the Site/Component Server.
2. Select the Features node.
3. Click the Add Features action.
4. Enable Background Intelligent Transfer Service (BITS).
5. When prompted, click Add Required Role Services.

6. Enable the Remote Differential Compression feature and click Next.
7. On the Web Server Overview page, click Next.
8. Enable the ASP.NET role service, and click Add Required Role Services.
9. Enable the ASP role service.
10. Enable the Windows Authentication role service.
11. Enable the IIS 6 WMI Compatibility role service and the IIS 6 Metabase
Compatibility if they are not already, and then click Next.

12. Review the components selected and click Install.
13. Close the wizard when the installation completes
Implementing the Central
Administration Site
The Configuration Manager Central Administration Site is the primary site located at the very top of the Configuration Manager hierarchy. This site is needed if there will be more than one primary site in the hierarchy There is a very important implementation difference between the Configuration Manager
2012 Central Administration Site and the central site in previous versions. In previous versions, Primary Site Servers can be installed and later connected to the central site. This is no longer possible in Configuration Manager 2012 and Primary Site Servers must be connected to their Central Administration Site during installation. This means that the Central Administration Site must be installed before any primary sites in the hierarchy.
Installing the Central Administration Site
Server
Before running the Configuration Manager setup, run the prerequisite checker to verify the
required components have been successfully installed. The prerequisite checker can be
launched from a link on the splash.hta page. The splash.hta page can be found in the root of
the Configuration Manager media.
Make sure the Configuration Manager Site Server Computer Account is in the local
administrators group on all component servers and other Site Servers—this includes
the Site Database server. The computer account of the Site Server is used to access and manage
the remote server by default. One way to accomplish this is by creating a group named SCCM
Site Servers with the computer accounts of all SCCM Site Servers as members and then adding
that group to the Local Administrator group on all Site Servers.

Before starting the installation process, create a folder on the C: drive
called “SCCMUpdates” and share this folder. This folder will store the latest
prerequisite components downloaded during the installation process. This
folder can be reused during subsequent Site Server installations.
To install the XYZ Central Administration Site Server on the CM1 server and
establish the Company XYZ hierarchy, complete the following steps:

1. Launch splash.hta from the Configuration Manager 2012 media.
2. To run the Prerequisite Checker tool, click on the Assess Server Readiness link in the Tools and Standalone Components section.
Remediate any issues the Prerequisite Checker tool finds and click OK to close the window.
4. After ensuring all the prerequisites have been met, click the Install link in the splash screen.
5. At the Before You Begin screen, click Next.
6. Select the Install Configuration Manager Central Administration Site option and
click Next.
7. Enter a 25-character product key and click Next.
8. Accept the license terms and click Next.
9. Accept the license terms for the software that will be downloaded and installed
automatically on Site Systems pushed through the hierarchy and click Next.
10. Enter the location to download prerequisites and updates, in this
example the previously created share \\CM1\SCCMUpdates, and click
Next.
11. In the Server Language Selection, leave the default English and click
Next.
12. In the Client Language Selection, leave the default English and click
Next.

13. In the Site and Installation Settings, enter a site code and site name. In this example, the site
code is XYZ and the site name is Company XYZ Central Administration Site.
14. Leave the default installation folder and click Next.
15. In the Database Information, specify the database server name and instance. Click
Next.
16. In the SMS Provider Settings, leave the default of CM1 and click Next.
17. In the Customer Experience Improvement Program Configuration, choose the
appropriate option and click Next.
18. In the Settings Summary, review the settings and click Next.

19. The Prerequisite Checker executes a last-minute check. Verify that all
prerequisites have been met or remediate any errors, and then click Begin
Install.
20. The installation completes and should have green status symbols next to
each component installation.
21. Click Close to exit the setup wizard.
Validating the Installation of the Central
Administration Site
To validate the installation, check the contents of the System Management container in
Active Directory. The System Management container can be seen by launching Active
Directory Users and Computers, selecting the View menu, choosing Advanced Features,
and expanding the System folders or with ADSI Edit. The Site Server object should exist in
this container for the Central Administration Site. In this example, the XYZ Central
Administration Site should create an object in the System Management container named
SMS-Site-XYZ of type mSSMSSite. As additional Site Servers in Site System roles are
deployed, additional objects are created automatically

In addition, open the Configuration Manager console and review the Site
Status component in the System Status container. This console is called
Configuration Manager console and is located under the Microsoft System
Center 2012\Configuration Manager folder in the Start menu on the Site
Server.

To view the Component Status in the ConfigMgr console, do the following:
1. Launch the Configuration Manager console.
2. Choose the Monitoring space.
3. Expand the System Status node.
4. Select the Site Status node and confirm that all statuses show as OK with
green icons.
5. Select Component Status and confirm that all statuses show as OK with
green icons.

Deploying the Primary Sites
Deploying primary sites follows a similar process as deploying the Central
Administration Site Server. In the case of the Company XYZ Configuration
Manager 2012 hierarchy, there are two primary sites. These are San
Francisco (SFO) with the CM2 server and Paris (PAR) with the CM3 server.
Verify that all the hardware and software requirements have been met
and the installation configuration prerequisites have been completed.
Installing a Primary Site Server
Before running the Configuration Manager setup, run the prerequisite
checker to verify the required components have been successfully
installed. The prerequisite checker can be launched from a link on the
splash.hta page. The splash.hta page can be found in the root of the
Configuration Manager media.
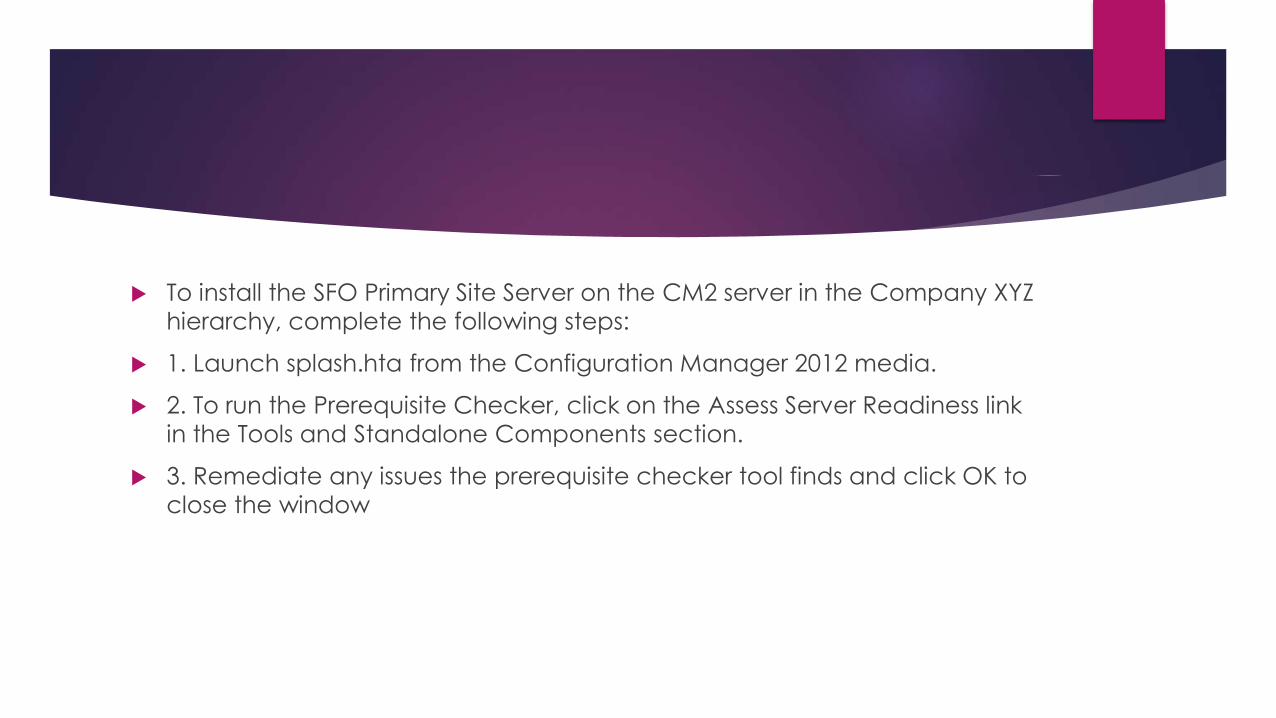
To install the SFO Primary Site Server on the CM2 server in the Company XYZ
hierarchy, complete the following steps:
1. Launch splash.hta from the Configuration Manager 2012 media.
2. To run the Prerequisite Checker, click on the Assess Server Readiness link
in the Tools and Standalone Components section.
3. Remediate any issues the prerequisite checker tool finds and click OK to
close the window
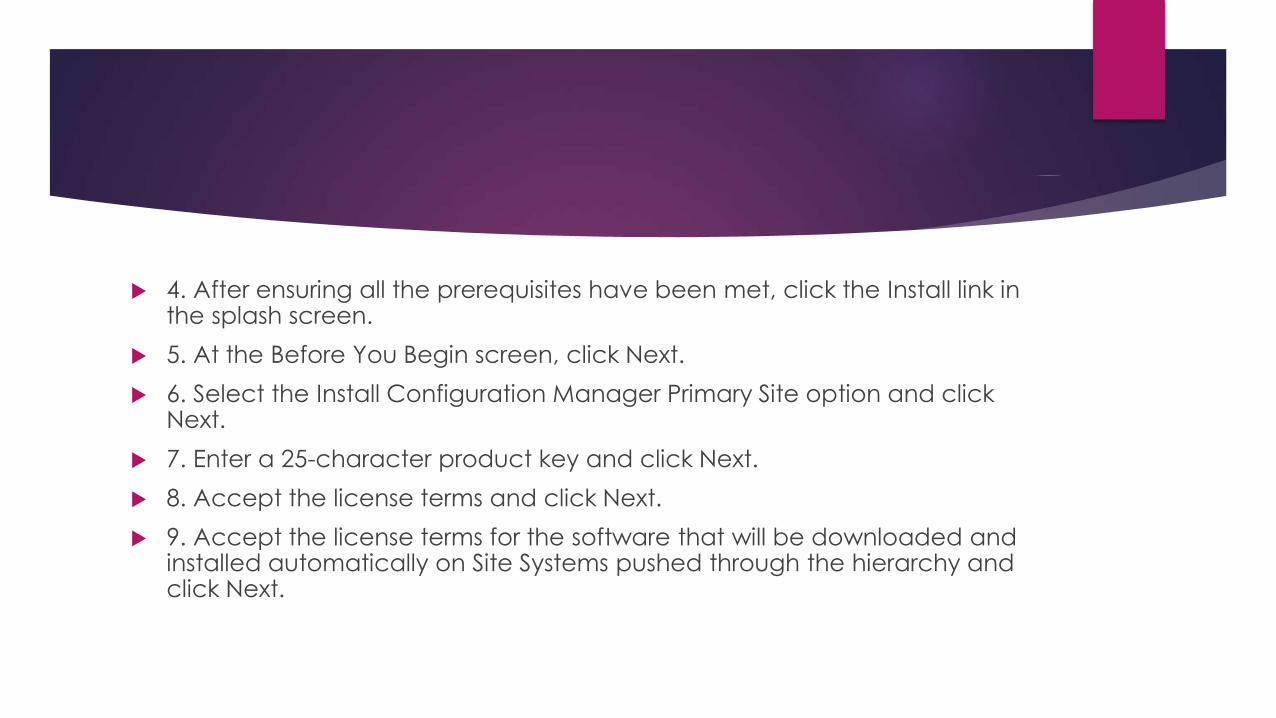
4. After ensuring all the prerequisites have been met, click the Install link in the splash screen.
5. At the Before You Begin screen, click Next.
6. Select the Install Configuration Manager Primary Site option and click Next.
7. Enter a 25-character product key and click Next.
8. Accept the license terms and click Next.
9. Accept the license terms for the software that will be downloaded and installed automatically on Site Systems pushed through the hierarchy and click Next.

10. Because the prerequisites were downloaded previously, choose the
Use Previously Downloaded Files option and enter the location of the
downloaded prerequisites
and updates, in this example the previously created share
\\CM1\SCCMUpdates, and
click Next.
11. In the Server Language Selection, leave the default English and click
Next.
12. In the Client Language Selection, leave the default English and click
Next

13. In the Site and Installation Settings, enter a site code and site name. In this example, the site code is SFO and the site name is Company XYZ San Francisco Site.
14. Leave the default installation folder and click Next.
15. Enter the name of the Central Administration Site Server to join the existing hierarchy,
in this case cm1.companyxyz.com and click Next.
16. In the Database Information, specify the database server name and instance. Click
Next.
17. In the SMS Provider Settings, leave the default of CM2 and click Next.
18. In the Client Computer Communication Settings, choose the Configure the
Communication Method on Each Site System Role option and click Next.

In the Site Systems Roles, leave the options to install a Management Point
and a Distribution Point checked and click Next.
20. In the Customer Experience Improvement Program Configuration,
choose the appropriate option and click Next.
In the Settings ,review the settings and click Next to begin the installation.

22. The Prerequisite Checker executes to do a last-minute check. Verify that all prerequisites
have been met or remediate any errors, and then click Begin Install.
23. Installation completes and should have green status symbols next to each component
installation.
24. Click Close to exit the setup wizard.
Installation is now complete for the Primary Site and the console can be launched. Repeat
the preceding steps for Company XYZ Paris Site, the PAR Primary Site Server on the CM3
server.

Validating the Installation of the Primary
Site
To validate the installation, check the contents of the System
Management container in Active Directory. The System Management
container can be seen with the Advanced view of Active Directory Users
and Computers, or with ADSI Edit. In this example, the Site Server object
should exist in this container for the Central Administration Site of type
mSSMSSite. The SFO primary site should create a record in the System
Management container named SMS-Site-SFO of type mSSMSSite. There
should also be an object for the Management Point, named SMS-MP-SFO-
CM2.COMPANYXYZ.COM of type mSSMSManagementPoint

System Management container named SMS-Site-PAR of type mSSMSSite.
There should also be an object for the Management Point, named SMS-
MP-PAR-CM3.COMPANYXYZ.COM of type mSSMSManagementPoint.

In addition, open the Configuration Manager console located under the
Microsoft System Center 2012\Configuration Manager folder in the Start
menu on the Site Server, expand the Monitoring option, and review the
Site Status component in the System Status container.
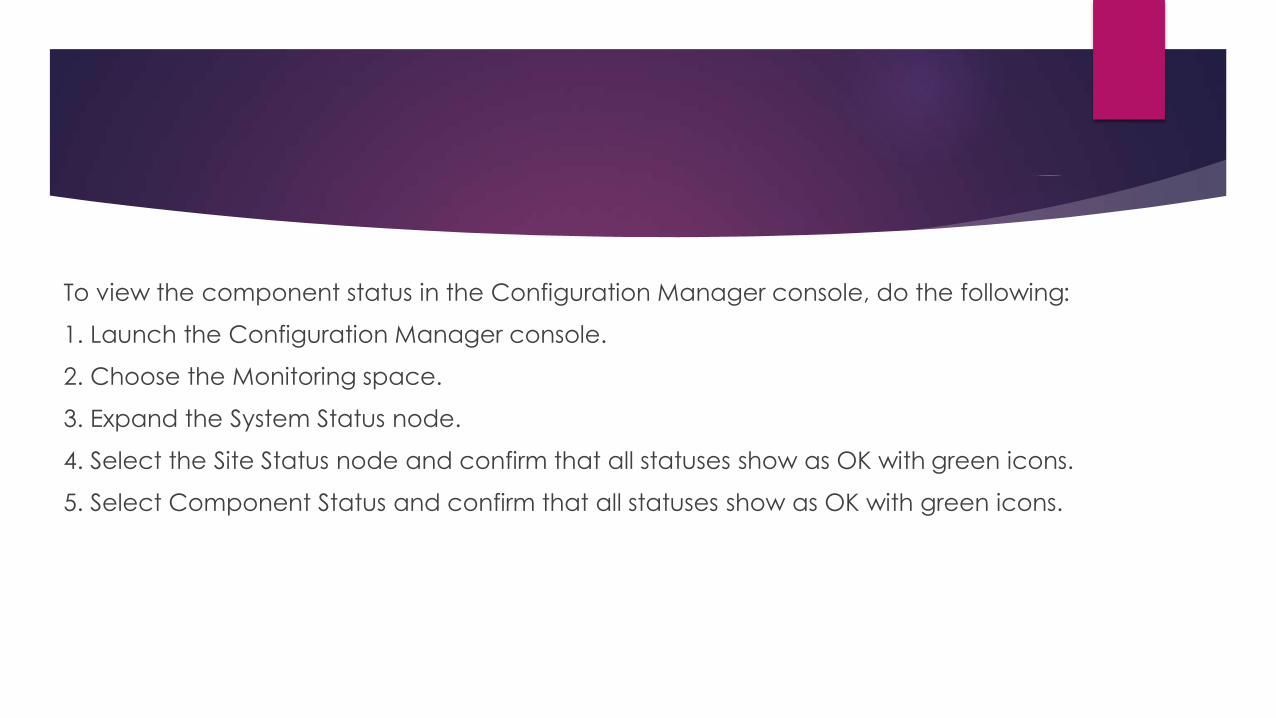
To view the component status in the Configuration Manager console, do the following:
1. Launch the Configuration Manager console.
2. Choose the Monitoring space.
3. Expand the System Status node.
4. Select the Site Status node and confirm that all statuses show as OK with green icons.
5. Select Component Status and confirm that all statuses show as OK with green icons.

Deploying the Secondary Sites
Configuration Manager 2012 secondary sites are deployed through the
console, via a push from a Primary Site Server. All the prerequisites, such as
SQL Server 2008 and .NET Framework 4.0, are pushed out with the role
remotely. However, this requires two features to be installed to work
correctly. Those features are as follows:
Remote Differential Compression
NET Framework 3.5
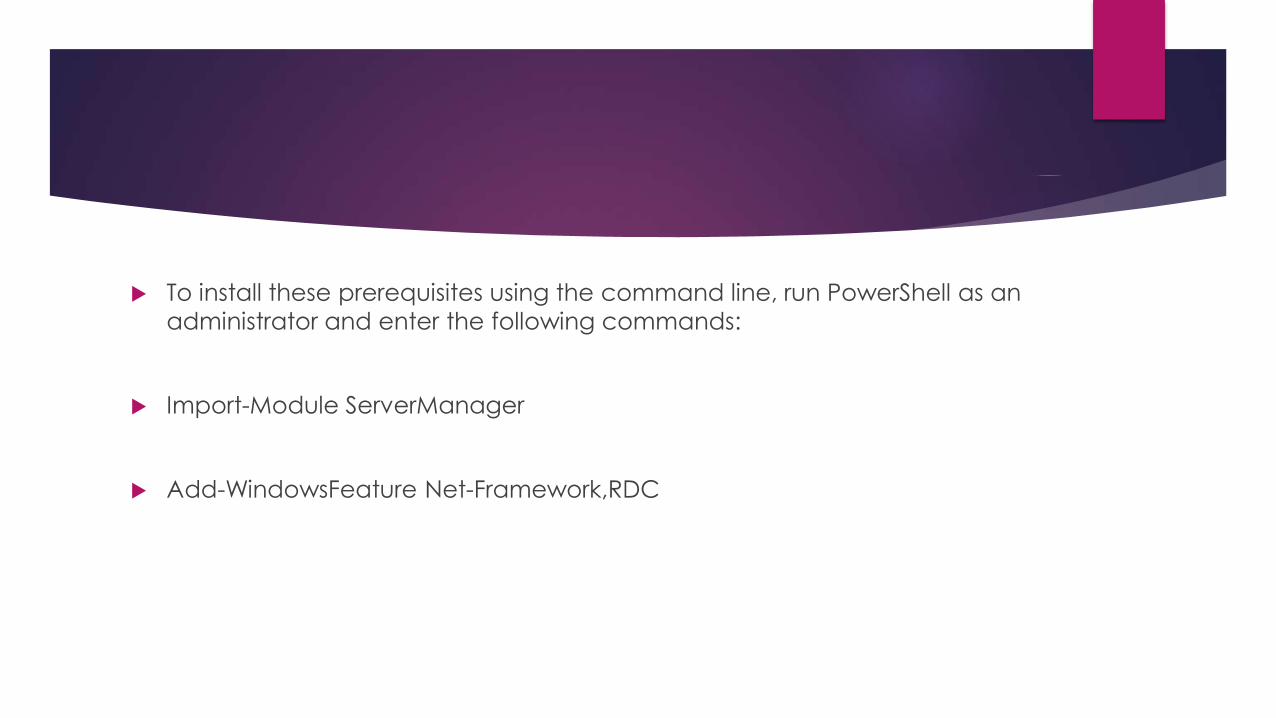
To install these prerequisites using the command line, run PowerShell as an
administrator and enter the following commands:
Import-Module ServerManager
Add-WindowsFeature Net-Framework,RDC

In addition, the Primary Site Server Active Directory account (for example,
CM3$) is the account performing the remote installation, so it must have
local administrator rights to the target secondary site server.
If the Windows Firewall is in use, open ports 1433 and 4022 for SQL Server
access.

To deploy a secondary site from a primary site, execute the following
steps:
1. Launch the Configuration Manager console.
2. Choose the Administration space, expand Site Configuration, and select
Sites.
3. Select the primary site from which to deploy the secondary site, in this
example the PAR site.
4. Right-click on the Primary Site Server (the CM3 server in this example)
and select Create Secondary Site.

5. At the Before You Begin screen, click Next.
6. In the Site and Installation Settings, enter a site code, Site Server, and site
name. In
this example, the site code is LON, the server is CM4.companyxyz.com,
and the site name is Company XYZ London Site.

7. Leave the default installation folder and click Next.
8. Leave the default to copy the installation source files from the parent
Site Server (in
this case cm3.companyxyz.com) and click Next.
9. Leave the default to install SQL Server Express on the secondary site
server and click Next.
10. Make sure to check the Install and Configure IIS option, and click Next.

11. Leave the default drive settings and click Next.
12. Leave the default Content Validation settings and click Next.
13. Leave the Boundary Groups settings empty and click Next. These will
be configured
later.
14. Review the summary and click Next.
15. Click Close to exit the wizard.

Validating the Installation of the
Secondary Site
To validate the installation, check the contents of the System
Management container in Active Directory. The System Management
container can be seen with the Advanced view of Active Directory Users
and Computers, or with ADSI Edit. The Site Server object should exist in this
container for the Secondary Sites. In this example, the LON secondary site
should create an object in the System Management container named
SMS-Site-LON of
type mSSMSSite. There should also be an object for the Management
Point, named SMSMP-LON-CM4.COMPANYXYZ.COM of type
mSSMSManagementPoint. Similarly, the TOK secondary site should create
an object in the System Management container named SMS-Site-TOK of
type mSSMSSite. There should also be an object for the Management
Point, named SMSMP-TOK-CM5.COMPANYXYZ.COM of type
mSSMSManagementPoint. he Active
Directory objects for the sites created.

To view the component status for the secondary site servers in the Configuration Manager
console, do the following:
1. Launch the Configuration Manager console.
2. Choose the Monitoring space.
3. Expand the System Status node.
4. Select the Site Status node and confirm that all statuses show as OK with green
icons.
5. Select Component Status and confirm that all statuses show as OK with green icons.
If a component is marked with a red error or a yellow warning icon, the component has
received status messages indicating a problem with the component. Right-click the
component, select Show Messages - All from the menu and select a viewing period for the
messages.

Configuring the Hierarchy