crafty minx
DESCRIPTION
The Crafty Minx ArticleTRANSCRIPT

The Crafty Minx

23
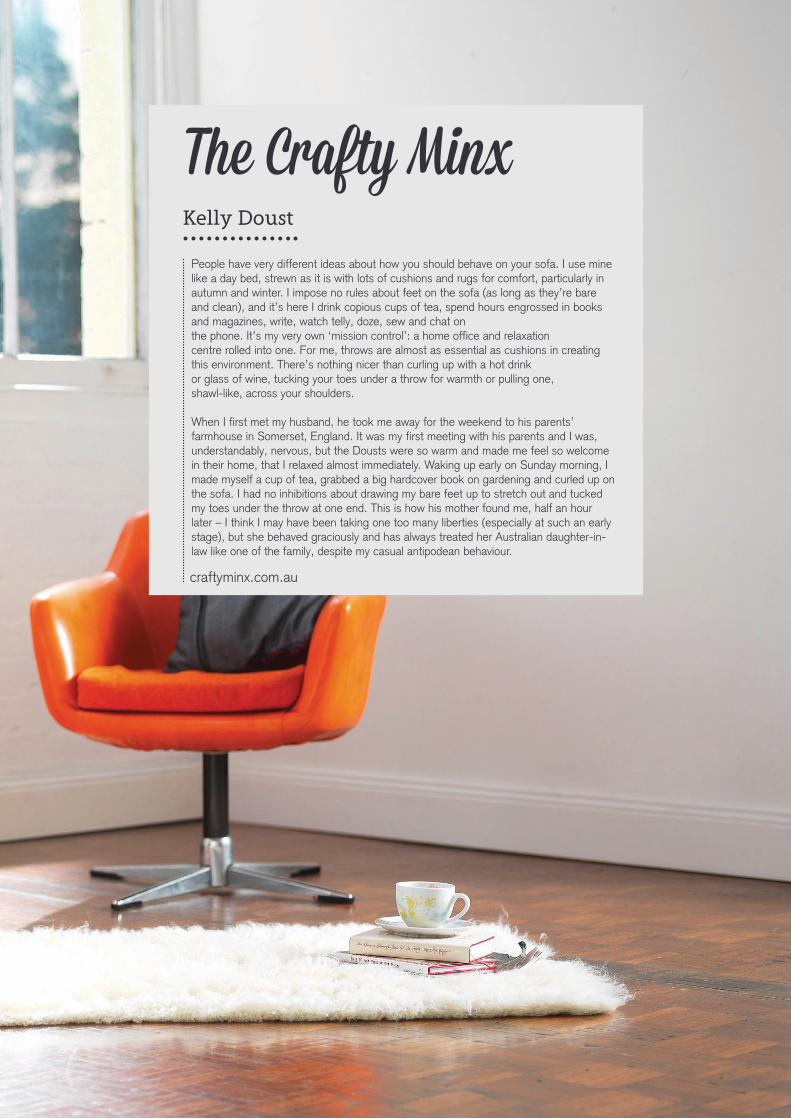
People have very different ideas about how you should behave on your sofa. I use mine like a day bed, strewn as it is with lots of cushions and rugs for comfort, particularly in autumn and winter. I impose no rules about feet on the sofa (as long as they’re bare and clean), and it’s here I drink copious cups of tea, spend hours engrossed in books and magazines, write, watch telly, doze, sew and chat on the phone. It’s my very own ‘mission control’: a home office and relaxation centre rolled into one. For me, throws are almost as essential as cushions in creating this environment. There’s nothing nicer than curling up with a hot drink or glass of wine, tucking your toes under a throw for warmth or pulling one, shawl-like, across your shoulders.
When I first met my husband, he took me away for the weekend to his parents’ farmhouse in Somerset, England. It was my first meeting with his parents and I was, understandably, nervous, but the Dousts were so warm and made me feel so welcome in their home, that I relaxed almost immediately. Waking up early on Sunday morning, I made myself a cup of tea, grabbed a big hardcover book on gardening and curled up on the sofa. I had no inhibitions about drawing my bare feet up to stretch out and tucked my toes under the throw at one end. This is how his mother found me, half an hour later – I think I may have been taking one too many liberties (especially at such an early stage), but she behaved graciously and has always treated her Australian daughter-in-law like one of the family, despite my casual antipodean behaviour.
The Crafty MinxKelly Doust
craftyminx.com.au

25
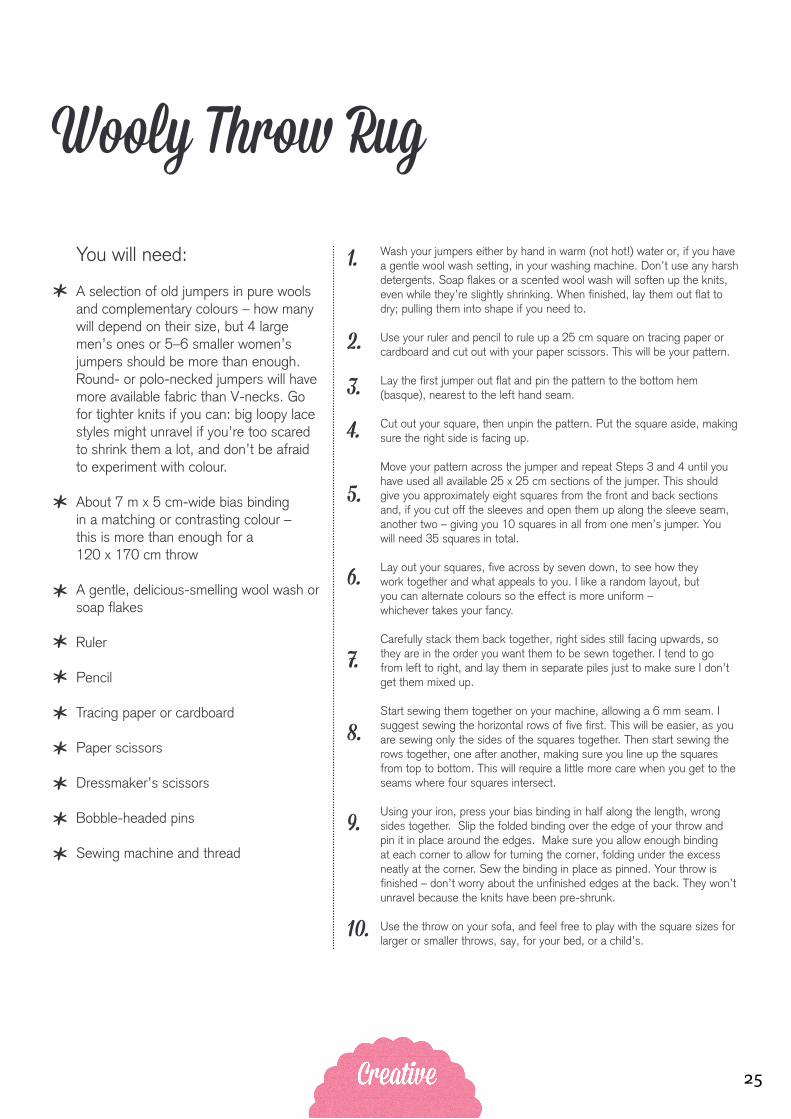
Wooly Throw RugYou will need:
A selection of old jumpers in pure wools and complementary colours – how many will depend on their size, but 4 large men’s ones or 5–6 smaller women’s jumpers should be more than enough. Round- or polo-necked jumpers will have more available fabric than V-necks. Go for tighter knits if you can: big loopy lace styles might unravel if you’re too scared to shrink them a lot, and don’t be afraid to experiment with colour.
About 7 m x 5 cm-wide bias binding in a matching or contrasting colour – this is more than enough for a 120 x 170 cm throw
A gentle, delicious-smelling wool wash or soap flakes
Ruler
Pencil
Tracing paper or cardboard
Paper scissors
Dressmaker’s scissors
Bobble-headed pins
Sewing machine and thread
Wash your jumpers either by hand in warm (not hot!) water or, if you have a gentle wool wash setting, in your washing machine. Don’t use any harsh detergents. Soap flakes or a scented wool wash will soften up the knits, even while they’re slightly shrinking. When finished, lay them out flat to dry; pulling them into shape if you need to.
Use your ruler and pencil to rule up a 25 cm square on tracing paper or cardboard and cut out with your paper scissors. This will be your pattern.
Lay the first jumper out flat and pin the pattern to the bottom hem (basque), nearest to the left hand seam.
Cut out your square, then unpin the pattern. Put the square aside, making sure the right side is facing up.
Move your pattern across the jumper and repeat Steps 3 and 4 until you have used all available 25 x 25 cm sections of the jumper. This should give you approximately eight squares from the front and back sections and, if you cut off the sleeves and open them up along the sleeve seam, another two – giving you 10 squares in all from one men’s jumper. You will need 35 squares in total.
Lay out your squares, five across by seven down, to see how they work together and what appeals to you. I like a random layout, but you can alternate colours so the effect is more uniform – whichever takes your fancy.
Carefully stack them back together, right sides still facing upwards, so they are in the order you want them to be sewn together. I tend to go from left to right, and lay them in separate piles just to make sure I don’t get them mixed up.
Start sewing them together on your machine, allowing a 6 mm seam. I suggest sewing the horizontal rows of five first. This will be easier, as you are sewing only the sides of the squares together. Then start sewing the rows together, one after another, making sure you line up the squares from top to bottom. This will require a little more care when you get to the seams where four squares intersect.
Using your iron, press your bias binding in half along the length, wrong sides together. Slip the folded binding over the edge of your throw and pin it in place around the edges. Make sure you allow enough binding at each corner to allow for turning the corner, folding under the excess neatly at the corner. Sew the binding in place as pinned. Your throw is finished – don’t worry about the unfinished edges at the back. They won’t unravel because the knits have been pre-shrunk.
Use the throw on your sofa, and feel free to play with the square sizes for larger or smaller throws, say, for your bed, or a child’s.
*
*
********
1.
2.
3.4.
5.
6.
7.
8.
9.
10.
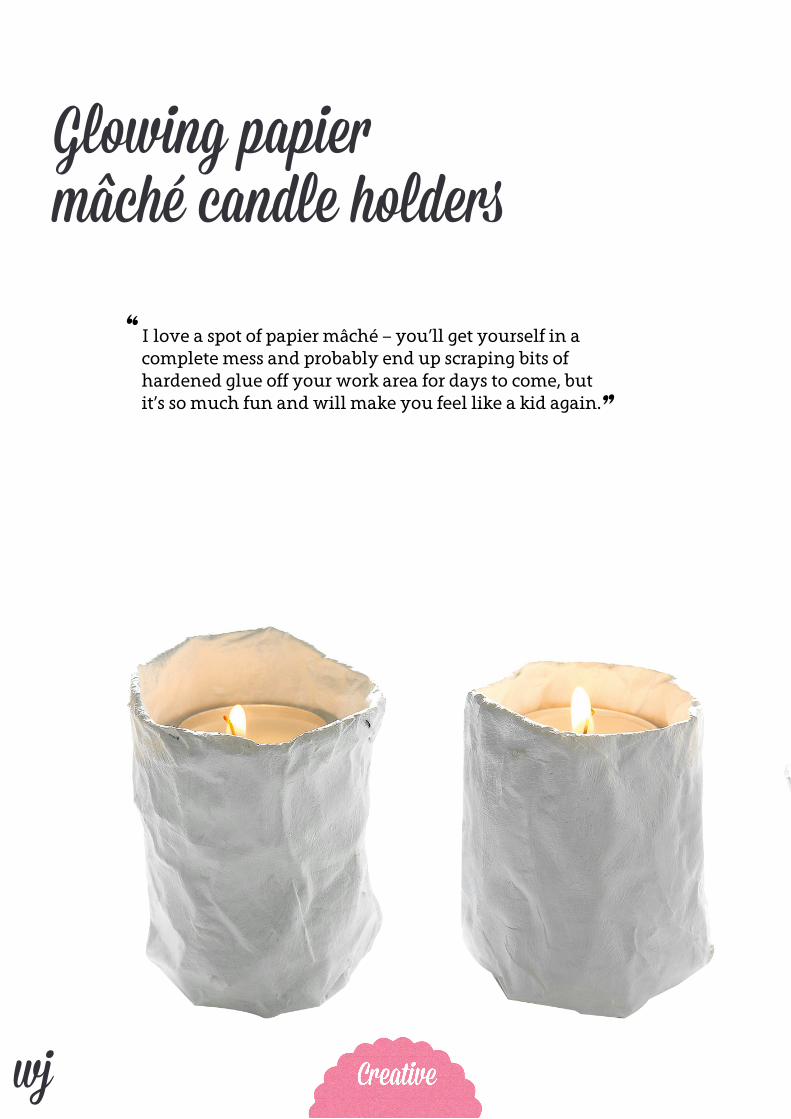
Glowing papiermâché candle holders
I love a spot of papier mâché – you’ll get yourself in a complete mess and probably end up scraping bits of hardened glue off your work area for days to come, but it’s so much fun and will make you feel like a kid again.”
“

27
1.
2.
3.
4.
5.
6.
For each candle holder, you will need to cut a circle of chicken wire, approximately 5 cmin diameter with your tin snips, and a rectangle 5 x 15 cm.
Wrap the rectangle of chicken wire around on itself from end to end to make a tube and, using pliers, bend over the edges to secure it together.
Place the circle of chicken wire at one end of the tube and bend the edges up to secure – this is the base of your candle holder.
Lay out a few sheets of newspaper on your workspace or table to protect it from drips.
Rip another few sheets of newspaper into 2.5–4 cm-wide strips.
Dip a ripped sheet into the wallpaper paste to soak, then pinch the end of the strip and run your fingers along it to remove as much of the mixture as possible.
Wrap the strip around your chicken-wire frame, starting at the top of the candle holder. Use your strips to cover the entire frame, overlapping at the edges.
Turn your construction upside down and leave to dry for 24 hours, preferably in a sunny spot. (Store any unused paste in the fridge, covered with plastic.)
The following day, repeat Steps 6–9 to add another layer and leave to dry for another 24 hours. (You can throw away your paste or store in the fridge again, in case you’ve missed any bits.)
After 48 hours, your candle holder should be dry and ready to paint.
Paint white or any colour you’d like – warm tones such as red, pink or orange will throw a lovely glow over the table and be more flattering than greens or blues.
After your paint has dried, turn out the lights, place a small candle or tea-light inside each holder and strike a match.
You will need:
Chicken wire in a small cross-hatch (available from a hardware store or garden nursery)
Tin snips
Pliers
Newspaper
Wallpaper adhesive, mixed with water as per packet instructions
Large bowl
Acrylic paint and paintbrush
Small candles or tea-lights
********
7.
8.
9.
10.
11.
12. .