creating photo books. 2 3 picture preparation download pictures from camera. create a folder of...
TRANSCRIPT
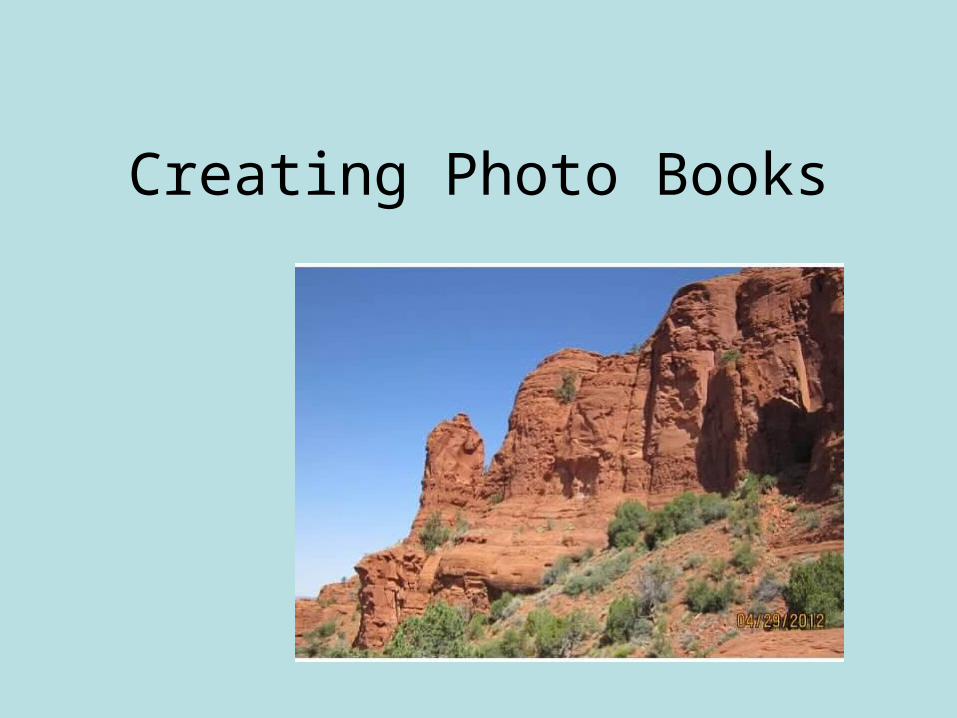
Creating Photo Books

2
Photo Book Comparison
Size Shutterfly Snapfish WalgreensKodak Gallery
Smile Backs Lulu
My PicTales Walmart
# of pages included 20 20 20 20
5 x 7 12.99 11.99 9.99 11.99 20.999 x 10.25 22.9912 x 14 62.996 x 8 12.958 x 8 19.99 19.95 19.99 16.95 19.99 23.968 x 11 24.99 24.99 39.95 24.9612 x 12 54.99 44.99 49.99 68.95 49.95 39.99 44.9611 x 14 89.9516.5 x 12 129.958.5 x 11 19.99 15.95 29.999 x 7 15.99 14.958.5 x 8.5 9.9913 x 11 44.954.25 x 4.75 16.9910 x 10 29.998 x 10 15.96
3
Picture Preparation
• Download pictures from camera.
• Create a folder of pictures selected to upload to Shutterfly.
• Title the pictures using Windows Explorer. These titles will transfer to Shutterfly when you upload them. Do not use Picasa to title the pictures.
• Go to Shutterfly.com
4
5
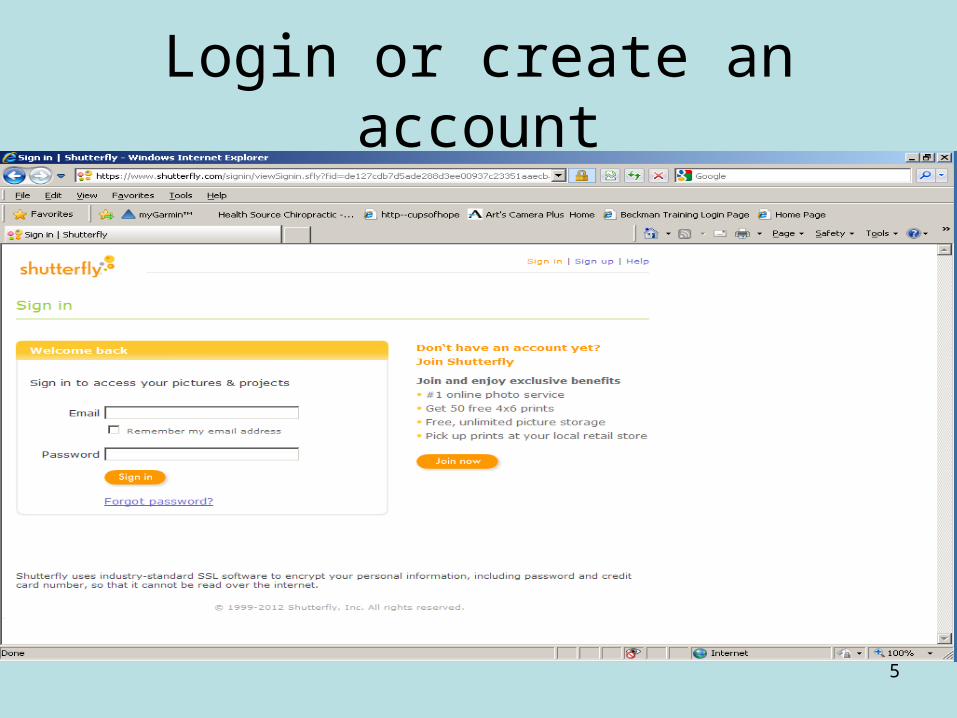
Login or create an account

6
Click on Photo Books

7
Scroll down and click on Custom Path

8
Choose album size

9
Choose style (Natural Neutrals)

10
Select this style (loads)
11
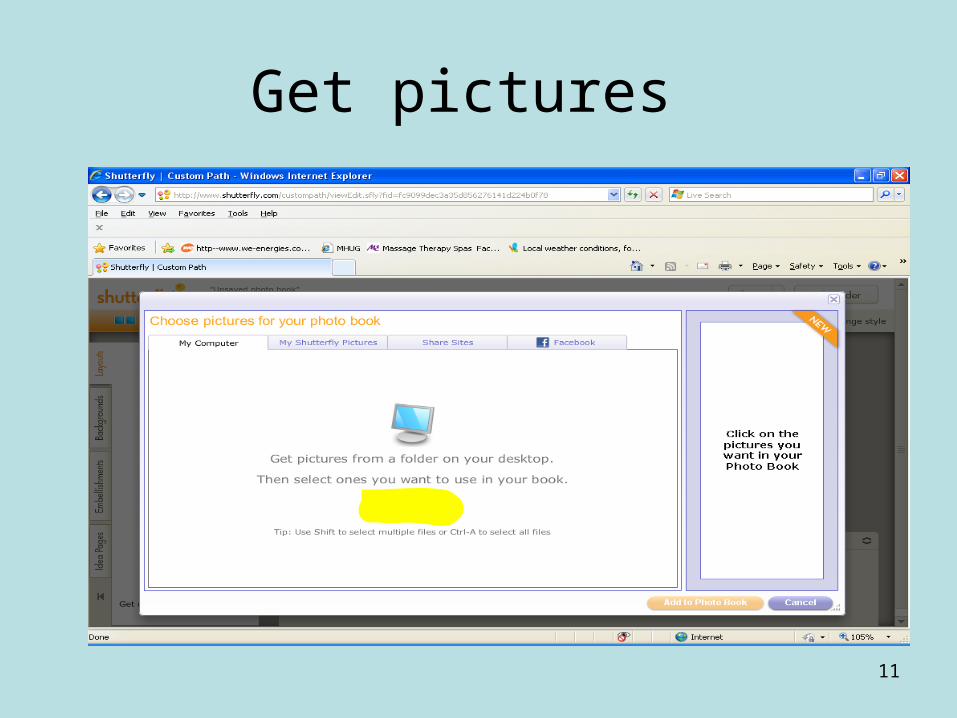
Get pictures
12
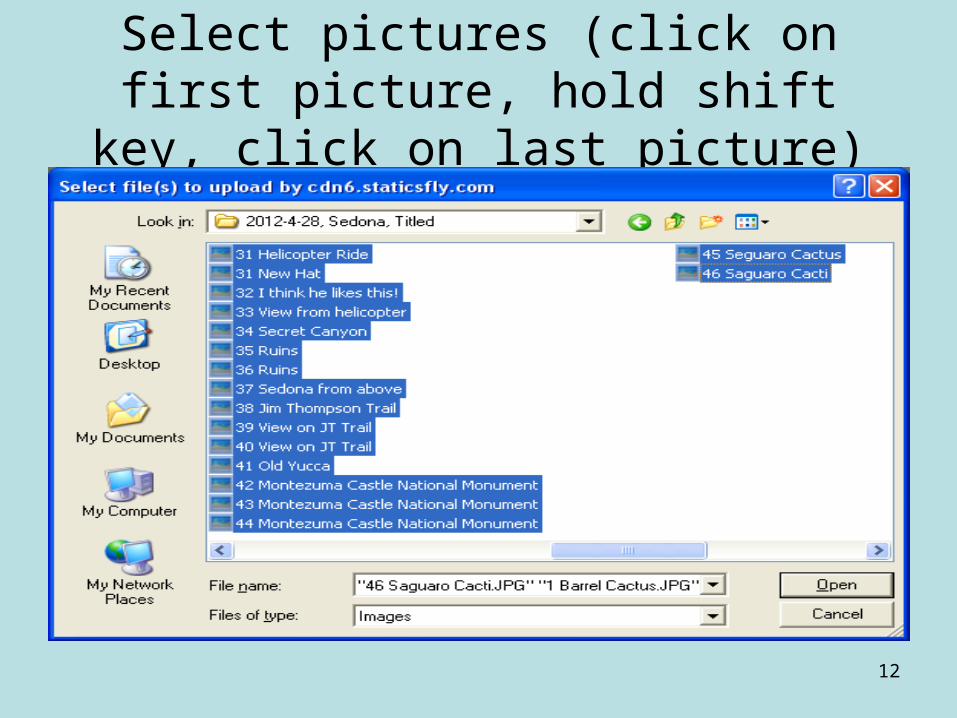
Select pictures (click on first picture, hold shift key, click on last picture)

13
Select ALL

14
Add to photo book

15
Select “Place pictures myself”
16
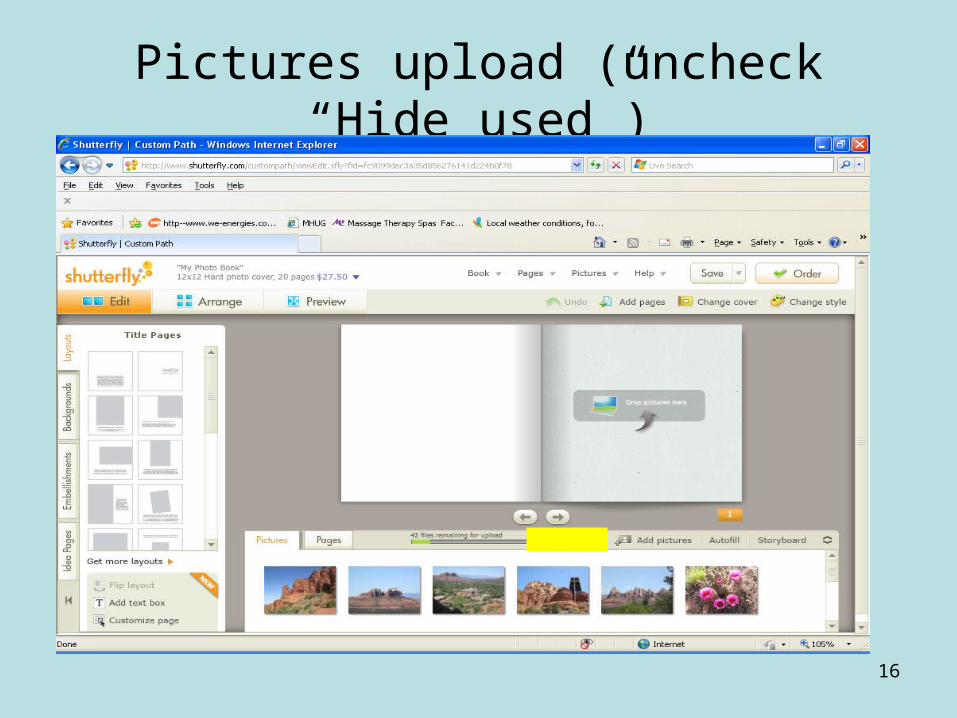
Pictures upload (uncheck “Hide used”)
17
Remember:
• Titles transfer to the online photo album but do not transfer to the photo book (suggest opening 2 windows to copy captions – Shutterfly and Windows Explorer).
• If camera is set to display date, you can not remove that from your pictures, unless you can crop it out)

18
Create your book
• Choose picture for cover.
• Choose layout for page.
• Click on text box (if included in layout), choose font size, position, color.
• (go to website to demonstrate)

19
Conclusion
• Create an account in Shutterfly and they will email special offers.
• Uploading pictures can take over an hour, depending on the speed of your internet service.
• Creating a photo book can be very time consuming.
• Shutterfly will allow you to re-do a photo book if you are not satisfied.