
A Home Observatory
Build it and you will come…

Styles of Home Observatories
• Domes: Classic Looks, But Expensive.
• Roll Off Roof: Rugged Construction, But A Big Footprint.
• Other Designs: Imagination Is The Only Limit.
• My Flip Top: Highly Functional, And Affordable.

Classic Domes…
• Advantages • Looks Like An Observatory
• They Block Stray Light
• They Block Wind
• They Block Dew Formation
• Disadvantages • Cost
• Home Owners Associations
• Limited Sky Availability
• Dome/Scope Tracking Issues

Roll Off Roof Observatories…
• Advantages • Almost Full Sky Access
• Home Owners Associations
• Can Be Home Made
• Cost Less Than A Dome
• Disadvantages • Roof Can Be Very Heavy
• Extra Area Needed For Roof
Truss System
• High Walls

Other Designs…
• Advantages • Low Cost
• Works With Limited Space
• Protect Scope While Stored
• Disadvantages • No Protection For Observer
• Little Or No Light Protection
• Little or No Wind Protection
• No Protected Work Area

My Flip Top Observatory
• Advantages • It’s In My Back Yard
• It Works Like A Charm
• I Have Total Sky Access
• Storage For All My Equipment
• Blocks Both Wind And Light
• Can Be Opened In 30 Seconds
• I have Tripled Observing time
• I Built It For Just Over A Grand
• Disadvantages • Could Be A Tad Bigger
• More Subject To Wind Damage

The Plan
• I drew all my plans
out before I bought or
did anything.
I researched just about
every shed at Home
Depot, Lowes and the
web before I settled on
Rubbermaid’s product,
The Big Max.
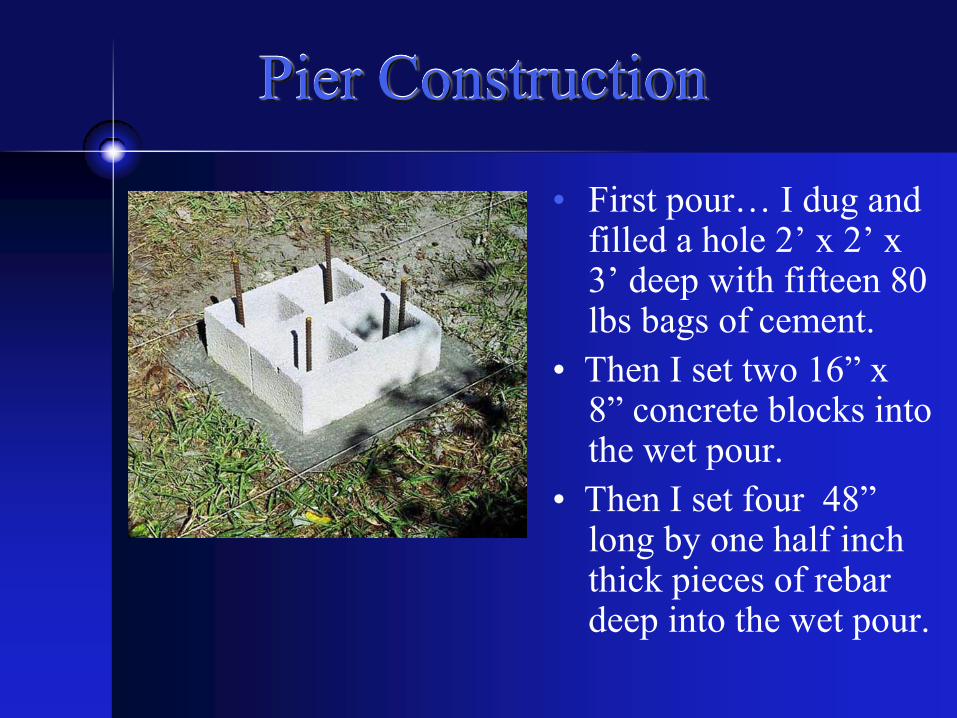
Pier Construction
• First pour… I dug and filled a hole 2’ x 2’ x 3’ deep with fifteen 80 lbs bags of cement.
• Then I set two 16” x 8” concrete blocks into the wet pour.
• Then I set four 48” long by one half inch thick pieces of rebar deep into the wet pour.
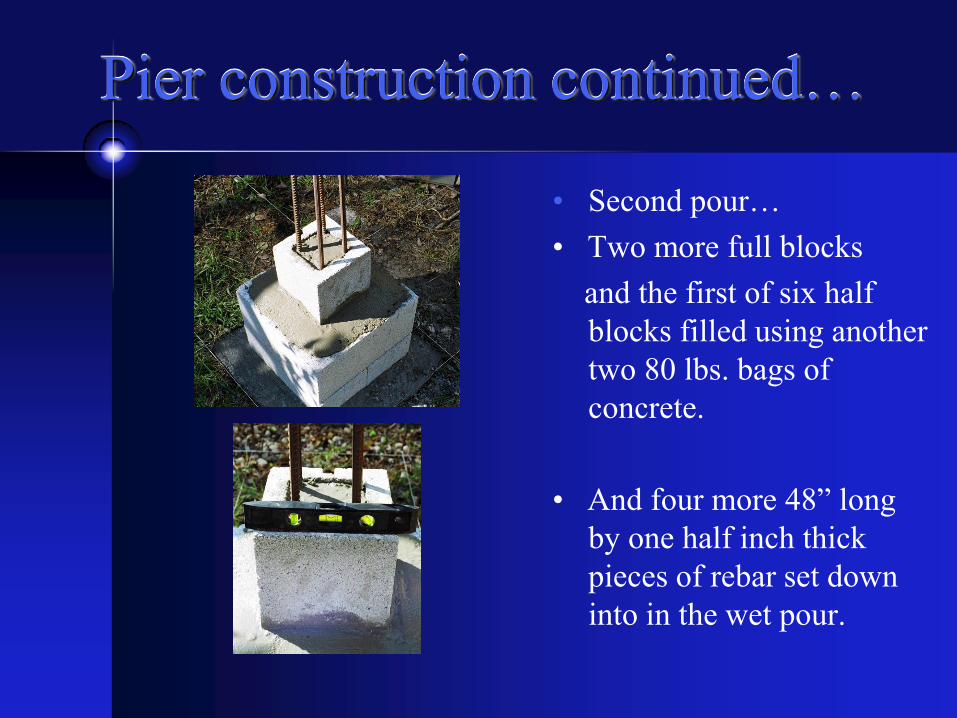
Pier construction continued…
• Second pour…
• Two more full blocks
and the first of six half
blocks filled using another
two 80 lbs. bags of
concrete.
• And four more 48” long
by one half inch thick
pieces of rebar set down
into in the wet pour.

Pier construction continued…
• The third step…
Stacking the
remaining
five half blocks.

Pier plate assembly
• Two one foot square, one
half inch thick aluminum
plates from McMaster-
Carr tied together with one
half inch threaded stock,
nuts and washers.
• Four more pieces of
threaded stock 18 inches
long with dog legs beaten
into the bottoms of each
one to aid in their setting
securely into the concrete.

Plate assembly set into pier
• I filled the stack with another 80 lbs sack of concrete and while still wet, I worked the plate assembly into the pour.
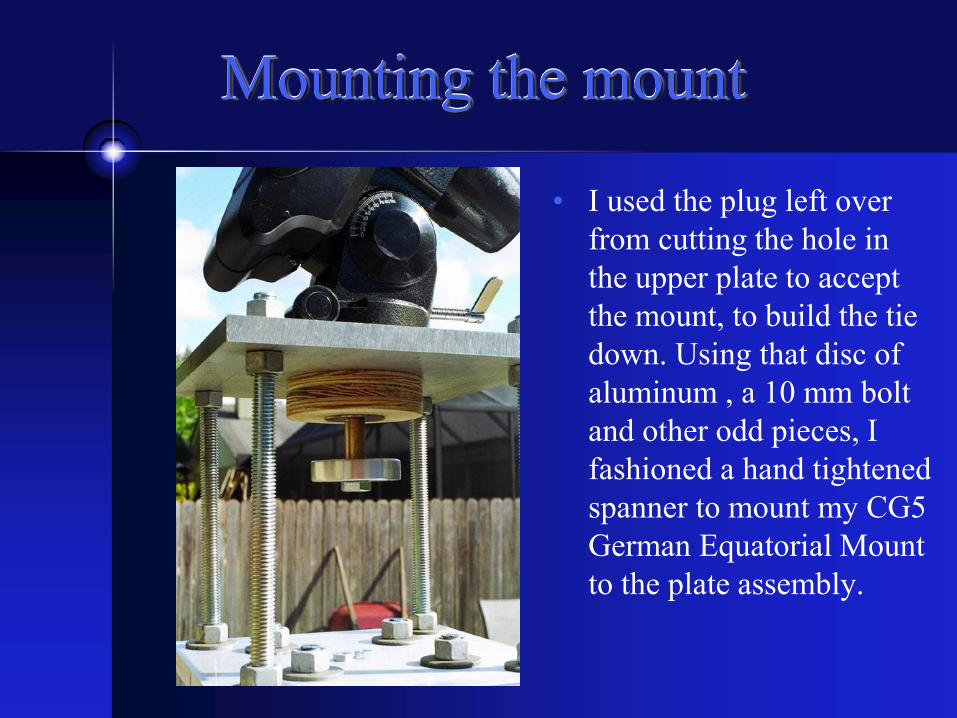
Mounting the mount
• I used the plug left over
from cutting the hole in
the upper plate to accept
the mount, to build the tie
down. Using that disc of
aluminum , a 10 mm bolt
and other odd pieces, I
fashioned a hand tightened
spanner to mount my CG5
German Equatorial Mount
to the plate assembly.

Sub-floor assembly
• 4 x4’s and 2 x 6’s
make up the sub floor.
• It is important that the
observatory floor not
touch or be attached to
the pier in any way.

The Big Max
• The Big Max comes with it’s own floor. Making the cut out for the pier was no big deal. And the plastic floor makes a soft landing pad for any dropped astro gear.
• The Blue Moon fully assembled.

The Flip Top
• The entire roof opens
180º with one lever.
• Reinforcement proved
necessary to swing the
weight of the roof.

The Flip Top continued
• Some additional internal bracing was added as well. The Big Max is a good starting point for an observatory, but it benefits greatly from the additional reinforcements.

Plenty of head room…
• With the roof in place, I still have plenty of room for the scope to be left parked in any position.
• Since this photo was taken, I have added a Orion ED80 guide/wide field scope. Even with that refractor and it’s mounting rail and rings setting on top of the C11, I still have plenty of room to spare.

Finishing touches
• All the comforts of home
• Carpeting
• A work desk
• Electricity
• Task lighting
• Shelf for charts etc.
• My observing time has more than doubled, I can set up and be ready to go in under five minutes. And if the weather quits on me, I can shut down and lock everything up in 5 minutes.
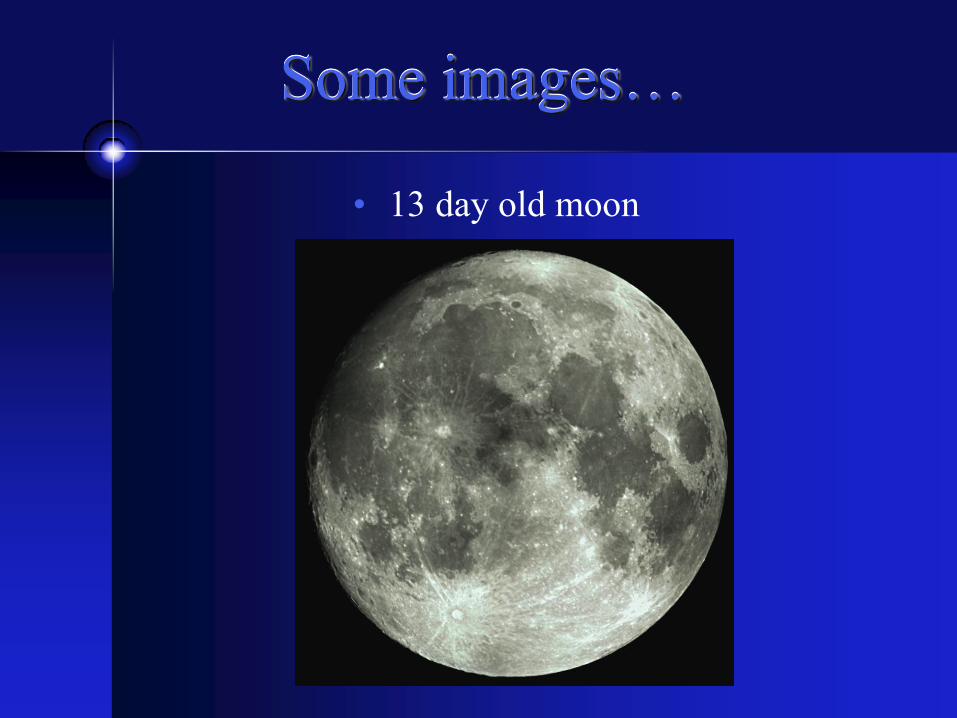
Some images…
• 13 day old moon

Some images…
• Crater Humboldt

Some images…
• 6 day old moon
It is a 13 frame
mosaic, but I missed a
piece.

Some images…
• Mars

Some images…
• Saturn

Some images…
• Jupiter

Some images…
• Jupiter and his moons

Some images…
• M42

Some images…
• M20

Some images…
• M16

Some images…
• M27

Some images…
• M57

Some images…
• Ghost of Jupiter

Some images…
• NGC6210

Some images…
• M13

Some images…
• M15

Some images…
• Four more Globular Clusters

Some images…
• M51

Some images…
• M101
Too big to image
without a lot of focal
reducer.

Build it and you will come…
• Of all the accessories I have added to my astronomy package, none have been more useful, or been used more often than this observatory.
• It takes the laborious task of dragging all the stuff out, putting all the pieces together, getting a usable alignment dialed in, and trying to not drop or lose anything in the grass into a quick and simple process of opening up the roof and waking up the mount.
• Also, all my astro gear is only an arms length from the scope, and not taking up room in the corner of the living room.
• When the night is over, and I am tired and ready to call it quits, the whole thing can be closed and locked up in 5 minutes.


