Lo
w
Pro
file
Fu
ll E
xten
sio
n
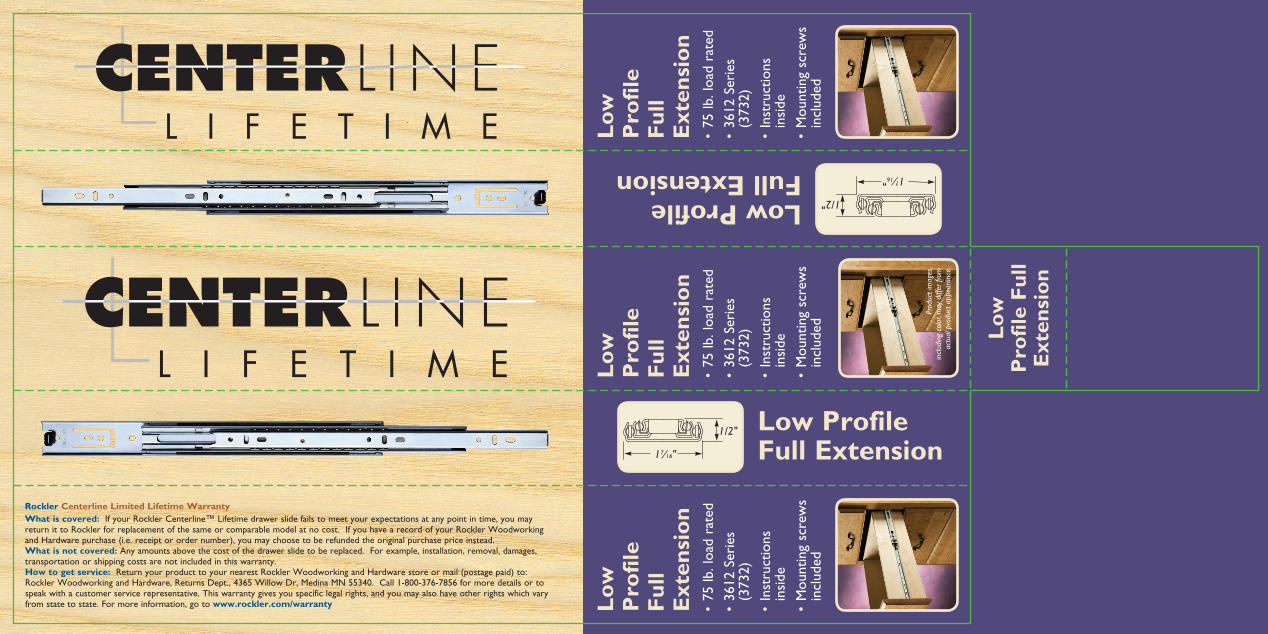
Low Profile Full Extension 1
7⁄16"
1/2"
Lo
w
Pro
file
Fu
ll E
xten
sio
n•
75lb
.loa
dra
ted
•36
12S
erie
s
(373
2)
•In
stru
ctio
ns
in
side
•M
ount
ing
scre
ws
in
clud
ed
Low Profile Full Extension17⁄16"
1/2"
Lo
w
Pro
file
Fu
ll E
xten
sio
n•
75lb
.loa
dra
ted
•36
12S
erie
s
(373
2)
•In
stru
ctio
ns
in
side
•M
ount
ing
scre
ws
in
clud
ed
Rockler Centerline Limited Lifetime WarrantyWhat is covered:IfyourRocklerCenterline™Lifetimedrawerslidefailstomeetyourexpectationsatanypointintime,youmayreturnittoRocklerforreplacementofthesameorcomparablemodelatnocost.IfyouhavearecordofyourRocklerWoodworkingandHardwarepurchase(i.e.receiptorordernumber),youmaychoosetoberefundedtheoriginalpurchasepriceinstead.What is not covered:Anyamountsabovethecostofthedrawerslidetobereplaced.Forexample,installation,removal,damages,transportationorshippingcostsarenotincludedinthiswarranty.How to get service:ReturnyourproducttoyournearestRocklerWoodworkingandHardwarestoreormail(postagepaid)to:RocklerWoodworkingandHardware,ReturnsDept.,4365WillowDr,MedinaMN55340.Call1-800-376-7856formoredetailsortospeakwithacustomerservicerepresentative.Thiswarrantygivesyouspecificlegalrights,andyoumayalsohaveotherrightswhichvaryfromstatetostate.Formoreinformation,gotowww.rockler.com/warranty
Lo
w
Pro
file
Fu
ll E
xten
sio
n•
75lb
.loa
dra
ted
•36
12S
erie
s
(373
2)
•In
stru
ctio
ns
in
side
•M
ount
ing
scre
ws
in
clud
ed
Prod
uct i
mag
es,
incl
udin
g co
lor,
may
diff
er fr
om
actu
al p
rodu
ct a
ppea
ranc
e.
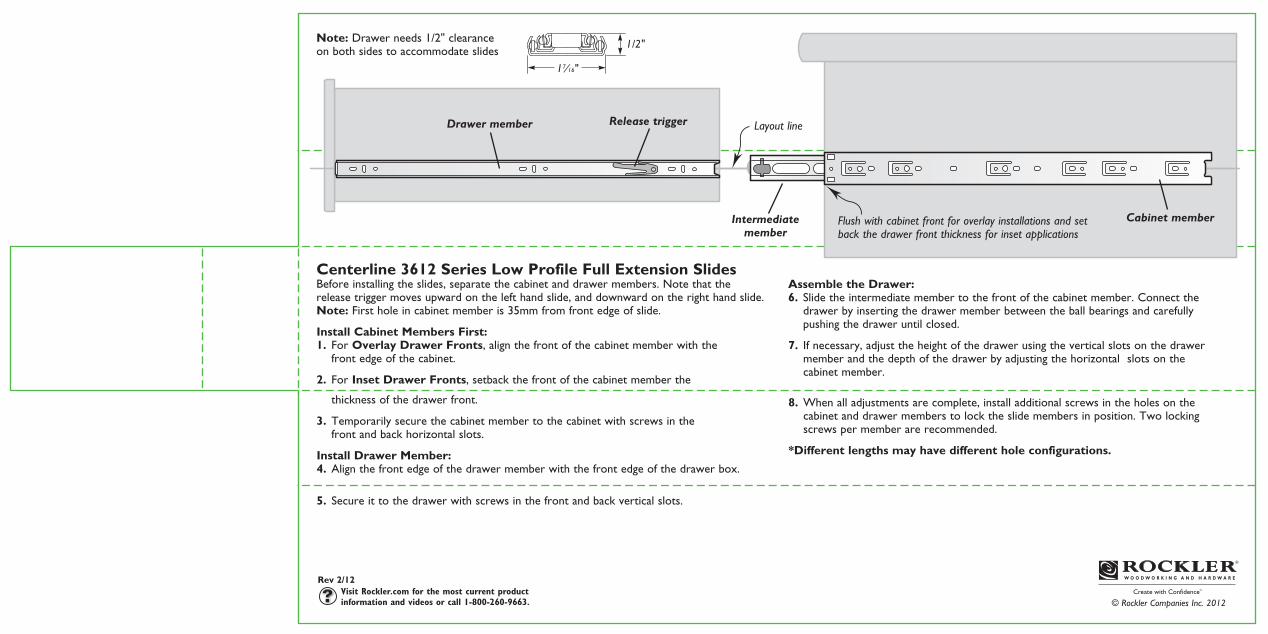
Centerline 3612 Series Low Profile Full Extension SlidesBeforeinstallingtheslides,separatethecabinetanddrawermembers.Notethatthereleasetriggermovesupwardonthelefthandslide,anddownwardontherighthandslide.Note:Firstholeincabinetmemberis35mmfromfrontedgeofslide.
Install Cabinet Members First:1. ForOverlay Drawer Fronts,alignthefrontofthecabinetmemberwiththe frontedgeofthecabinet.
2. ForInset Drawer Fronts,setbackthefrontofthecabinetmemberthe
thicknessofthedrawerfront.
3. Temporarilysecurethecabinetmembertothecabinetwithscrewsinthe frontandbackhorizontalslots.
Install Drawer Member:4.Alignthefrontedgeofthedrawermemberwiththefrontedgeofthedrawerbox.
5. Secureittothedrawerwithscrewsinthefrontandbackverticalslots.
Layout lineRelease triggerDrawer member
Flush with cabinet front for overlay installations and set back the drawer front thickness for inset applications
Intermediate member
Rev 2/12
© Rockler Companies Inc. 2012Visit Rockler.com for the most current product information and videos or call 1-800-260-9663.
Assemble the Drawer:6. Slidetheintermediatemembertothefrontofthecabinetmember.Connectthe drawerbyinsertingthedrawermemberbetweentheballbearingsandcarefully pushingthedraweruntilclosed.
7. Ifnecessary,adjusttheheightofthedrawerusingtheverticalslotsonthedrawer memberandthedepthofthedrawerbyadjustingthehorizontalslotsonthe cabinetmember.
8.Whenalladjustmentsarecomplete,installadditionalscrewsintheholesonthe cabinetanddrawermemberstolocktheslidemembersinposition.Twolocking screwspermemberarerecommended.
*Different lengths may have different hole configurations.
Cabinet member
Note:Drawerneeds1/2"clearanceonbothsidestoaccommodateslides
17⁄16"
1/2"


