Hands on Raspberry Pi
Connect your Pi
- Raspberry Pi 2- Micro SD card- HDMI cable- HDMIPi screen & power cable- Mouse- Keyboard- WiFi dongle- Raspberry Pi power cable (last)
Log in
Username: piPassword: raspberry
Note: Password will not show while typing
Try the command line
Type the commands:- ls- ls -l- pwd- cd python_games- ls- cd
Boot to desktop
- Run the command startx- Hit Enter

Open Python 3
Python is a programming languageIDLE is a Python application
Hello world
In the IDLE Python window, enter:
print(“Hello world”)
and hit Enter

Calculator
Try:
2 + 210 * 5123 + 456
Variables
Try:
a = 1b = 2c = a + bprint(c)
Strings
Try:
name = “Ben”print(“Hello ” + name)

Syntax errors
Try:
print(Hello)print(“Hello)print(“Hello’)

Types
Try:
age = 26“My age is ” + age

Type casting
Try:
“My age is ” + str(age)

Loops
Try:
for i in range(10): print(“Hello”)

Loops
Try:
for i in range(10): print(i)
Exit IDLE
Close the IDLE window
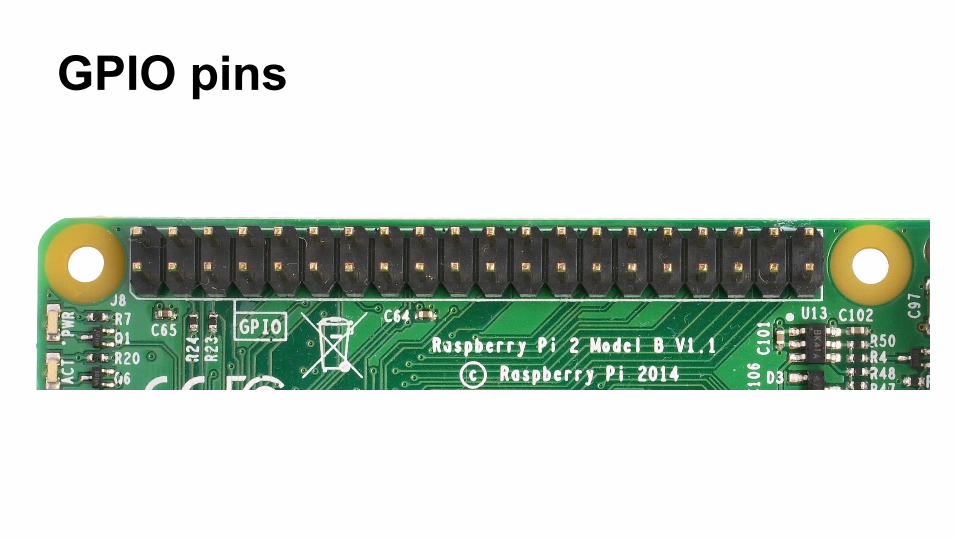
GPIO pins
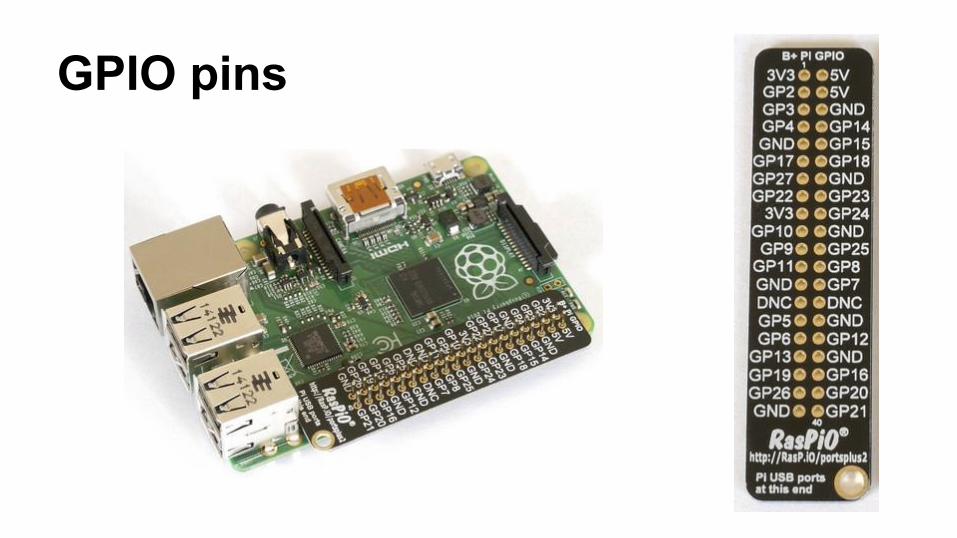
GPIO pins
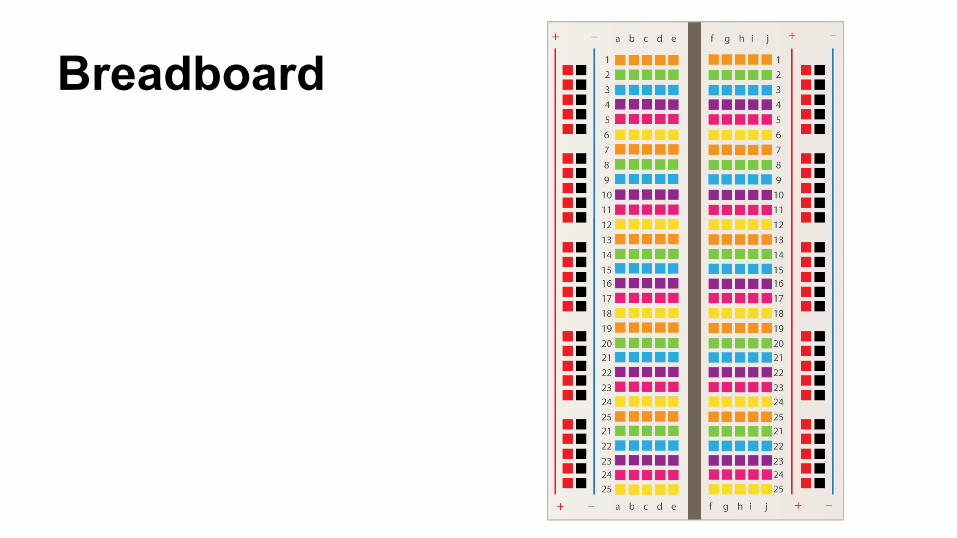
Breadboard
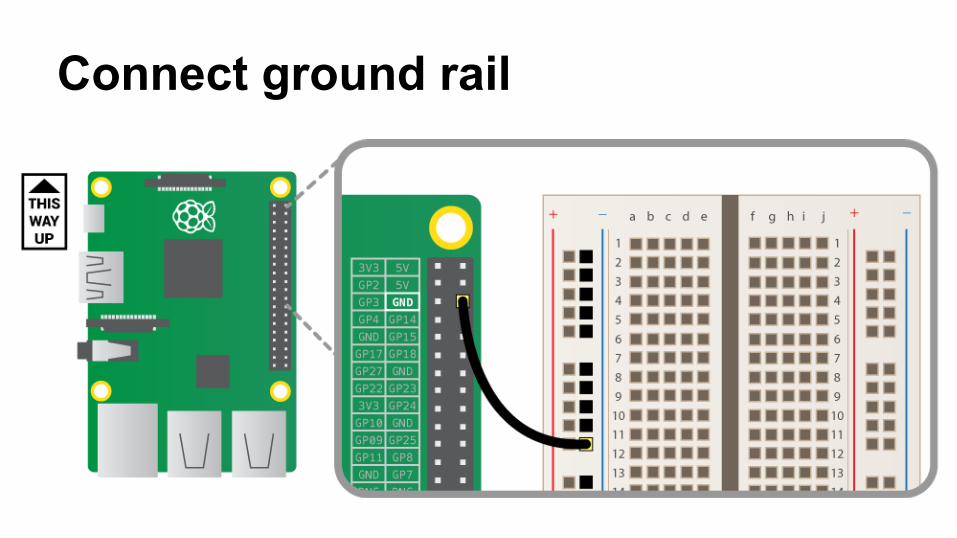
Connect ground rail
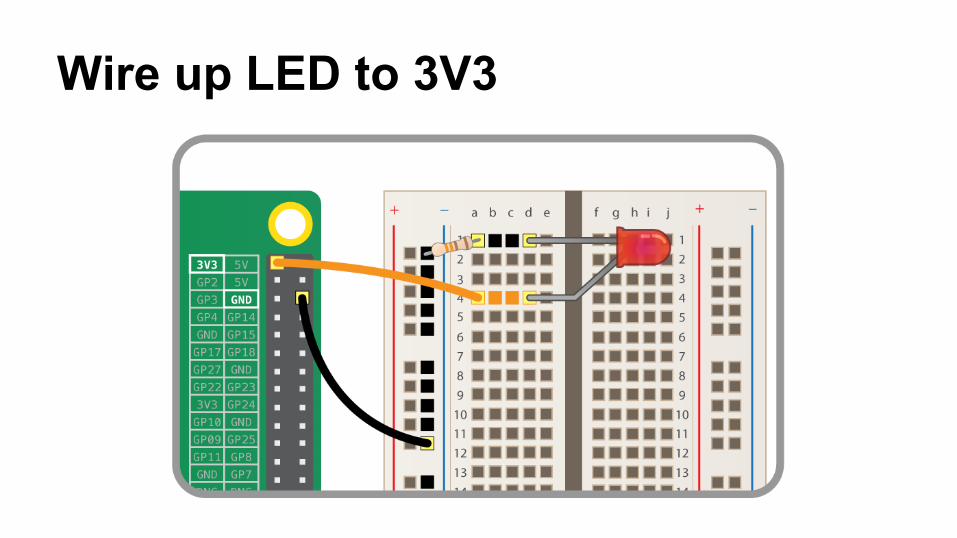
Wire up LED to 3V3
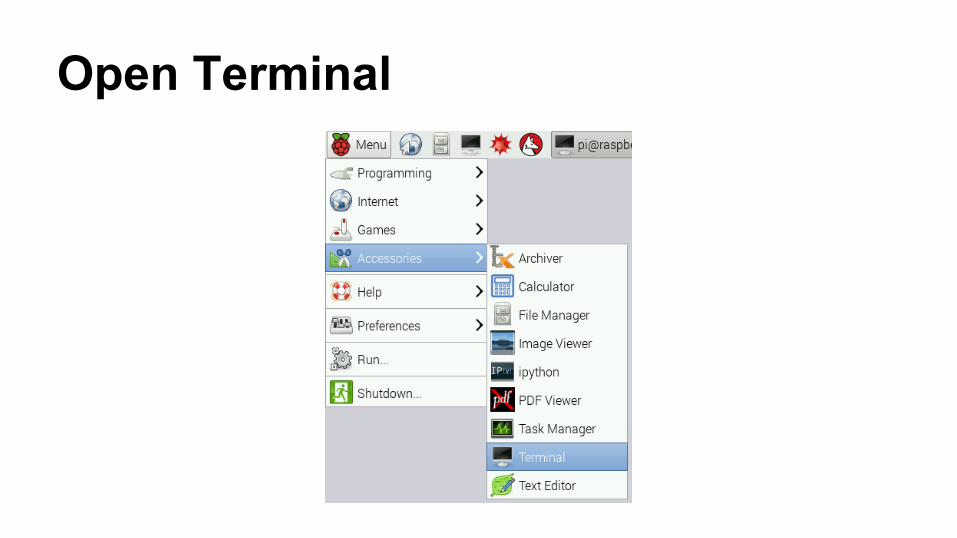
Open Terminal
Create new folder
Type mkdir intro and hit Enter
This creates a new directory (folder) called intro
Enter the folder
Type cd intro and hit Enter
“Change directory intro”
This enters the directory intro
Open IDLE as super user
In the Terminal window, run:
sudo idle3 &
This will open IDLE with super user permissions - we need this to access GPIO pinsThe ampersand (&) opens it in a new process
Open a new window
Go to File > New window
Save file
Go to File > Save
Save as led.py in your intro folder
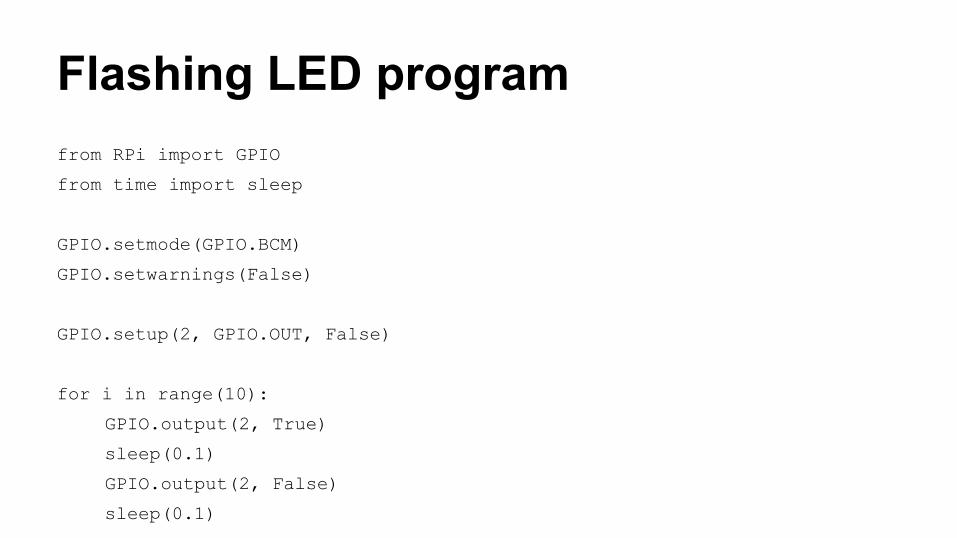
Flashing LED programfrom RPi import GPIO
from time import sleep
GPIO.setmode(GPIO.BCM)
GPIO.setwarnings(False)
GPIO.setup(2, GPIO.OUT, False)
for i in range(10):
GPIO.output(2, True)
sleep(0.1)
GPIO.output(2, False)
sleep(0.1)
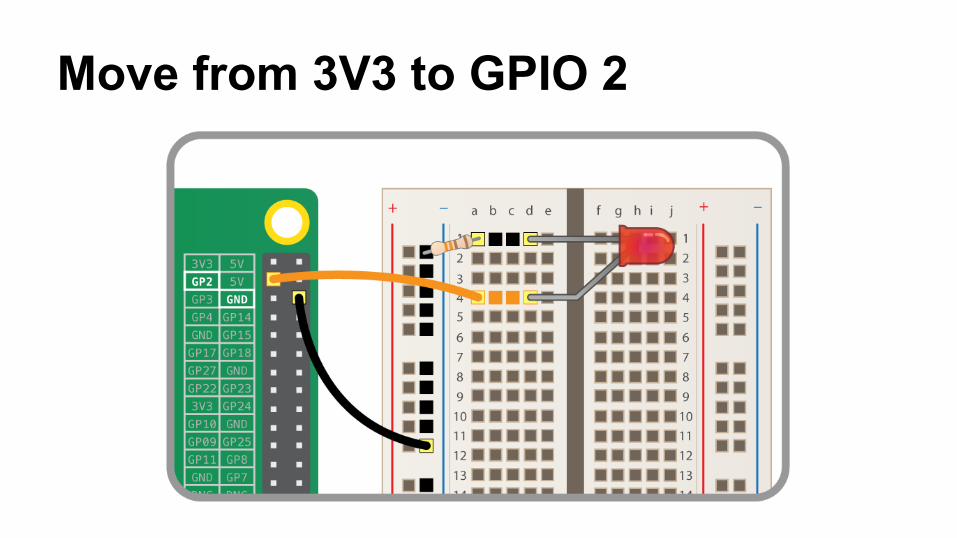
Move from 3V3 to GPIO 2
Run the script!
Press F5 to run the program

Add second LED
New file
Go to File > New windowSave as led2.py

Code for 2 LEDsfrom RPi import GPIO
from time import sleep
GPIO.setmode(GPIO.BCM)
GPIO.setwarnings(False)
red = 2
blue = 3
GPIO.setup(red, GPIO.OUT, False)
GPIO.setup(blue, GPIO.OUT, False)

Flash continuouslywhile True:
GPIO.output(red, True)
sleep(0.1)
GPIO.output(blue, True)
sleep(0.1)
GPIO.output(red, False)
sleep(0.1)
GPIO.output(blue, False)
sleep(0.1)
Make it stop!
Press Ctrl + C to force quit (it won’t ever end)
Shut down your Pi
Enter sudo halt in the Terminal
OR
Shut down from the main Menu
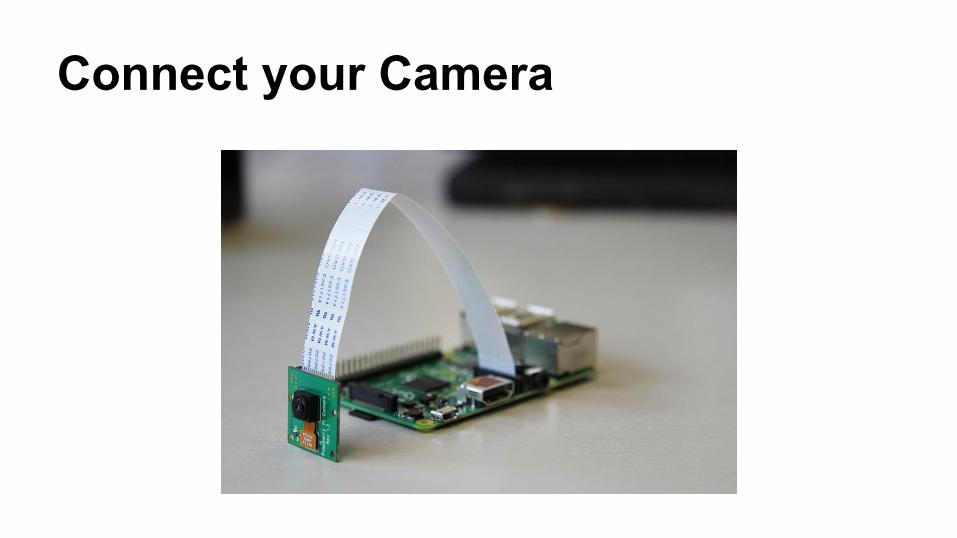
Connect your Camera
Boot the Pi and log in
Test the camera
Type raspistill -k and hit Enter
This starts the camera preview
Hit Ctrl + C to stop
Take a selfie!
Type raspistill -o image.jpg and hit Enter
raspistill is the command for using the camera-o means “output”image.jpg is the chosen filename
Check the photo is there
Run ls to see the photo is thereRun startx to boot to Desktop
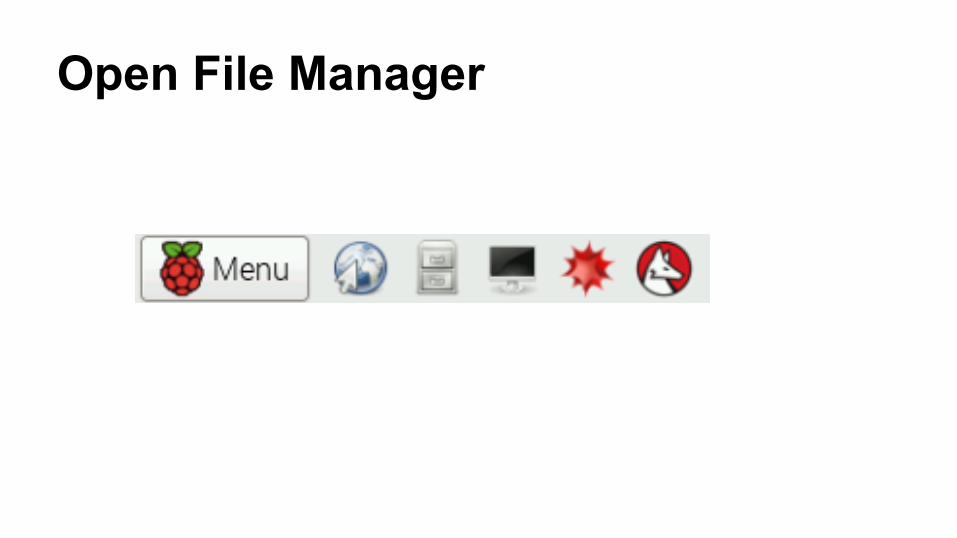
Open File Manager

Open image
Double click image.jpg to view it
Open IDLE as root
Open TerminalOpen IDLE as root user
sudo idle3 &
New file
Go to File > New windowSave as camera.py
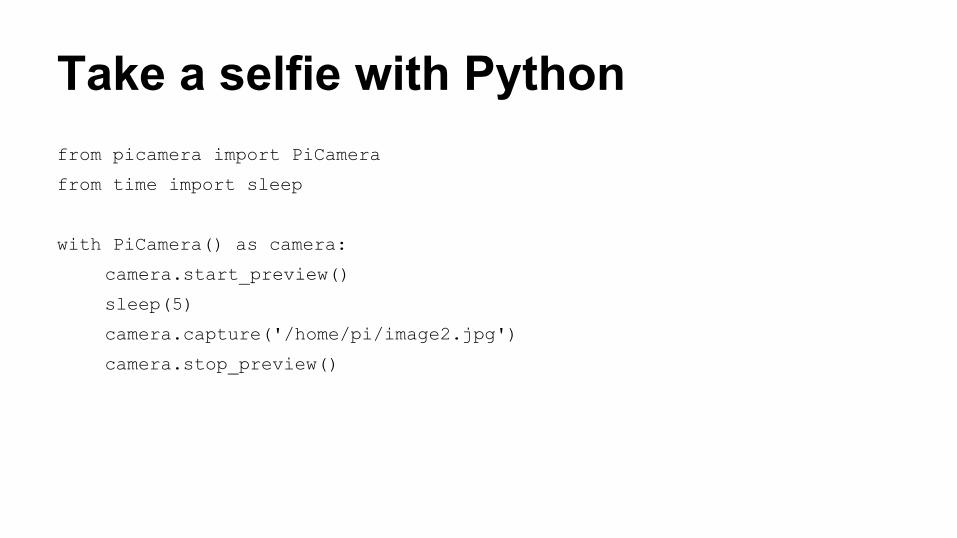
Take a selfie with Pythonfrom picamera import PiCamera
from time import sleep
with PiCamera() as camera:
camera.start_preview()
sleep(5)
camera.capture('/home/pi/image2.jpg')
camera.stop_preview()
View the photo from File ManagerNotice the difference in resolution between the file taken from the command line and from Python
This is due to default settings in raspistill and in Python picamera
Resolution and other aspects are configurable
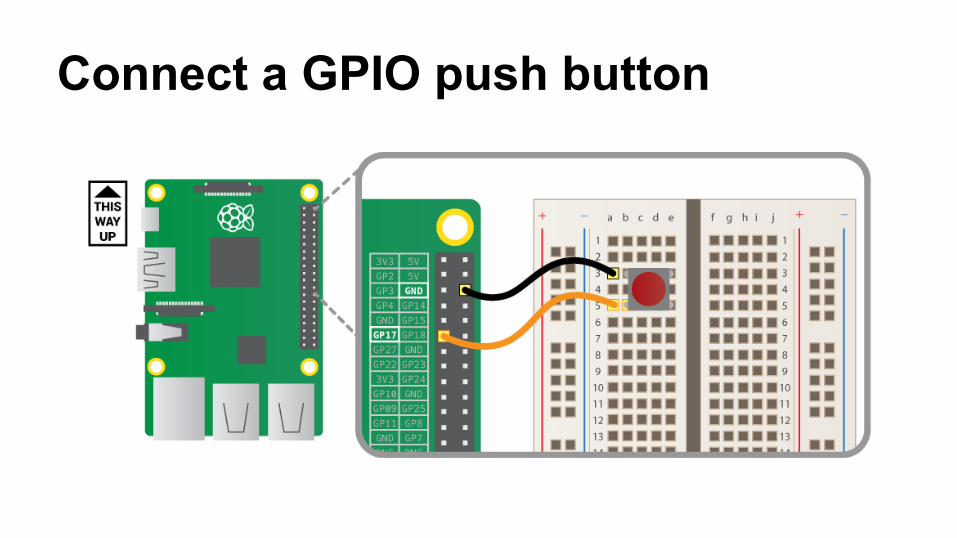
Connect a GPIO push button
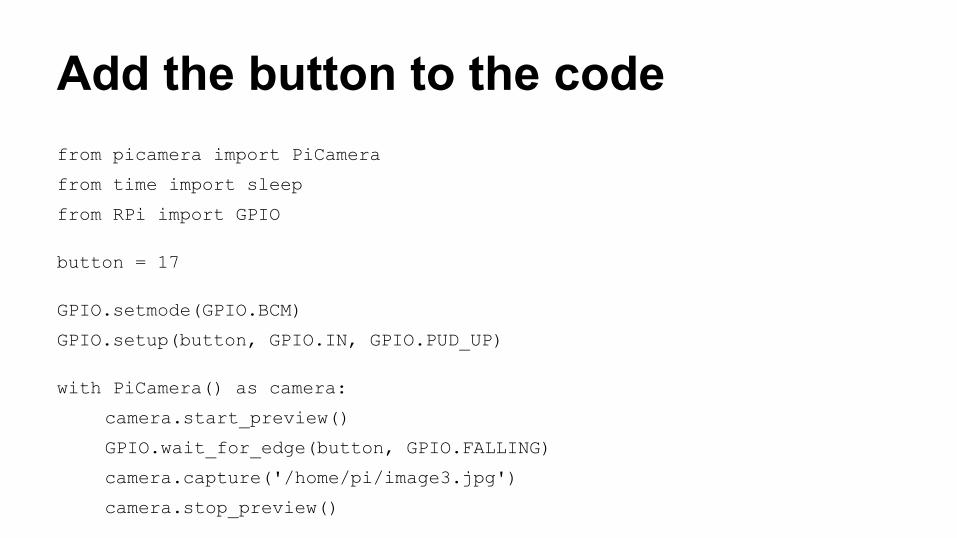
Add the button to the codefrom picamera import PiCamera
from time import sleep
from RPi import GPIO
button = 17
GPIO.setmode(GPIO.BCM)
GPIO.setup(button, GPIO.IN, GPIO.PUD_UP)
with PiCamera() as camera:
camera.start_preview()
GPIO.wait_for_edge(button, GPIO.FALLING)
camera.capture('/home/pi/image3.jpg')
camera.stop_preview()
Press the button to take a picture
Run the script with F5Wait for the previewPress the push button to take a picture

View the photo from File Manager
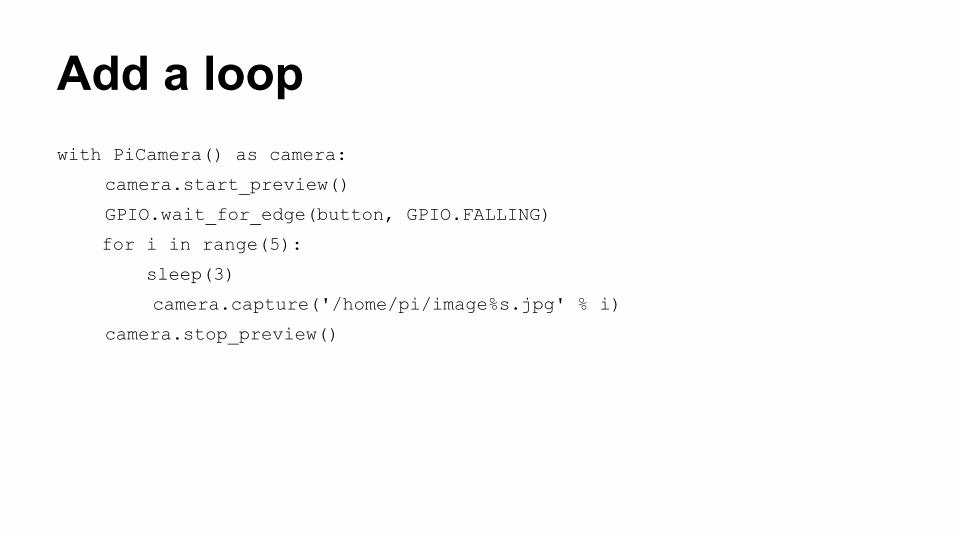
Add a loopwith PiCamera() as camera:
camera.start_preview()
GPIO.wait_for_edge(button, GPIO.FALLING)
for i in range(5):
sleep(3)
camera.capture('/home/pi/image%s.jpg' % i)
camera.stop_preview()
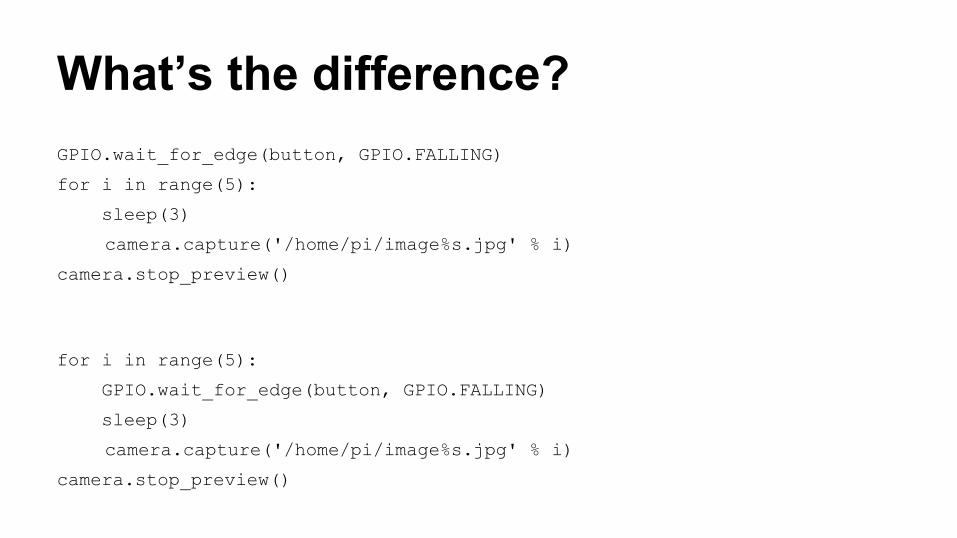
What’s the difference?GPIO.wait_for_edge(button, GPIO.FALLING)
for i in range(5):
sleep(3)
camera.capture('/home/pi/image%s.jpg' % i)
camera.stop_preview()
for i in range(5):
GPIO.wait_for_edge(button, GPIO.FALLING)
sleep(3)
camera.capture('/home/pi/image%s.jpg' % i)
camera.stop_preview()
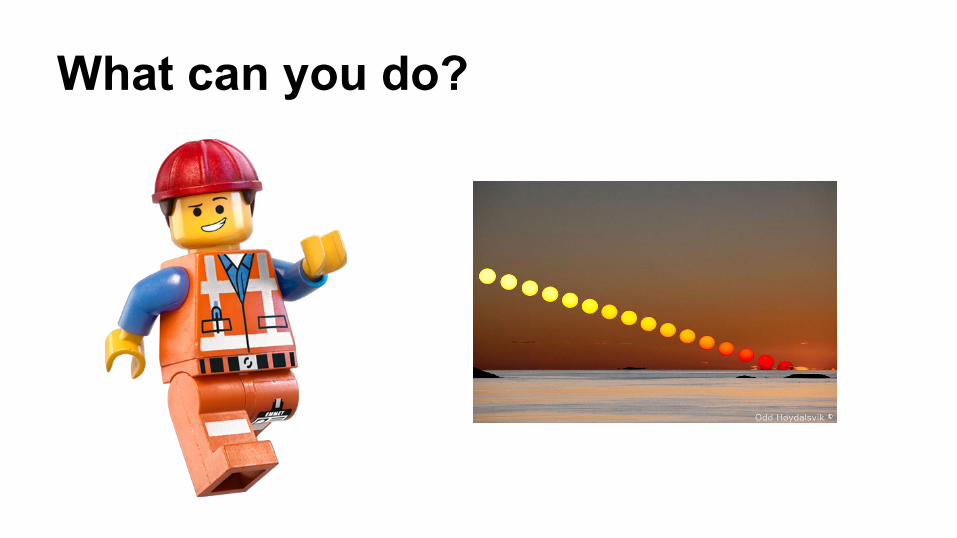
What can you do?

Raspberry Pi Resources
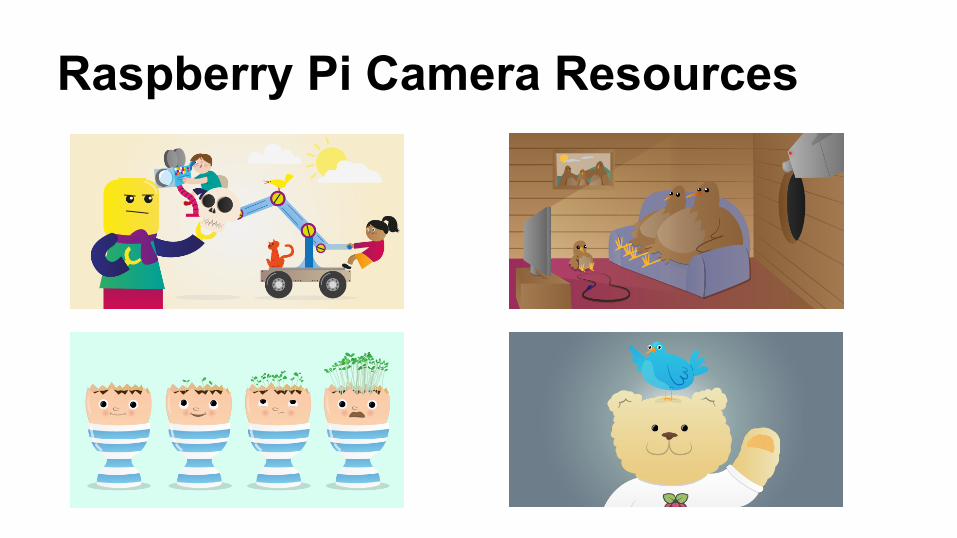
Raspberry Pi Camera Resources

Experiment time!
- Try combining buttons, LEDs, camera- Different buttons for different actions- 2 buttons to start/stop preview- LED status- What else is in your CamJam kit?- Use your imagination!

Updating your SD Card
(you must be online)
sudo apt-get updatesudo apt-get upgrade
Installing software
sudo apt-get install tree
sudo pip install twython
sudo pip-3.2 install twython


