
How to Create a LiveText Portfolio
Student Guide
© 2016 Lynn University, Inc. All Rights Reserved.
Any unauthorized use or reproduction of this copyrighted material is strictly prohibited.

Table of Contents What is a LiveText Portfolio? ........................................................................................................................ 3
How to Create a Portfolio using LiveText ..................................................................................................... 3
Customizing your Portfolio ........................................................................................................................... 6
To create additional pages such as Resume, Recent Projects and Contact info. ................................... 10
How to Share your Portfolio ....................................................................................................................... 11
To send the document for review ............................................................................................................... 11
Creating a Visitors Pass ............................................................................................................................... 12
Sharing your document using Visitors Pass ................................................................................................ 13
What is a LiveText Portfolio? A LiveText Portfolio may be used by students or faculty to compile, reflect, and present their
professional experiences and qualifications. A portfolio will most likely include multiple pages with
sections for text, images, attachments, links to other documents, and standards addressed.
How to Create a Portfolio using LiveText
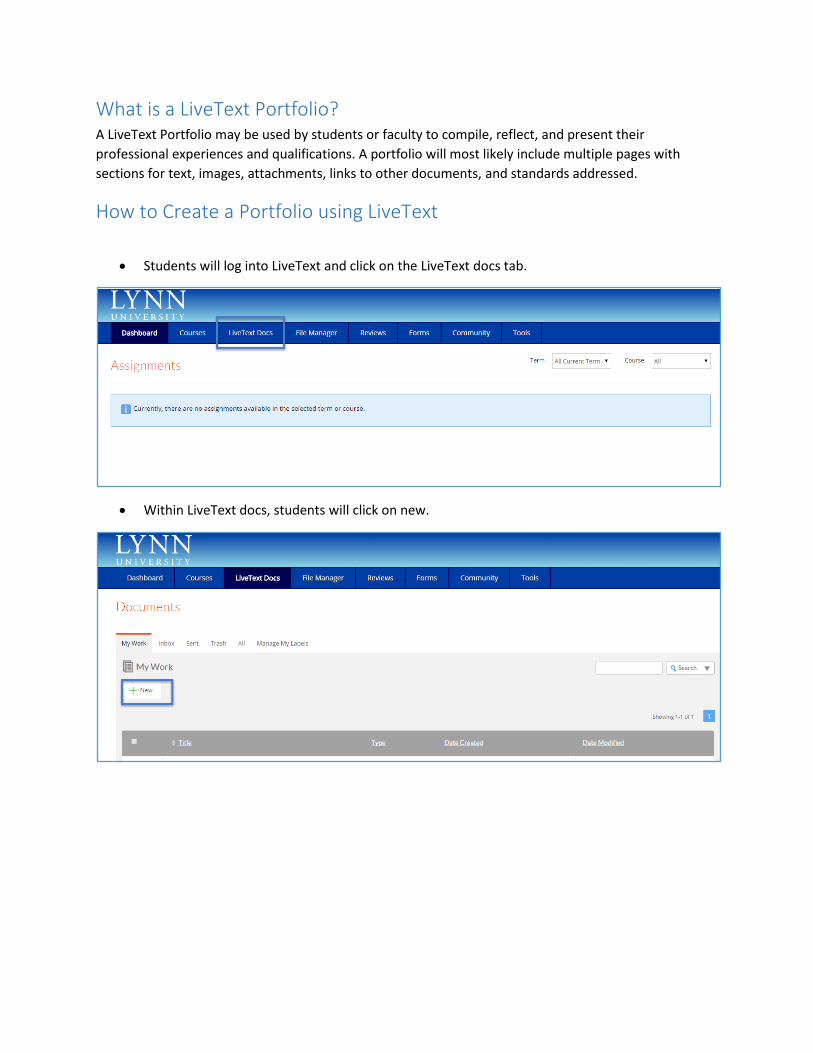
Students will log into LiveText and click on the LiveText docs tab.
Within LiveText docs, students will click on new.
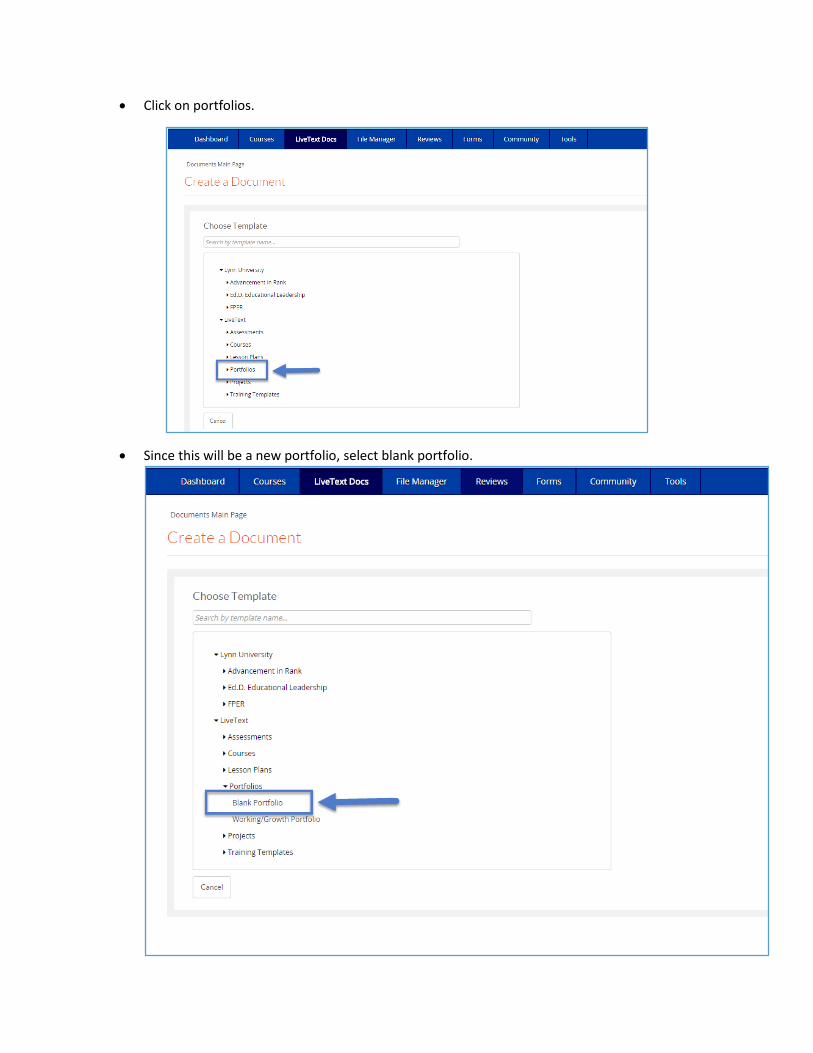
Click on portfolios.
Since this will be a new portfolio, select blank portfolio.

Click Create Document.
Once the document has been created, title the document and select OK.
Customizing your Portfolio
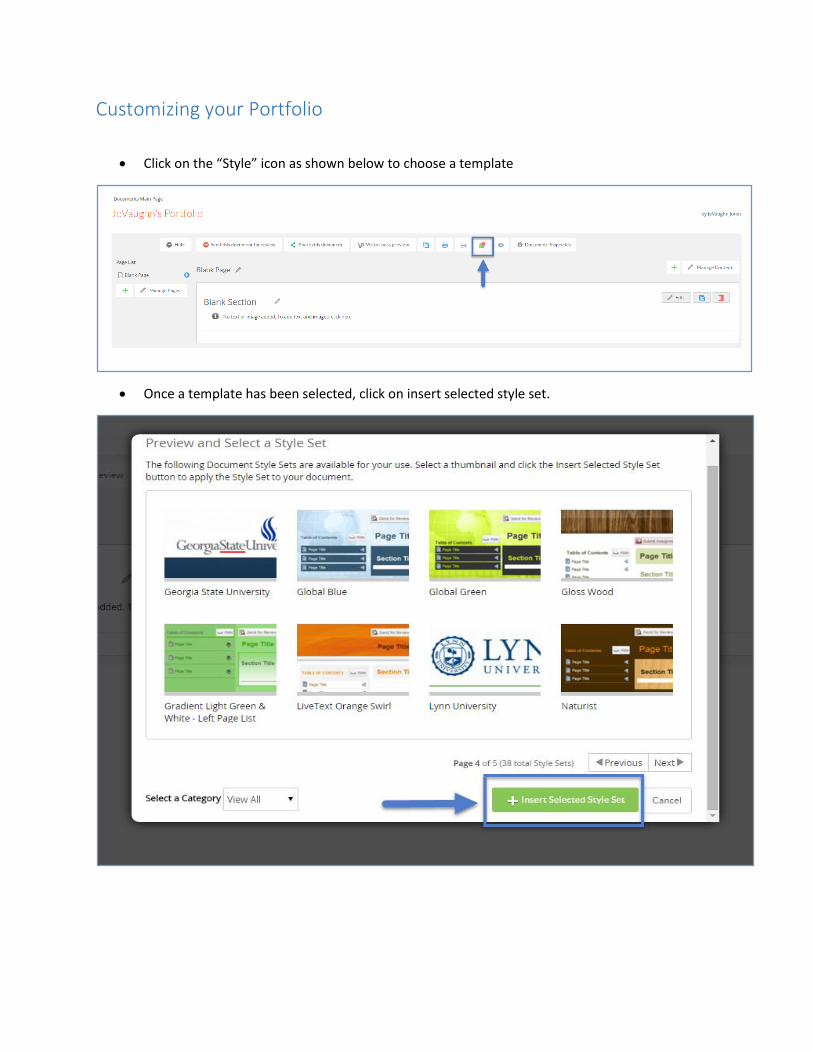
Click on the “Style” icon as shown below to choose a template
Once a template has been selected, click on insert selected style set.

Now that the template has been selected, you will see the page list. This section will allow you to create
multiple pages for your portfolio. For this example, we will add our first page.
Click on the edit icon.
Title the first page of your portfolio. For this example, the first page has been titled Biography.

Now that the first page has been created as a Biography, content must be entered. To begin we must
create a sub-title for the page.
Click on the edit icon
Enter a sub title for your page and then click on OK
Click on the Edit button

Enter content for your biography.
Please NOTE if you are copying and pasting information for your biography, you will have to paste it
within the clipboard.
Click save & Finish
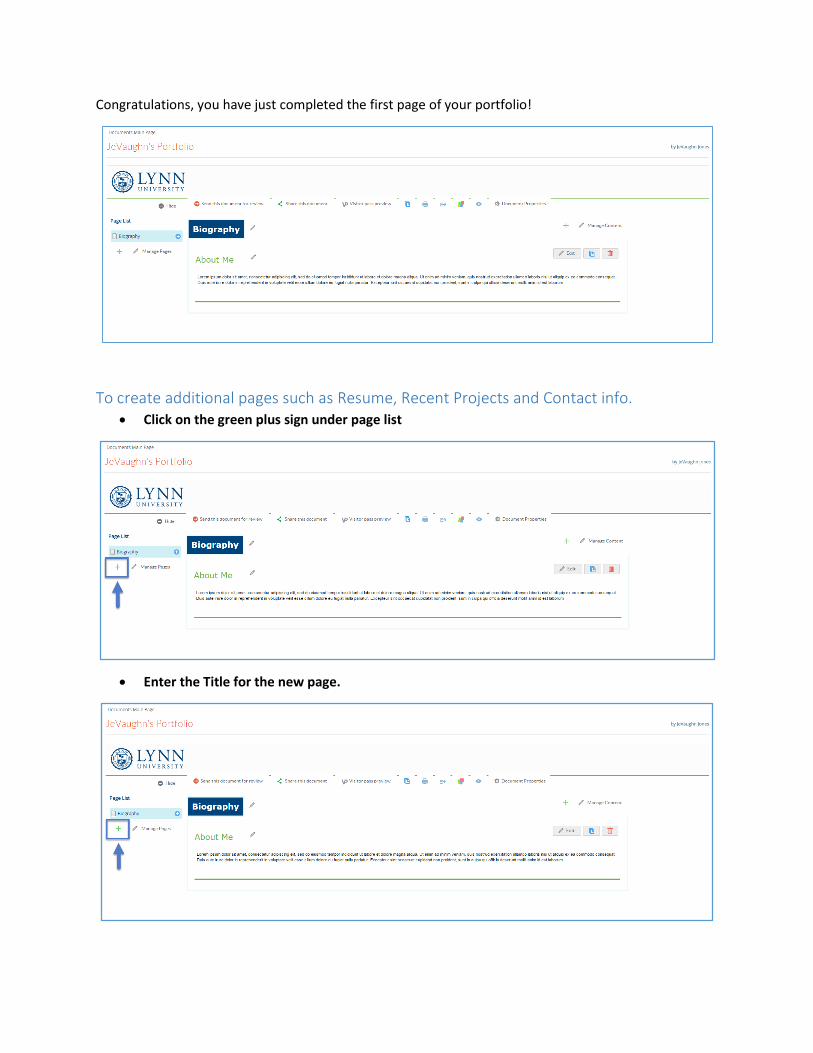
Congratulations, you have just completed the first page of your portfolio!
To create additional pages such as Resume, Recent Projects and Contact info. Click on the green plus sign under page list
Enter the Title for the new page.

How to Share your Portfolio LiveText allows the flexibility to share your portfolio with instructors, classmates and prospective
employers. There are a few different ways that you can share your portfolio, it can be sent to your
instructor to review, it can be shared with another LiveText account or you can send a visitor pass to an
external recipient to all them viewing access to your portfolio.
To send the document for review Sending a document for an instructor to review is simple.
Click on the send this document for review button
Make sure that look in my institutions radio button is selected.
Select the name of the person that will review your document.

Creating a Visitors Pass A Visitor Pass can be created to share documents with members outside of the LiveText community (e.g.
prospective employers). After a Visitor Pass is created, one or more documents can be added to the
pass. The pass may then be distributed to one or more visitors. Visitors may access only documents
shared with the pass from the Visitor Pass area on the LiveText homepage.
Click on tools
Click on Visitors Pass
Click on New

Create a Title for your visitors pass
Click Save
You will see your Visitor Pass listed with a code consisting of letters and numbers.
Sharing your document using Visitors Pass From within the document, click the Share this document button. The Share button is located
above the page title in the center.

Enter the visitor pass title (not the code), in the Search Viewer text box.
Based on the first few letters of text entered, LiveText's Autocomplete Share Mechanism
predicts the name of the Visitor Pass with whom the user wants to share. The system will
display the first 15 matches below the search text box. If the user is not listed, the system was
not able to identify the user. There were either no matches or several matches. Revise your
entry, and try again.
Click the Add to Share button when you find the user with whom you want to share.


