Download - How to use Prezi (A Powerful Idea Presenter)

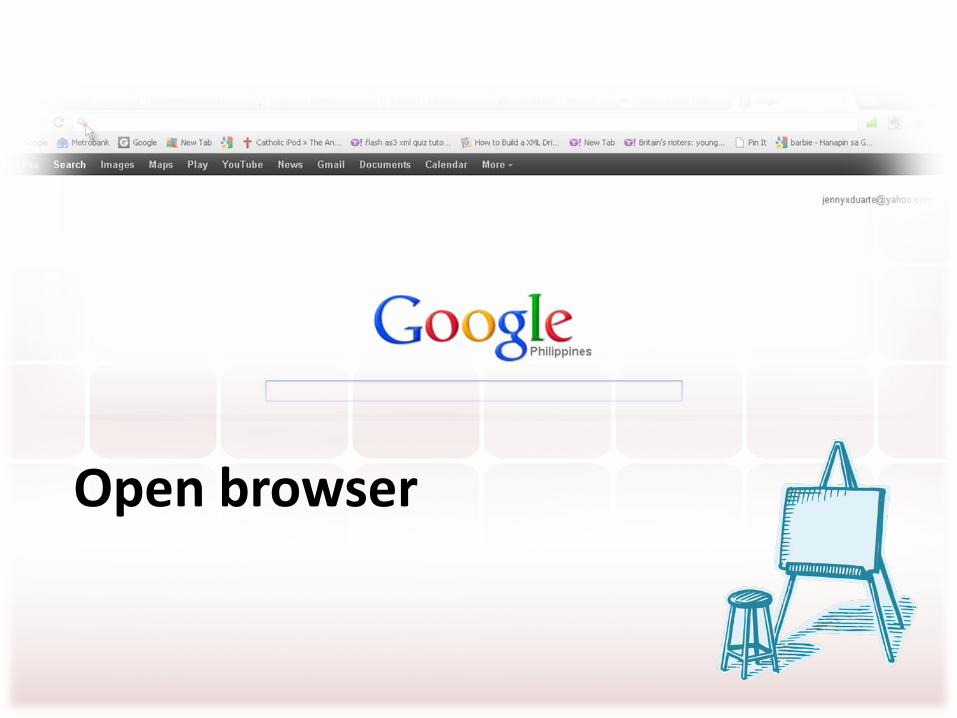
Open browser

Click cursor here
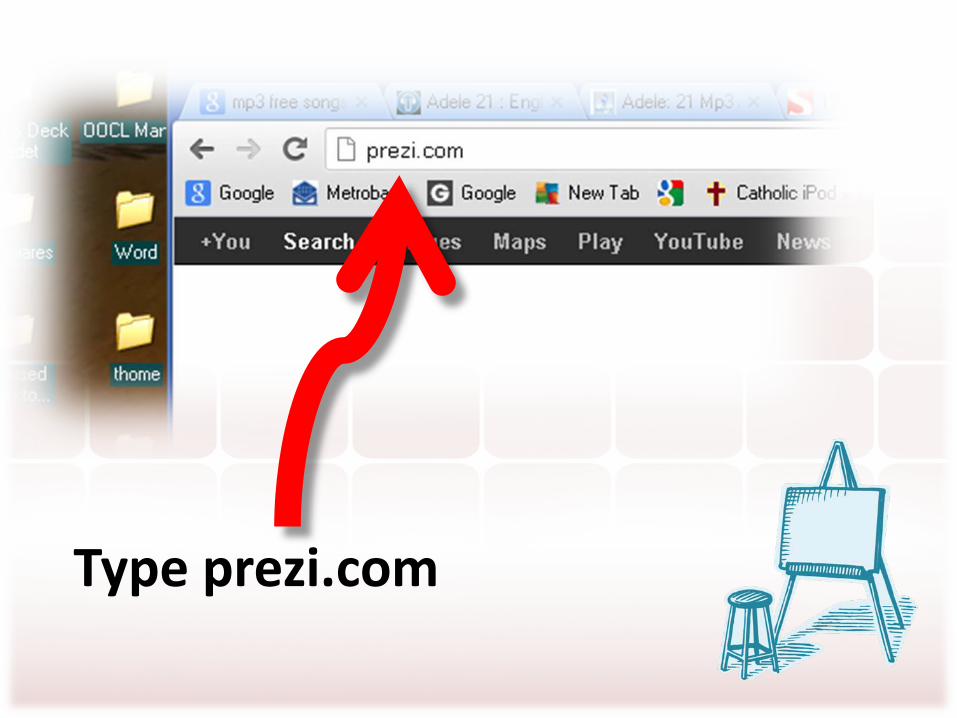
Type prezi.com

Then press Enter key

The Prezi site!

Click Sign up

The Prezi account and pricing
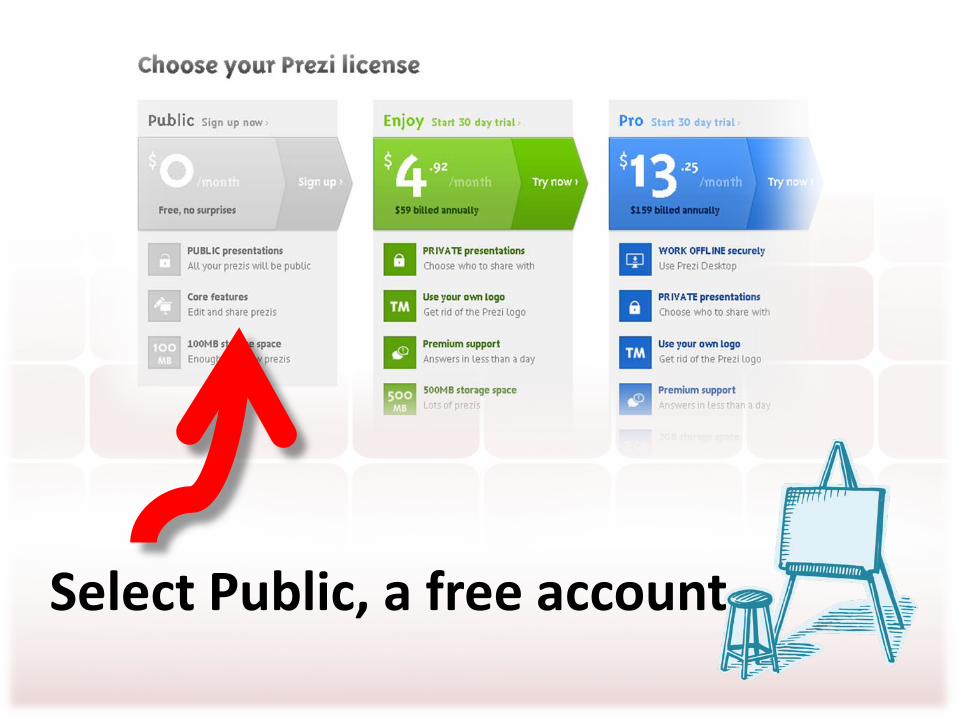
Select Public, a free account

Let’s start signing up!

Enter First name here

Enter Last name here

Enter email here

Enter Password here

Re-enter Password here

Click checkbox here

And click Sign up
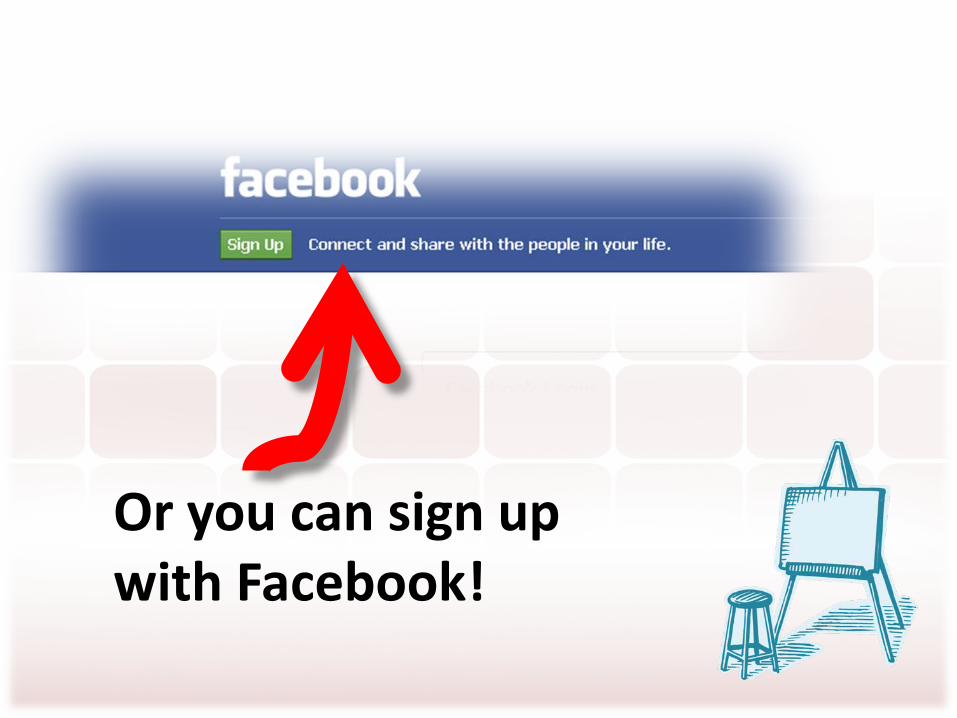
Or you can sign up with Facebook!

Go to this section
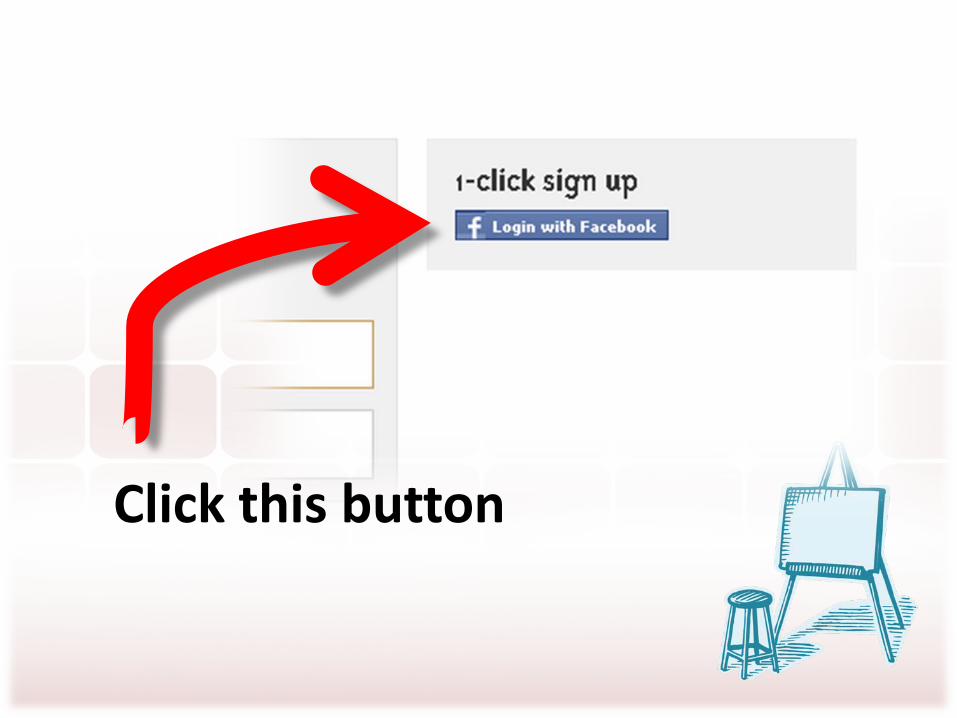
Click this button
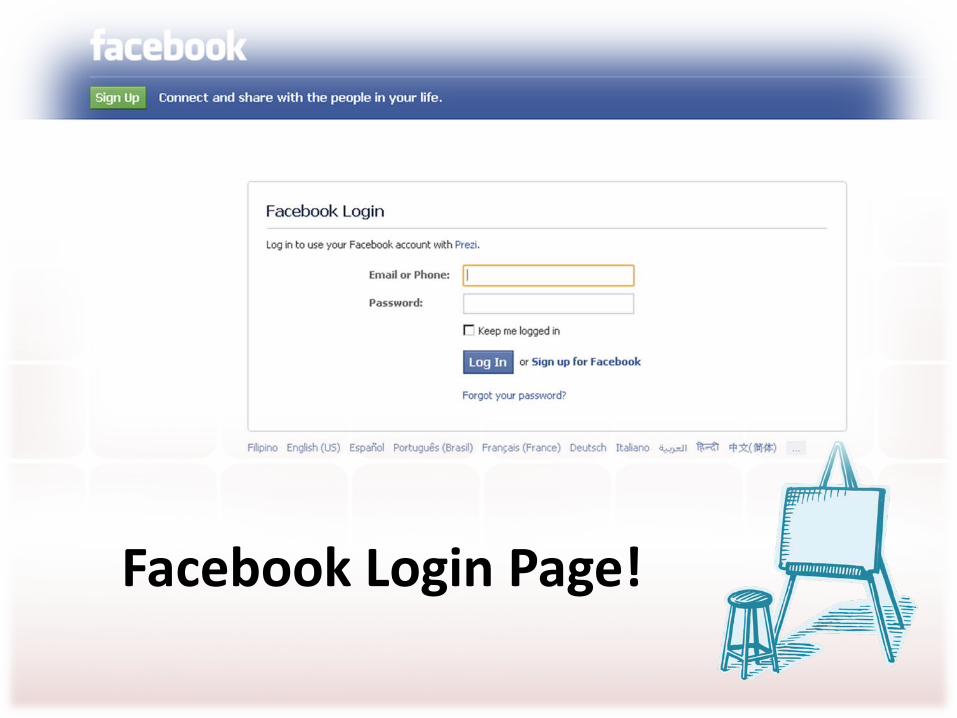
Facebook Login Page!

Enter Email here

Enter Password here

Click Log In

Click Go to App

Your new Prezi account!
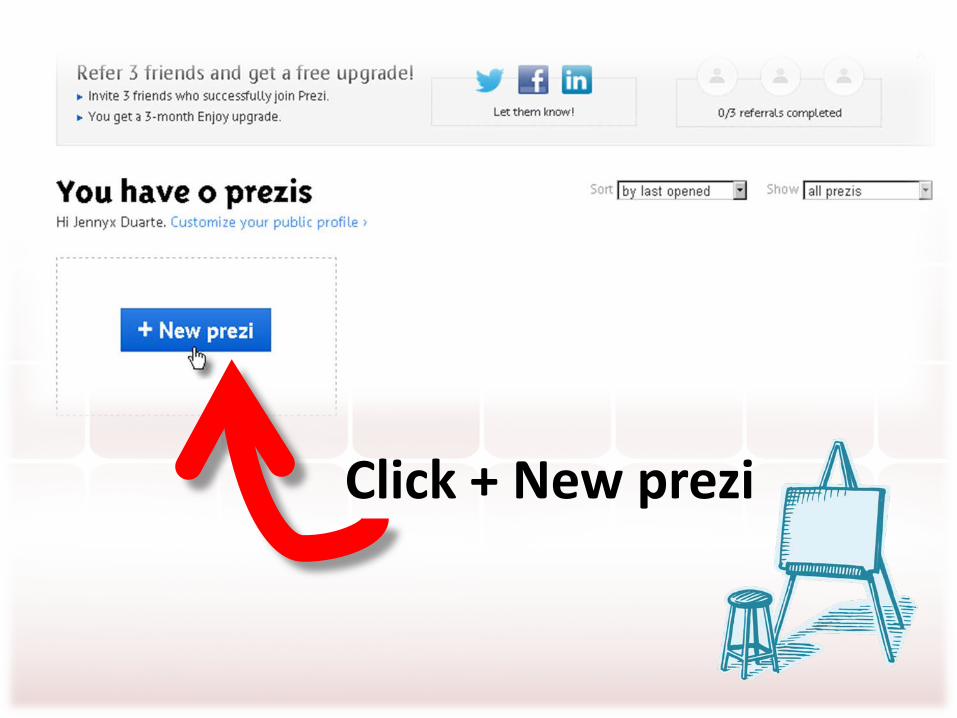
Click + New prezi

New prezi form

Enter Title here
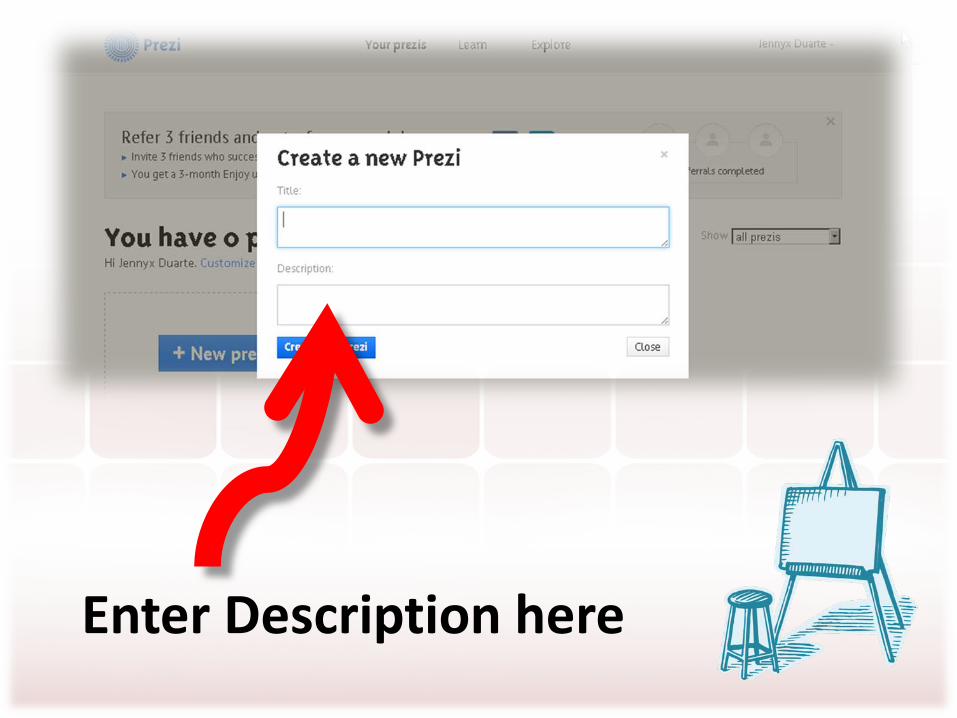
Enter Description here

Click Create your prezi!

Let’s wait for prezi to load

The prezi templates appears!
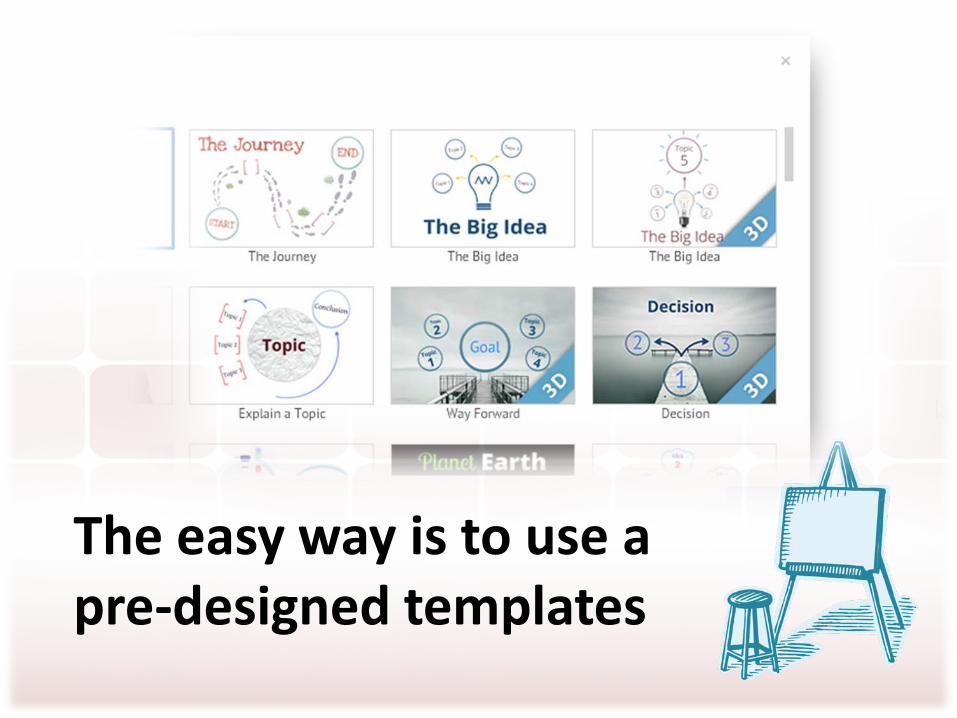
The easy way is to use a pre-designed templates

But we’re not going to use a pre-designed one!

We’ll start from scratch!

So, select a Blank template

Then click Choose

The prezi work editor

Let’s navigate sections first!
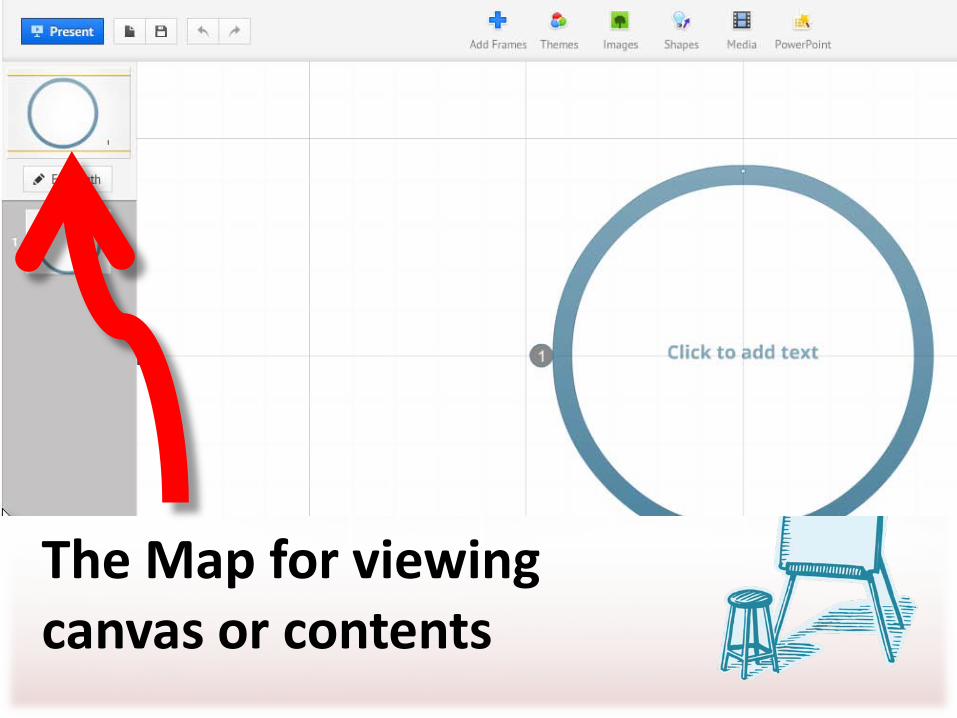
The Map for viewing canvas or contents

The Frame and Path guide thumbnail container

The Canvas where you put all your contents

The Home button, for viewing the whole canvas

The Zoom In button

The Zoom Out button

The Text and Font tool

The Presentation Preview button
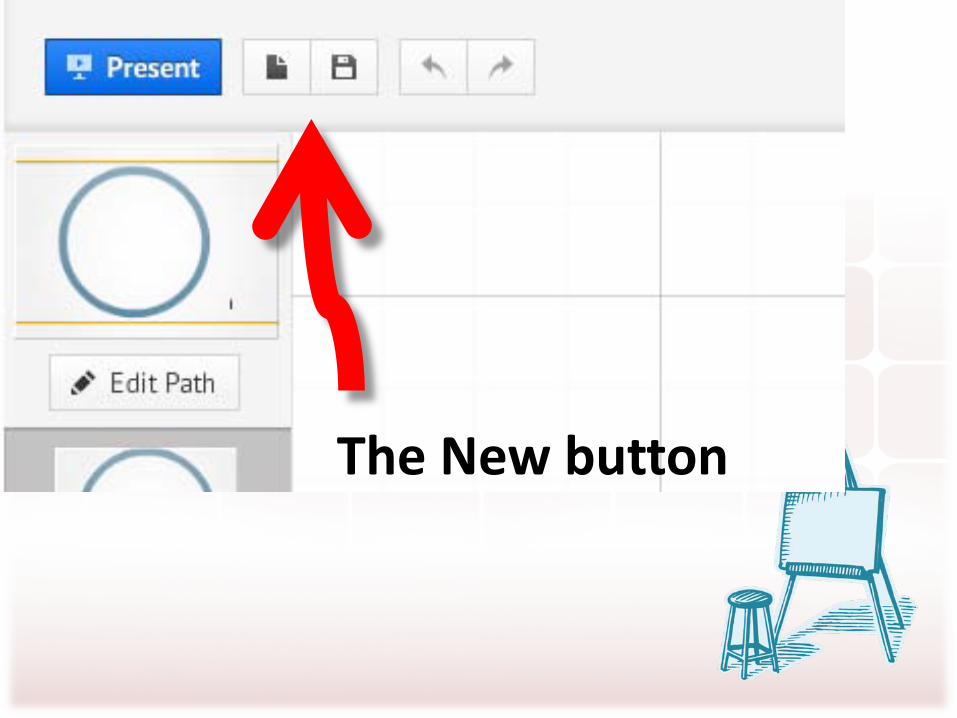
The New button

The Save button

The Undo button

The Redo button

The Freestyle section

The Freestyle is composed of these menus

Let’s move on this side
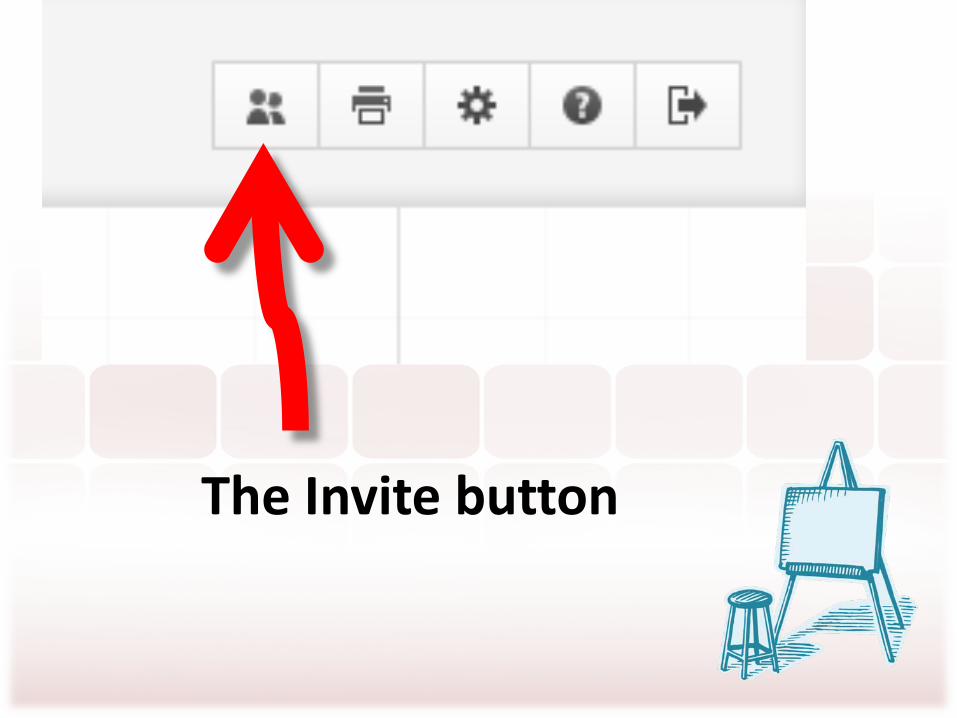
The Invite button

The Save As printable PDF button
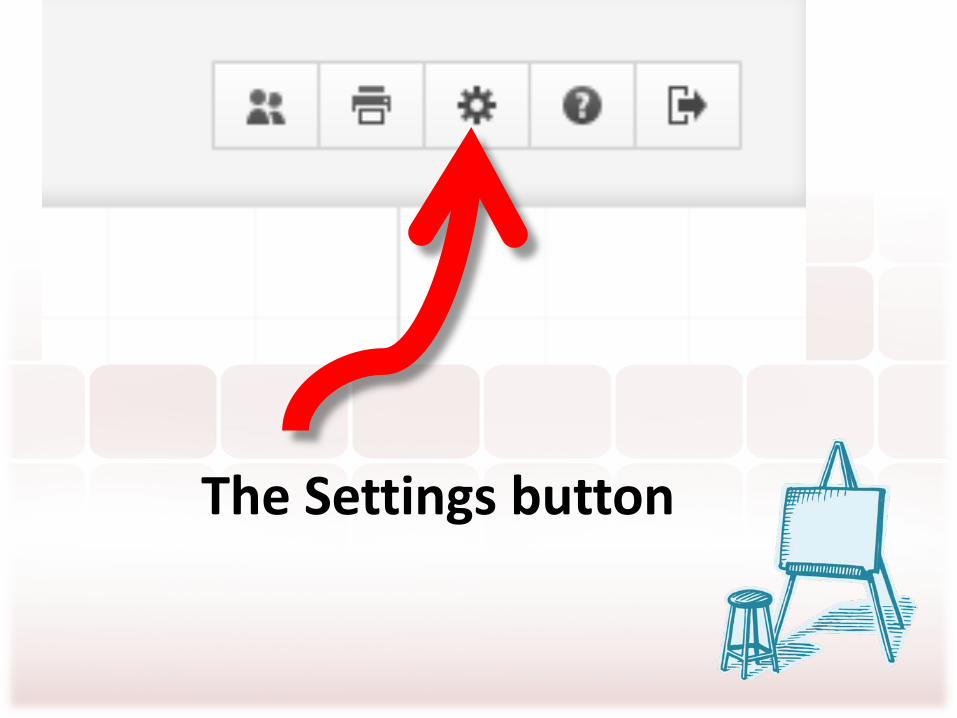
The Settings button

The Get Help button
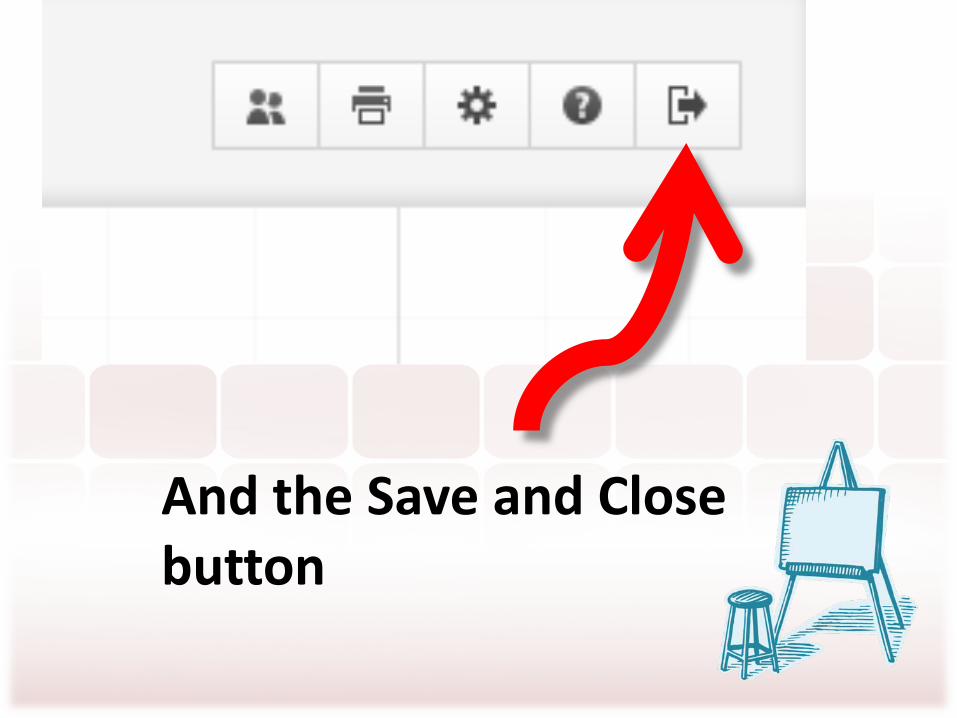
And the Save and Close button

Now let’s start the basic prezi how-to
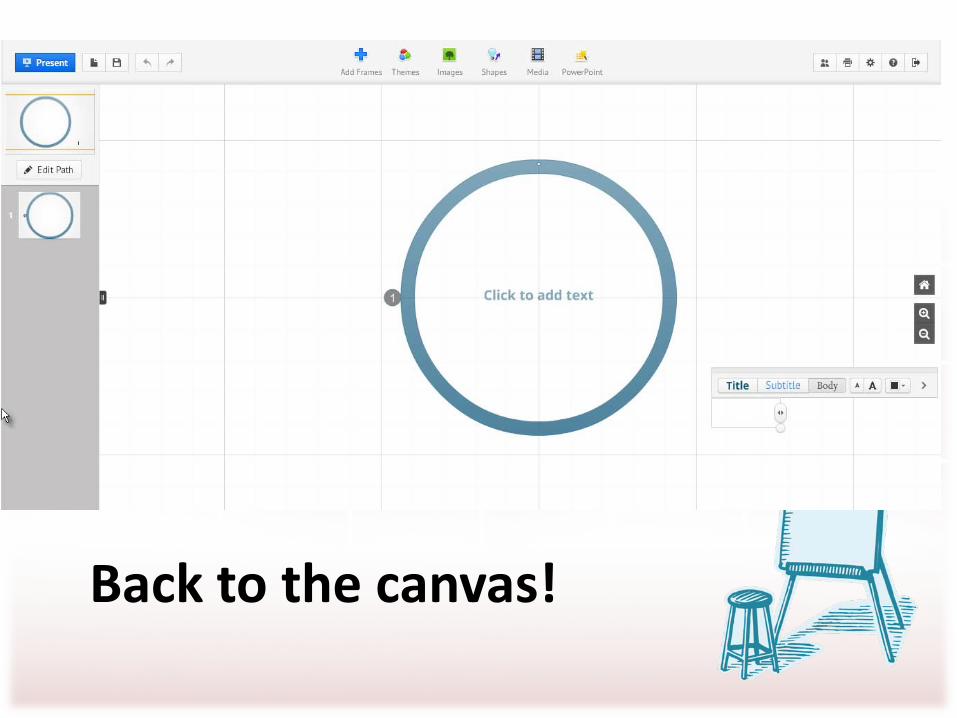
Back to the canvas!

Go to the Freestyle Menu

Select Images
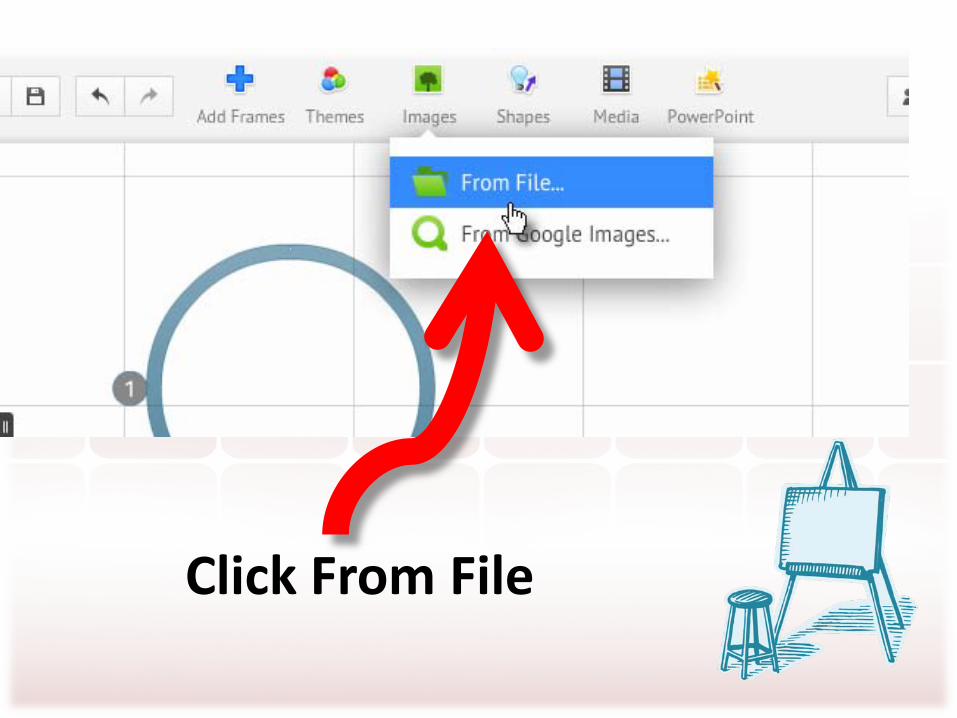
Click From File
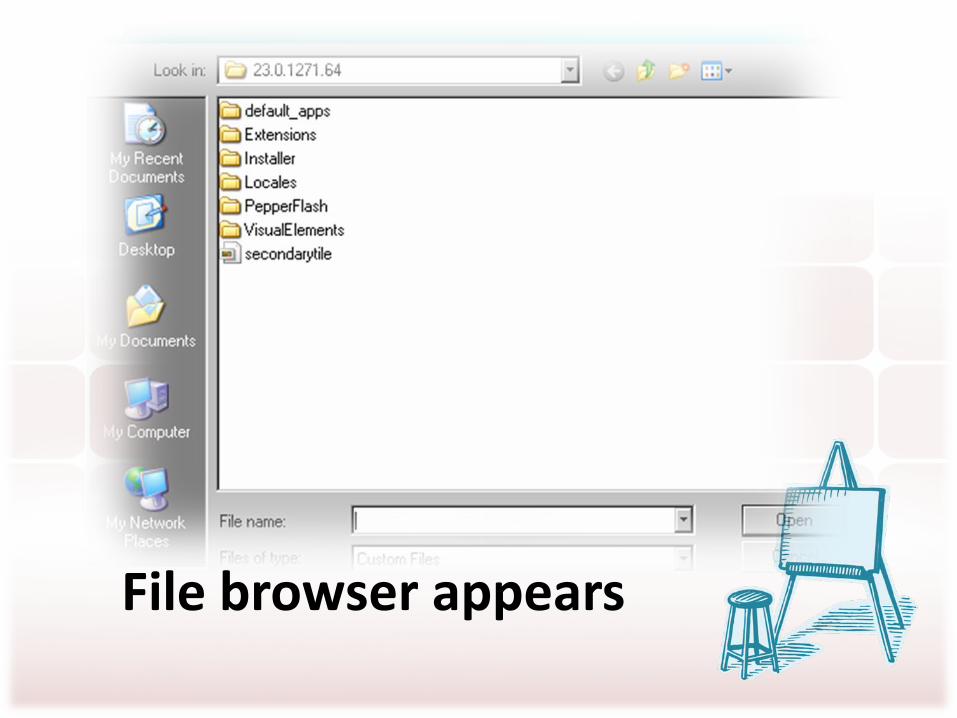
File browser appears

Click tiny arrow to locate file
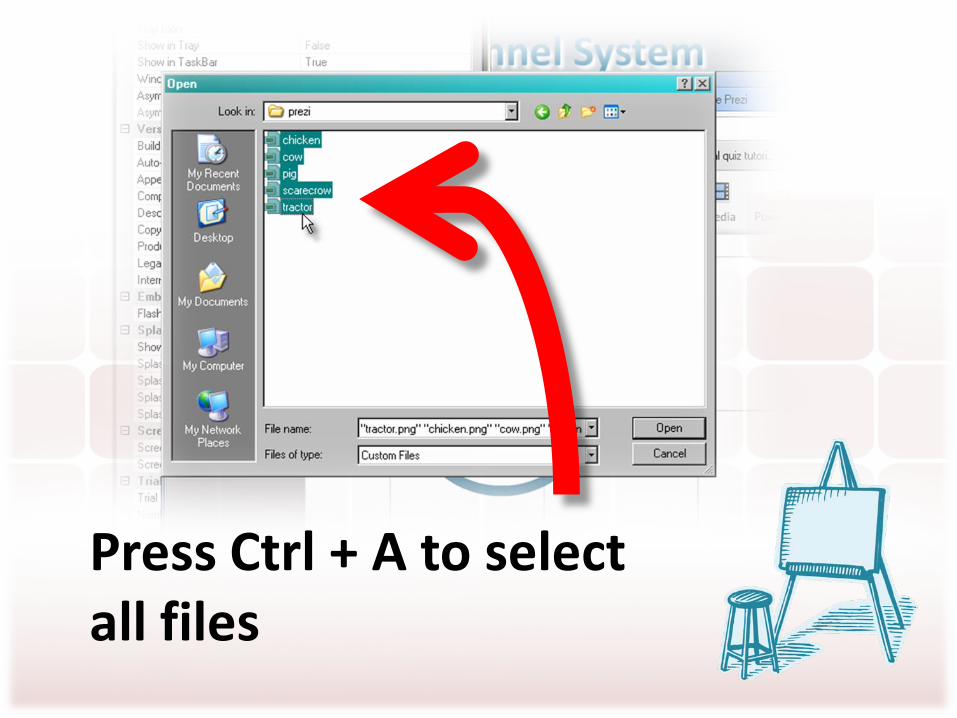
Press Ctrl + A to select all files

Click Open

Wait for the files to load
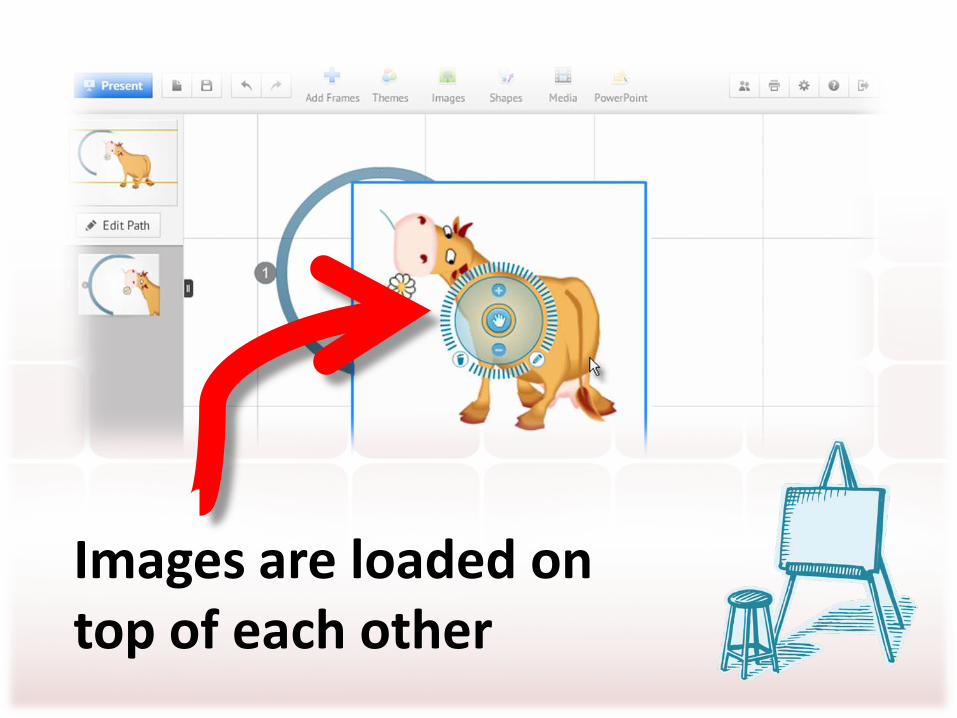
Images are loaded on top of each other

Click the top image and drag

Drag each images off each other

Click and drag canvas to move around
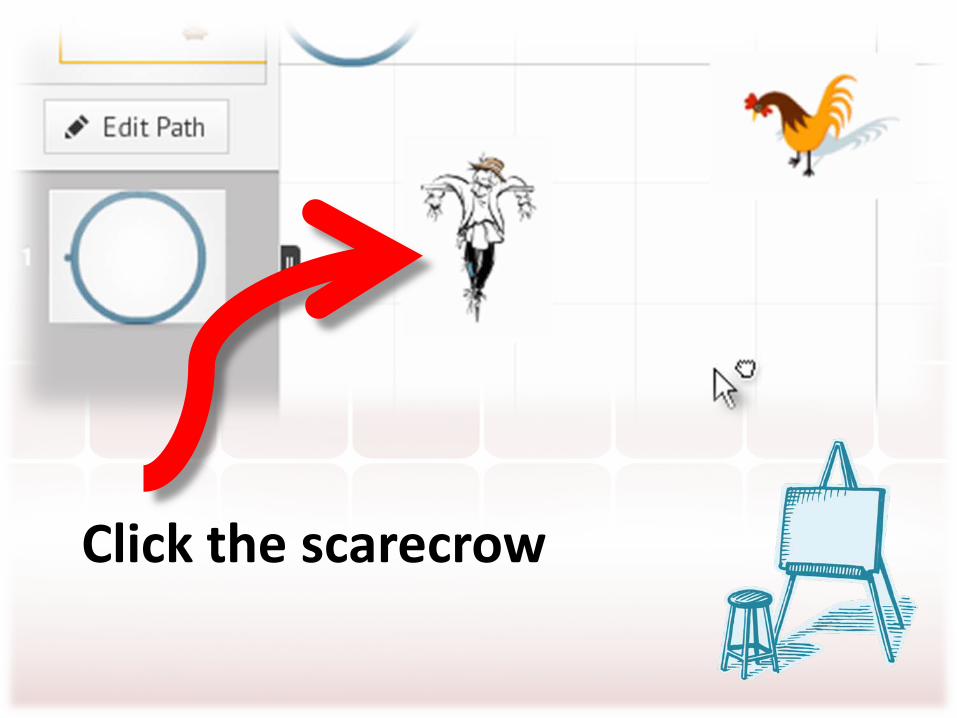
Click the scarecrow

Place the scarecrow inside the circle

Notice the number

Means, this is the first path in the presentation

As indicated in the thumbnail here
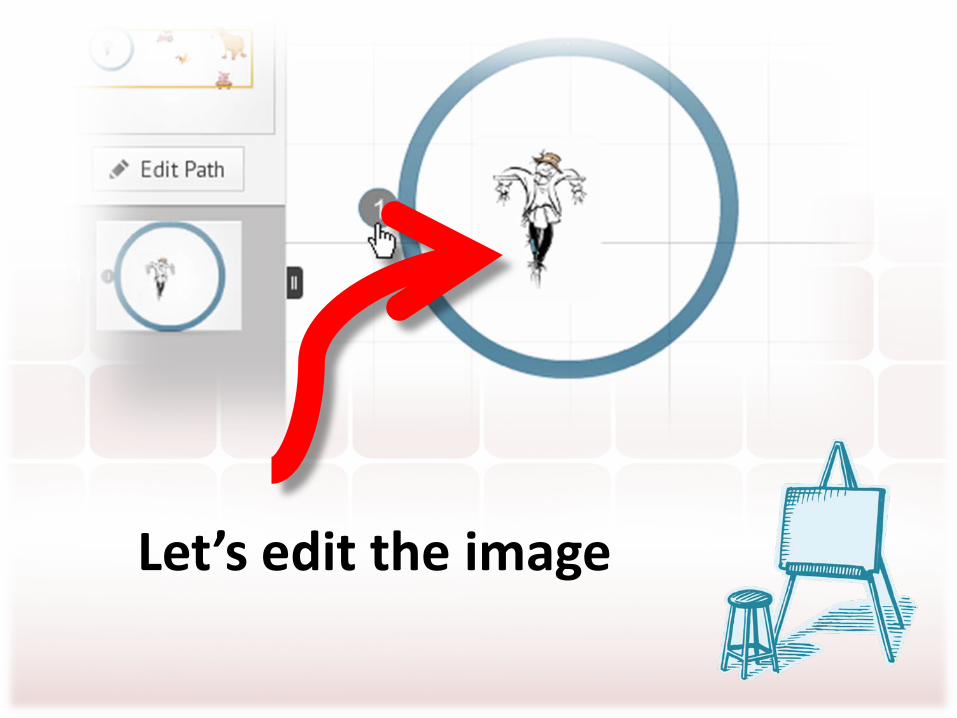
Let’s edit the image

Click the image

The Zebra tool appears

Click the + button
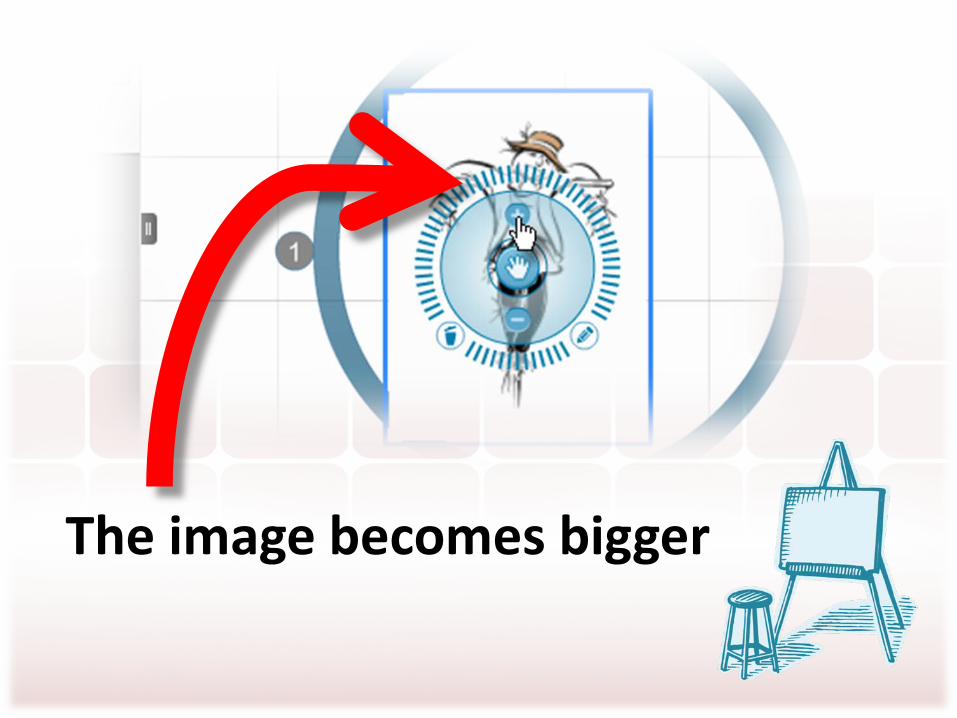
The image becomes bigger
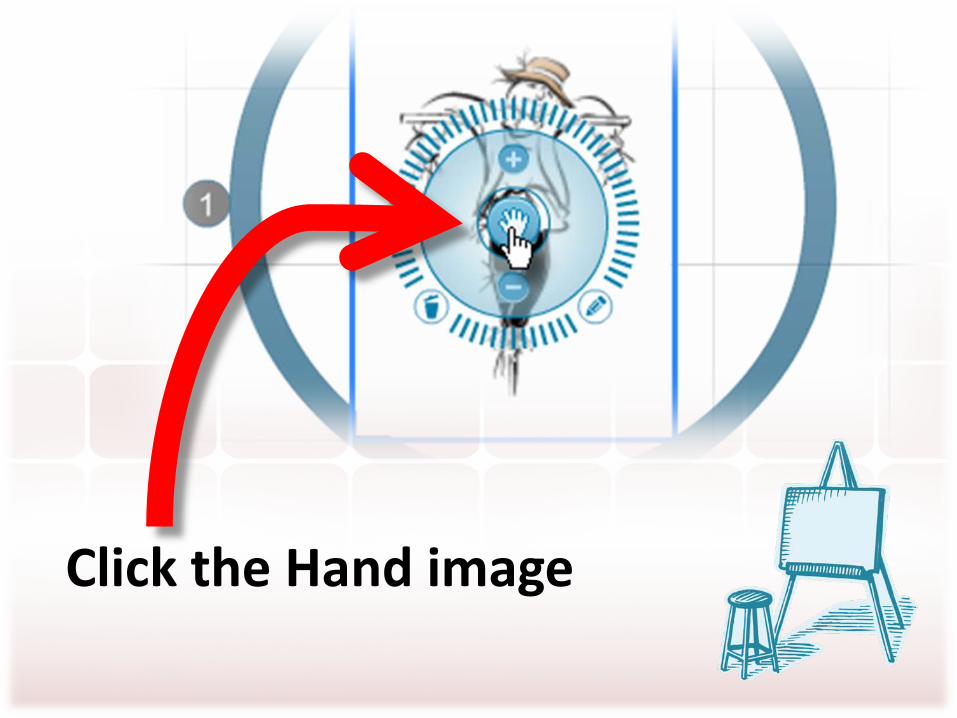
Click the Hand image
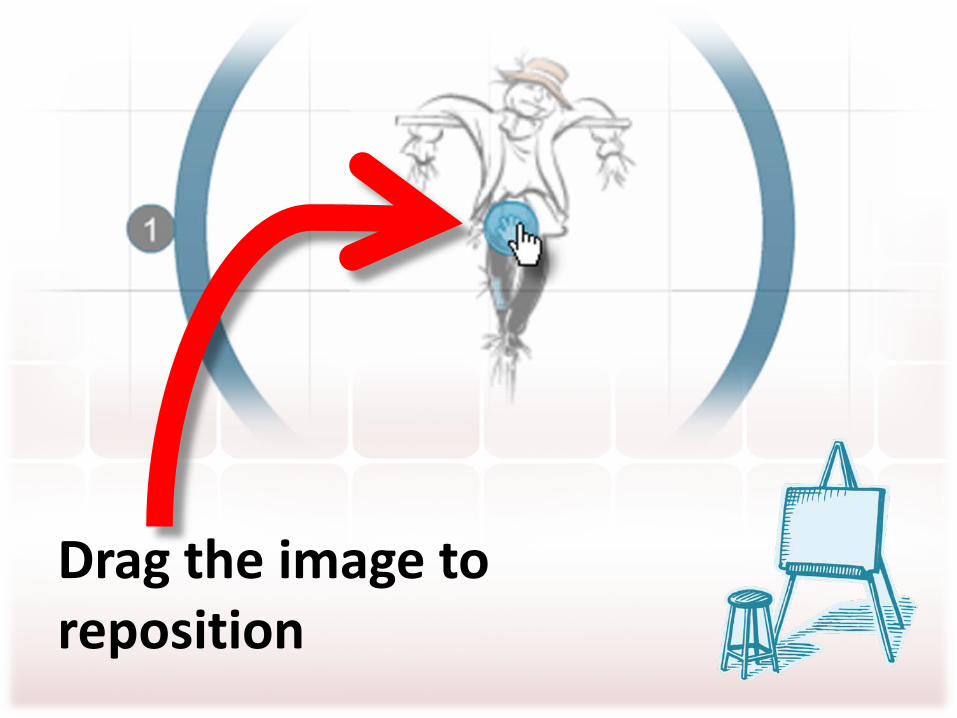
Drag the image to reposition
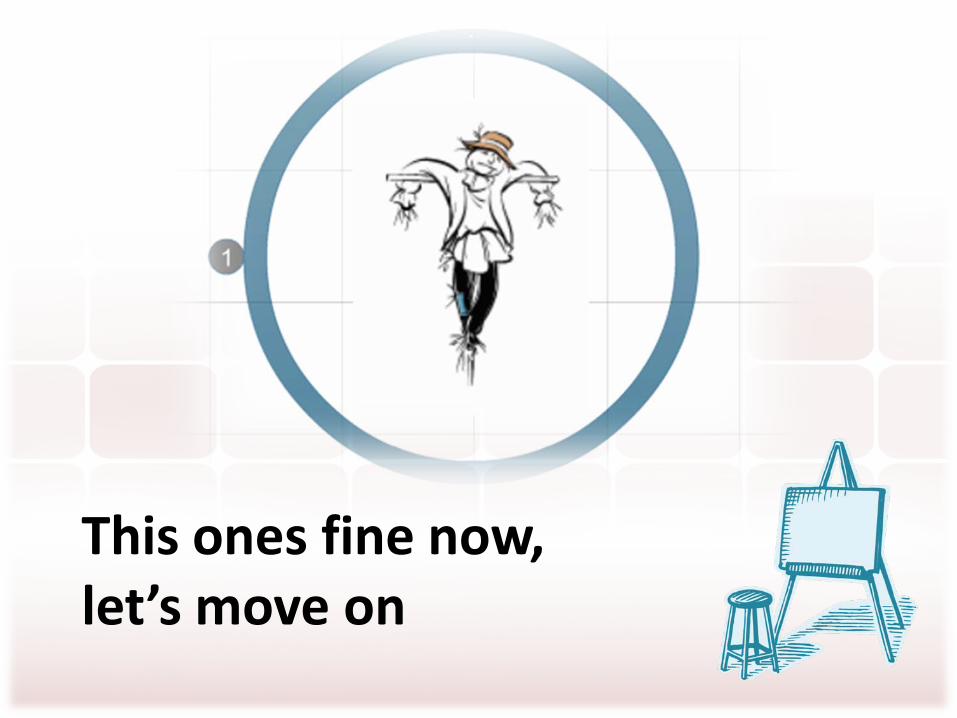
This ones fine now, let’s move on

Click the tractor

Click the outer circle
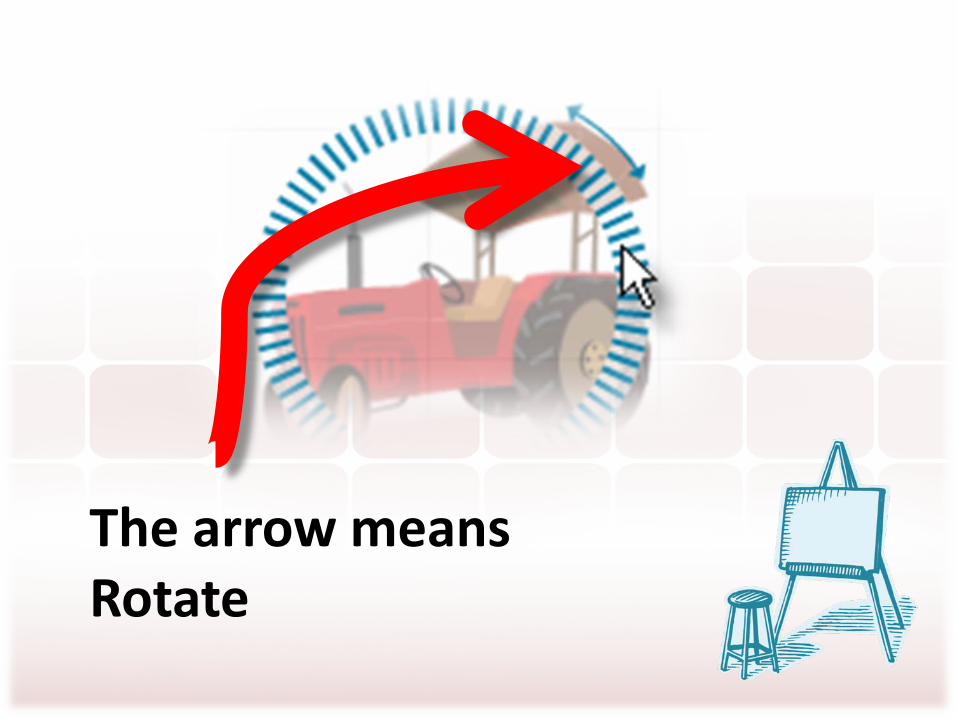
The arrow means Rotate

Move left or right to rotate
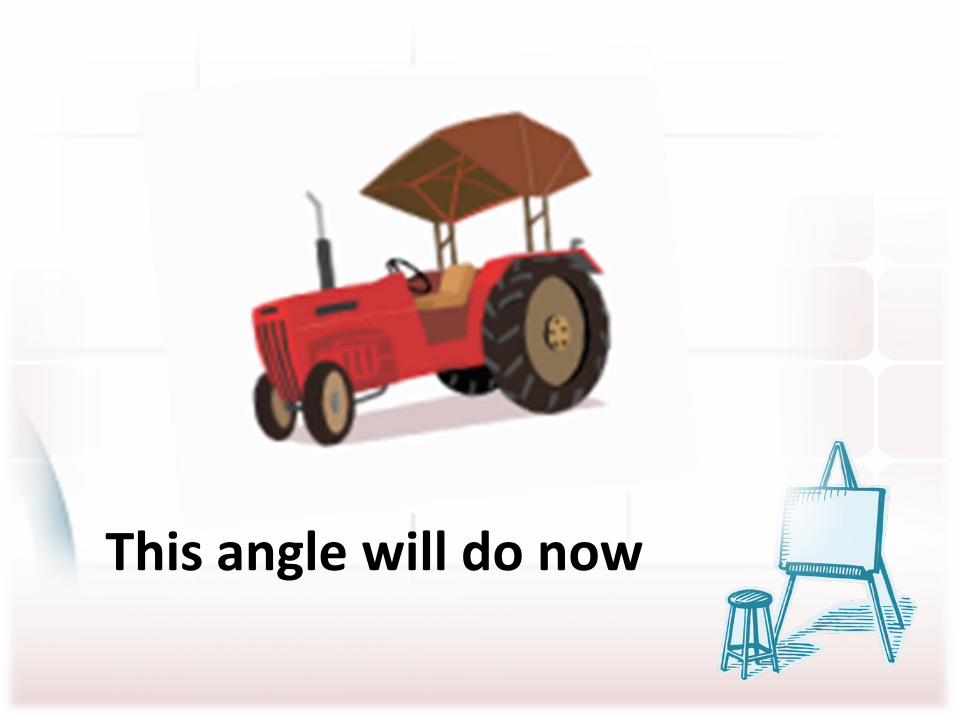
This angle will do now
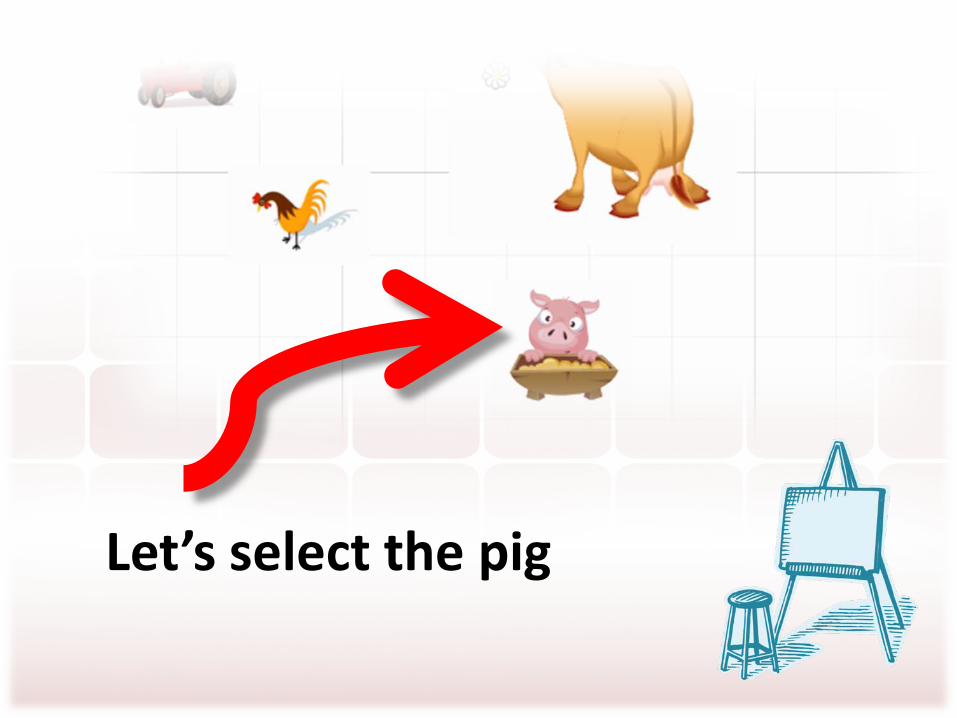
Let’s select the pig

Click the pig for Zebra tool to appear

Click the inner circle
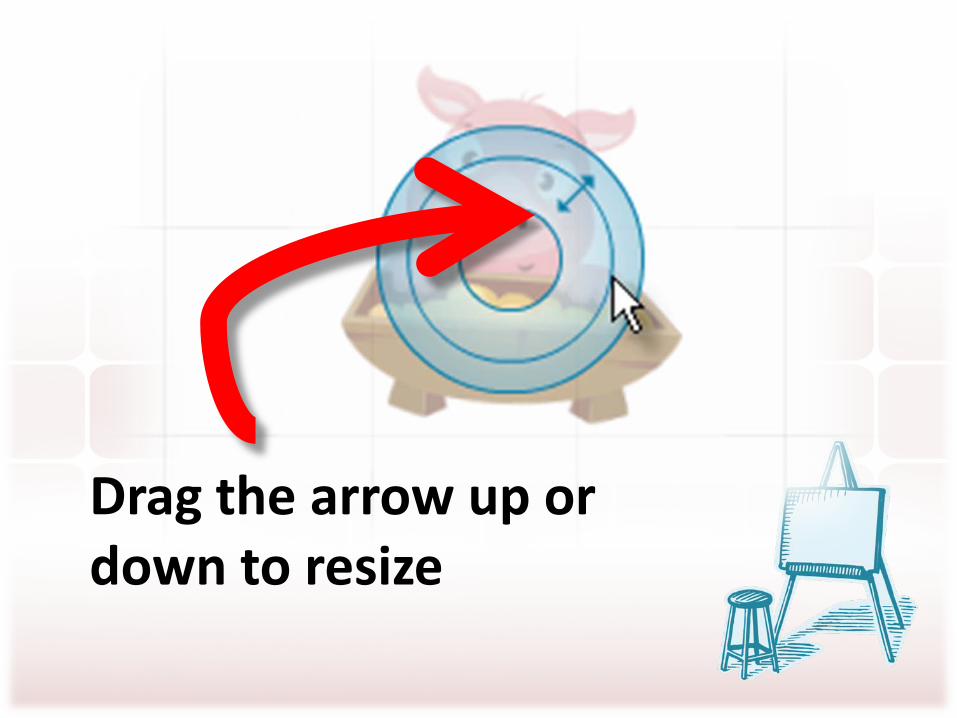
Drag the arrow up or down to resize

Drag the arrow up to make piggy bigger
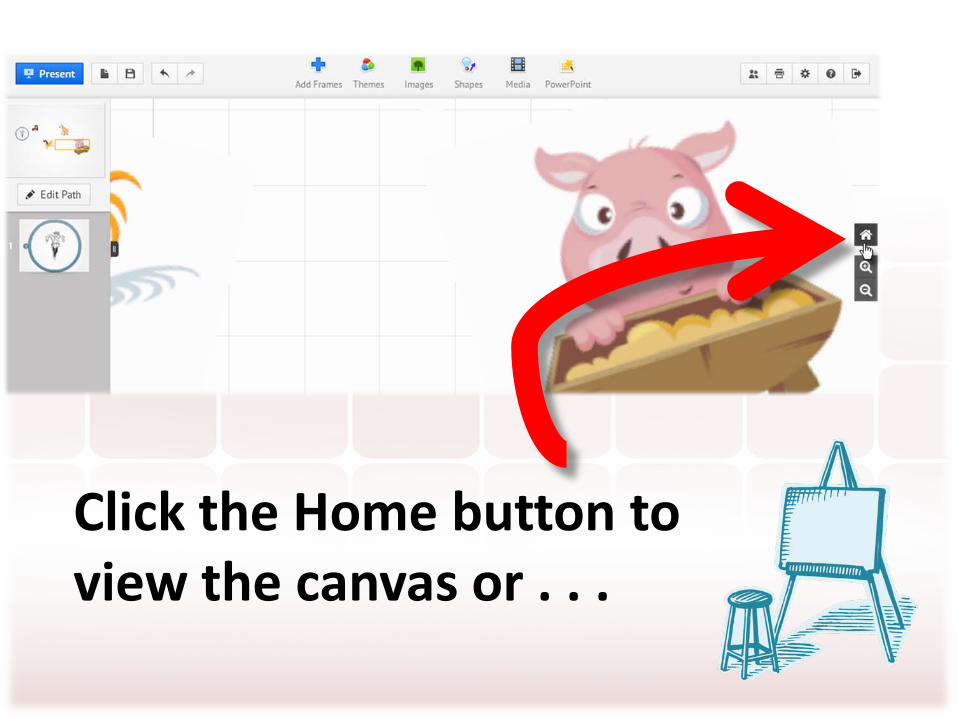
Click the Home button to view the canvas or . . .

Click the Map here

You can view the whole area now

Let’s add a title up here
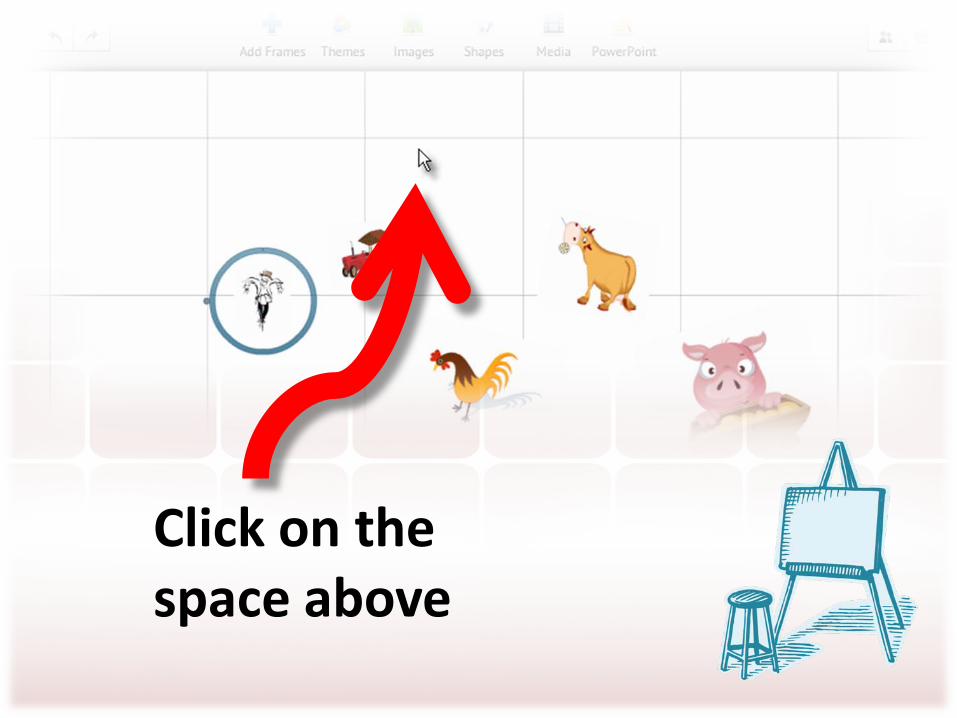
Click on the space above

The Text editor shows
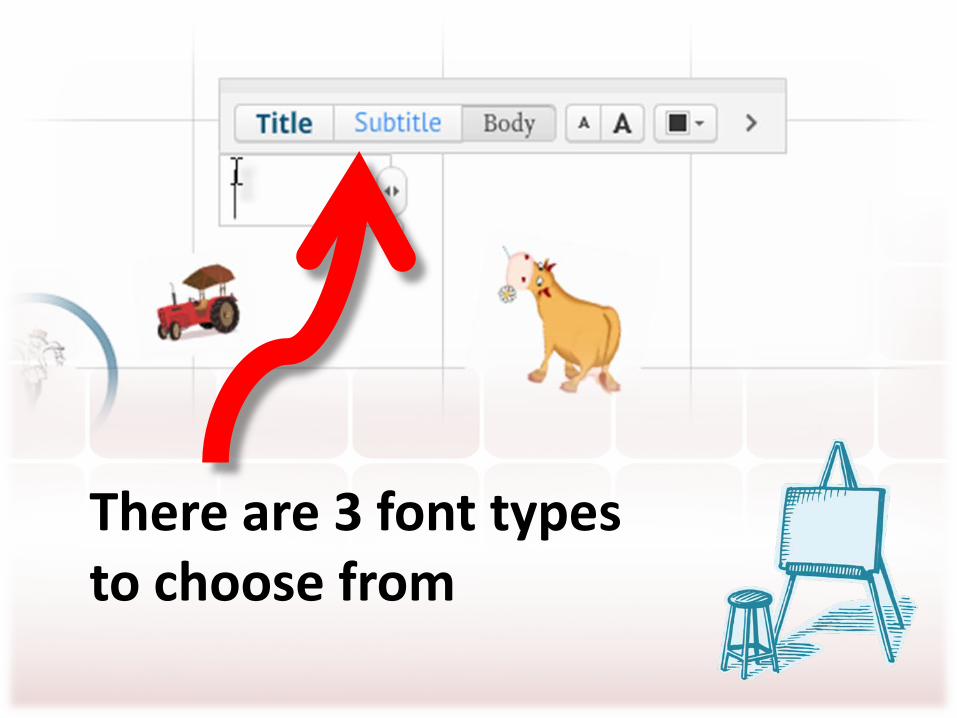
There are 3 font types to choose from
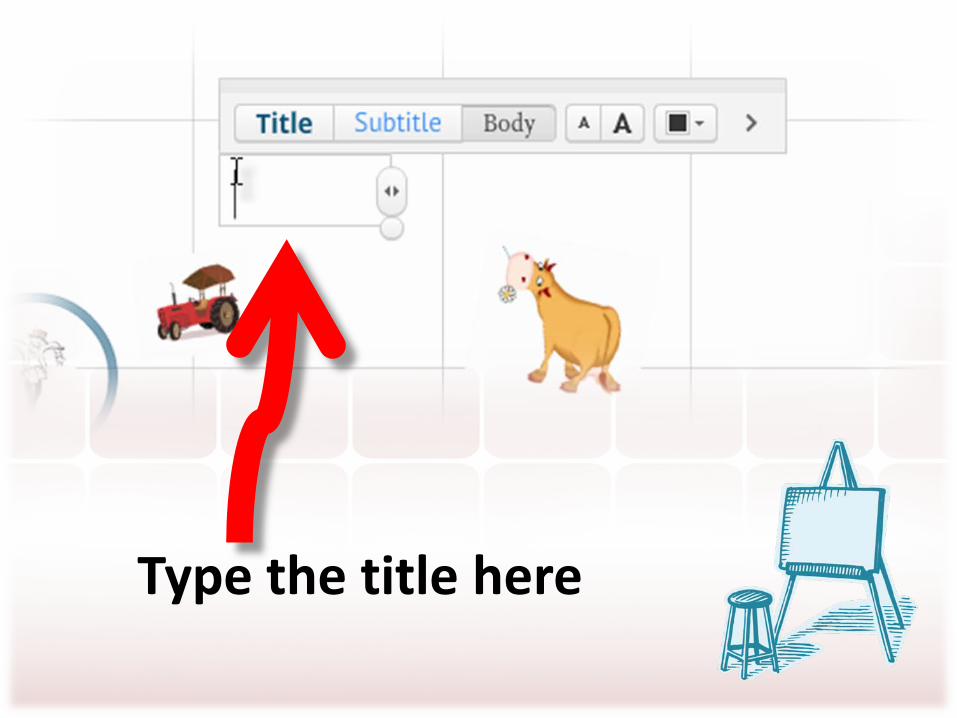
Type the title here
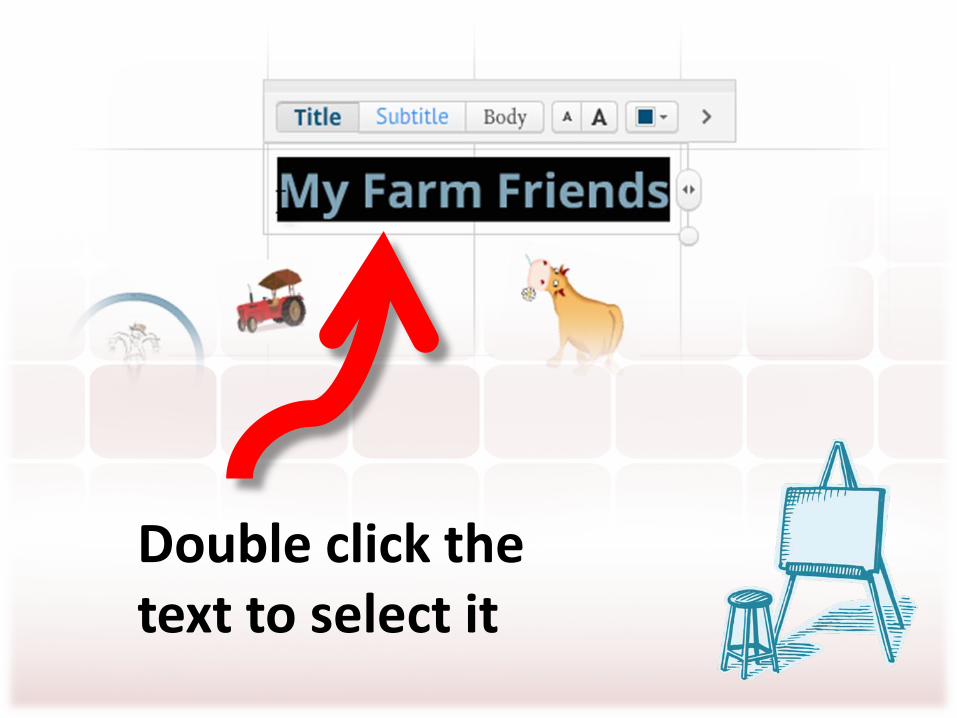
Double click the text to select it

Click the tiny arrow to change font color

Select a color from the Color Picker

The text turned red now!

Click the text
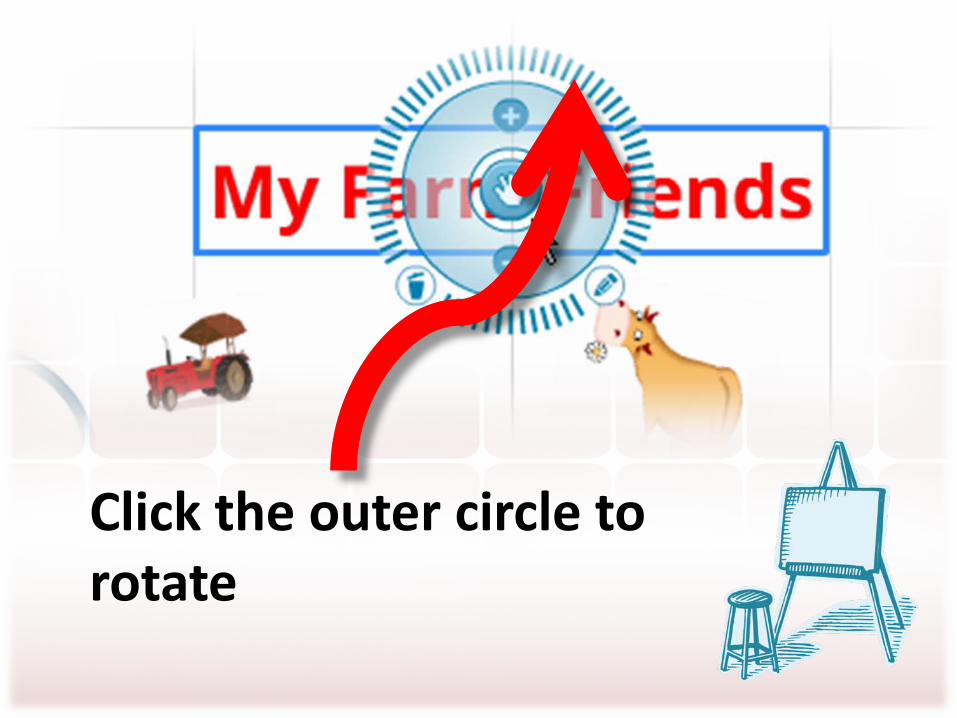
Click the outer circle to rotate

Rotate slightly the text

Now you know how to add text and customize it
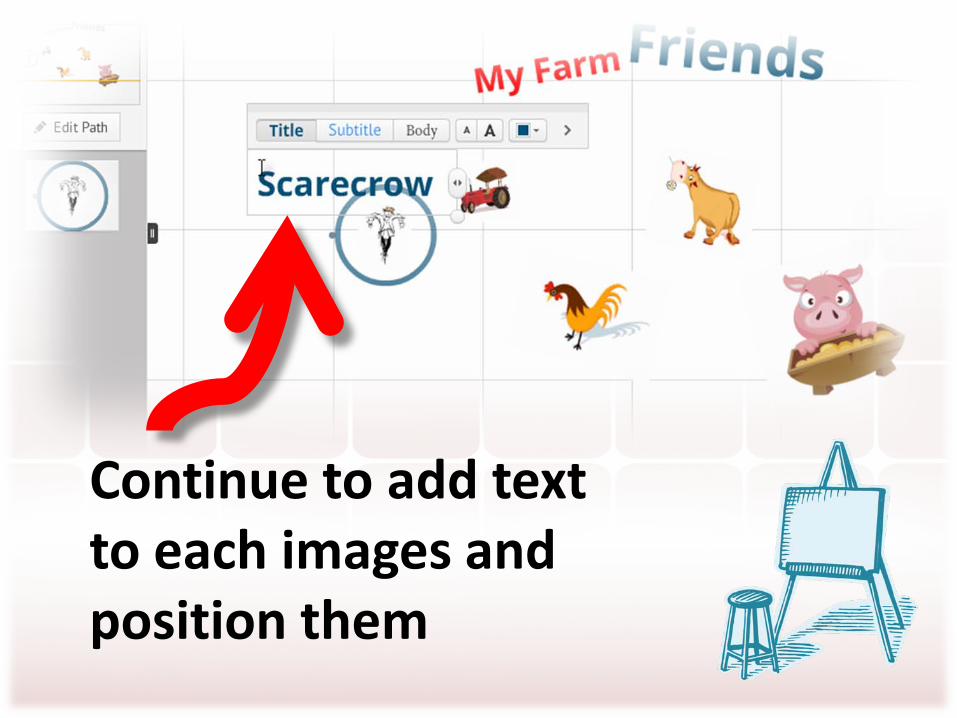
Continue to add text to each images and position them
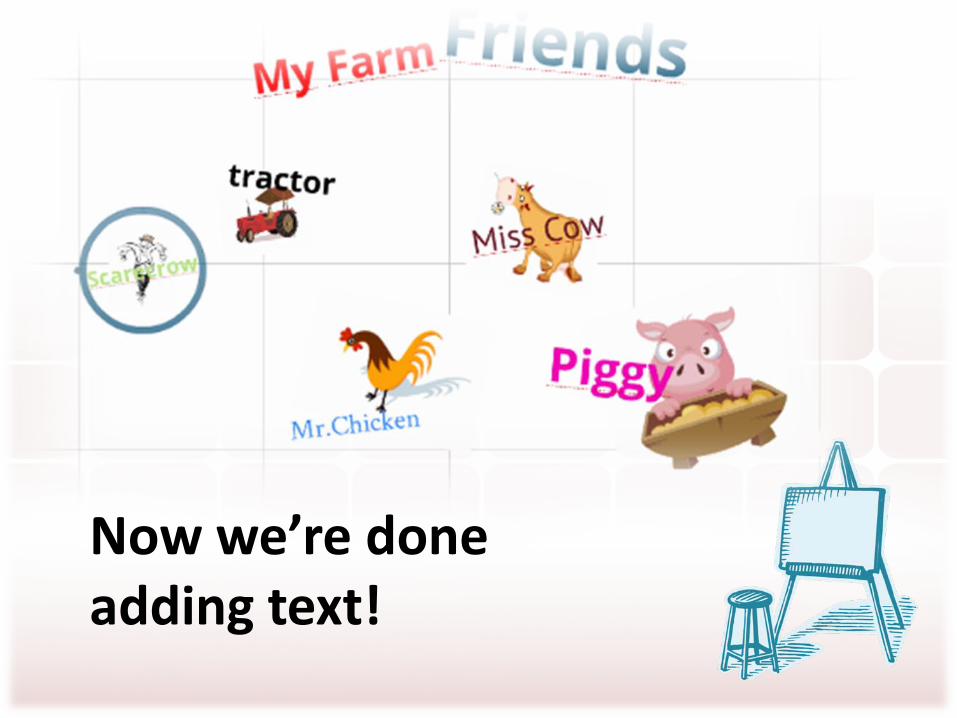
Now we’re done adding text!

Using Frames is next!

This circle is a frame

Frames group related contents

Once a content is inside a frame, it is a part of it

You can drag them all at one time

Click the circle then select Edit button

Click a node to resize frame

Then drag inward or outward

Let’s group the other contents
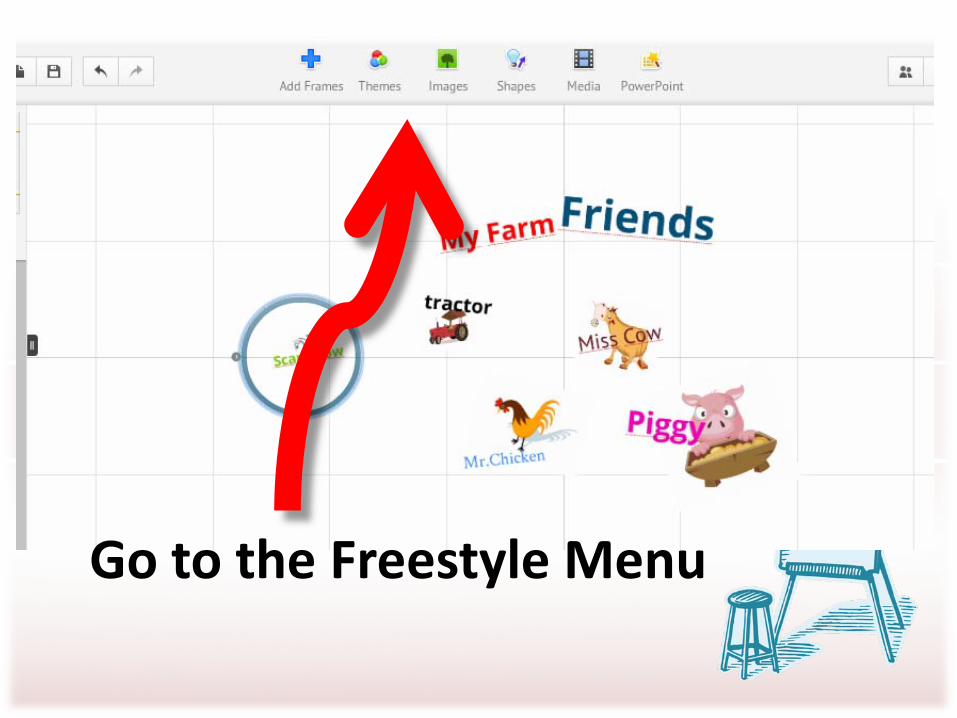
Go to the Freestyle Menu
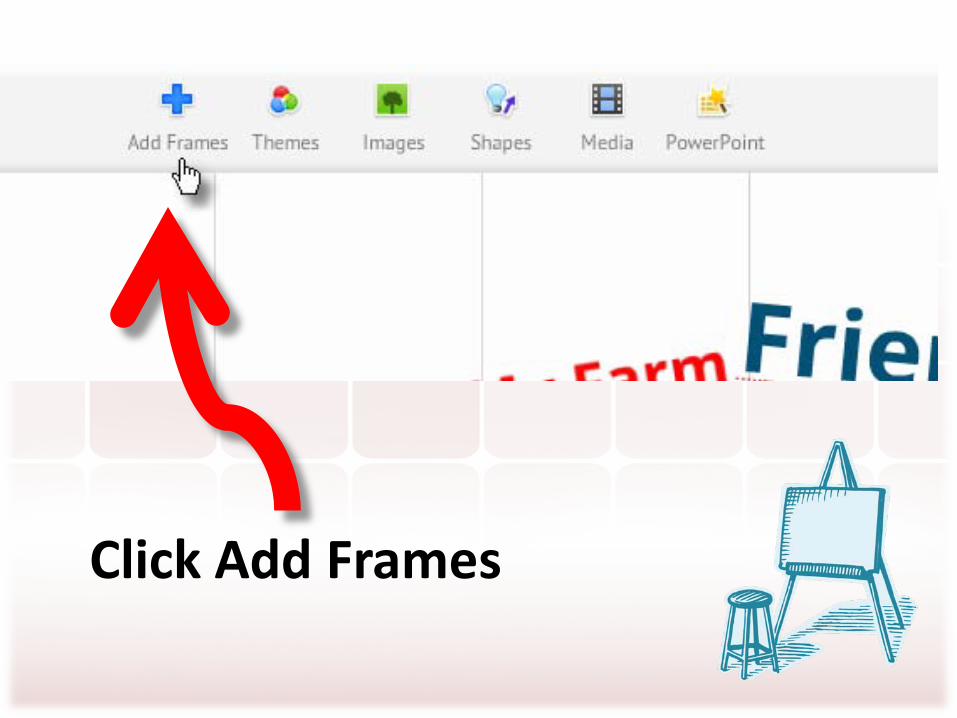
Click Add Frames
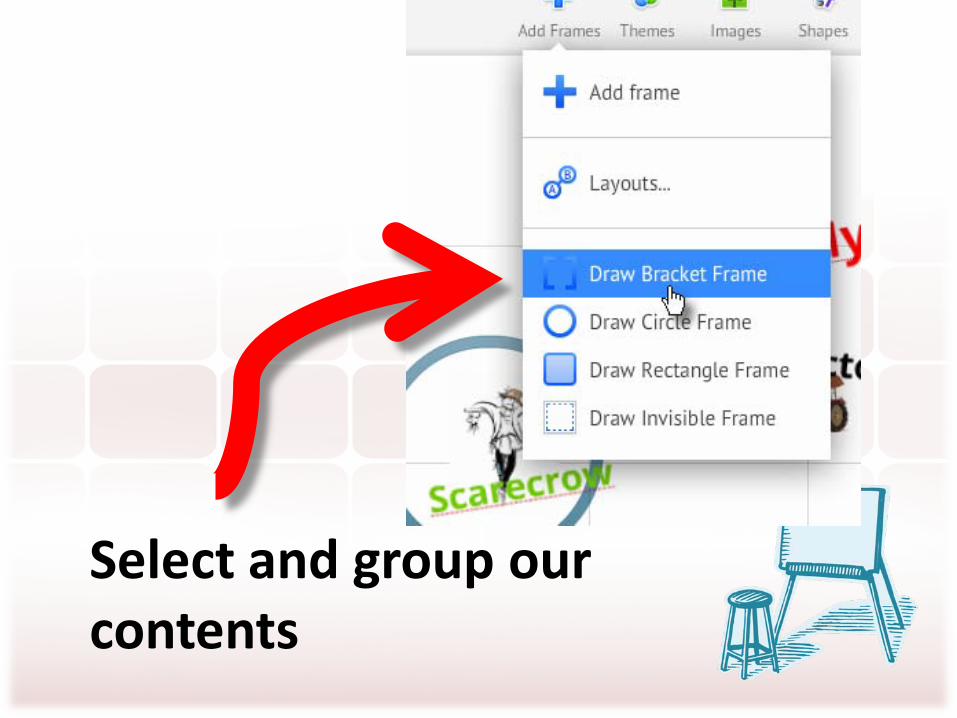
Select and group our contents

Click near our selected group
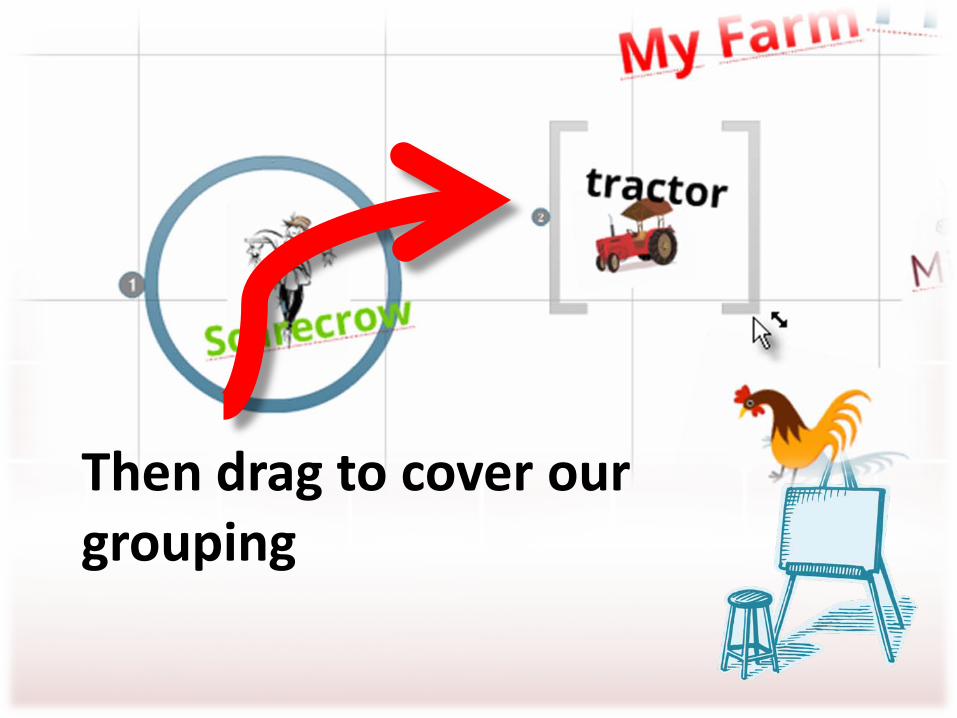
Then drag to cover our grouping

Do the same to the other contents
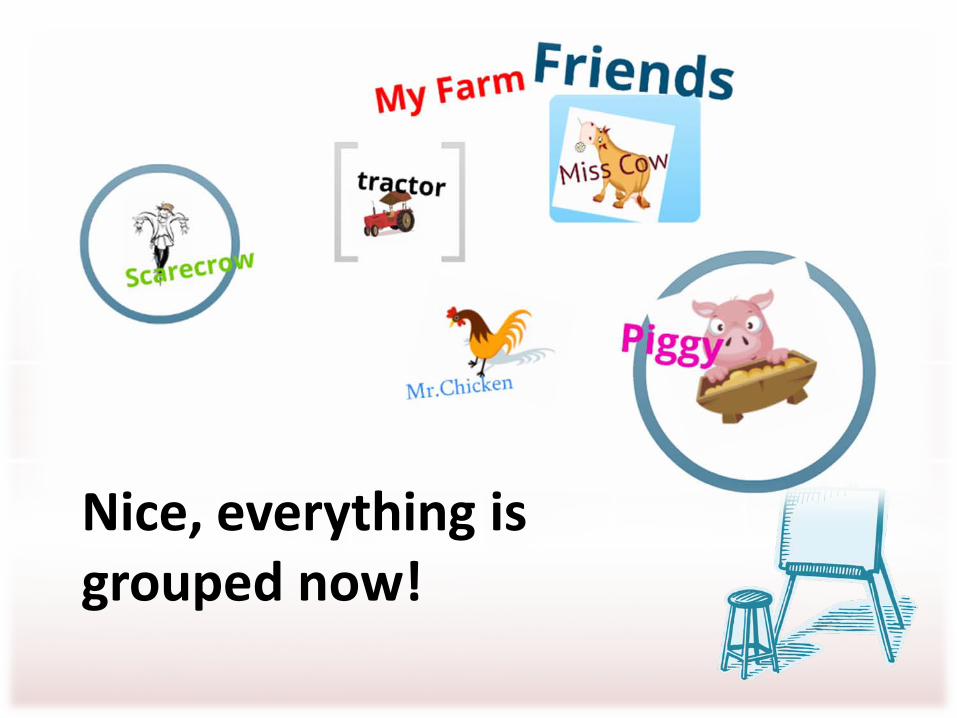
Nice, everything is grouped now!

Let’s edit the Path now, we’re almost done
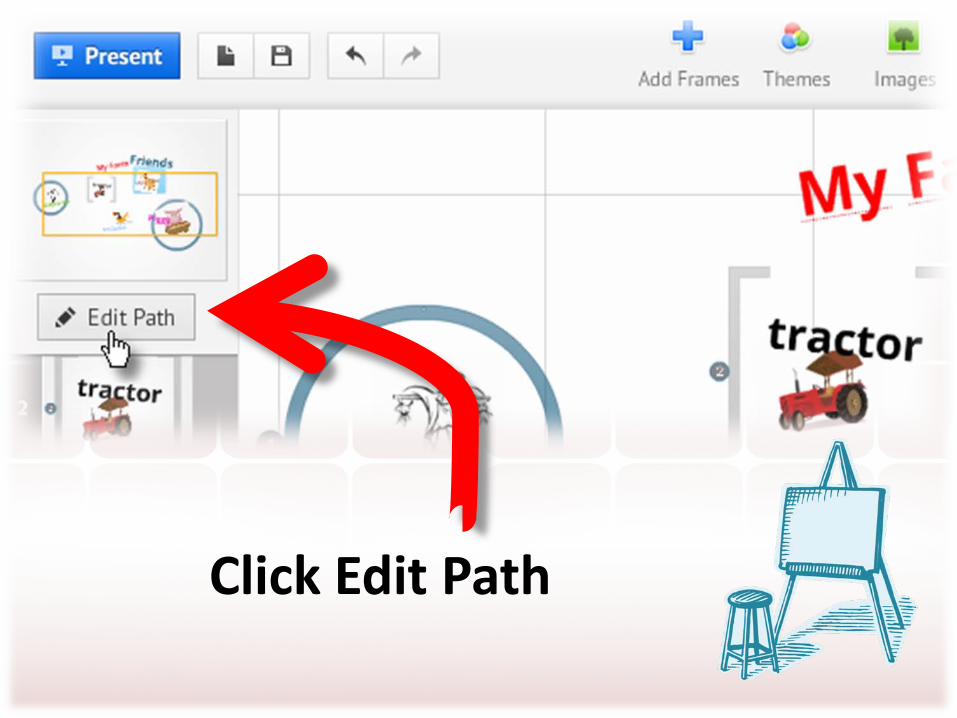
Click Edit Path

These are the Paths in order
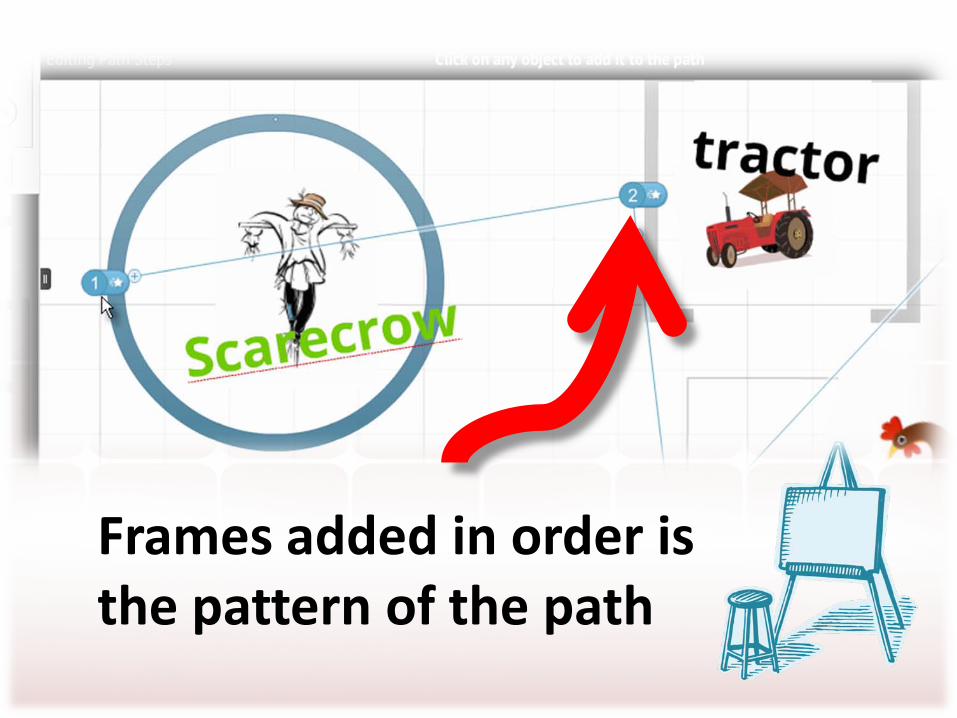
Frames added in order is the pattern of the path

This is the last frame added, so it’s the last path

We’ll add a path to our title

Click “My Farm” and “Friends” separately

Then click Done

This made our title the 6th and 7th path

Click Present to preview work!

The full screen preview

How to navigate? Go to the bottom

Click next and previous buttons
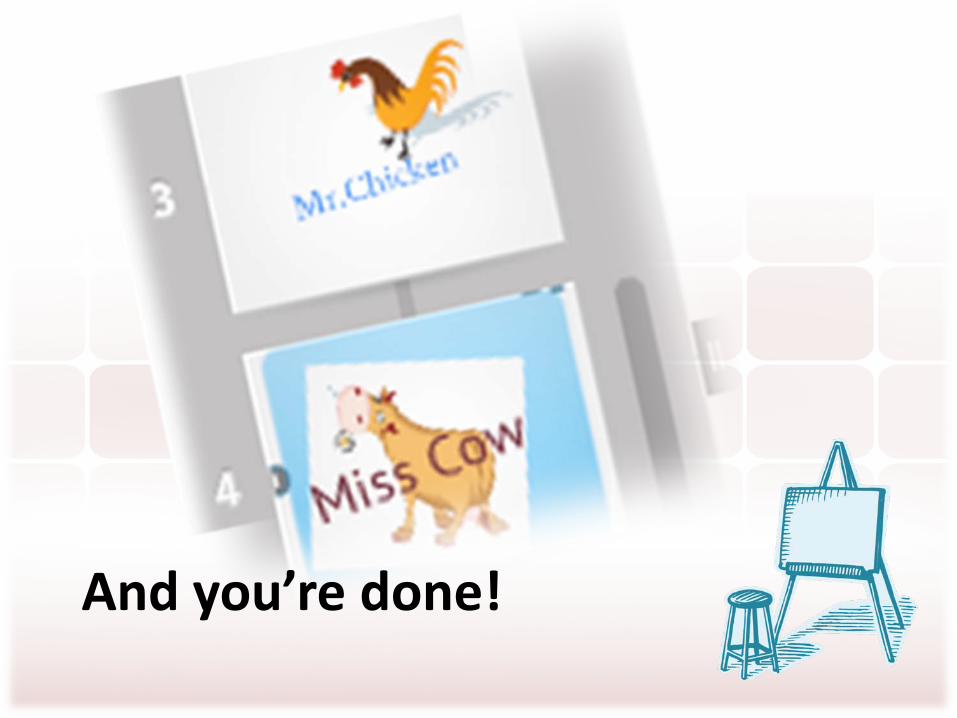
And you’re done!

Oh yeah, it’s time for you to self-explore!

And amaze your audience with your Prezi!


