Download - MERCURY XU5 - enclustra.com
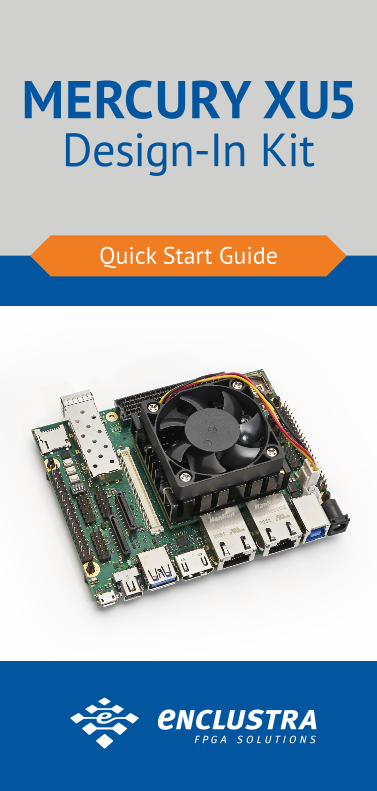
MERCURY XU5 Design-In Kit
Enclustra GmbHRäffelstrasse 28
8045 Zürich Switzerland+41 43 343 39 43
Quick Start Guide
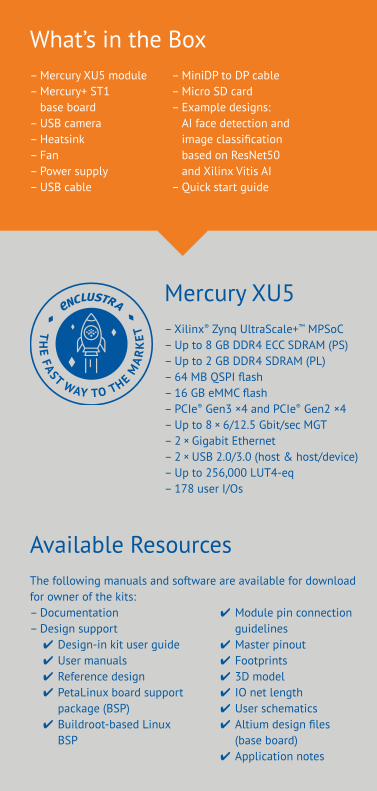
Mercury XU5– Xilinx® Zynq UltraScale+™ MPSoC– Up to 8 GB DDR4 ECC SDRAM (PS)– Up to 2 GB DDR4 SDRAM (PL)– 64 MB QSPI flash– 16 GB eMMC flash– PCIe® Gen3 ×4 and PCIe® Gen2 ×4– Up to 8 × 6/12.5 Gbit/sec MGT– 2 × Gigabit Ethernet– 2 × USB 2.0/3.0 (host & host/device)– Up to 256,000 LUT4-eq– 178 user I/Os
Available ResourcesThe following manuals and software are available for download for owner of the kits:– Documentation– Design support ✔ Design-in kit user guide ✔ User manuals ✔ Reference design ✔ PetaLinux board support
package (BSP) ✔ Buildroot-based Linux
BSP
✔ Module pin connection guidelines
✔ Master pinout ✔ Footprints ✔ 3D model ✔ IO net length ✔ User schematics ✔ Altium design files
(base board) ✔ Application notes
TH
E FAST WAY TO THE MA
RK
ET
TH
E FAST WAY TO THE MA
RK
ET
What’s in the Box– Mercury XU5 module– Mercury+ ST1
base board– USB camera– Heatsink– Fan– Power supply– USB cable
– MiniDP to DP cable– Micro SD card– Example designs:
AI face detection and image classification based on ResNet50 and Xilinx Vitis AI
– Quick start guide

Top view
Bottom view
The Design-In KitMercury XU5 System-on-Module (SOM)
Mercury+ ST1 Base Board

1
2
Set up the HardwareMount the module and the heatsink to the base board
Connect the Base Board 1. Insert module first. 2. Follow the steps in the order indicated in the image below. 3. Insert power last.
8 Pl
ug-i
n th
e
pow
er s
uppl
y
7 Co
nnec
t et
hern
et w
ith
PC (o
ptio
nal)
6 Co
nnec
t w
ebca
m
4 Co
nnec
t PC
with
USB
3 Set/check Dip-Switches
1 Set/check jumpers
2 SD Card – already inserted
5 Co
nnec
tdi
spla
y
ON
1 2 3 4VSEL

Face Detection Demo
Image Classification Demo
Run the DemosPreparation: – Prepare and connect the board according to the hardware
setup instructions (see «Set up the Hardware»).– Open a terminal program on your computer (e.g. Tera Term)
and open a serial port connection using the COM port labeled with the higher number from the two newly detected ports.
1. Power on the board and log in as root/root
2. Check that you can ping the board from your computer
3. Start the face detection demo with the command: root@ST1_ME-XU5-4EV-2I-D12E:~# facedetect
4. The live video of the USB camera should be displayed on the monitor
5. Optional: View the stream on your PC via network using the following GStreamer pipeline: gst-launch-1.0 tcpclientsrc host=IP_ADDRESS_OF_THE_BOARD port=7001 ! jpegdec ! videoconvert ! autovideosink
1. Power on the board and log in as root/root
2. Check that you can ping the board from your computer
3. Run the resnet50 example with the command: root@ST1_ME-XU5-4EV-2I-D12E:~# resnet50
4. The live video of the USB camera should be displayed on the monitor
5. Optional: View the stream on your PC via network using the following GStreamer pipeline: gst-launch-1.0 tcpclientsrc host=IP_ADDRESS_OF_THE_BOARD port=7001 ! jpegdec ! videoconvert ! autovideosink

Enclustra GmbHRäffelstrasse 28
8045 Zürich Switzerland+41 43 343 39 43
TH
E FAST WAY TO THE MA
RK
ET
TH
E FAST WAY TO THE MA
RK
ET


