
Igotta, LLC
http://igotta-it.com
Resource Reservation Add-in PRO SharePoint 2013/2016 Server and SharePoint Online Add-in
Guide for Administrators

Contents Install Add-in ................................................................................................................................................. 3
Install ......................................................................................................................................................... 3
Setup timeLine page as default............................................................................................................... 17
User’s Role Authority .................................................................................................................................. 19
Restrict edit permissions for non-administrator users ........................................................................... 19
Grant permissions to users to create bookings ...................................................................................... 25
Creation / Edition / Deletion of the Resource Groups, Resources ............................................................. 33
Settings of days and time ............................................................................................................................ 34

Install Add-in
Install 1. Add Add-in to the app catalog
a. Open SharePoint admin center
b. Go to App Catalog
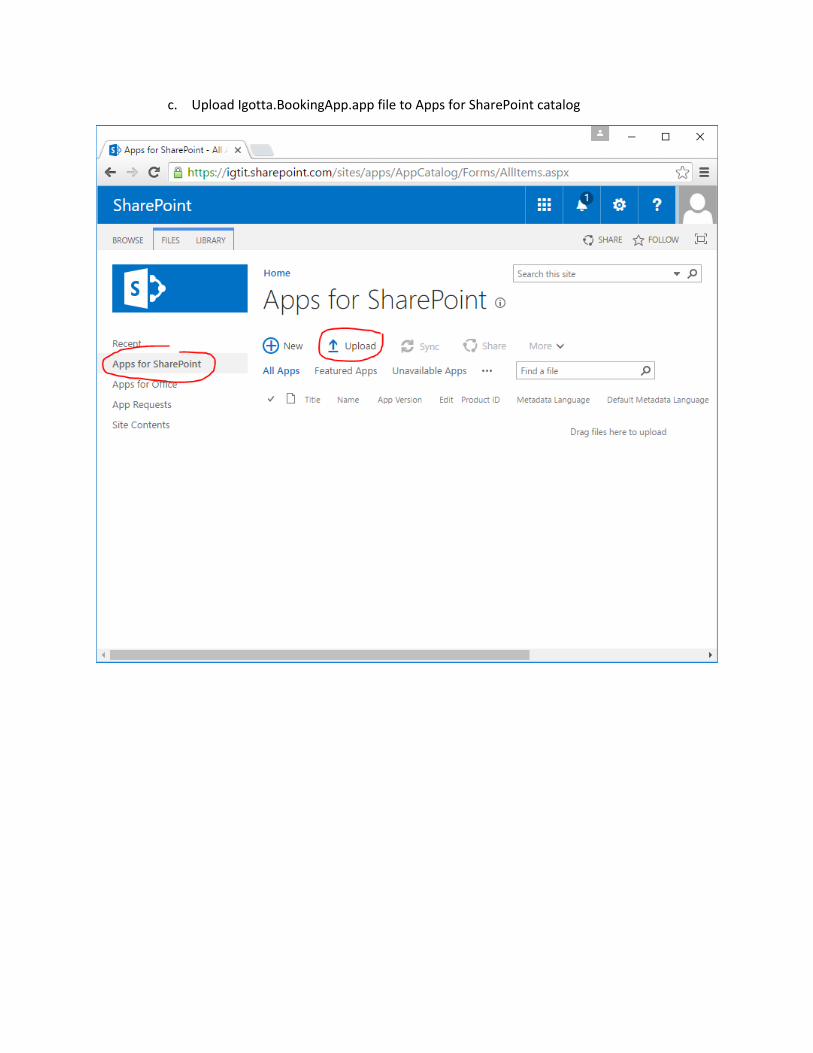
c. Upload Igotta.BookingApp.app file to Apps for SharePoint catalog


2. Check NoScript option is disabled for SiteCollection where you want to create Resource
Reservation web
a. Open SharePoint Online Management Shell, use command below to check
DenyAddAndCustomizePages property (set your sitecollection url)
$site = Get-SPOSite https://igtit.sharepoint.com/sites/dev12
$site.DenyAddAndCustomizePages
b. If DenyAddAndCustomizePages is Enabled, it is need to disable it. After installation it is
possible to enable DenyAddAndCustomizePages again.
To disable DenyAddAndCustomizePages use command (set your sitecollection url)
Set-SPOSite https://igtit.sharepoint.com/sites/dev12 -DenyAddAndCustomizePages 0

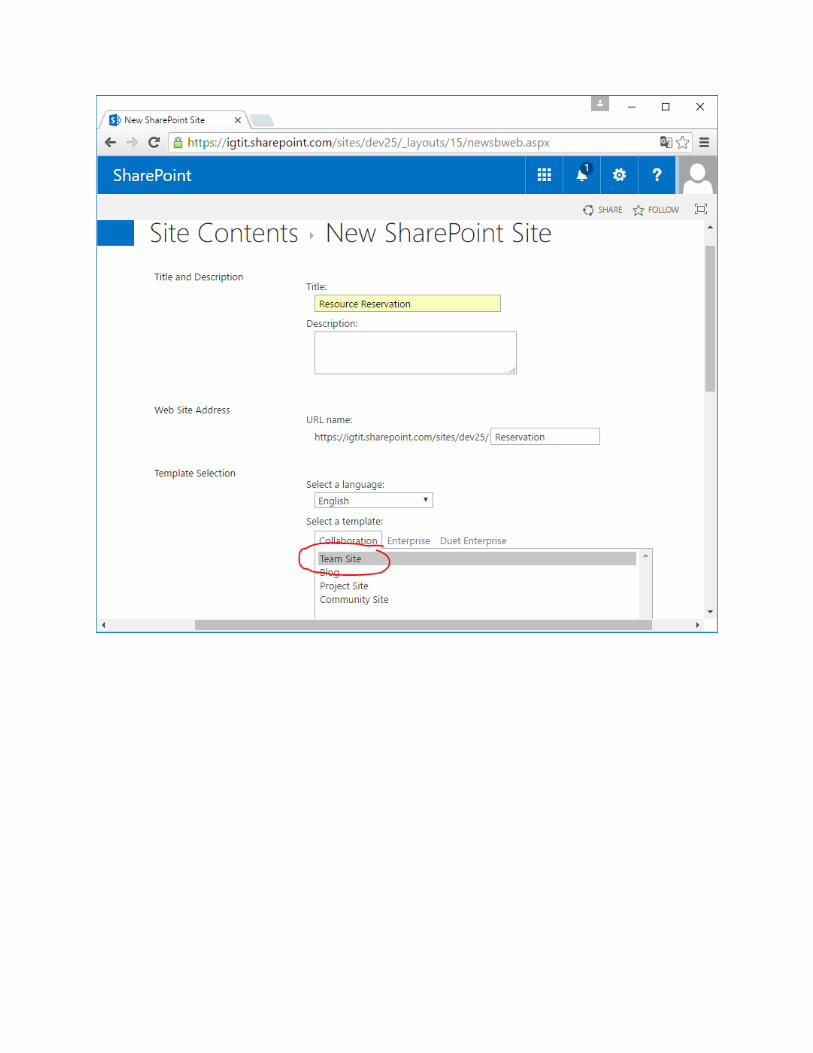
3. Create new web for Resource Reservation
a. Go to SiteCollection where you want to create Resource Reservation web
b. Create web from team site template

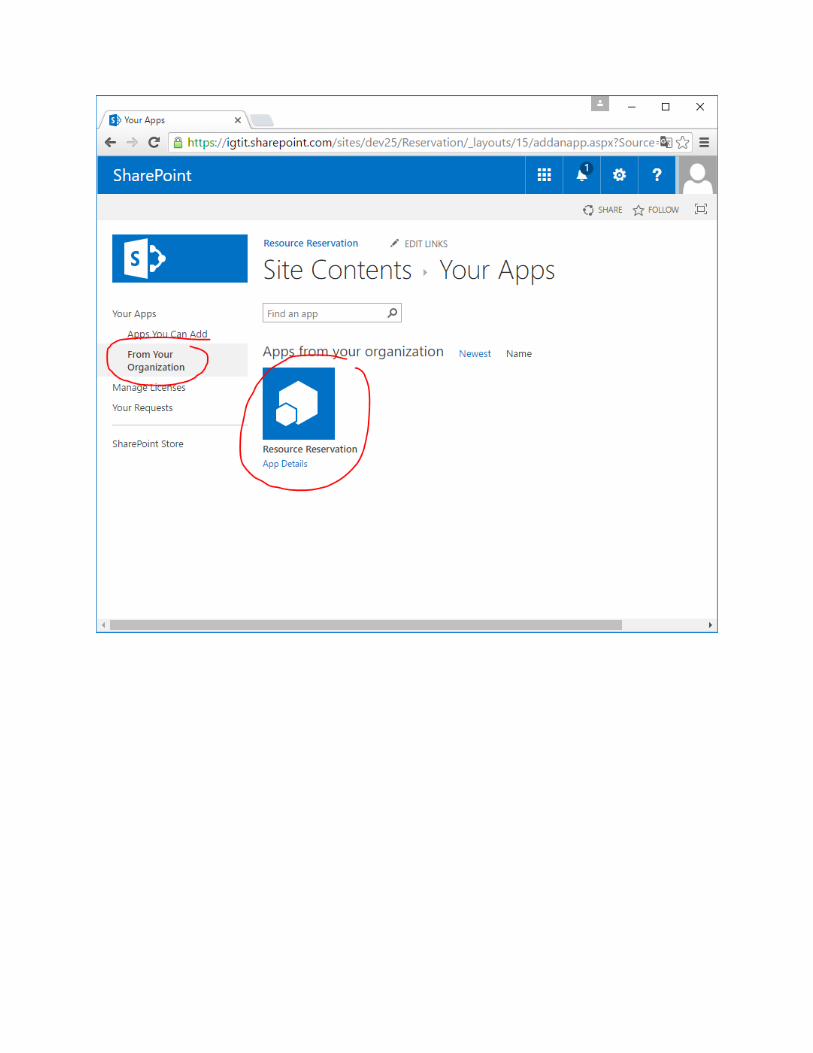
4. Add “Resource Reservation Add-in” to web
a. Add add-in
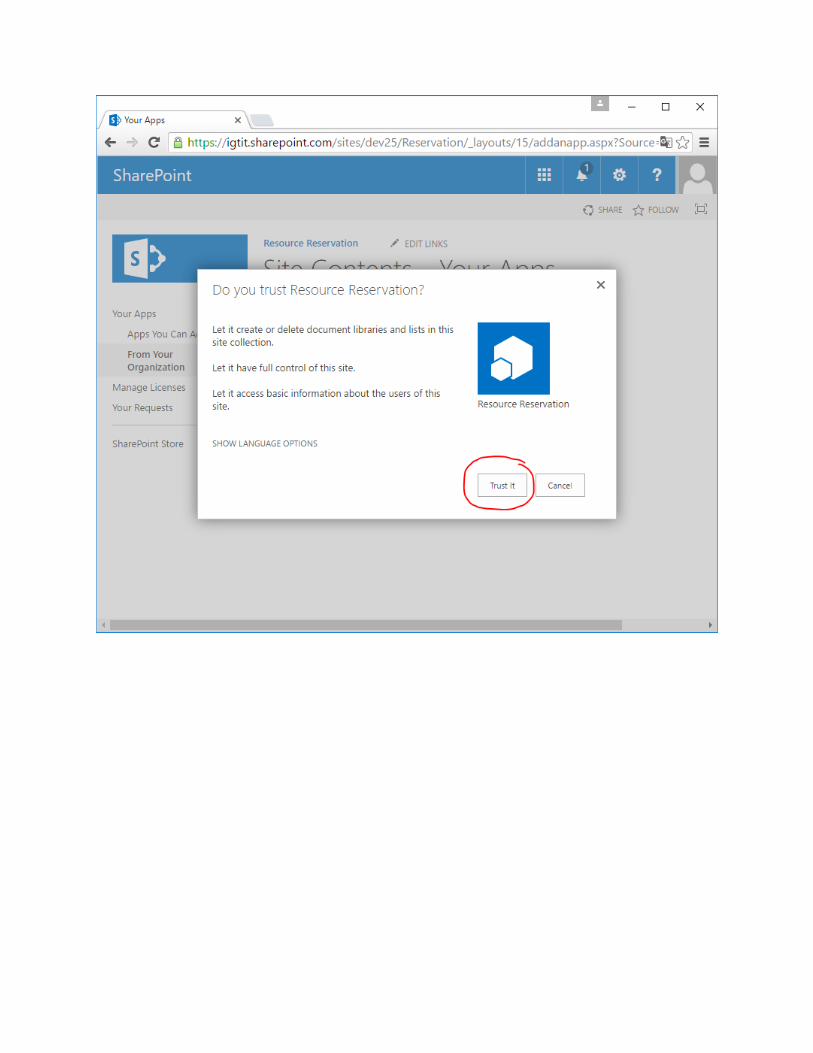

b. Wait for installation complete

5. Complete installation with “Install” button within Resource Reservation Add-id page.
a. Click on the «Resource Reservation» add-in

b. Click on “Install” button. Do not close window until «Install» button disappear. Add-in
use JavaScript to create lists and files on parent web, if you close this windows
installation will not be completed.

c. Wait for installation complete, it may take some time.


Setup timeLine page as default If you want set up page with timeLine as default page for Resource Reservation web, just rename
“ResourceReservation” page to “Home”
1. Open Site Pages library

2. Rename “ResourceReservation” page to “Home”

User’s Role Authority There are 2 roles:
1. User. Where is possible to view and make bookings.
2. Administrator. Where you can add/edit resources.
The system supports the standard SharePoint distribution of rights.
At first, you have to restrict edit permissions for all non-administrator users, and then grant edit
permissions to users only to Bookings list.
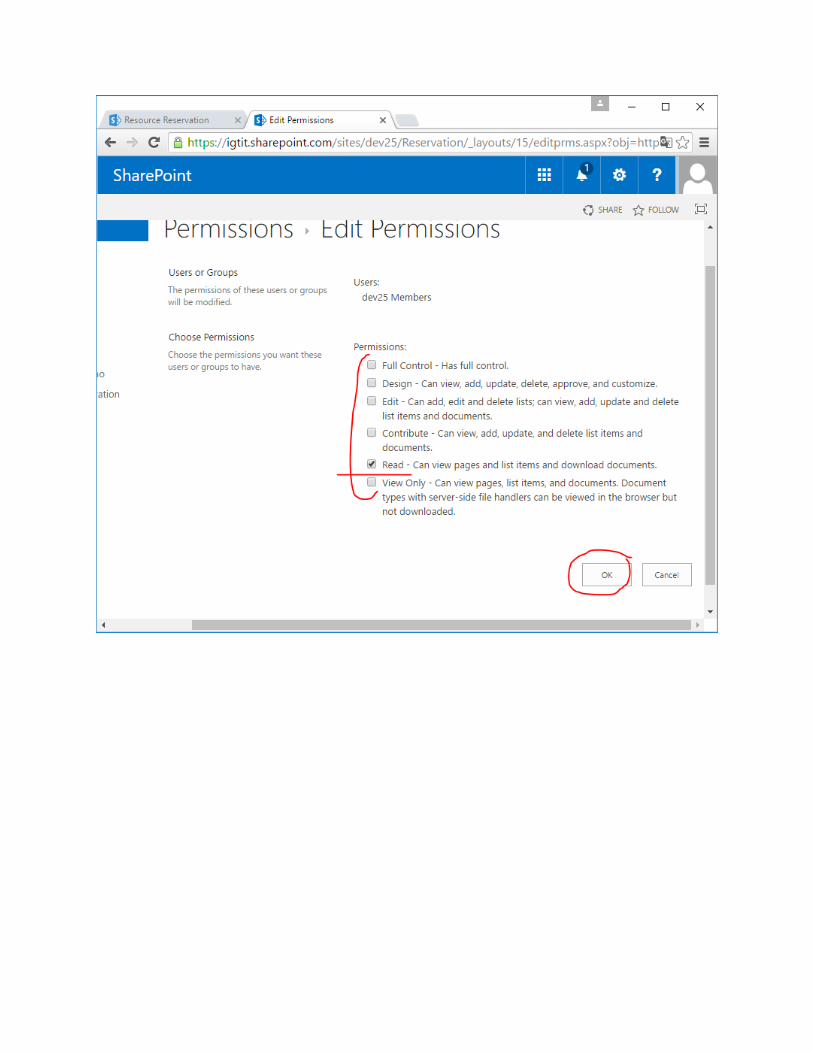
Restrict edit permissions for non-administrator users To restrict edit permissions, you have to set right permissions to the Resource Reservation web.
1. Open Resource Reservation web permission page.

2. On the App permissions page change the permissions so only administrators can edit lists.
a. Stop inheriting permissions


b. Only administrator group (“dev25 Owners” on this screen) must have add/edit/remove
permissions to the list. Give members group only read rights.
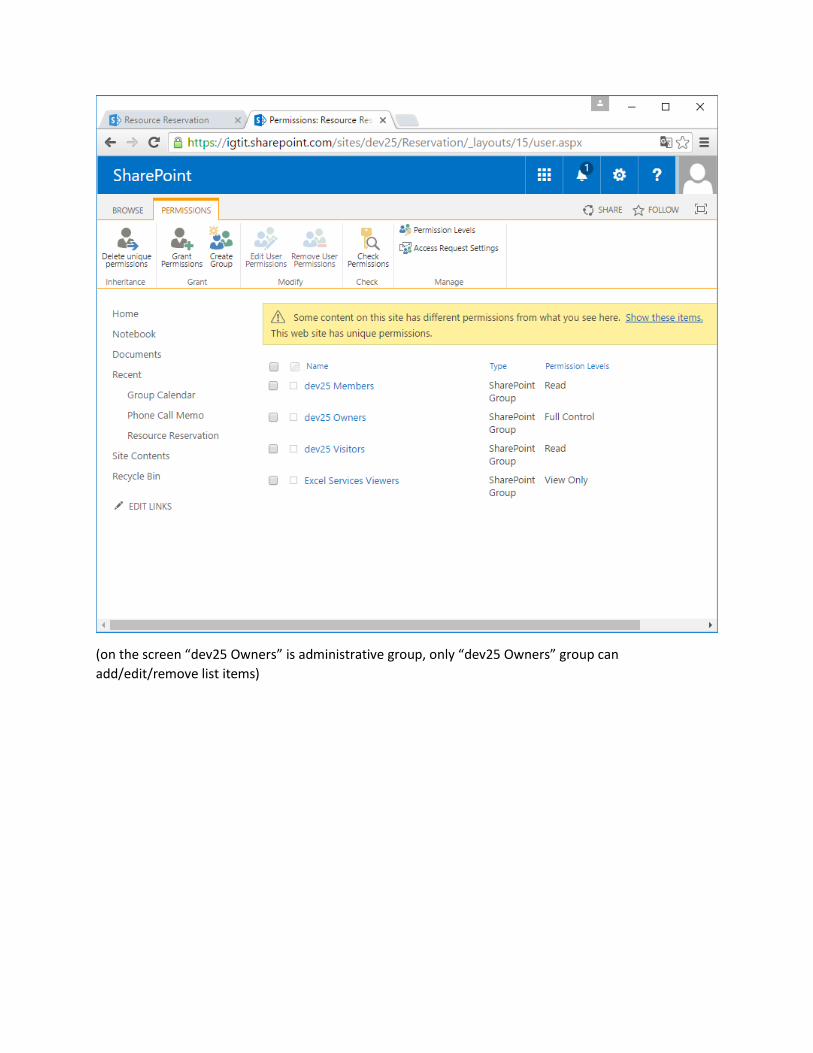
(on the screen “dev25 Owners” is administrative group, only “dev25 Owners” group can
add/edit/remove list items)

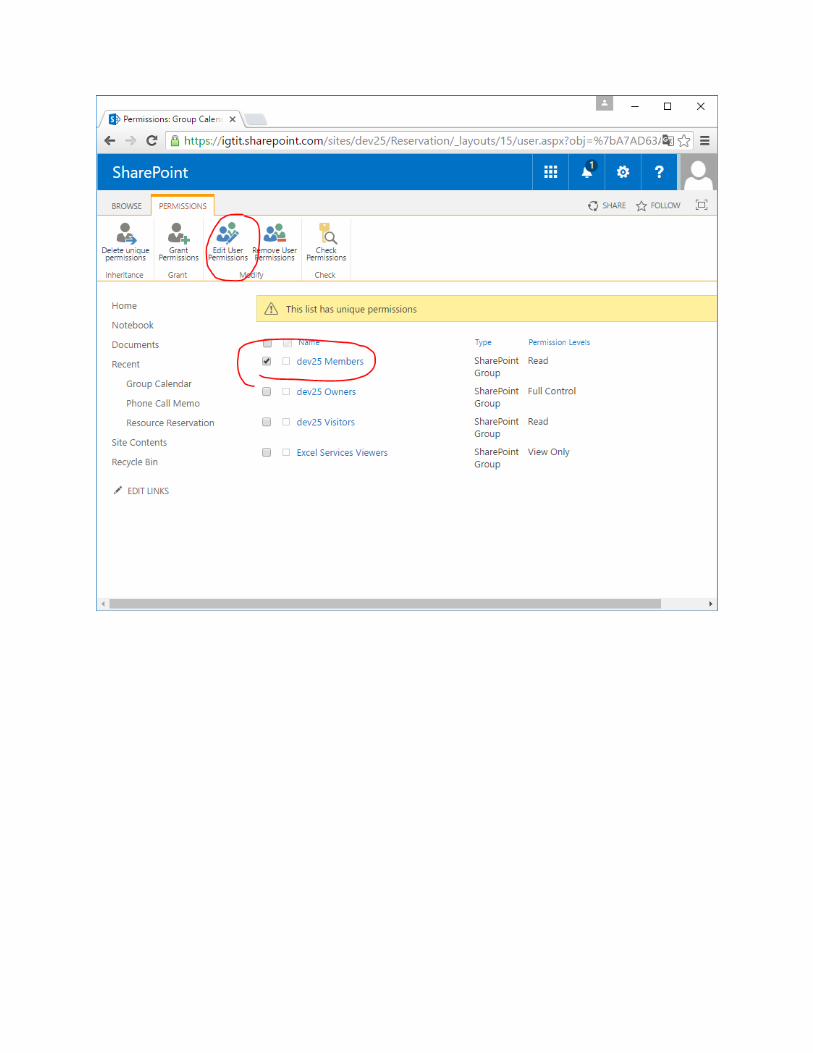
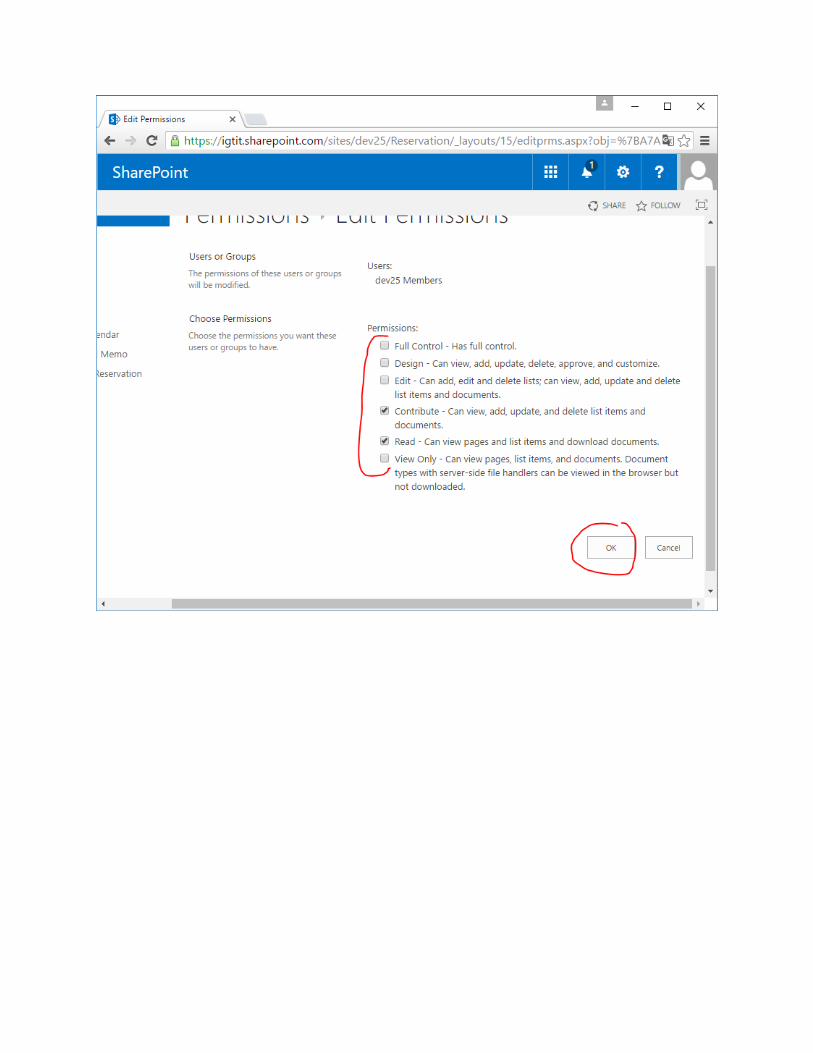
Grant permissions to users to create bookings 1. Open Group Calendar permissions page.


2. Change the permissions so users (“dev25 Members” on this screen) can add/edit/remove items
in Group Calendar list.


3. Restrict users from edit another's bookings


Creation / Edition / Deletion of the Resource Groups, Resources The “Administrator” rights allows to create/ edit/ delete the resource groups, resources. Use the
“cogwheel” to do it.

Settings of days and time Only working hours are displayed on the time tape. To set the working time:
1. Go to the regional settings of the website.

2. Set the working hours and days.
Only the working hours would be displayed on the timeline.


