
Working with GridView Control:
Adding Columns

Adding Buttons to a Bound GridView:1. Drag the WebProduct table from Data connection to a page2. Demo Enable Sorting,Editing,Deleting,Selection
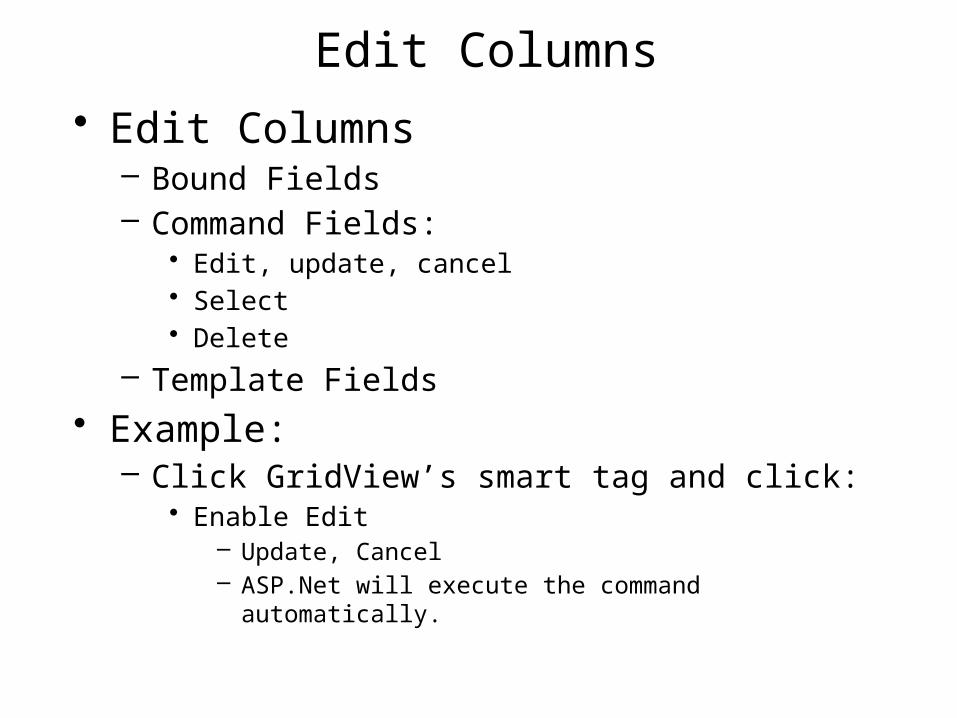
Edit Columns
• Edit Columns– Bound Fields– Command Fields:
• Edit, update, cancel• Select• Delete
– Template Fields
• Example:– Click GridView’s smart tag and click:
• Enable Edit– Update, Cancel – ASP.Net will execute the command automatically.

Rearrange the Fields Order
• Click GridView’s smart tag• Select Edit Columns option• Use the Up/Down button of the Selected
Fields window to rearrange fields order
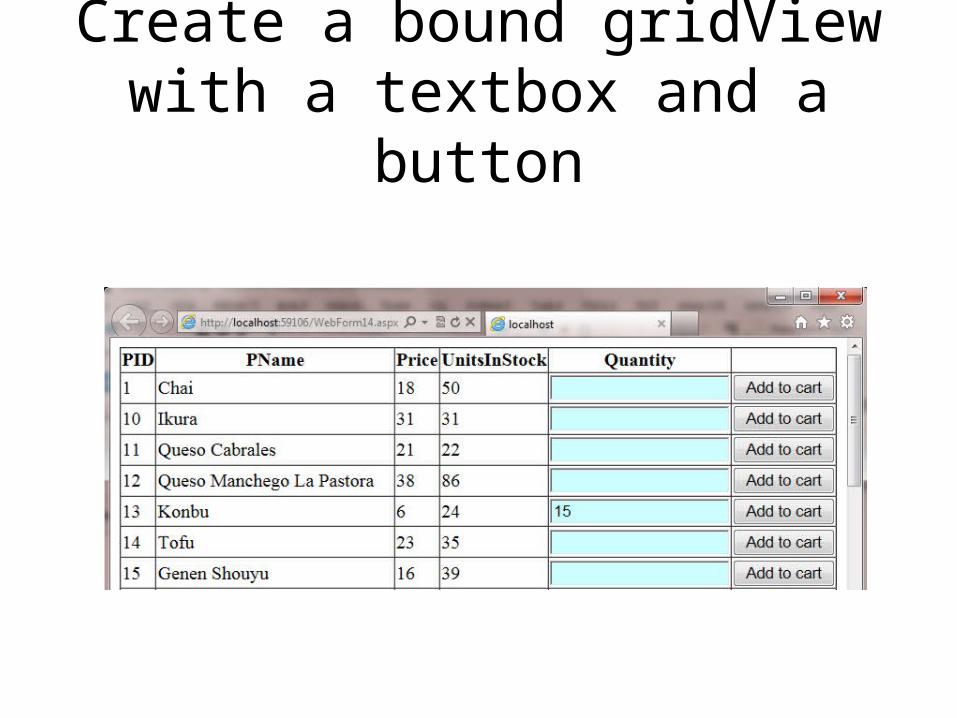
Create a bound gridView with a textbox and a button

Enable Select• Click GridView’s smart tag and click: Enable
Select– This will add a Select field to the gridview which
is a type of command field.• Click Edit Columns• Click the Select field from the Selected
Fields window to edit its property:– Button type property:
• Button• Link
– “Select text” property:• AddToCart

Adding Textbox to a Bound DataGrid• GridView smart tag/Add New Column:
– From the Available Fields list, select Template fields and click Add:
• HeaderText: This text will be used as column name
• Click OK -• Edit Template
– Drag a textbox to the template window.• Click the smart tag and select End Edit
Template

Select Button
• Select button will trigger GridView’s SelectedIndexChange event. Use this event we can retrieve the value of every cell in the selected row.
• We can use this button to retrieve value entered in the Quantity textbox.
• Properties:– GridView1.SelectedIndex– GridView1.SelectedRow.Cells[Index]
• 0-based index
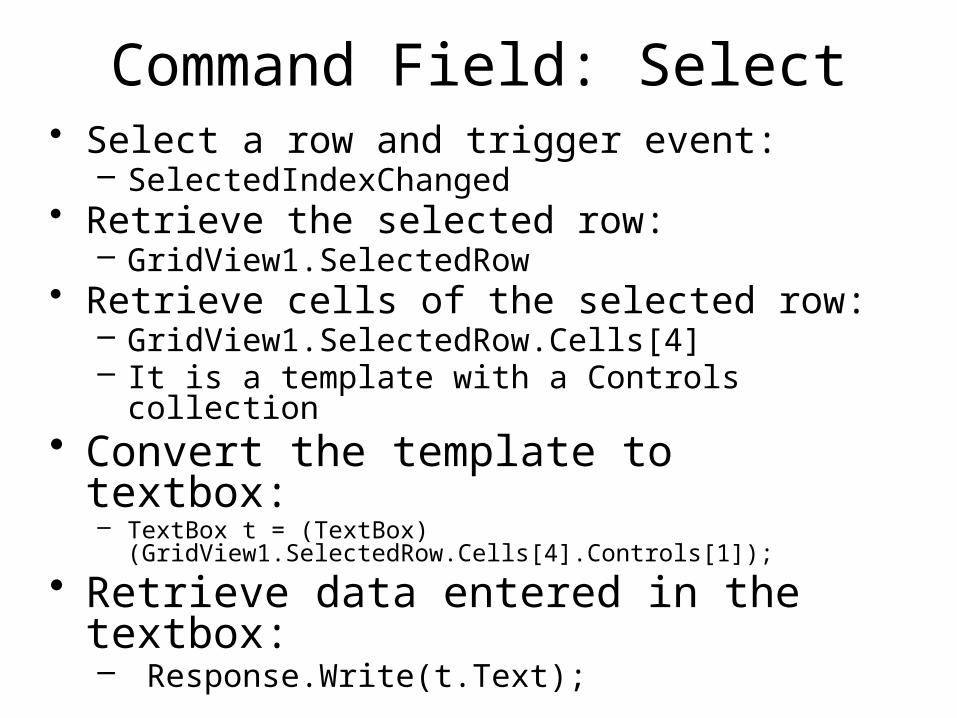
Command Field: Select• Select a row and trigger event:
– SelectedIndexChanged• Retrieve the selected row:
– GridView1.SelectedRow• Retrieve cells of the selected row:
– GridView1.SelectedRow.Cells[4]– It is a template with a Controls collection
• Convert the template to textbox:– TextBox t = (TextBox)(GridView1.SelectedRow.Cells[4].Controls[1]);
• Retrieve data entered in the textbox:– Response.Write(t.Text);

GridView’s SelectedIndexChanged Event Procedure Example
protected void GridView1_SelectedIndexChanged(object sender, EventArgs e) { string PID; PID=GridView1.SelectedRow.Cells[0].Text; TextBox qty = (TextBox)(GridView1.SelectedRow.Cells[4].Controls[1]); Response.Write(PID); Response.Write(qty.Text); }

Display Product Images with Product Information in a GridView

Images Folder and Save Image Path in the database
• 1. Add a folder and name it “Images”– Right click project name and select add/New
Folder• 2. Add images to the Images folder:
– Right click Images folder/Add/Existing item/select images to add to the folder
• 3. In the product table, add a field to store the path to the image file.

A Product Table with Image Path
Example: Path to the pic1.jpg file in the Images folder is:~/Images/pic1.jpg

Create a GridView to Show Products with images, textbox and Add Button
• 1. Drag the Product table from the Data Connection to create the bound gridView.
• 2. Select Edit/Column by clicking the smart tag and delete the ProdPicPath field from the Selected Fields list.
• 3. Select Add New Column to add a new template• 4. Select Edit Template and drag an Image control
from the Toolbox to the template.• 4. Click the Image control in the template and
select Edit DataBindings.• 5.Select Field Binding/Bound to/ProdPicPath


