dropbox basic tutorial
DESCRIPTION
Sharing your stuff to your collaborators will now be easier and faster. Dropbox is a free service that let’s you share ALL your documents. This can also serve as your storage folder where in you can access it anywhere you are, just by login to your account. Here is a step by step Basic tutorial that will surely help you to get started. Very logical and no technical words used. It is a tool that every virtual people need to know. Happy sharing.TRANSCRIPT

Dropbox Tutorial
August 2013 1

? What is Dropbox
August 2013 2

August 2013 3

It is a free service that let’s you
bring
August 2013 4

Your photos, docs, and videos
anywhere
August 2013 5
And can share them easily.
August 2013 6

August 2013 7

Get Started
Go to https://www.dropbox.com/
August 2013 8

Create your account
August 2013 9

Fill up
August 2013 10

Click sign up
August 2013 11

Install
August 2013 12

August 2013 13

downloading
August 2013 14

Run the Dropbox Installer
August 2013 15

Double click the Dropbox icon
August 2013 16

You’re good to go!
August 2013 17

August 2013 18
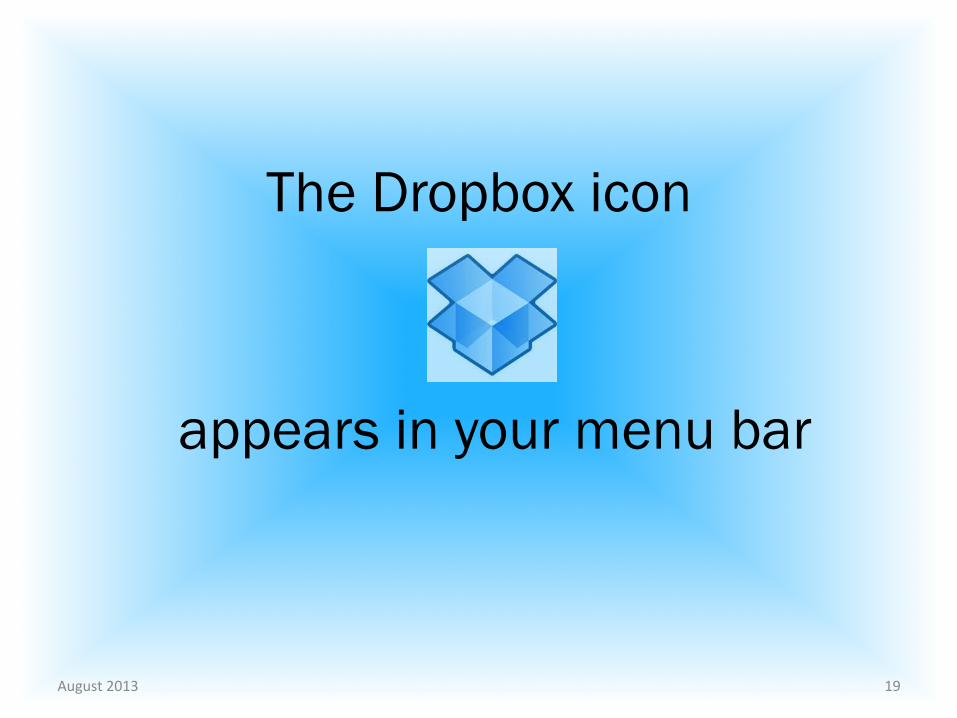
The Dropbox icon
August 2013 19
appears in your menu bar

August 2013 20

Log in to your account now
August 2013 21

Homepage
August 2013 22

Adding files to the Dropbox
August 2013 23

drag and drop
August 2013 24

click the upload
August 2013 25

Choose as many files
you LIKE
August 2013 26

After downloading all files
August 2013 27

Added files
automatically sync
August 2013 28

can always
access your files through the Dropbox website.
August 2013 29

syncing
August 2013 30
Dropbox is
How do I know when

Status icon
First, be familiar with
August 2013 31
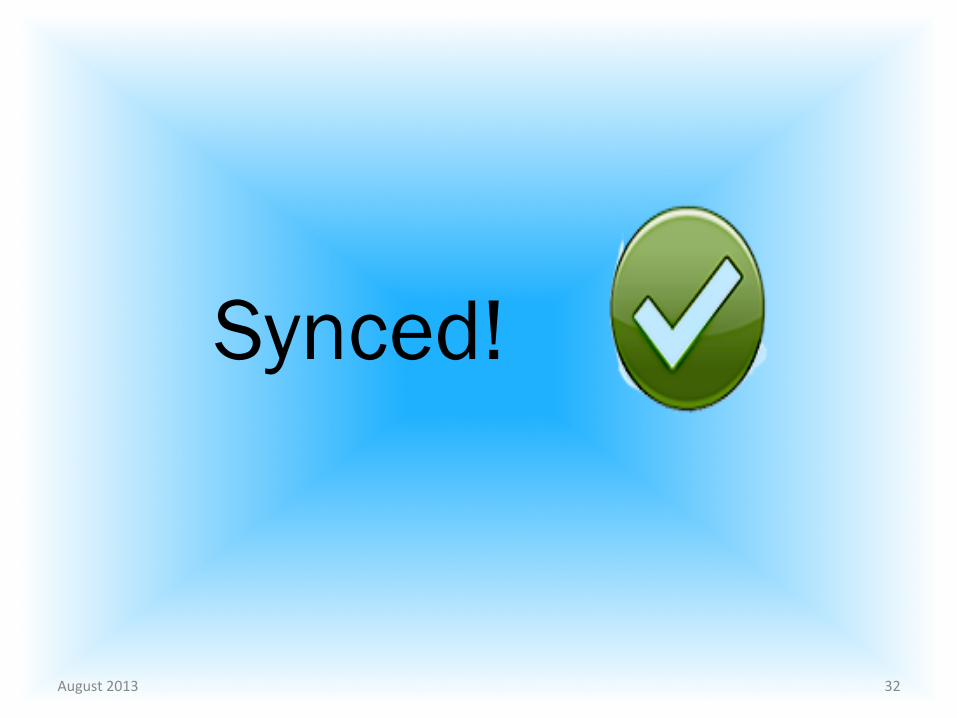
Synced!
August 2013 32
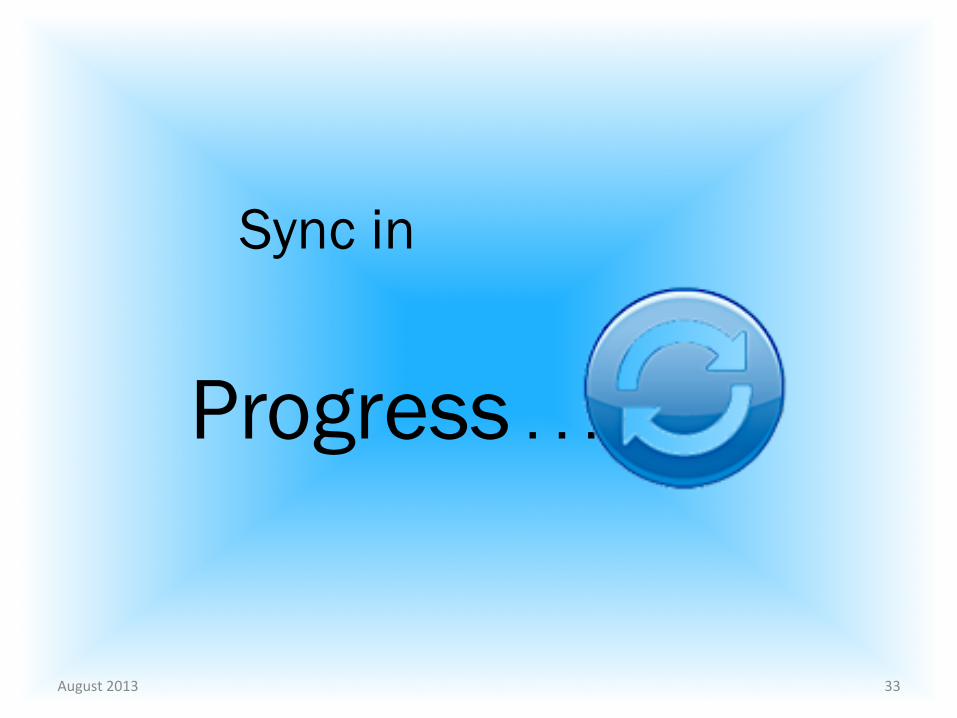
Progress . . .
August 2013 33
Sync in

Syncing
August 2013 34
a folder
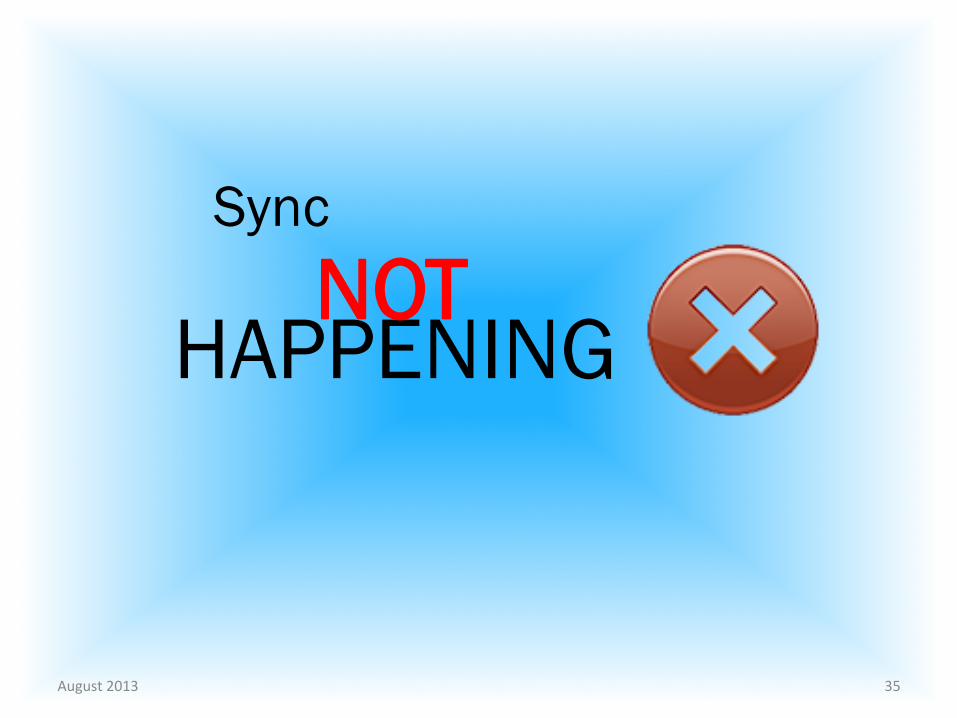
HAPPENING
August 2013 35
NOT Sync

These icons
can be seen on your menu bar
August 2013 36

August 2013 37
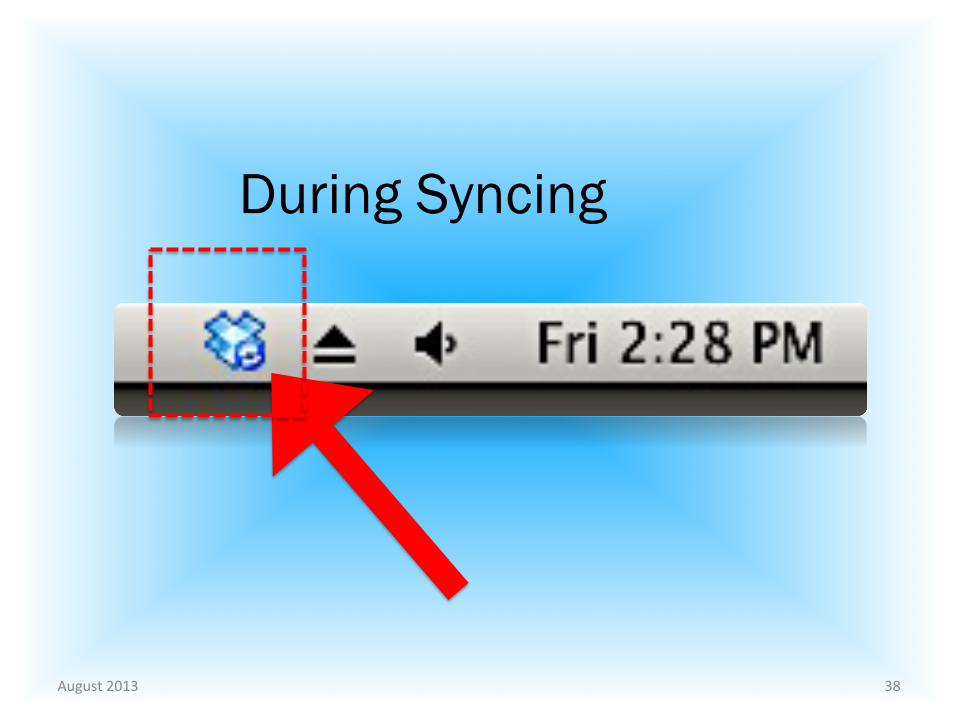
During Syncing
August 2013 38

FINISHED syncing
August 2013 39
How to share folder
August 2013 40

August 2013 41

Go to your list of files
and folders
August 2013 42

Select the folder you want
to share
August 2013 43

if the folder is currently
UNSHARED,
August 2013 44
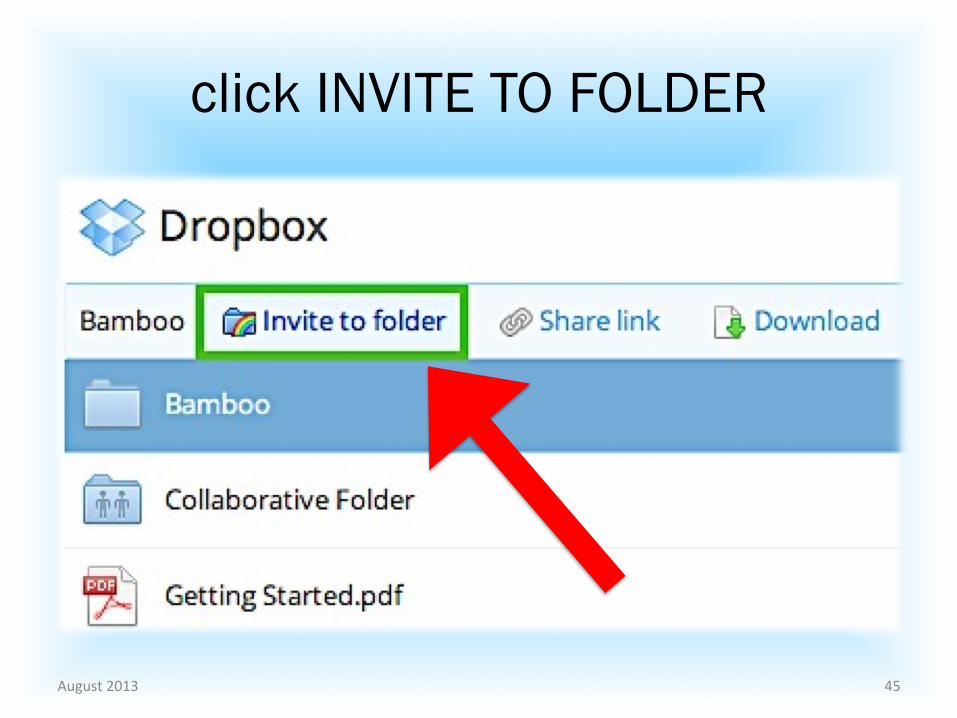
click INVITE TO FOLDER
August 2013 45

if the folder is
ALREADY being SHARED
August 2013 46
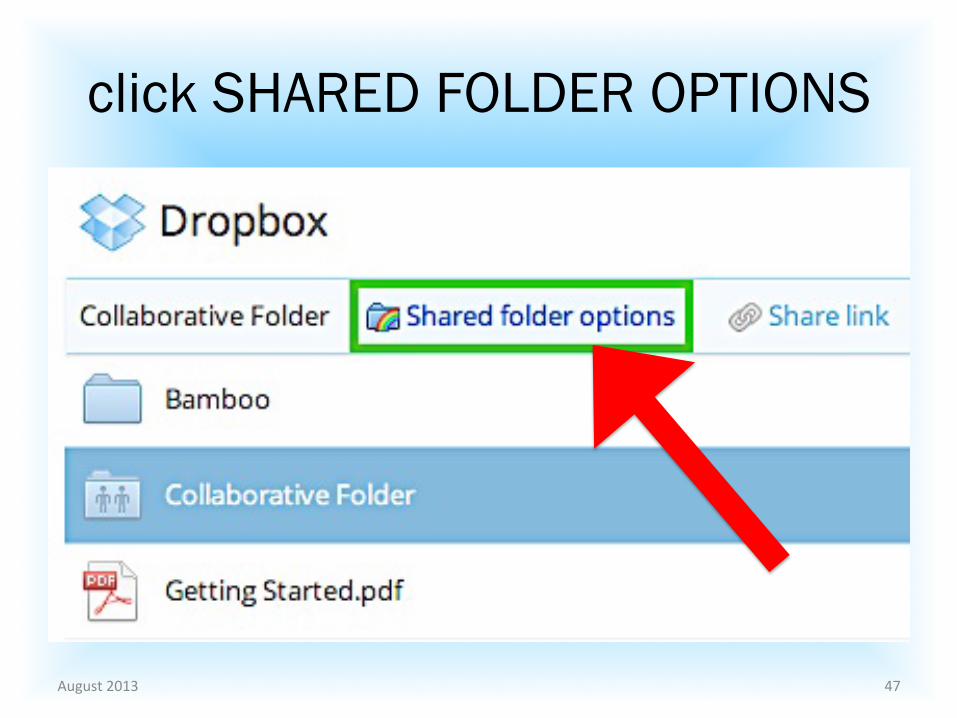
click SHARED FOLDER OPTIONS
August 2013 47
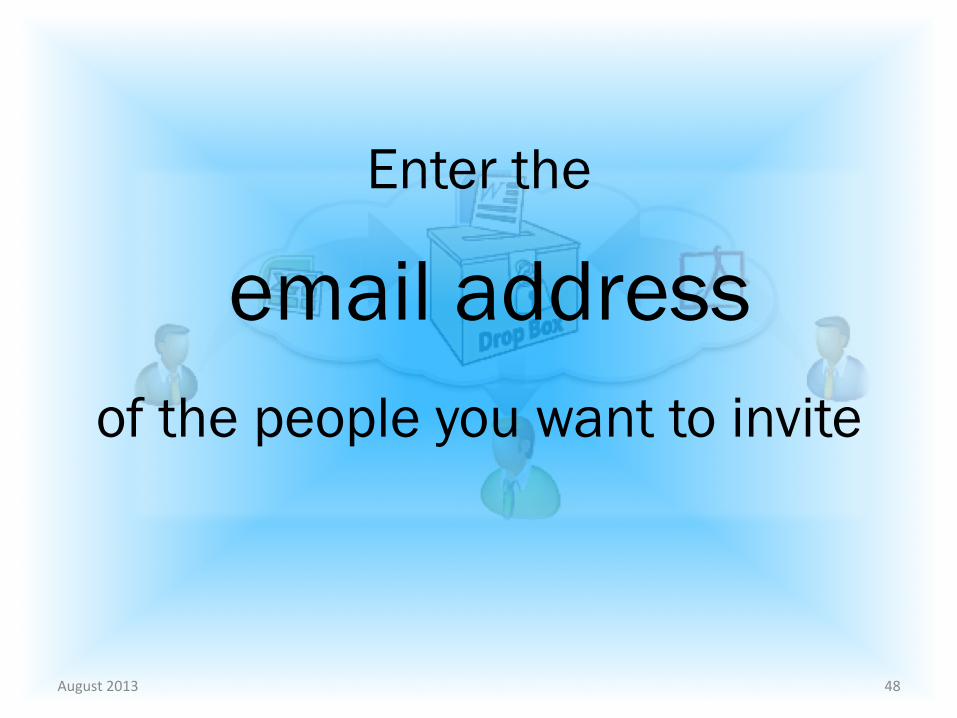
Enter the
August 2013 48
email address of the people you want to invite

How to create a
August 2013 49
Photo Album

Click on the photos
you want
August 2013 50

A
blue border and checkmark will appear
August 2013 51

August 2013 52

on top of the page click the gear icon
August 2013 53
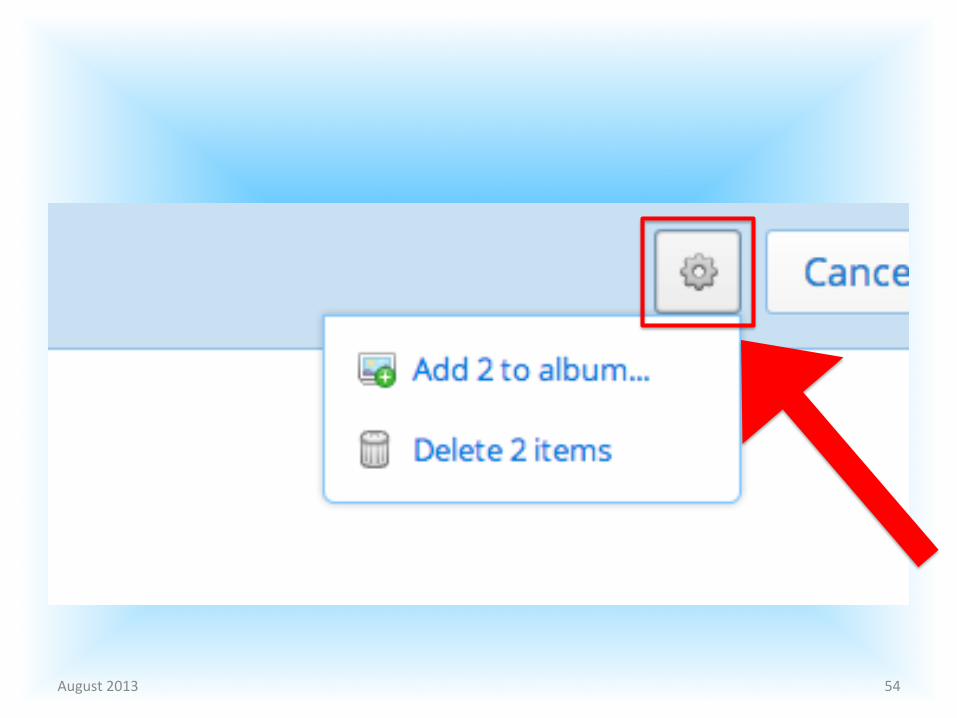
August 2013 54

select the
August 2013 55
ADD TO ALBUM option

August 2013 56

select NEW ALBUM
August 2013 57
from the menu

Enter
August 2013 58
ALBUM NAME

You can ADD more photos
to an album by
August 2013 59

selecting them
August 2013 60
and clicking the ADD to the album

or as easy as
August 2013 61

select photos
August 2013 62
and drag them
to the album name

August 2013 63

Creating albums does not take up additional space in your account
August 2013 64

nor
August 2013 65

does it change the locations
of your
August 2013 66

photo and
video files.
August 2013 67

How to
August 2013 68
SHARE photos with other people

August 2013 69

photos and videos
August 2013 70
select
you want to add.

a blue border
and checkmark will appear
August 2013 71

August 2013 72

right click
August 2013 73
the selected items

August 2013 74

choose SHARE PHOTO
August 2013 75
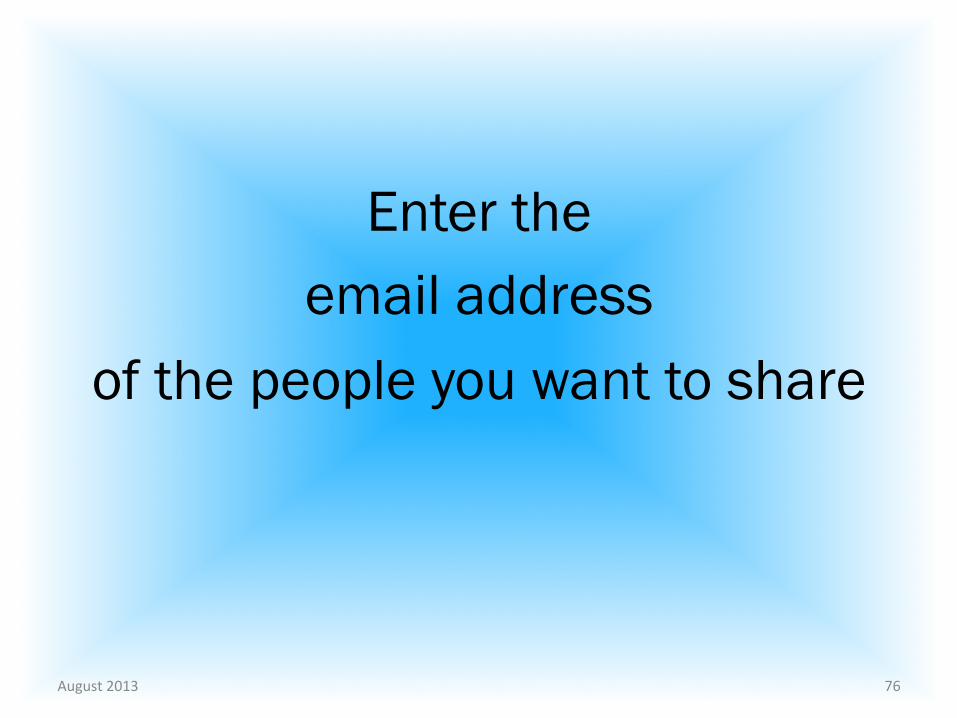
Enter the email address
of the people you want to share
August 2013 76

August 2013 77

click SEND
August 2013 78

or
August 2013 79

click
August 2013 80
GET LINK to copy the link and paste it
anywhere

August 2013 81

If you’ve
created an album
August 2013 82

You can quickly
share it with anyone as well.
August 2013 83

How do you
August 2013 84
UNSHARE links
to photos

Click
August 2013 85
photos in the sidebar on the left

the album you want to
August 2013 86
right Click
Unshare

SELECT
August 2013 87
UNSHARE ALBUM from the pop-up menu

click
August 2013 88
UNSHARE

August 2013 89
Mobile app Dropbox

The Dropbox Mobile app gives you
different ways
August 2013 90

to upload files from your
phone / tablet to your Dropbox.
August 2013 91
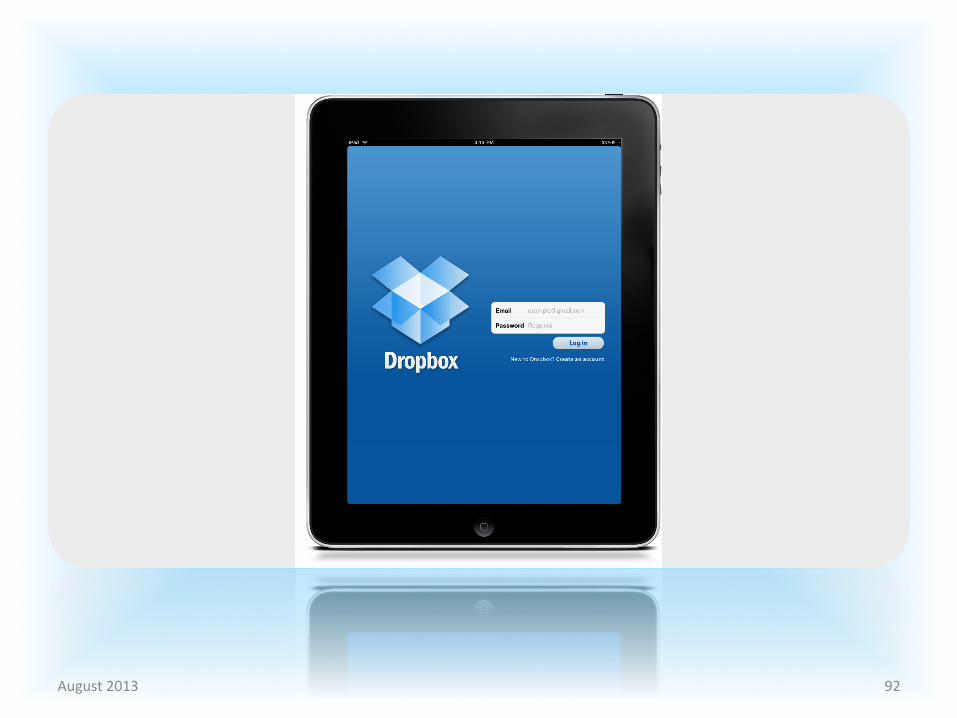
August 2013 92

Once
files are uploaded,
August 2013 93

they will sync with
Dropbox on your computer
August 2013 94

and all your
devices.
August 2013 95

August 2013 96
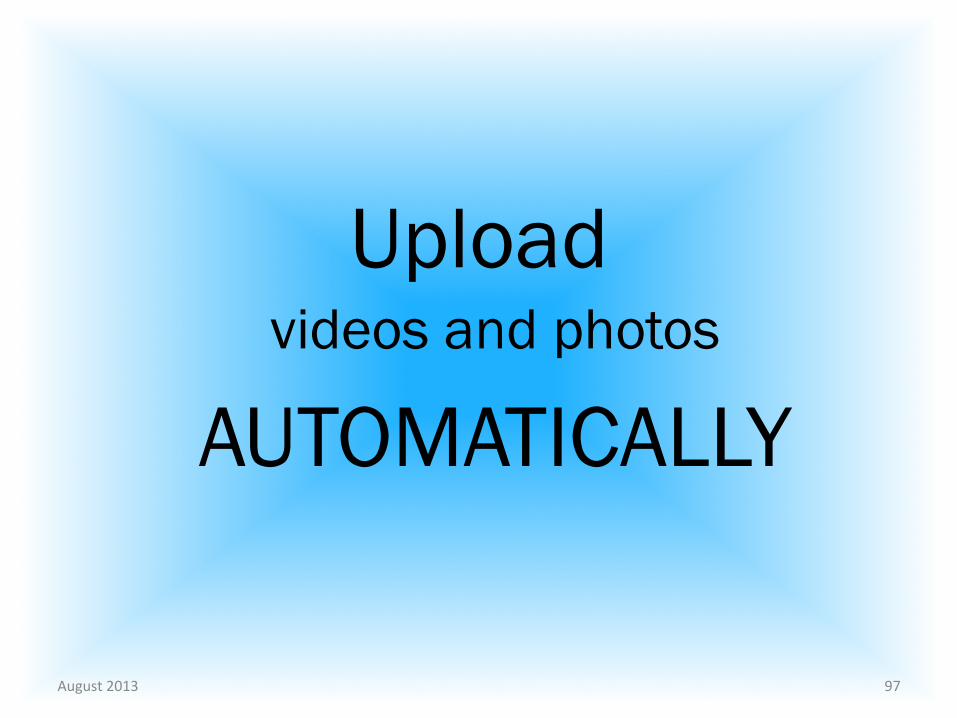
Upload
August 2013 97
videos and photos
AUTOMATICALLY

This feature is called
August 2013 98
Camera Upload

August 2013 99

HOW?
August 2013 100

Upload wirelessly from your phone/tablet using
August 2013 101
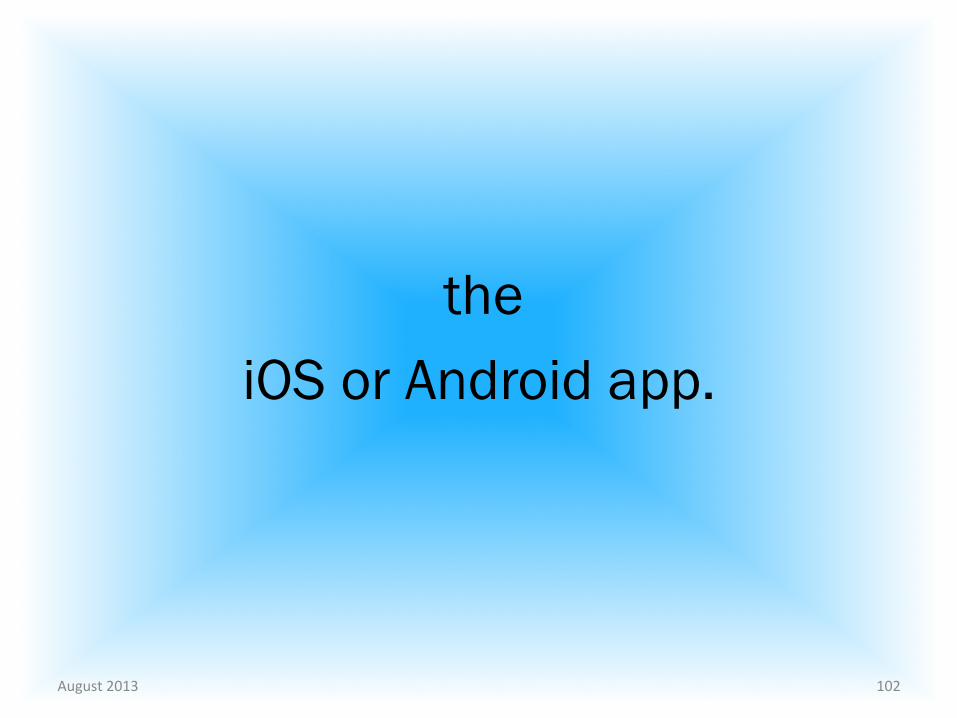
the
iOS or Android app.
August 2013 102

Upload by connecting your
camera, phone, or tablet
August 2013 103

to your computer
and
August 2013 104

using the Mac or Windows
desktop app.
August 2013 105

Upload
August 2013 106
photos/videos
MANUALLY

HOW?
August 2013 107

Tap the Photos/videos
button from the pop-up menu.
August 2013 108

Thumbnails from your
phone’s photo and video gallery
August 2013 109

will appear.
August 2013 110

Tap the photos/videos
you’d like to upload
August 2013 111

to toggle a
green check overlay.
August 2013 112

August 2013 113

Tap the
Upload button
August 2013 114

August 2013 115

That’s
August 2013 116
it!

August 2013 117

COURTESY OF https://www.facebook.com/ZigZiglar
August 2013 118

for the images and tutorial tips : Thanks to
https://www.dropbox.com
August 2013 119