dry suit diving techniques. objectives to develop the student’s knowledge of dry suits - when to...
TRANSCRIPT

Dry Suit Diving Techniques

Objectives To develop the student’s knowledge of dry
suits - When to use dry suits, types of dry suits available, their maintenance
To develop the student’s ability to perform effectively in a dry suit
To enable the student to plan, organize and conduct SAFE operational dives
2-43

Why Dive a Dry suit? Environmental protection
Thermal protection

Environmental Contaminants
BiologicalBiological
ChemicalChemical
NuclearNuclear

Minimizes Exposure to: Gasoline & oil Sewage & waste water Agricultural run-off Human tissues/body decomposition Bacterial infection

Thermal Protection With proper insulation, dry suits provide
excellent thermal protection in cold water.

Advantages of Diving Dry vs. Wet

Wet Suits (Foam Neoprene) Insulating ability determined by thickness of
suit Insulation and buoyancy
DECREASE with INCREASING DEPTH Allows skin exposure to contaminants Allows water against skin (Cold) Requires a good fit Must dry before repair

Dry Suits Control of insulation and
buoyancy regardless of depth No skin contact with water No increase in air consumption Rugged, longer life, more
durable Variable insulation options Does not require perfect fit Can be repaired quickly

Thermal Comparisons
# of Dives/
H2O Temp
Wet Suit Dry Suit
1st 2nd 3rd 1st 2nd 3rd
700F 100% 100% 100% 100% 100% 100%
600F 100% 90% 80% 100% 100% 100%
500F 80% 70% 50% 100% 100% 100%
400F 50% 25% * 100% 85% 75%
320F * * * 100% 75% 55%
* Not recommended unless involved in a life-saving rescue.

Dry Suit History
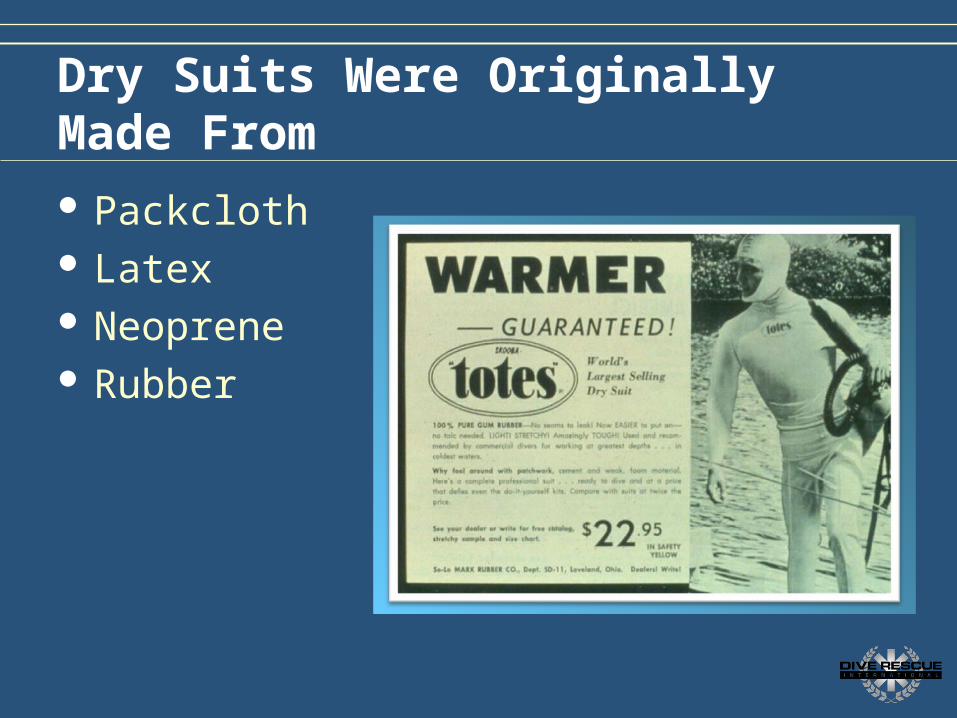
Dry Suits Were Originally Made From Packcloth Latex Neoprene Rubber

Modern Dry Suit Construction Crushed neoprene Coated or laminated fabric Polyurethane laminate Vulcanized rubber Other special design (military)

Crushed Neoprene
14-43

Coated Material
Also known as Laminate or Tri-Laminate

Vulcanized Rubber for Severe Contamination

Vulcanized Rubber Dry Suits Offer
Good environmental protection One piece construction Inflation/exhaust valves Rugged and flexible Attached boots Dry hood
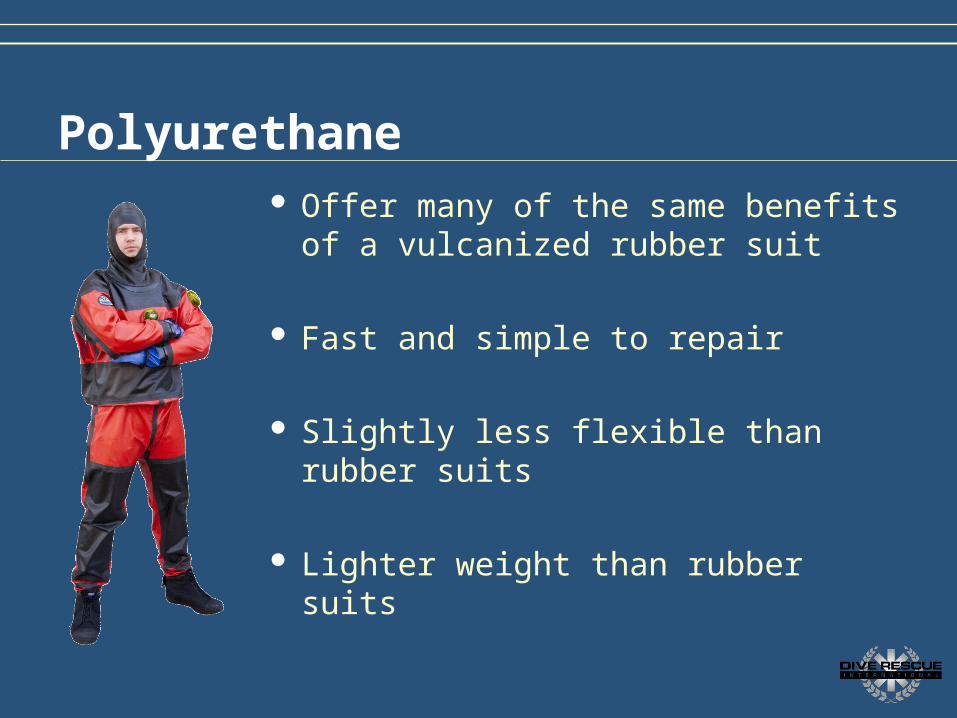
Polyurethane Offer many of the same benefits of
a vulcanized rubber suit
Fast and simple to repair
Slightly less flexible than rubber suits
Lighter weight than rubber suits

Insulation Options Thinsulate Radiant film Open Cell Foam Polartec
19-43

Thinsulate

POLARTEC

Open Cell Foam

Dry Suit Care Lubricate neck and wrist seals with talc Wax zippers, store open Wash and thoroughly dry inside and out Inspect for tears in seals Inspect valves Avoid exposure to UV rays,
oil & harsh chemicals

Wax Zippers After Each Use
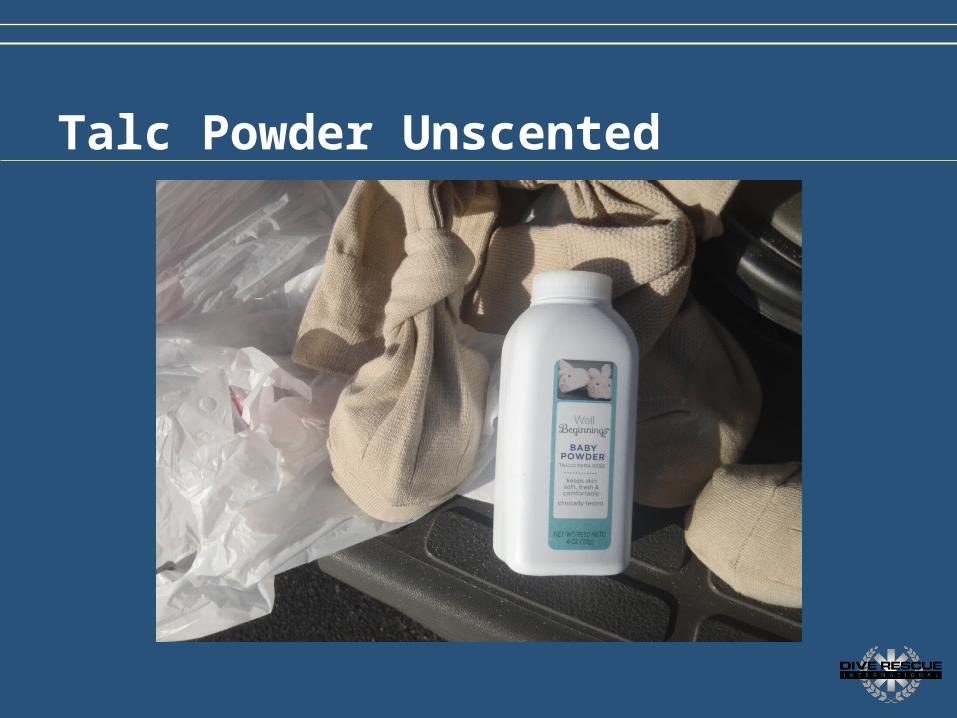
Talc Powder Unscented

Hang To Dry

Why Dry Suits Leak Zippers Seals Valves Fabric

Donning Determine need for thermal insulation Smooth neck and wrist seals against skin Zip closure Check exhaust valve Crouch and “Burp” Attach Low Pressure hose Check inflator valve

Donning Suspenders

Cuff Seal – Apply talc prior as a dry lubricant

Pull Neck Seal, Turn Head, Check Seal.

Pull Zipper with Finger Inside suit

Squat to Bleed Out Air

Use Buddy System to Don B/C
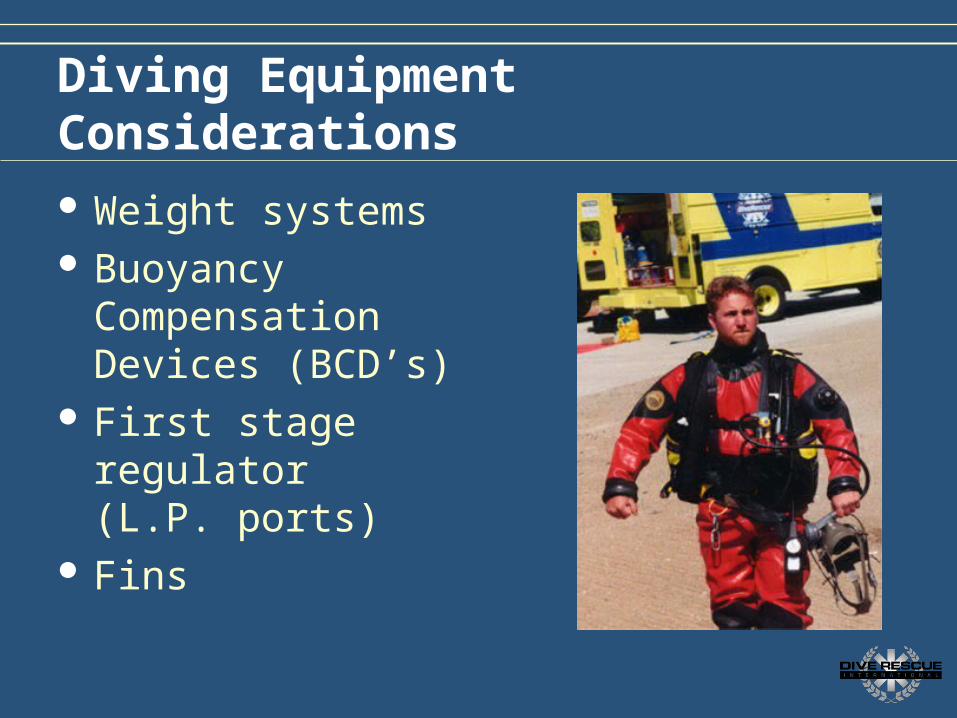
Diving Equipment Considerations Weight systems Buoyancy Compensation
Devices (BCD’s) First stage regulator
(L.P. ports) Fins

Important Features Attached boots Attached hoods Waterproof zipper Attached gloves (cuff rings) Reinforced stressed/abrasion points

Attached Boots

TLS seal

Zip Seal Gloves

Gloves Fit Over Cuff Ring

Optional Accessories Suspenders Ankle straps Telescoping torso Knee pads Pockets Relief zipper
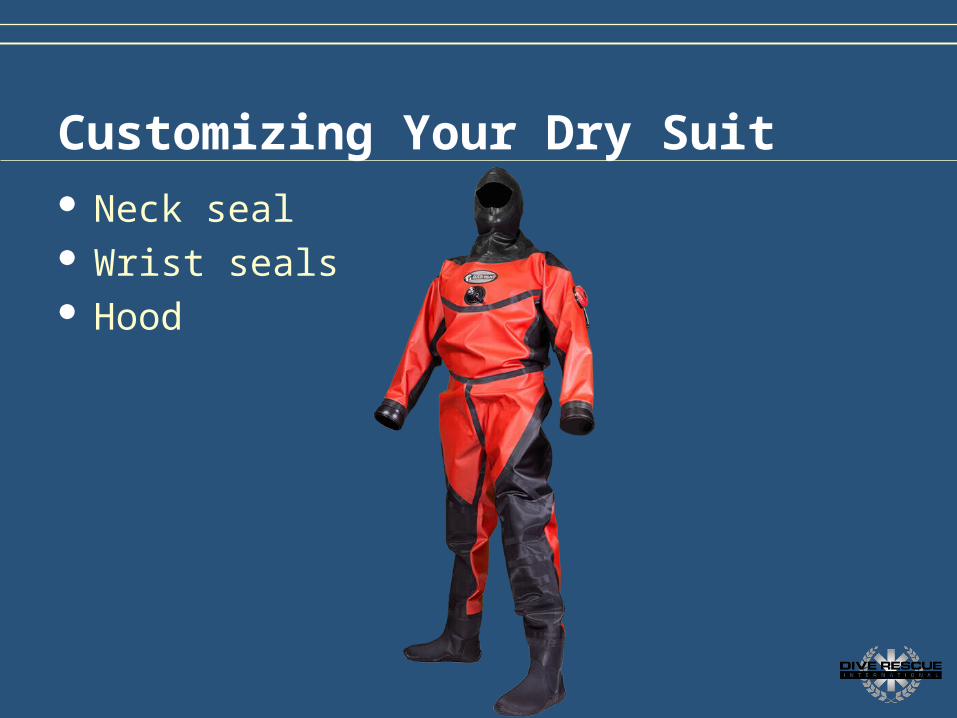
Customizing Your Dry Suit Neck seal Wrist seals Hood

Neck Ring System
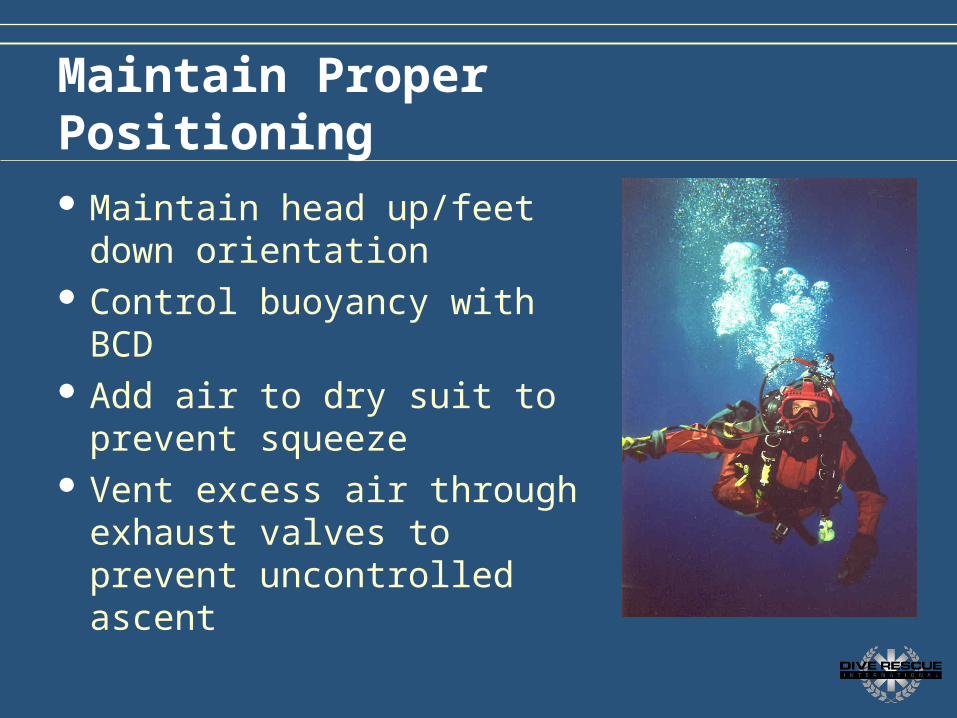
Maintain Proper Positioning Maintain head up/feet down
orientation Control buoyancy with BCD Add air to dry suit to prevent
squeeze Vent excess air through
exhaust valves to prevent uncontrolled ascent

Dry Suit Diving Requires Control and Composure
Dry suit operations require a strong foundation of basic scuba skills on
which to build advanced level skills.

Emergency Procedures
Going The Wrong Way Going The Wrong Way
Too Fast!!!Too Fast!!!

Inverted Assent

Knowledge of dry suit operations will help avoid potential
emergenciesLearn the specific emergency
procedures for these situations.

Emergency Procedures Inflator valve stuck open…
Disconnect L.P. hose Assume proper position and utilize exhaust valve If severe enough allow air to escape by releasing
neck or wrist seals (WATER IN) If air cannot be vented, utilize “FLARE” position

Dry Suit Emergencies

Disconnect Inflator Hose

Emergency Procedures Slow leak in inflator valve…
Determine extent of leak, terminate dive.
53-43

Emergency Procedures Inflator valve stuck closed…
Stop descent and terminate the dive Use BCD as needed to control buoyancy Return to the surface venting expanding air as
normal

Emergency Procedures Exhaust valve stuck open…
Determine the extent of leak Terminate dive Exercise the valve Increase valve spring pressure

Emergency Procedures Exhaust valve leaking…
Determine extent of leak Terminate dive Use BCD in controlling buoyancy as needed

Emergency Procedures Exhaust valve stuck closed…
Control ascent by pressing exhaust Valve to allow expanding air to escape or use “FLARE” position if air cannot be vented
Use ascent line if available

Emergency Procedures Inverted position from air in the feet…
Forward swim-out roll (Tuck & Roll) Backward swim-out roll
58-43

Emergency Procedures Inverted position from air in the feet…
Forward swim-out roll (Tuck & Roll) Backward swim-out roll
59-43

Air in legs

Emergency Procedures Loss or failure of air supply…
Control ascent rate by venting air from suit as you ascend
Venting air by manually activating exhaust valve may be required

Emergency Procedures Flooded Suit…
Use BCD to control buoyancy If additional buoyancy is needed, drop weights Control buoyancy by venting suit or BCD as
needed; suit may maintain a large volume of air Attempt to minimize the effect of leak by
positioning it low if possible

Emergency Procedures Dropped or lost weight belt or weight
system… Attempt to recover weights If unable to recover weights, control ascent by
exhausting air from suit with valve If unable to release air from the suit, or ascent is
too rapid use the “FLARE” to control ascent

Conclusion Thermal and
environmental considerations
Dry suit selection Undergarments Care and
maintenance Emergency
procedures