editing update 3
TRANSCRIPT
Editing Update 3
Day 1
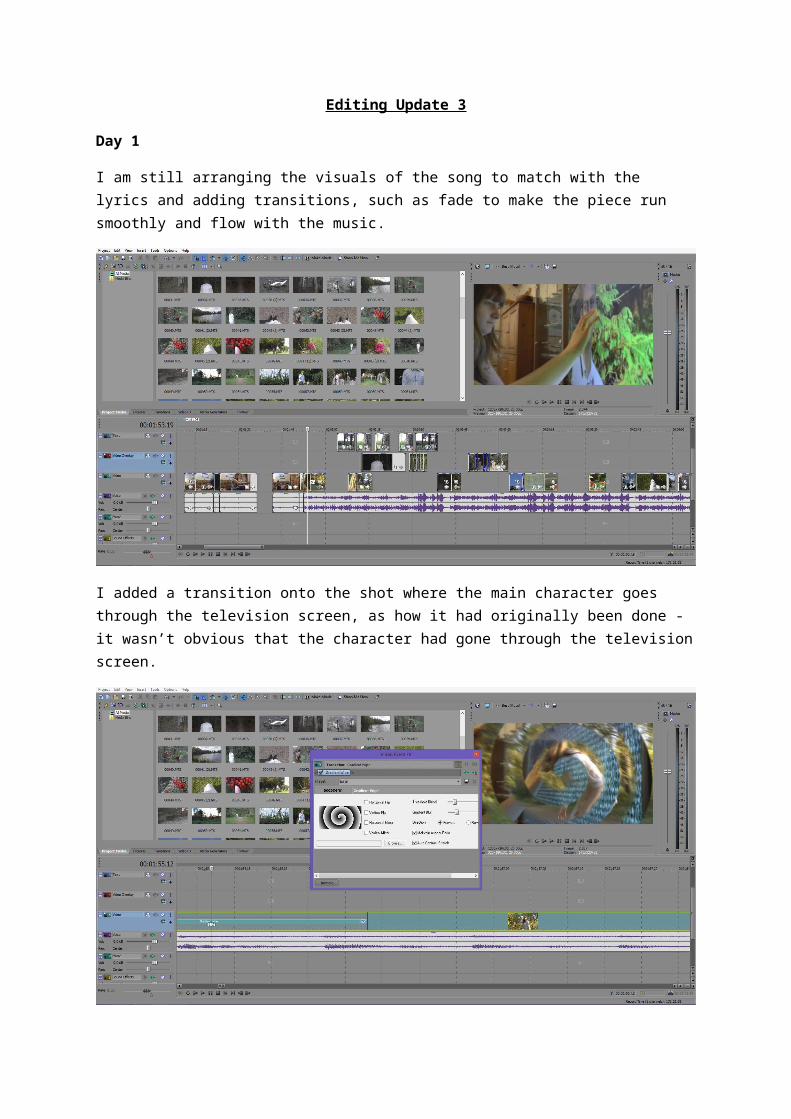
I am still arranging the visuals of the song to match with the lyrics and adding transitions, such as fade to make the piece run smoothly and flow with the music.
I added a transition onto the shot where the main character goes through the television screen, as how it had originally been done - it wasn’t obvious that the character had gone through the television screen.
So I used an effect called ‘Spiral Gradient Wipe’ that has a visual of a spiral that allowed me to move the action from one scene to the next.
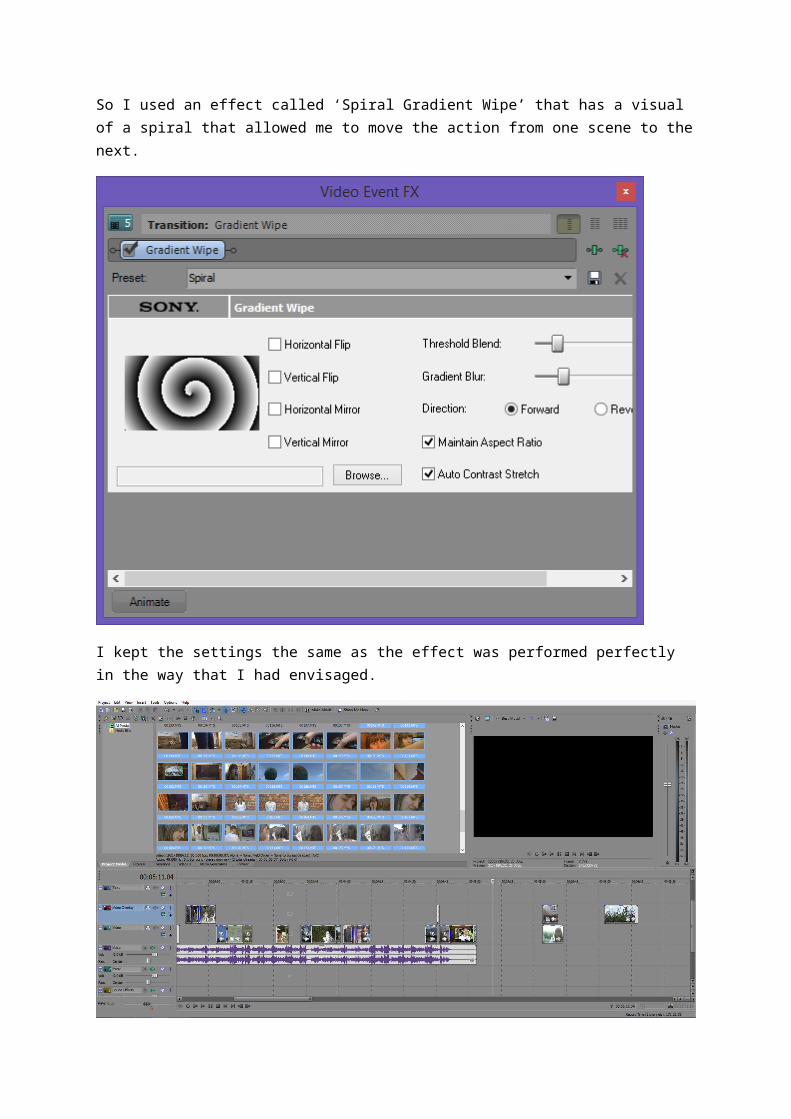
I kept the settings the same as the effect was performed perfectly in the way that I had envisaged.
I imported new media that I had recorded over the weekend as I redid the living room scenes, as my current footage was not to the standard that I wanted and there was some bad composition and Mise en Scène from the lighting. I also shot some extra scenes for other places in my music video.

Day 2
I have fully arranged the living room scene which is a 30 second introduction before the song begins. This helps set the scene and the narrative to the audience.
I removed and deleted the sound from the footage at the shop window as the song is going to dominate the other sound. To do this, I right clicked the video and clicked ‘Group’ and ‘Remove From’. Then I selected the sound on the video and selected ‘Delete’ on the keyboard.

As I have used Photoshop for editing the tree trunk shot, the size of the image when it was imported into the video was wrong as there were black bars at the side. It didn’t match the rest of my video due to the frame size. I researched videos on YouTube on how to correct this and luckily found a video which helped me with this problem. To get rid of the black bars, I selected the image on the timeline and right clicked and selected ‘Properties’ this brought up a box that had checkboxes and I had to uncheck ‘Maintain Aspect Ratio’ and click ‘OK’. The image has now filled the whole frame so that it links to the rest of the video.
The image with the wrong frame size.
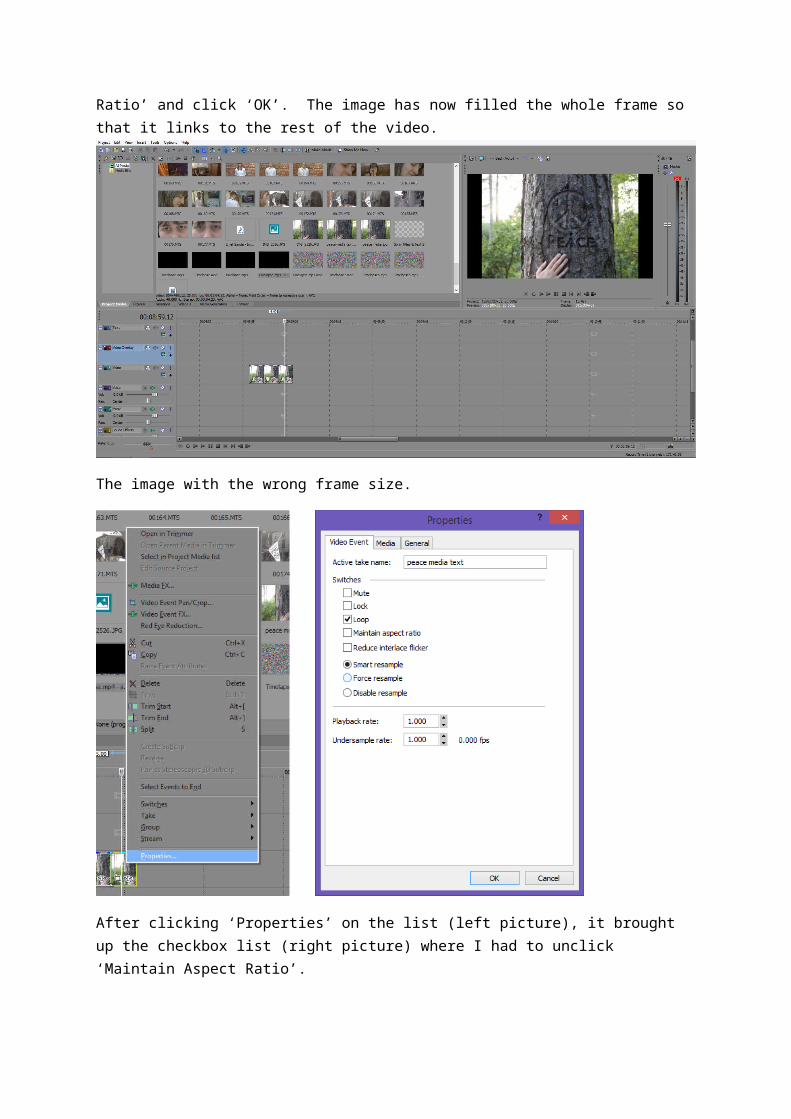
After clicking ‘Properties’ on the list (left picture), it brought up the checkbox list (right picture) where I had to unclick ‘Maintain Aspect Ratio’.
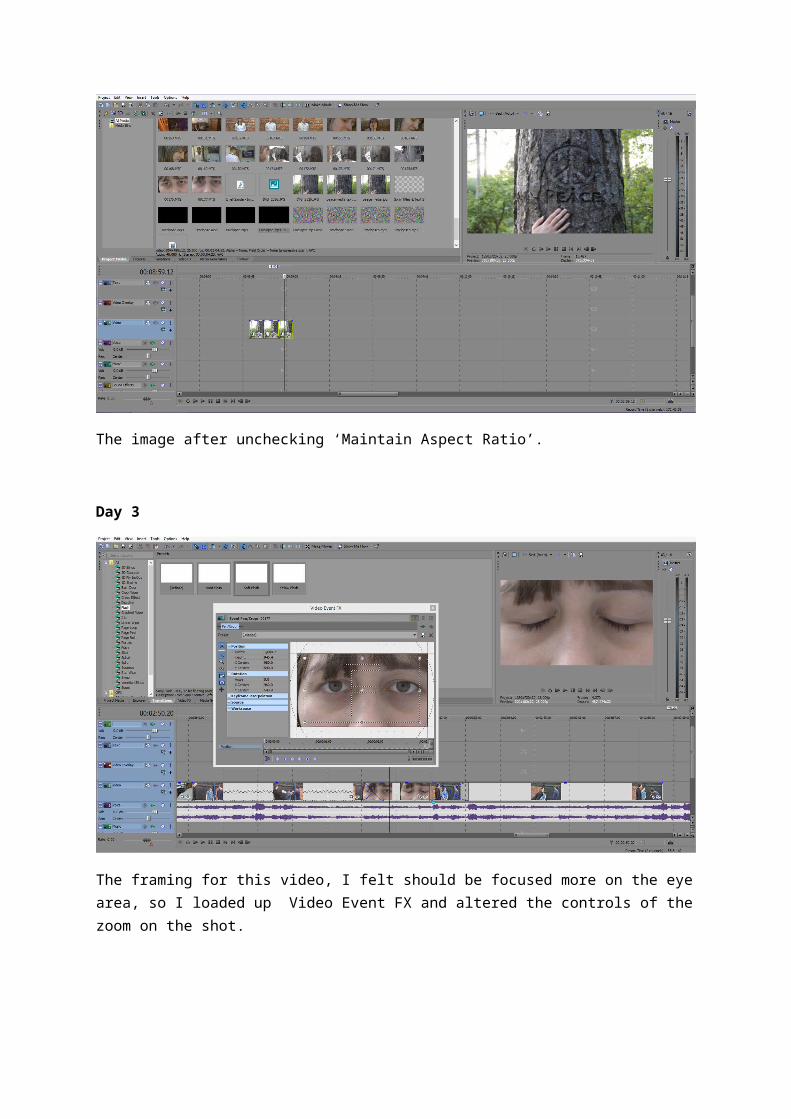
The image after unchecking ‘Maintain Aspect Ratio’.
Day 3
The framing for this video, I felt should be focused more on the eye area, so I loaded up Video Event FX and altered the controls of the zoom on the shot.
This is the video to date. There are a few gaps in the video but I will present this to my class for feedback tomorrow to see what improvements that I need to make.
Next week, I will
Edit the video to get rid of the gaps Improve my video based on the feedback I get from the class Film scenes to fill in the gaps and re-film, if feedback indicates this is necessary, to get
different footage.