englsih book
DESCRIPTION
training englishTRANSCRIPT

THE PRESENTATION OF THE COMPUTER1. THE CENTRAL UNIT
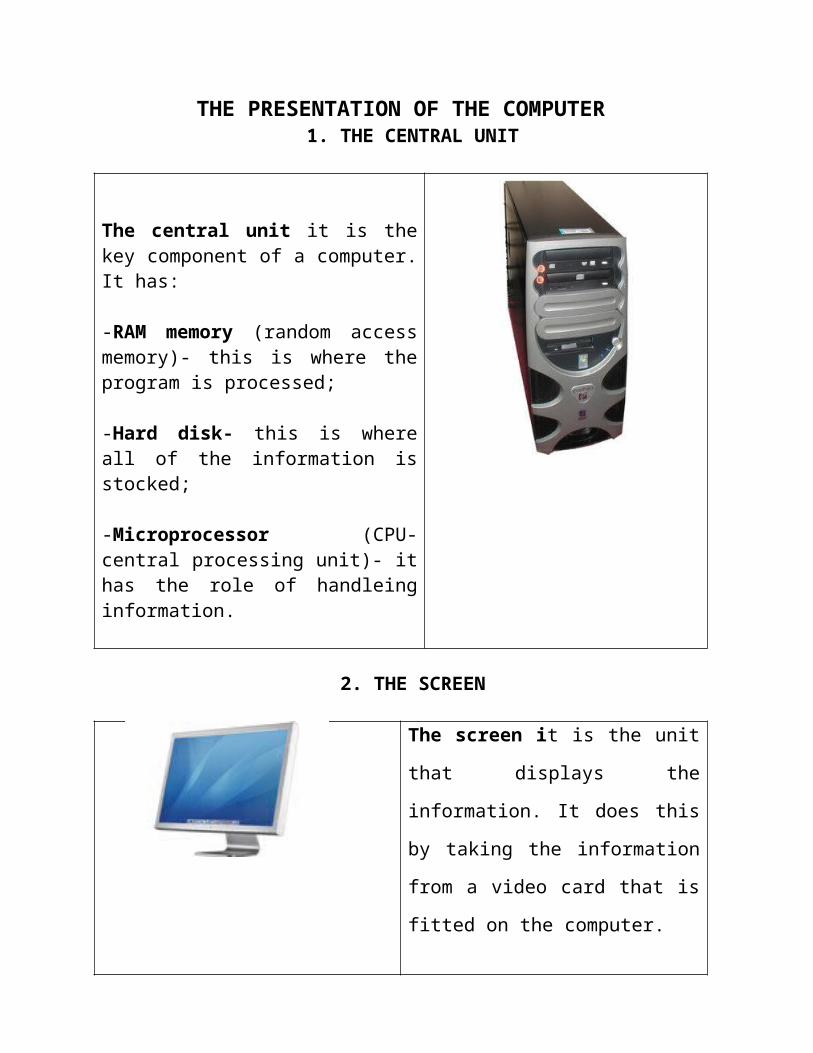
The central unit it is the key component of a computer. It has: -RAM memory (random access memory)- this is where the program is processed;
-Hard disk- this is where all of the information is stocked; -Microprocessor (CPU- central processing unit)- it has the role of handleing information.
2. THE SCREEN
The screen it is the unit that displays
the information. It does this by taking
the information from a video card that
is fitted on the computer.
3. THE KEYBOARD
THE KEYBOARD it has the role of
inputting information on the
computer. The keyboard consists of
letter keys number keys and function
keys.

4. THE MOUSE
The mouse it is also an input device.
The buttons on the mouse may
vary( it can have a different of
function buttons but the standard
mouse has 2 buttons and a wheel that
helps scroll through a document for
example
5. THE SPEAKERS
The speakers are output devices that
emit sounds.
6. THE PRINTER
The printer it prints the pages seen on
the screen to paper. There are
different types of printers (inkjet or
laser, color or black and white).

7. THE SCANNER
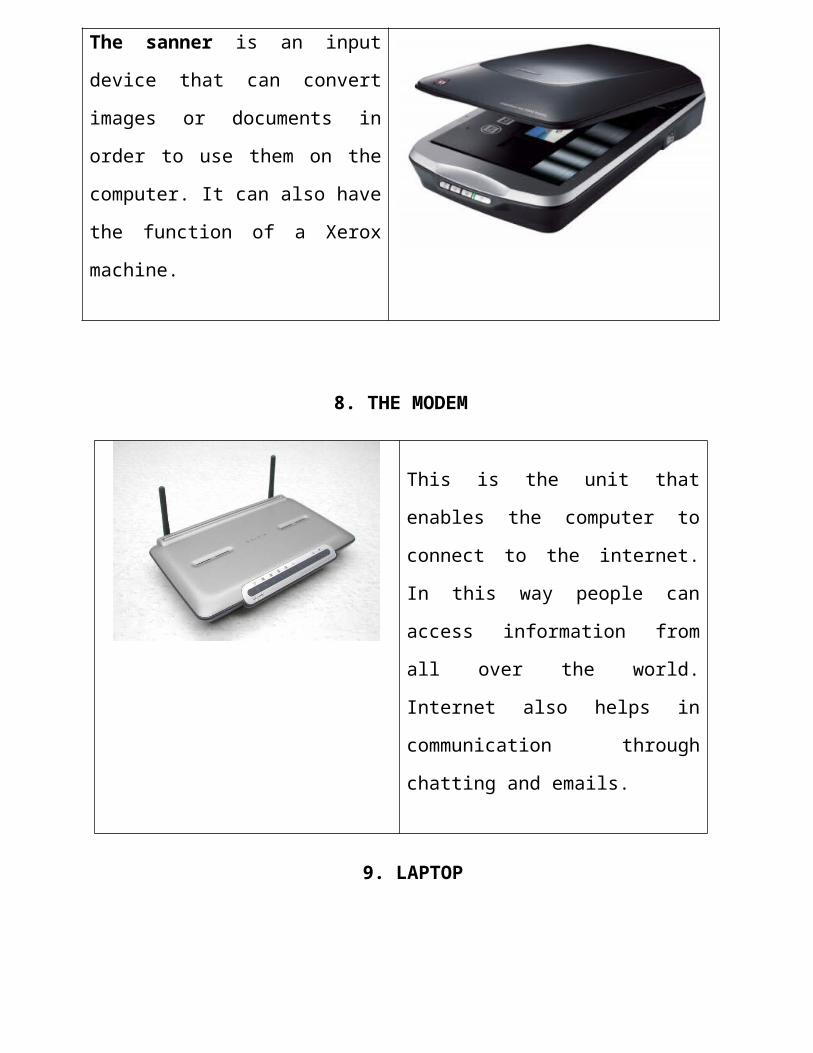
The sanner is an input device that can
convert images or documents in order
to use them on the computer. It can
also have the function of a Xerox
machine.
8. THE MODEM
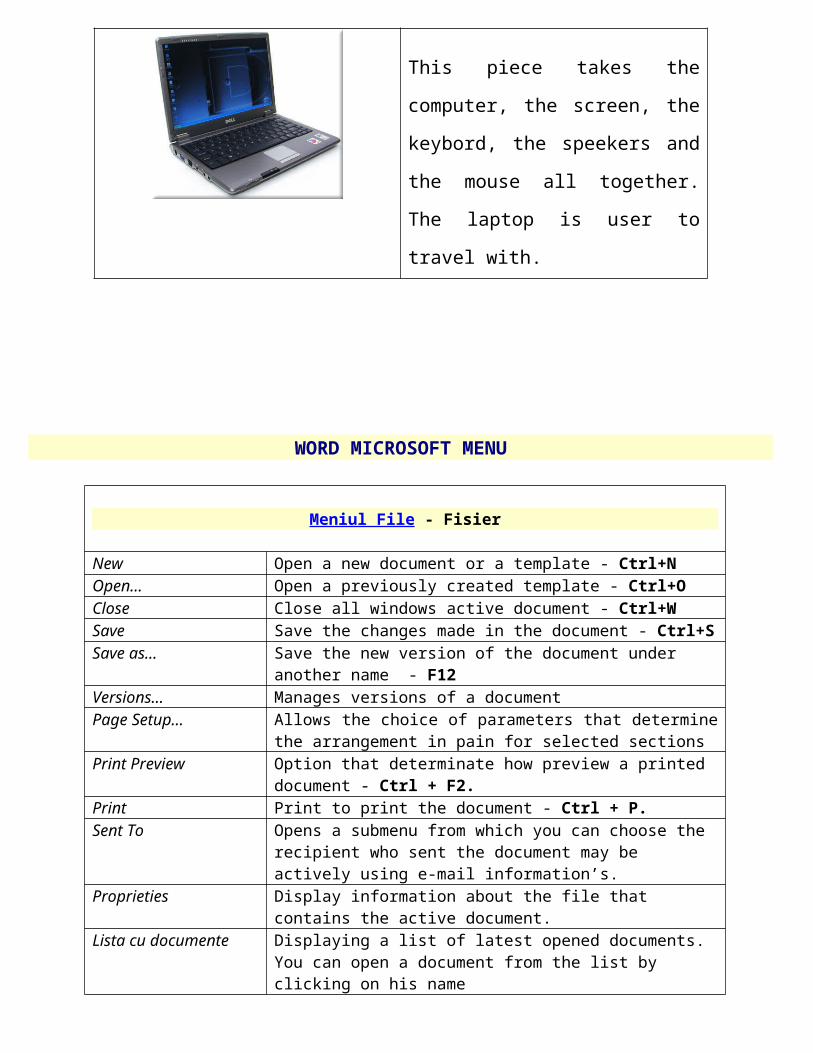
This is the unit that enables the
computer to connect to the internet.
In this way people can access
information from all over the world.
Internet also helps in communication
through chatting and emails.
9. LAPTOP
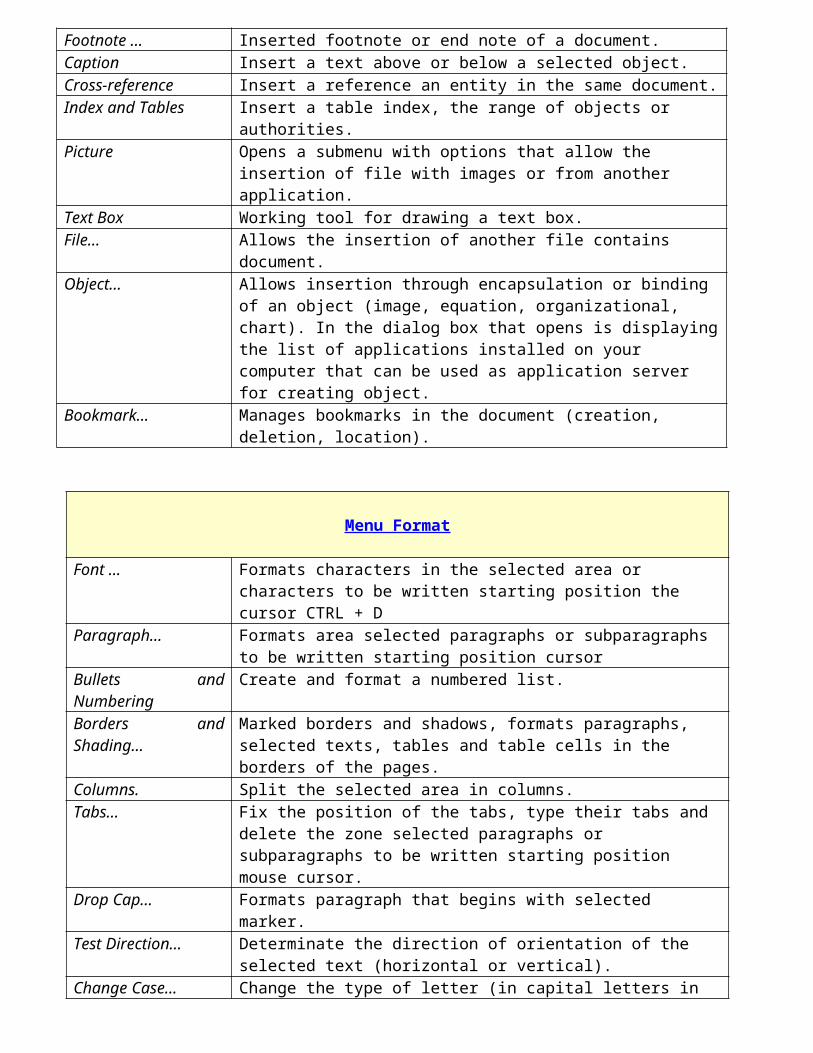
This piece takes the computer, the
screen, the keybord, the speekers and
the mouse all together. The laptop is
user to travel with.
WORD MICROSOFT MENU
Meniul File - Fisier
New Open a new document or a template - Ctrl+NOpen… Open a previously created template - Ctrl+OClose Close all windows active document - Ctrl+WSave Save the changes made in the document - Ctrl+SSave as… Save the new version of the document under another name - F12Versions… Manages versions of a document Page Setup… Allows the choice of parameters that determine the arrangement in
pain for selected sectionsPrint Preview Option that determinate how preview a printed document - Ctrl +
F2. Print Print to print the document - Ctrl + P.Sent To Opens a submenu from which you can choose the recipient who
sent the document may be actively using e-mail information’s.Proprieties Display information about the file that contains the active
document.Lista cu documente Displaying a list of latest opened documents. You can open a
document from the list by clicking on his name Exit Close the Word application and the application will ask you to
confirm the save of the documents – Alt+F4.
Menu Edit
Undo Cancel last action of the correction in the text - Ctrl + Z .Repeat Repeat the last correction in the text - Ctrl + Y.Cut, Copy, Paste Operations through the memory clipboard - Ctrl + X / C / V.Paste Special… Allows choice in how to be inserted in the document object: by
encapsulation or binding the document Clear Delete Selected - Delete Select All Select all documentFind Search in document text and style formatting - Ctrl + F.Replace…(Inlocuire)
Search text in a document or a style of formatting and replace him with the text and formatting type specified - Ctrl + H.
Go to… Move cursor to insertion in the document in the specified position ( page, section, line, marks the document) - Ctrl + G.
Links… Allows updating links in the document (adding new links, deleting links, changing linked objects, changing horses at that link was added).
Object Activate the object selected by the launch in execution it was create. The application will load in the window to work in selected subject.
Menu View
Normal /Online Layout/Page Layout /Outline /Master Document
This option forms a group of radio buttons which sets the view mode: normal mode, the direct settlement, the pagination, the structure of the document and the main document (Ctrl + Alt + N / P / O).
Toolbar Opens a submenu that contains options for managing instruments bars (control and customize their display them).
Ruler Option which controls the display the measuring ruler.Document Map Option which controls the display of the document structure in a panel
that opens on the left window panel of the document. This panel can be used for fast move into the document.
Header and Footer Open the area for editing the headers and basements and display the toolbar and Header Footer
Footnotes Option that allows access to the editing of footnote or end of the document. It is available only if notes were inserted.
Comments Option that allows access to the editing window. It is available only if the texts were inserted.
Full screen Option that switch mode to view full screen.Zoom… Allows changing in the document window.
Menu Insert
Break … Insert interruption of marking the page, the column or section.Page Numbers… Enter the number of page (Alt + Shift + P).Date and Time … Allows the insertion date and time taken from the system and establish
the format for date and time (Alt + Shift + D). Auto Text Opens a submenu with options for administration Insert AutoText Field… Insert a field chosen from a list of fields.Symbol… Insert a symbol (a particular) drawn from a list of characters of a font.Comment Insert a comment window opens for the administration of predefined
comments. Footnote … Inserted footnote or end note of a document. Caption Insert a text above or below a selected object.Cross-reference Insert a reference an entity in the same document.Index and Tables Insert a table index, the range of objects or authorities.

Picture Opens a submenu with options that allow the insertion of file with images or from another application.
Text Box Working tool for drawing a text box.File… Allows the insertion of another file contains document.Object… Allows insertion through encapsulation or binding of an object (image,
equation, organizational, chart). In the dialog box that opens is displaying the list of applications installed on your computer that can be used as application server for creating object.
Bookmark… Manages bookmarks in the document (creation, deletion, location).
Menu Format
Font … Formats characters in the selected area or characters to be written starting position the cursor CTRL + D
Paragraph… Formats area selected paragraphs or subparagraphs to be written starting position cursor
Bullets and Numbering Create and format a numbered list.Borders and Shading… Marked borders and shadows, formats paragraphs, selected texts, tables
and table cells in the borders of the pages. Columns. Split the selected area in columns.Tabs… Fix the position of the tabs, type their tabs and delete the zone selected
paragraphs or subparagraphs to be written starting position mouse cursor.
Drop Cap… Formats paragraph that begins with selected marker.Test Direction… Determinate the direction of orientation of the selected text (horizontal
or vertical). Change Case… Change the type of letter (in capital letters in small letters and vice versa)
in the selected textAutoFormat… Enables automatic formatting of selected text area.Style Gallery Allows retrieving of a certain style from the list of document templates for
formatting styles. Style… Manage the formatting styles (create, change, delete). Background… Allows setting the background color and design document.Object… Format a drawing object (line by line, model filling, size, position).
Menu Table
Draw Table Insert a table in the document to enter the design into Insert … Insert in a document a table and in a table insert one or more cell
lines or columns Delete … Delete selected table cells, rows or columns selected in a table Merge Cells Together selected cells in a table , in a single cell Split Cells… Divide each selected cell in a table in two or more cellsSelect Row Select the current row of the table
Menu Tools
Spelling and Grammar Enable the document in terms of spelling and grammatical F7Language Opens a submenu which contains options for choosing the language
for grammar tools for finding a synonym for the word or antonym selected (Thesaurus ... shortcut Shift + F7) and to determine how that is done the separation in syllables (Hyphenation ...)
Word Count Display a statistical summary of the active document (number of characters, words, lines of text, the paragraphs and pages)
AutoSummarize… Display a summary of the document that asset can insert in the active document or in another document.
AutoCorrect… Manage entries AutoCorect (creating and deleting them). Track Changes Opens a submenu with options for highlighting changes made to
document and compare the two versions of the same document). Merge Documents… Add current document to another document Protect Document… Allows setting options for protecting the document (including the
password).Mail Merge.. Manages the postal labels. Envelopes and Labels Manage and print the postal labels.Letter Wizard Launch in execution procedure for managing documents assistant Macro Manage postal macros (creating, deleting, launching in execution) Templates and Add-Ins.. Allows changing the active document template or modifying the
template parameters valuesCustomize.. Customize interface elements (bars instruments, the menus and
shortcuts from the keyboard) Options… Set the parameters for the operations made slides application Word
(editing, printing and preview).

Select Collumn Select the current column in the table Select Table Select all the table (Alt + Num5 - key 5 from the numeric keypad,
keyboard activated by editing – the bottom Numlock turned off) Table AutoFormat… Establish a format for table. The formatting will be chosen from a
formatting list Distribute Rows Evenly Assigns the same default height selected rows or cells assigned the
same width columns, or cells selectedDistribute Columns Evenly Select the current row of the table Cell Height and Width… Establish width and height of rows and / or columns from a tableHeaddings Obtain that controls whether the table will have a header that will
be displayed at the beginning of every page Convert Text to Table…/ Turn selected text into a table and vice versa Sort… Rearrange the table selected in a certain order depending on the
values of a column of two or three columns Formula Added to the cell current field type formula (field whose value is
calculated by applicationSplit Table Split a table into two tables, inserting a mark before the end of a
paragraph from the current line type table Show Gridlines Option which controls the switch if it is displayed on the screen
imaginary grid that separates them from the ranks of the table and columns (this grid is not printed: it is used only to identify table cells).
Window ’s Menu
New Window Open a new window for the active document
Arrange All Order document windows open so we do not cover each other
Split/Remove Split Split the document of the active window in two areas of work and allows sizing of these areas which means to remove the marking of the two areas
List of open document windows
Display a list of numbers of windows document to enable quicly opening. You could quickly actiate another document by clicking on the document name from the list.
OPENING MICROSOFT WORD
Microsoft word can be opened by using the Windows “Start” menu: Start-Programs- Microsoft Word. You can achieve the same results by opening Start and “New Office Document”. Here we have to click on the “General” tag than double click on the “Blank Document”.After accessing Microsoft Word we can see an empty document in which we can enter our text.
The Microsoft Word screen has the following options:- the title bar where we have the name of the program, the name of the user and the name of the current document, at the end of this bar we have buttons for minimization, maximization and closing of the document. If we minimize the document we can restore it by clicking on it in the start bar located on the bottom of the screen. The maximize button changes the size of the Microsoft word application. The close button closes the application.- The vertical bar helps us scroll through the document.- The status bar shows information regarding the documents status and the status of the keys used when typing. The horizontal scroll bar helps us scroll through the width of the document:- The format bar;- The standard bar;- The menu bar where we have the menus accessible to the word document.
The Microsoft Word application has a line that flickers in the work space, this is the courser, or better yet the insertion point (it shows where the text will be inserted or where some certain commands will take place). We can change this point in order to adjust certain areas of the text- we can do this by clicking in that certain point or by using the arrows on the keyboard (however using the mouse is easier).
In order to exit the application we can either: Click FILE and EXIT or Click the close button situated in the upper right side of the screen. In case we want so safe for the first time a document we choose a certain name and location before exiting otherwise we can lose all the information.
CREATING A NEW DOCUMENT
In case it is already open we can create a new document by clocking the New button located on the instrument panel (bar) or we can click FILE and NEW.Other buttons: – Cancel – it cancels the template without creating a new document;– Back – jumps to the last step;– Next- jumps to the next step;– Finish-closes the template but saves it as a new document.
INSERTING THE TEXT
We can insert the text by keyboard. As we type the text appears on the blank page. If the flickering line comes to the end of the screen it jumps down creating a new row. This is called alignment of the words. We press ENTER only if we wish to create a new line sooner for instance for creating a new paragraph.

In order to select a bunch of words we place the mouse pointer in the desired location, we hold the left mouse button pressed and we drag it until the desired text is selected.In order to select a number of pages se choose EDIT- SELECT ALL – COPY. If we wish the text be sent in another document we open the new document, and use the PASTE function.
SAVING A NEW DOCUMENT
By opening a new document in Microsoft Word this is saved in a Temporary folder. In order to be able to access the document even after restarting the computer one has to name the document and choose a specific location for it. In order to do so we click FILE, SAVE or SAVE AS. In the text box FILE NAME we can write the name of the document using a maximum of 255 letters .After clicking save the document is saved on the disk. To open an existing file we click FILE>OPEN (or we click OPEN from the instrument bar) and we search the document we wish to open.
SEARCHING A TEXT
To find a certain text we select a text bloc: - Click Edit, Find or (CTRL+F) and the find application will appear. Here we write the text we wish to find (this is called search template).
PRINTING, EMAILING OR FAXING A DOCUMENT
Printing is very simple and it can be done in many ways. We can click File>Print or click the print button and on the screen we have the print dialog box. Here we can choose the number of copies, the print quality, how to print the pages (in order or following a specific pattern) etc. After doing so we click OK.
To Fax the document we have to: click File>send to> fax recipient and Microsoft Word will open the Fax Wizard which configurates the fax that will be sent. Emailing is done in the same manner or by saving a copy and using the attachment option.
PAGE NUMBERING, HEADER, FOOTER
Usually long documents need page numbering. In order to do this you select Insert, Page Numbers and on the screen there will appear a dialog box called Page numbers. Here you can choose where to number the page (upper side, down side, left or right. The header and footer menu can be opened from the Insert function. These come in handy when dealing with a long document.

USING TABLES
A table is a structure where we can organize data in rows and columns. Every entry made is a table is actually made in a “cell” which is independent from all other entries. The table can have any size. The cell may be filled with letters numbers pictures etc. To create a table the following steps have to be followed: Select TABLE>INSERT TABLE. On the screen there will appear a table dialog box. Here one may choose the number of cells and columns. When the flickering line is in the cell we can insert the data in the table. We can choose, by clicking, any cell. To navigate in the table we can also use the keyboard. After the data is inserted in the table, the user may modify it any why he/she likes. To empty a cell you simply select the contents and press delete. The user may also delete columns or rows or insert new columns or rows. These modifications are made by using a submenu. The submenu appears when the right mouse button is pressed. You have the option to “insert row”, “delete entire row” and the same for columns. You can also modify the width of the column or cell by clicking the margin and dragging it.
MANAGING THE TEXT, LINING IT UP IN COLUMNS
The columns created in Microsoft Word are similar to those in a newspaper. In order to do this you select FORMAT>COLUMNS. Here you choose the number of columns you wish to have on that page. You can also change the format of a text and arrange it in columns. You select the text and enter FORMAT>COLUMNS and follow the same steps as above. You also have the choice to convert a text using the button named COLUMNS.
USING GRAPHIC ELEMENTS
You can import almost any type of graphic image in Microsoft Word by using the INSERT menu. Here you choose IMAGE and than you have a large variety form where you can select the image. One can also use the predefined image that Windows comes with. To work with a graphic object we have to select it first by clicking it. You can resize or reshape it by clicking one of the corners that appear as small squares. You click one of these squares and you drag it as you please. To delete an object you select it and you press DELETE. To copy an abject you follow the steps: Select the graphic object. You press Ctrl+C or press EDIT>COPY and after choosing the new destination you press Ctrl+V to copy it or Ctrl+X to move it and delete its previous location.
AUTHORS:
PROF. EMANUELA POPESCU