evaluation question 4
TRANSCRIPT

Evaluation Question 4. How did you use technologies in the research and planning, construction and evaluation stages?ZOE CRICK

Evaluation Question 4 Over the course of the year I have used
various different technologies to help record, research, plan, present and evaluate all the work I have collated. It was important to use a variety of mediums to present my work to ensure that it was interesting to look at and read and also allowed me to improve my skills by using an array of different technologies.
Technologies used:
Blogger (Research and planning)
Adobe Premier Pro CS6 (editing music video)
Adobe Photoshop CS6 (Digipak & advert)
Cannon & Fugifilm (Cameras – shooting music video, taking photos for Digipak)
Tripod (shooting music video)
Windows Movie Maker (Evaluation Q1 & research)
Prezi (Research and planning, evaluation Q2)
PowerPoint (Research and planning, evaluation question 4)
Vimeo/YouTube (Research and planning, rough cuts, final cut and evaluation Q1 & Q3)
SlideShare (Research and planning, evaluation Q4)
Pinterest (Research and planning)
Survey Monkey (Research and planning, audience feedback)
Fragment (Digipak)

Blogger I have used Blogger.com throughout the whole process.
Blogger is really the base of all of my work. All the work I do using many different technologies all get posted onto my blog. I have used Blogger to thoroughly record all of my research and planning for my media products. For example, analysing music videos and completing research on different music video theories such as the Male Gaze theory by Laura Mulvey. I have posted all of my thought process throughout the year and kept it up to date as my project evolved and progressed. To use blogger effectively and to make the most of it you should aim to post regular blog posts and keep it up to date with what you are doing whether it is research, filming (posting screenshots from footage filmed), or keeping the blog up to date with the editing process. The positives of Blogger would be that it is easy to update and keeps your teacher and classmates up to date with what you have been doing in terms of research. One negative element of blogger would be that you require other technologies to upload a video that is a large file. For example you would need to embed your final cut of your music video onto your blog using Vimeo or YouTube.

Premier Pro CS6 I used Premiere Pro CS6 to edit my footage into a music
video. The editing software is complex and the editing options are endless. It is an ideal software for editing a music video as it allows you to be creative and to express and represent your work however you imagine it. To make a music video using Premiere Pro you should firstly import the video files you would like to edit together. You can then trim down the footage so you only use the footage you need and then drag the file over to the timeline on the right hand side. Add in the track you want to use for your music video to be based on. You should try and edit to the beat of the song as this will help the video to flow well and would be more enjoyable for the audience. This process of editing to the beat can be long but it is worth it when it comes to your final cut being the best it could be within the circumstances available to you. You can also add in text to your music video by adding titles. Also you may chose to add effects to your footage to make it more individual and to suit your style. I altered the colour of my footage using the fast colour corrector this made my footage look more professional and connected footage that was filmed in different lighting together. One good thing about using Premiere Pro as editing software is very straightforward to use once you have the basics down and you can produce some very professional pieces of work from the software. One negative of Premiere Pro is that it can be very time consuming to create a professional video.
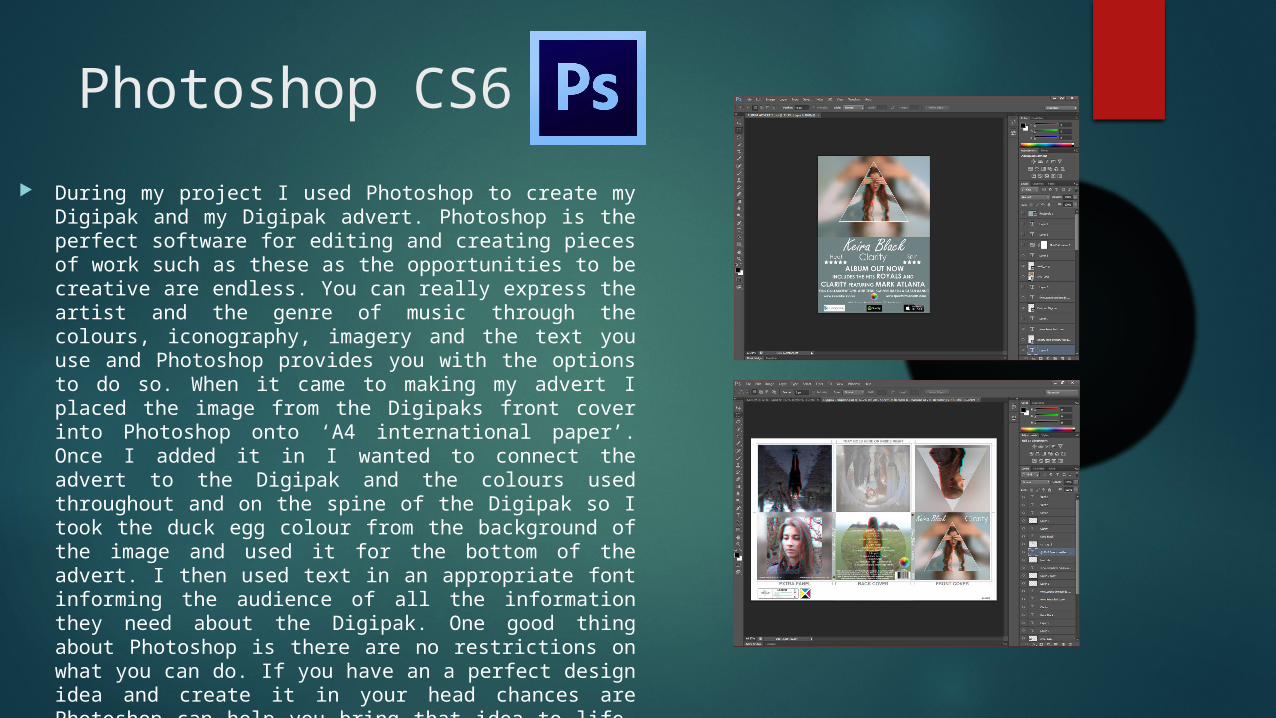
Photoshop CS6
During my project I used Photoshop to create my Digipak and my Digipak advert. Photoshop is the perfect software for editing and creating pieces of work such as these as the opportunities to be creative are endless. You can really express the artist and the genre of music through the colours, iconography, imagery and the text you use and Photoshop provides you with the options to do so. When it came to making my advert I placed the image from the Digipaks front cover into Photoshop onto ‘A4 international paper’. Once I added it in I wanted to connect the advert to the Digipak and the colours used throughout and on the spine of the Digipak so I took the duck egg colour from the background of the image and used it for the bottom of the advert. I then used text in an appropriate font informing the audience of all the information they need about the Digipak. One good thing about Photoshop is there are no restrictions on what you can do. If you have an a perfect design idea and create it in your head chances are Photoshop can help you bring that idea to life. A disadvantage of Photoshop would be that it can be difficult for beginners and can take a lot of practice to get right and to look professional.

Cannon PowerShot SX500 IS Camera
I used the Cannon PowerShot camera to shoot the majority of my music video and to take some of the images used in Keira Blacks Digipak. The camera is of excellent quality and produces clear imagery perfect for my music video a it allows it to look professional. I used the camera teamed up with a tripod to get the shots I needed using a variety of camera angles and techniques in a multitude of locations expressing the mise en scene. For example the argument outside the public toilets was inspired by Calvin Harris and Florence Welch’s Music video for Sweet Nothing but the location was important I found a location which had bars rather than windows and used this imagery to represent the way the couple in the shot are trapped/imprisoned in this love/hate relationship as I used a shot filming the couple through the bars. The camera was simple to use and produce good quality footage. A disadvantage of the camera would be that it does not work to the best of its ability in poor lighting and the footage becomes grainy and looks unprofessional.

Windows Movie Maker I used Windows Movie Maker during the research and
planning stage of my project and as part of my evaluation questions. I used it to show where I took inspiration from as part of my Digipak design process – I looked at the artwork used for the album and single covers of Clean Bandit. I also used it to create a short video to present the typography experiments I did as part of the creation of Keira Blacks Digipak. For evaluation question 1 and 2 I compiled all of my work and focussed on the forms and conventions used, developed and challenged and also considered my audience feedback. To use Movie Maker effectively select the video or image files you desire and this adds them to the timeline. Once your footage is on the time line you can trim down the clips, add narration, music and transition effects. The software is basic but does the job. An advantage of Movie Maker is that it comes as free with the windows package for PC and does not require internet access. A disadvantage would be that there are limited features to Movie Maker and would difficult to produce a professional music video using movie maker as it is not as precise or as easy to edit as Premiere Pro is.

Prezi I used Prezi to create presentations that are
generally more heavy weighted than a presentation I would make using PowerPoint. I also used Prezi to analyse print products, to present screenshots from my shoots and to present my Digipak in an interesting way. Prezi is good for presenting your work in front of the class as it has many different designs and formats which make your presentations more interesting and a more modern way of presenting your work. I used Prezi for evaluation question two as it is easier to make connecting points using Prezi as you can connect different slide using arrows and add in side points. To use Prezi effectively you should firstly pick a design that is appropriate for what and who you are presenting to. Then add the title of your presentation so the audience knows what presentation is on. You then add in the content of your presentation into frames and connect your points together with arrows. Positives of using Prezi are that you can embed YouTube videos and use more slides which seem like less with the interesting designs. A negative would be that is online so you need an internet connection to present your presentation.

PowerPoint
I have used PowerPoint along side Slide Share a lot throughout the entire process of this project. I created presentations to present to the class using PowerPoint, I made many slideshows to analyse music videos for example I Wanna Feel by SecondCity, to present the different design ideas, to evaluate and for many things over the course of the year. Using PowerPoint is simple and easy to use. To create a PowerPoint you need a title page to introduce what your PowerPoint is based an and then add further slides to explain your points. You can add text, images and videos to your slides and between slides you can include interesting transitions. A good thing about using PowerPoint would be that you do not need to be online to create it and its easy to use. A disadvantage would be that you can not embed or include any content from the internet so instead you can only use links which look less professional.

Vimeo
Vimeo is a video sharing website which is useful for uploading videos with large files. This makes Vimeo perfect for uploading the rough cuts and final cuts of your video. I have used Vimeo for all the videos I have created including research videos, videos of class presentations etc. The videos on Vimeo are easily embed onto Blogger and look very professional. To you use Vimeo effectively you should firstly chose the video file you want to put onto Vimeo and select it to upload. Then give the video an appropriate title that would be easy for your audience to search for, add a description and the video is then ready to upload. One good thing about Vimeo is that you can make your videos public which means they can be viewed across the world or you can make them private where a password will be set and anyone you want to see the video you can send out the password to. Vimeo tailors to your needs. One negative of Vimeo is that on the websites standard free subscription users are restricted to 500 MB of data per week. This limits how many videos you are able to upload and could be an inconvenience.

Slide Share
I used SlideShare.com regularly when completing research and planning my project. This is a useful form of technology as it allows you to effectively upload PowerPoint Presentations which you can then embed into your blog. This is useful to share work which is most useful to note down using PowerPoint. A positive of using slide share would be that it allows you to use a variety of different presentation methods on your blog which keep it interesting and looks very professional when embedded on your blog. A negative would be that it uploads to the SlideShare network and anyone can view your presentation which may not be ideal if you are including stills from you music video shoots as I did.

I used Pinterest as part of my research into genre and Digipak. I created a pin board based on artists who were inspiring towards Keira Black and Mark Atlanta or from the genre of dance music or a female singer. Using Pinterest is easy you search for whatever you like as you would in a search engine, for example ‘Dance Music’ and a selection of images will appear if you see some images you like you can create a ‘pin board’, give it an appropriate title and pin the images on the board by clicking on them and selecting ‘pin it’. The images will then be collated on a board for you to look at.
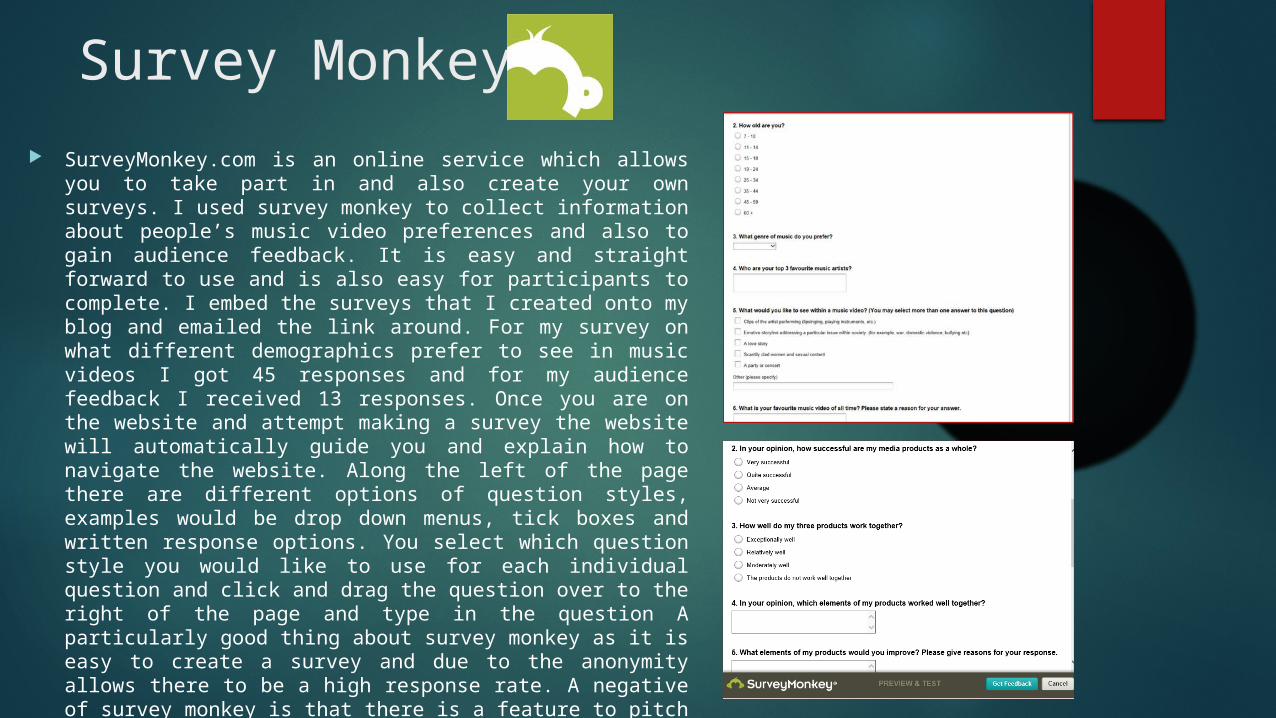
Survey Monkey
SurveyMonkey.com is an online service which allows you to take part in and also create your own surveys. I used survey monkey to collect information about people’s music video preferences and also to gain audience feedback. It is easy and straight forward to use and is also easy for participants to complete. I embed the surveys that I created onto my blog and emailed the link around. For my survey on what different demographics prefer to see in music videos I got 45 responses and for my audience feedback I received 13 responses. Once you are on the website and attempt making a survey the website will automatically guide you and explain how to navigate the website. Along the left of the page there are different options of question styles, examples would be drop down menus, tick boxes and written response options. You select which question style you would like to use for each individual question and click and drag the question over to the right of the page and type in the question A particularly good thing about survey monkey as it is easy to create a survey and due to the anonymity allows there to be a high response rate. A negative of survey monkey is that there is a feature to pitch your survey to a demographic/target audience of your choice where you would receive over 100 participants however this service is not available to everyone and requires a paid subscription.

Fragment
I used Fragment when designing my Digipak. It allows you to create unusual and unique design ideas to allow the album to catch the eye of the audience. I created many different designs and reduced the designs down to a final six to use in my Digipak. For my Digipak I wanted to use different shapes on each sleeve. I used Fragment to add in shapes and alter different effects for example the 3D glasses effect which I applied subtly to each image. Using Fragment is simple, you firstly select the image you want to edit you can then select multiple different in which you can ‘fragment’ the image. This will distort them and give you an interesting design. You can either manually select a style or randomise the edit. You can then add in other effects such as blurring, changing the hue and saturation and adding the 3D glasses effect. I did each of these to produce the images for my Digipak. A positive of using Fragment is that it provides you with a totally unique and interesting design each time. A disadvantage would be that it is an app so you are required to use a smart phone and there is a small fee to download the app.

Overall All together over the project I have worked with the technologies available to me
effectively and worked hard to over come any problems I faced in terms of the technology. For example shooting in low light as I did for a few scenes in my music video was difficult when using the Cannon PowerShot camera. The quality of the footage reduced significantly when in a slightly darker location. To fix this issue as best I could I used the Fast Colour Corrector – a feature of Premiere Pro – to my advantage. Adding an effect to the footage also added to the professionalism of the final product and linked well the music videos I was inspired by such as We Found Love by Calvin Harris and Rihanna.
I used the SurveyMonkey successfully to solve the issue of very small response rate often if you hand out physical copies of a questionnaire to the public you will receive very few back and your results will not be representative of the public. The ability to email and post the link to the questionnaire on my blog and social media such as Facebook and Twitter allowed for more responses.
One piece of technology which really shaped my final products, particularly the print products would be Fragment. The app allowed me to represent my artist exactly how I pictured in my head. I wanted something fun, fresh and unique but still had ties to what you would expect to see from a young solo artist such as Keira Black. The use of shapes using Fragment allowed be to capture this.

How I Would Improve
If I was to do this project again I would only change a small selection of things relating to technology.
Firstly I would prefer to use a better quality camera if possible or have the equipment to allow for better lighting in dark locations or scenes set at night.
If money wasn’t an option I would like to invest in Premiere Pro for my own computer so I would be able to edit at home and to use my time wisely and more concisely.
I would have also like to see what else I could achieve using Photoshop and improve my skills this way.

Advise For Future Students
Good advise for future A2 Media students would be to really engage with your blog and to ensure you post as regularly as you can. Using Blogger to write down your thought processes as you go through your project will prevent you from forgetting any good ideas and will help you to keep organised as well as allowing your teacher and the examiner to see the roots of your work and how it progresses from start to finish.
Using a variety of different technologies along side your blog rather than posting basic blog posts will not only help you to gain marks but makes your work a more interesting to complete as well as being more interesting to those reading and looking at your blog. Also learning new technological skills will be useful for you later in life when A levels and exams are over.
Being organised is really important as music videos take a lot of planning and it is vital to keep your actors informed about your plans for your video in advance so the shoot goes more smoothly and you don’t waste time explaining on the day of the shoot.
Thinking on your feet when things go wrong is important to. For example, I wasn’t as organised as I believed I was when filming a scene of my music video on the beach as I has left the battery for the camera in the charger at home. I then got out my phone and used that to film the scene. The quality of the camera on my phone is significantly lower than the camera I used so I played around with different effects on premiere pro to mask the bad quality.