exterior stone cladding installation guide · exterior stone cladding installation guide natural...
TRANSCRIPT
Exterior stone cladding installation guide
Natural Stone is a premium product and we strongly recommend that installation is carried out by an experienced professional. The following is a guide only and you will need to take the advice of your contractor who will be able to assess the variable factors on site and, if necessary, tailor the installation process to your specific requirements.
Certain Natural Stone products will require sealing prior to installation. This information is given in the Product Guide that will be sent along with your order confirmation.
London Stone recommend that installation work is undertaken by an experienced professional who will be able to provide advice based on specific site conditions.
Preparation of walls
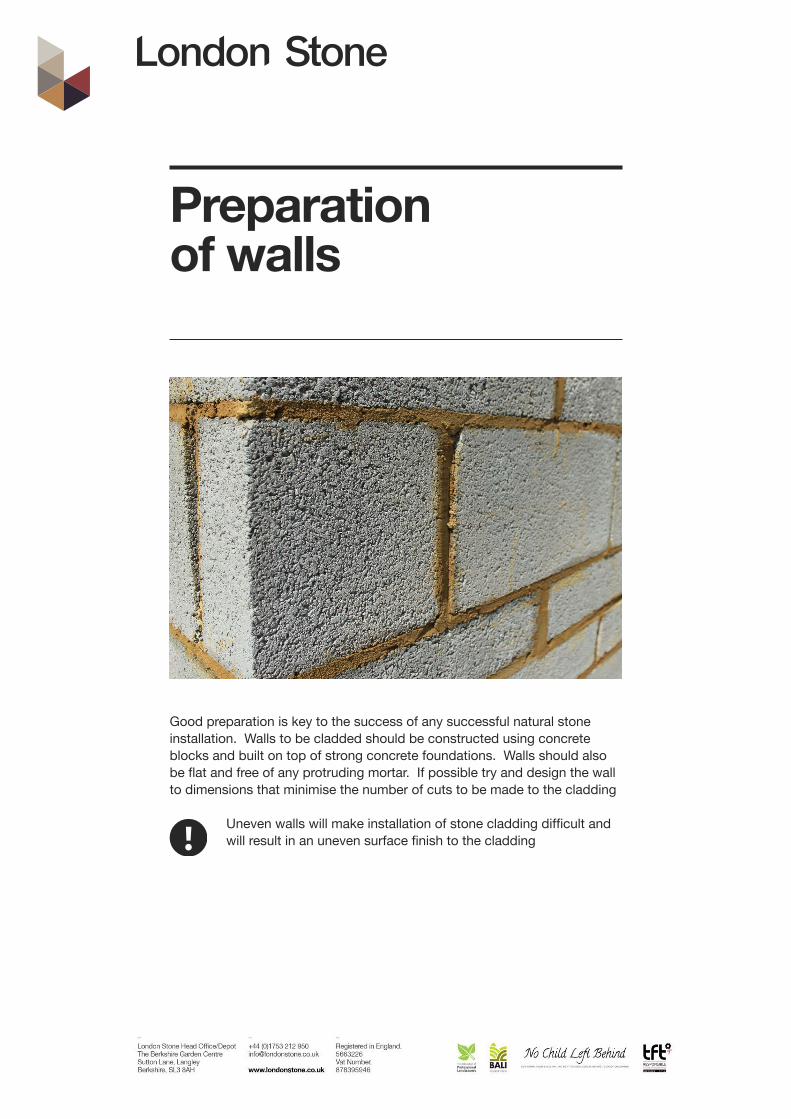
Good preparation is key to the success of any successful natural stone installation. Walls to be cladded should be constructed using concrete blocks and built on top of strong concrete foundations. Walls should also be flat and free of any protruding mortar. If possible try and design the wall to dimensions that minimise the number of cuts to be made to the cladding
Uneven walls will make installation of stone cladding difficult and will result in an uneven surface finish to the cladding
Chipping & damage
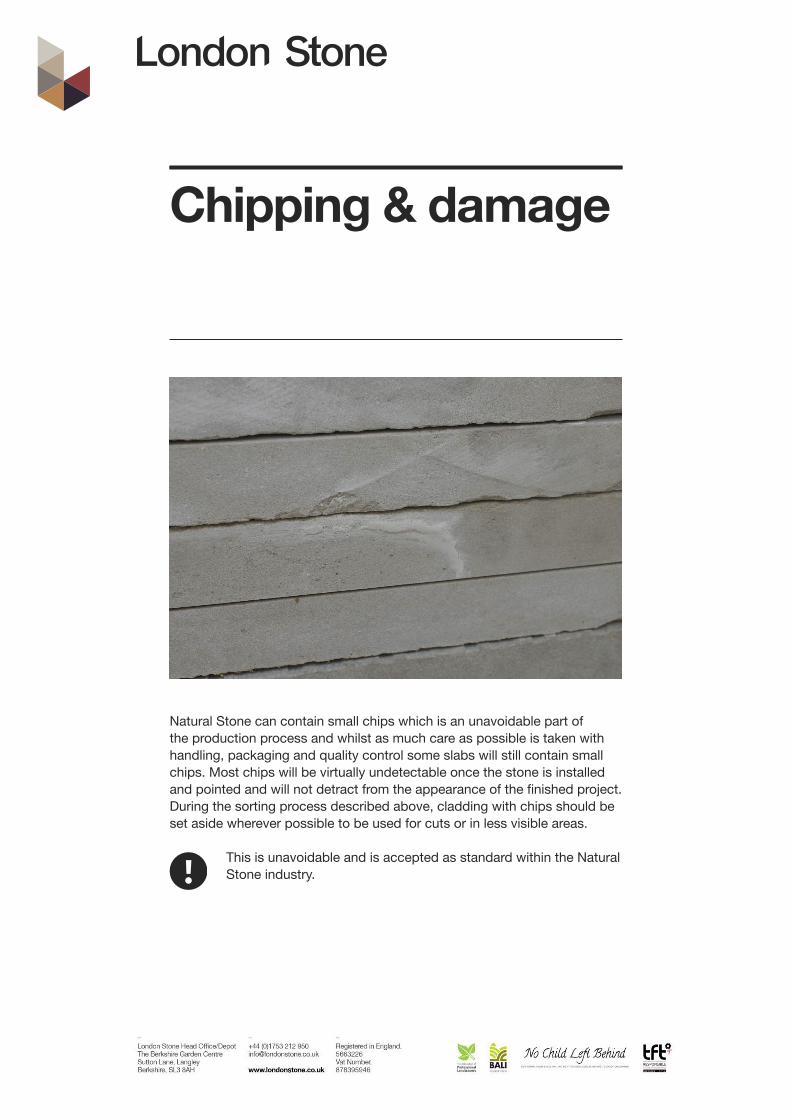
Natural Stone can contain small chips which is an unavoidable part ofthe production process and whilst as much care as possible is taken withhandling, packaging and quality control some slabs will still contain smallchips. Most chips will be virtually undetectable once the stone is installedand pointed and will not detract from the appearance of the finished project.During the sorting process described above, cladding with chips should be set aside wherever possible to be used for cuts or in less visible areas.
This is unavoidable and is accepted as standard within the NaturalStone industry.
Fix supporting baton to the wall
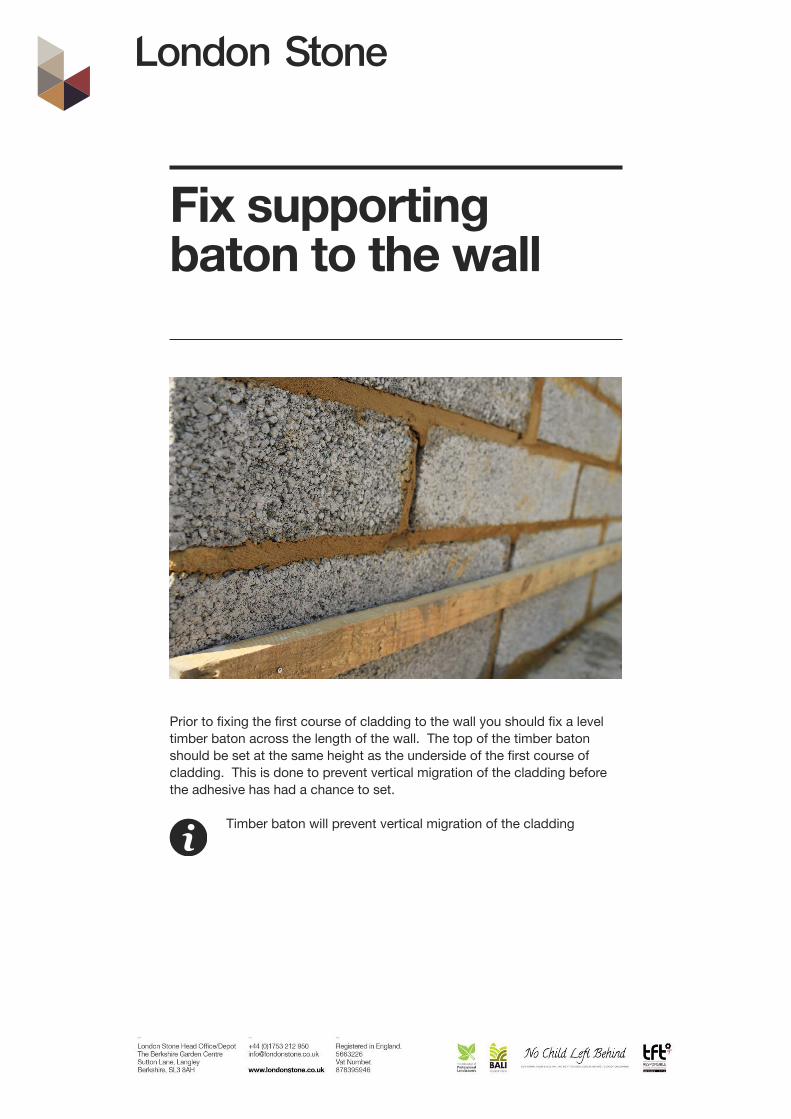
Prior to fixing the first course of cladding to the wall you should fix a level timber baton across the length of the wall. The top of the timber baton should be set at the same height as the underside of the first course of cladding. This is done to prevent vertical migration of the cladding before the adhesive has had a chance to set.
Timber baton will prevent vertical migration of the cladding

Preparing the first piece of cladding
The cladding is supplied in Z shape interlocking format to provide a strong bond. The left hand Z will need to be cut off the cladding to enable the left hand edge of the cladding to be flush with the left hand edge of the wall.
Use a diamond tipped blade to ensure a clean cut. Wear safety goggles and a dust mask when cutting stone
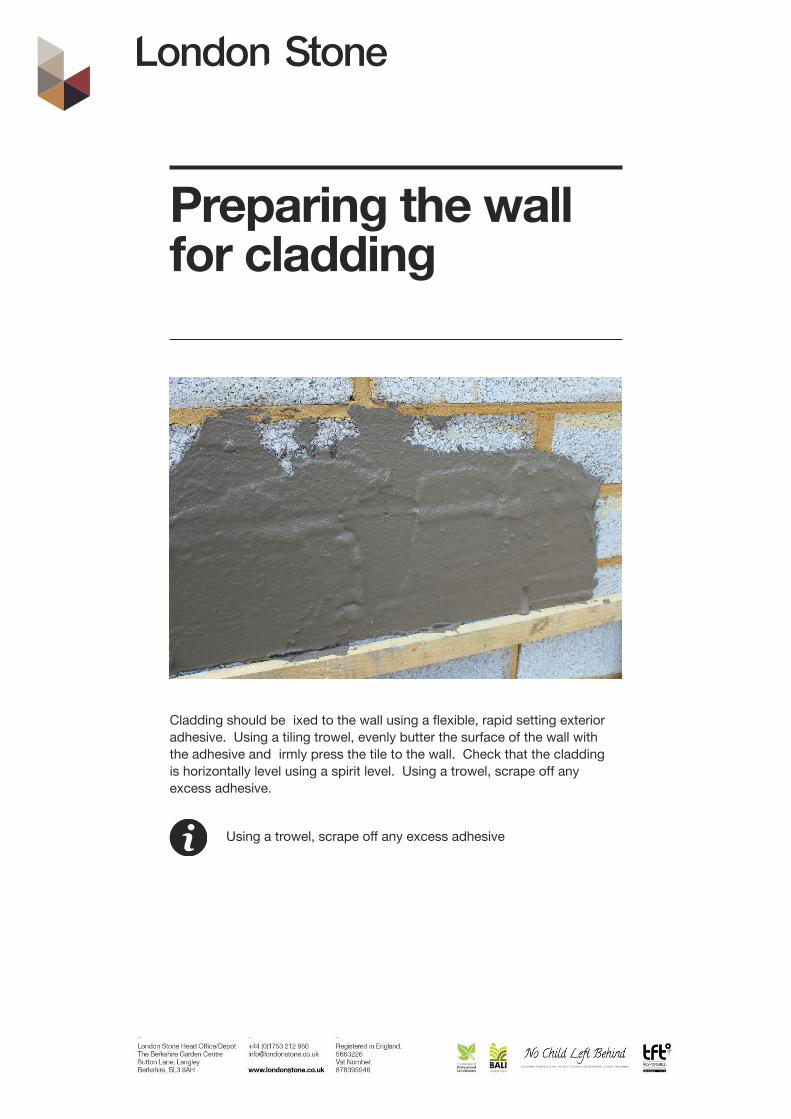
Preparing the wall for cladding
Cladding should be ixed to the wall using a flexible, rapid setting exterior adhesive. Using a tiling trowel, evenly butter the surface of the wall with the adhesive and irmly press the tile to the wall. Check that the cladding is horizontally level using a spirit level. Using a trowel, scrape off any excess adhesive.
Using a trowel, scrape off any excess adhesive
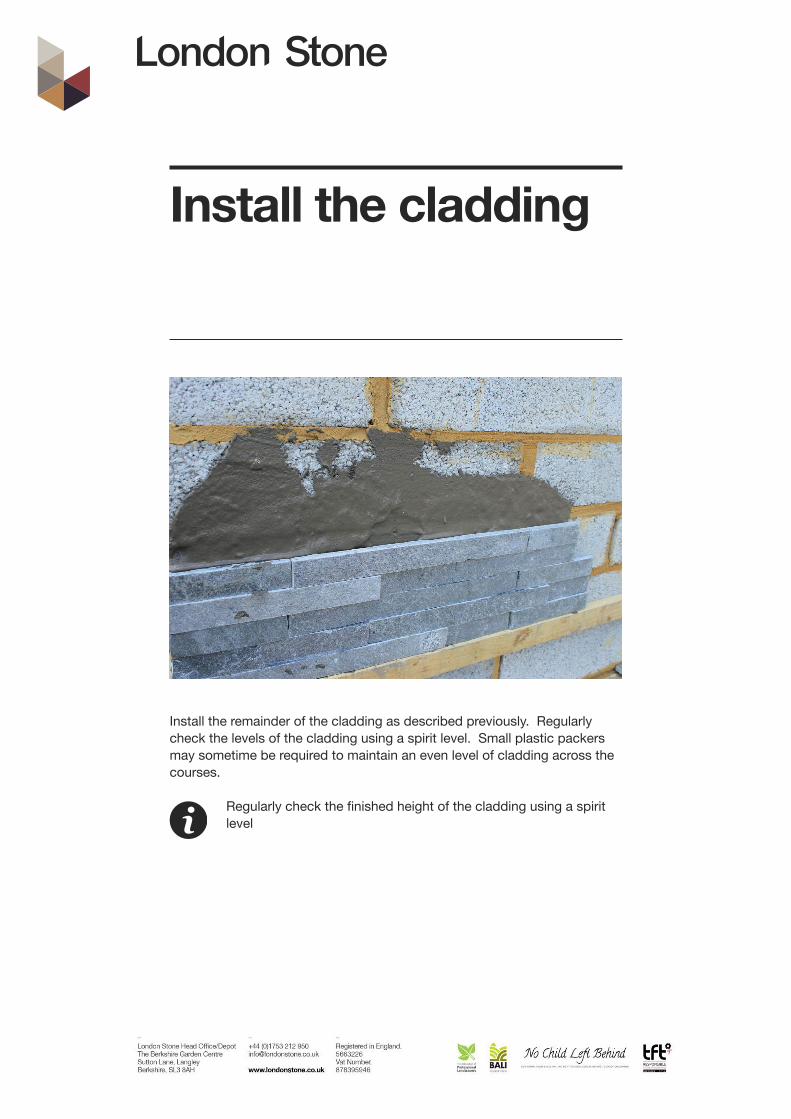
Install the cladding
Install the remainder of the cladding as described previously. Regularly check the levels of the cladding using a spirit level. Small plastic packers may sometime be required to maintain an even level of cladding across the courses.
Regularly check the finished height of the cladding using a spirit level
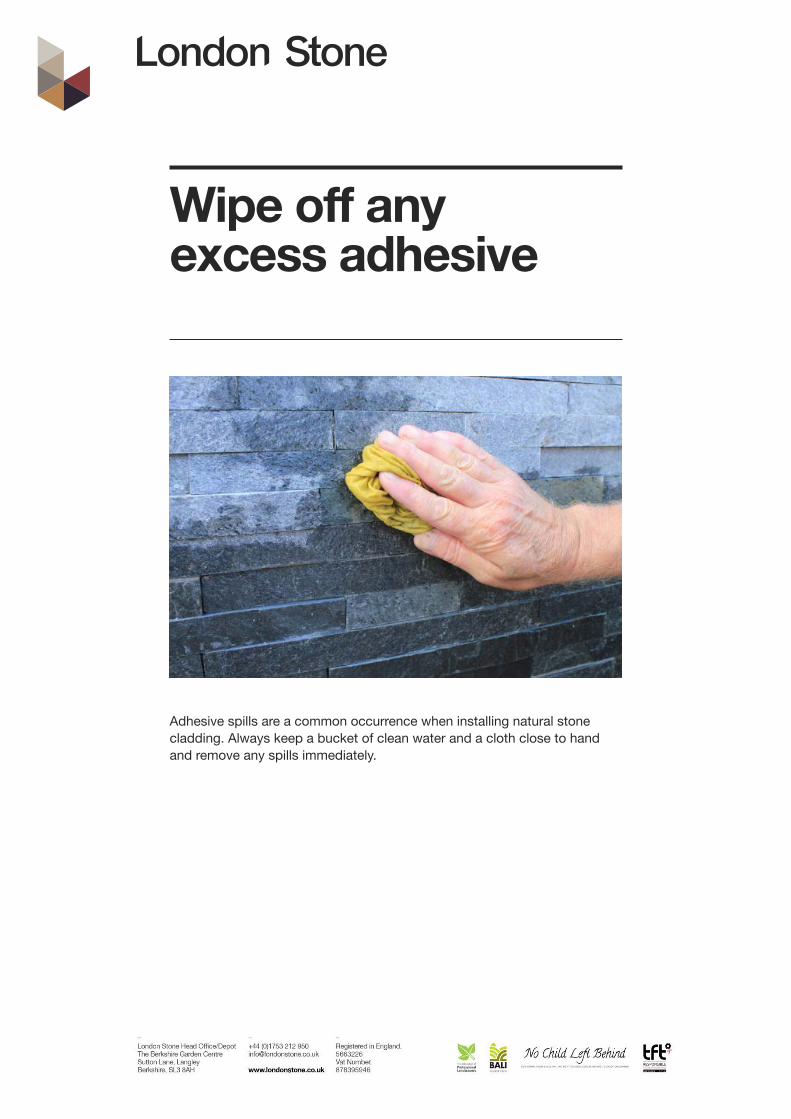
Adhesive spills are a common occurrence when installing natural stone cladding. Always keep a bucket of clean water and a cloth close to hand and remove any spills immediately.
Wipe off any excess adhesive