file sys& permissions
TRANSCRIPT

CHAPTER – 6
Linux File system Structure

Objectives:
At the end of this module, you would have gained fair knowledge on:
File SystemFile management utilitiesFile permissions
Objectives:
At the end of this module, you would have gained fair knowledge on:
File SystemFile management utilitiesFile permissions

File system structure is an operating system's most basic level of organization. Almost all of the ways an operating system interacts with its users, applications, and security model are dependent upon the way it stores its files on a primary storage device. It is crucial for a variety of reasons that users, as well as programs at the time of installation and beyond, are able to refer to a common guideline to know where to read and write their binary, configuration, log, and other necessary files.

A file system can be seen in terms of two different logical categories of files: Shareable vs. unshareable files Variable vs. static files Shareable files: Are those that can be accessed by various hosts.
Unshareable files: Are not available to any other hosts. Variable files: Can change at any time without system administrator intervention (whether active or passive). Static files: Files that do not change without an action from the system administrator or an agent that the system administrator has placed in motion to accomplish that task. E.g.documentation and binaries

File system Hierarchy Standard (FHS)
Red Hat is committed to the File system Hierarchy Standard (FHS), a collaborative document that defines the names and locations of many files and directories. The current FHS document is the authoritative reference to any FHS-compliant file system, but the standard leaves many areas undefined or extensible. Let us learn about the standard and a description of the parts of the file system not covered by the
standard

FHS Organization The directories and files noted here are small subsets of those specified by the FHS. The /dev DirectoryThe /dev directory contains file system entries which represent devices that are attached to the system. These files are essential for the system to function properly. The /etc DirectoryThe /etc directory is reserved for configuration files that are local to your machine. No binaries are to be put in /etc. Any binaries that were formerly put in /etc should now go into /sbin or possibly /bin.
The /lib DirectoryThe /lib directory should contain only those libraries that are needed to execute the binaries in /bin and /sbin. These shared library images are particularly important for booting the system and executing commands within the root file system.

The /mnt DirectoryThe /mnt directory refers to temporarily mounted file systems, such as CD-ROMs and floppy disks. The /opt DirectoryThe /opt directory provides an area for usually large, static application software packages to be stored.
The /proc DirectoryThe /proc directory contains special "files" that either extract information from or send information to the kernel. The /sbin DirectoryThe /sbin directory is for executables used only by the root user. The executables in /sbin are only used to boot and mount /usr and perform system recovery operations.

The /usr Directory
The /usr directory is for files that can be shared across a whole site. The /usr directory usually has its own partition, and it should be mountable read-only
The /var Directory
Since the FHS requires that you be able to mount /usr read-only, any programs that write log files or need spool or lock directories should probably write them to the /var directory.

Managing Files and Directories The GNOME File ManagerThe GNOME file manager, Nautilus, lets you easily browse and work with files and directories. If Nautilus does not open on your desktop by default: From the Main Menu Button, click on Programs => Applications => Nautilus. From the desktop, click on the home directory icon. By default, this icon looks like a house. When you first open Nautilus, you see something similar to the figure given below.

File PropertiesTo change a file's properties, right-click on a file or directory in the directory window and choose Show Properties. A dialog, similar to figure shown below, opens.

File Permissions Dialog

File Compression and Archiving with Gzip, Zip, and Tar
The file will be gzip filename.ext compressed and saved as filename.ext.gz. To expand a compressed file, type: gunzip filename.ext.gz The filename.ext.gz is deleted and replaced with filename.ext. If you exchange files with non-Linux users, you may want to use zip to avoid compatibility problems. Red Hat Linux can easily open zip or gzip files, but non-Linux operating systems may have problems with gzip files. To compress a file with zip, type the following: zip -r filename.zip files

File Compression and Archiving with Gzip, Zip, and Tar
To extract the contents of a zip file, type: unzip filename.zip You can zip or gzip multiple files at the same time. List the files with a space between each one. gzip filename.gz file1 file2 file3 /user/work/school The above command will compress file1, file2, file3, and the contents of the /user/work/school directory and put them in filename.gz.

To view a PDF with xpdf:
1. In GNOME, go to Main Menu => Programs => Graphics => xpdf In KDE, go to Main Menu => Graphics => PS/PDF Viewer. 2. Right click in the xpdf screen to display a list of options. 3. Select Open to display a list of files. Select the PDF file you want to view and click on Open.

PDF Conversion
A quick way to convert a PDF to PostScript is to open a shell prompt and type: pdf2ps input.pdf output.psinput.pdf is the file you want to convert and output.ps is the new PostScript file you want to create. Type man a2ps at a shell prompt to view the man page on the a2ps suite of tools. This gives you information on a variety of conversion options.

File Permissions chmod command
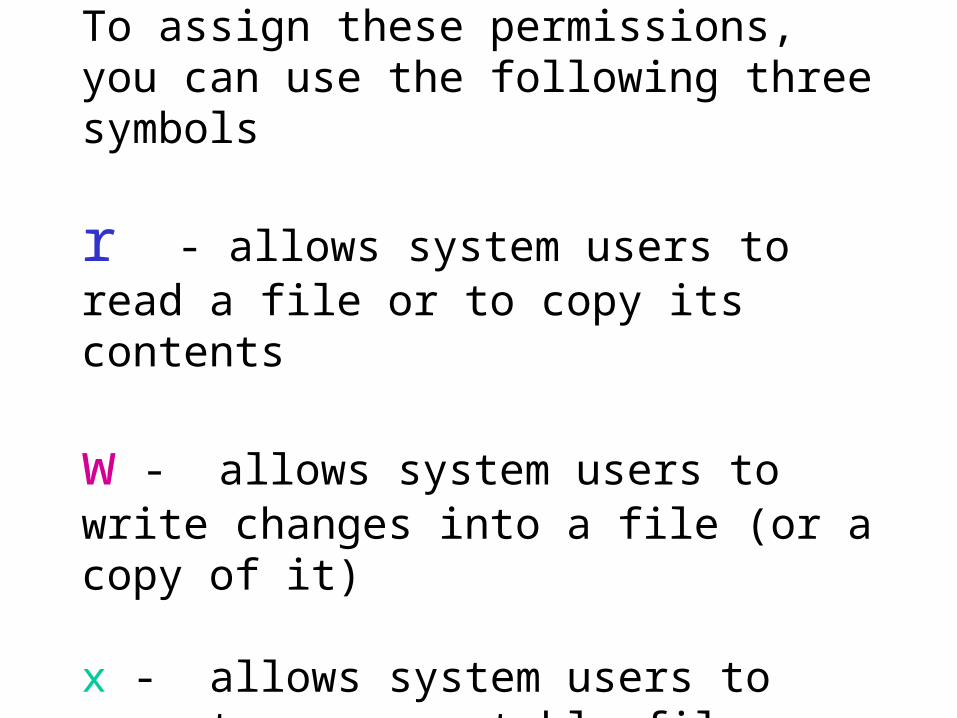
To assign these permissions, you can use the following three symbols
r - allows system users to read a file or to copy its contents
w - allows system users to write changes into a file (or a copy of it) x - allows system users to execute an executable file

To specify the users to whom you are granting (or denying) these permissions, use the following three symbols.
u - indicates you, the owner of the files, the person who created the files.
g - indicates the users who belong to specific group. Group may consists of one or more users. It can be team members working on a project or members of a department.
o - indicates all other system users who do not belong to your group.

How the Determine Existing Permissions
You can determine what permissions are currently in effect on a file or a directory by using the command that produces a long listing of a directory's contents "Is-I".
$ Is-I<Return>total 35-rwxr-xr-x1 aitaproject9346Nov 108:16display-rw-r--r--1 aitaproject6428Dec 210:24listdrwx--x--x2 aitaproject32Nov 815:32tools$

How to change existing permissions
$ chmod mode file …$ chmod [who] op-code mode file
Chmod Name of the programOne of three user groups (u, g or o)u = userg = groupo = all othersa = all (default) : user, group and all others+ Add permission- Remove permission= Assign absolute permission for filePermission Any combination of three authorizations (r, w and x)r = readw = writex = executefile (s)Files can be ordinary file, special file or directory files.
Chmod Name of the programOne of three user groups (u, g or o)u = userg = groupo = all othersa = all (default) : user, group and all others+ Add permission- Remove permission= Assign absolute permission for filePermission Any combination of three authorizations (r, w and x)r = readw = writex = executefile (s)Files can be ordinary file, special file or directory files.

The chmod command will not work if you type a space (s) between who, the instruction that gives (+) or denies (-) permission, and permission. Examples · To change permission of the file c1.c to rwxrwxrwx $ chmod a+rwx c1.c · To reduce the permission of the file c1.c to rw-rw-rw- $ chmod a-x c1.c
or$ chmod ug=rw c1.c · To change the permission of file c1.c to r-rw--w- in one step. $ chmod a=rw, u-w, u+x, o-r c1.c

chmod using Absolute format
There are two methods by which the chmod command can be executed. The method in which symbols such as r, w and x are used to specify permissions, is called the symbolic method. The second method for changing the permission of a file using chmod is called absolute format and is a little more difficult to construct than the symbolic method. The absolute format is based on octal numbers representing the three kinds of access permission. (Octal numbers include the digits 0 through 7, inclusive). The octal values for read, write and execute modes are
read write execute 4 2 1 In order to express the ways in which you want a particular file to be accessed, simply add the octal values that correspond to the user or group or others.

Example No access = 0Read access only = 4Read and execute access = 4 + 1 = 5Read and write access = 4 + 2 = 6Read, write and excess
access = 4 + 2 + 1 = 7

Although the absolute format is more difficult to construct than the symbolic format, one constructed, this method of expressing file access permission requires less typing and thus reduces the chance of typographical errors when entering the chmod command line. In all UNIX systems, files and directories are assigned permission modes by default. The chmod command, of course, allows you to change the default permission mode for particular files. One common reason to change the permission mode for a particular file is to write-protect files containing important information so that you cannot accidentally overwrite the file and thus lose the original content. A second common use is to keep the contents of a file private by denying access of any kind to other system users.

Special File Permissions (setuid, setgid, and Sticky Bit)
Three special types of permissions are available for executable files and public directories. Setuid permission Setgid permission Sticky bit Be extremely careful when setting special permissions because they constitute a security risk. For example, a user can gain superuser permission by executing a program that sets the UID to root. Monitor your system for any unauthorized use of the setuid and setgid permissions to gain superuser privileges. Only superuser can set these permissions.
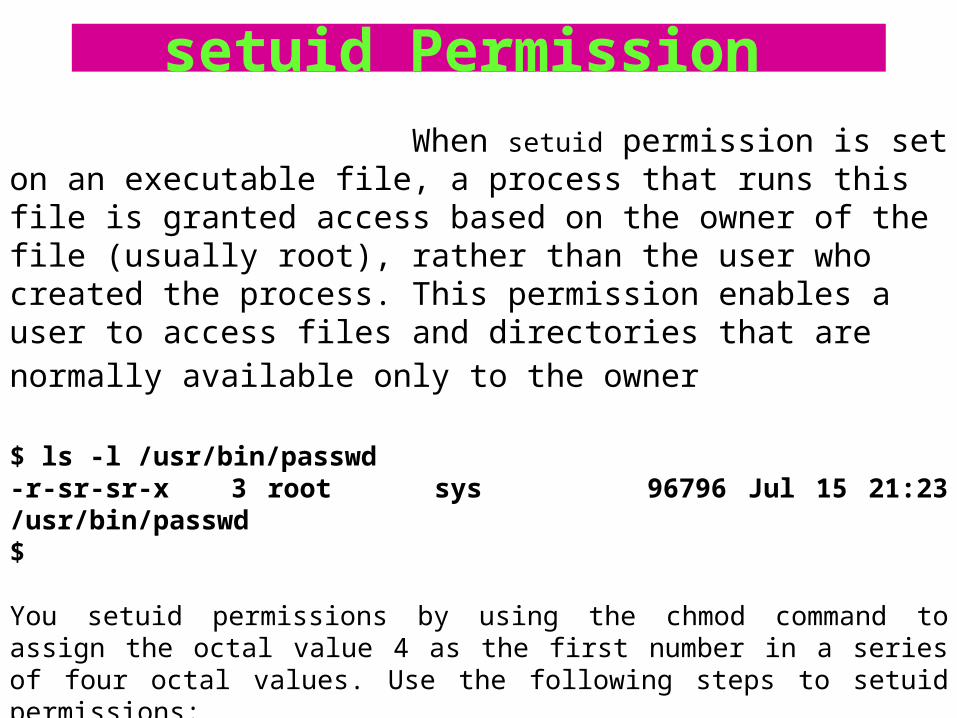
setuid Permission When setuid permission is set on an executable file, a process that runs this file is granted access based on the owner of the file (usually root), rather than the user who created the process. This permission enables a user to access files and directories that are normally available only to the owner
$ ls -l /usr/bin/passwd-r-sr-sr-x 3 root sys 96796 Jul 15 21:23 /usr/bin/passwd$
You setuid permissions by using the chmod command to assign the octal value 4 as the first number in a series of four octal values. Use the following steps to setuid permissions:
If you are not the owner of the file or directory, become superuser.

Type chmod <4nnn> <filename> and press Return.
Type ls -l <filename> and press Return to verify that the permissions of the file have changed.
The following example sets setuid permission on the myprog file:
#chmod 4555 myprog
-r-sr-xr-x 1 winsor staff 12796 Jul 15 21:23 myprog
#

To minimize setuid problems, minimize the number of local setuid programs. If you write a setuid program, use the following guidelines to minimize security problems: 1. Do not write setuid shell scripts for any shell. 2. Do not use library routines that start slave shells. 3. Do not use execlp(3) and execvp() routines that duplicate the path-searching functionality of a shell. 4. Use full pathnames to identify files. 5. Only setuid to root when you need to. 6. Use the set effective user ID function, seteuid(2), to control setuid use. 7. Keep permissions on setuid programs restrictive. Avoid secret back-door escapes in your code.

setgid Permission
The setgid (set-group identification) permission is similar to setuid, except that the effective group ID for the process is changed to the group owner of the file and a user is granted access based on permissions granted to that group. The /usr/bin/mail program has setgid permissions:
$ ls -l /usr/bin/mail-r-x—s—x 1 bin mail 64376 Jul 15 21:27 /usr/bin/mail$When setgid permission is applied to a directory, files subsequently created in the directory belong to the group the directory belongs to, not to the group the creating process belongs to. Any user who has write permission in the directory can create a file there; however, the file does not belong to the group of the user, but instead belongs to the group of the directory.

You can set setgid permissions by using the chmod command to assign the octal value 2 as the first number in a series of four octal values. Use the following steps to set setgid permissions:
Type chmod <2nnn> <filename> and press Return.
Type ls -l <filename> and press Return to verify that the permissions of the file have changed. The following example sets setuid permission on the myprog2 file: #chmod 2551 myprog2 #ls -l myprog2-r-xr-s—x 1 winsor staff 26876 Jul 15 21:23 myprog2#

Sticky Bit The sticky bit on a directory is a permission bit that protects files within that directory. If the directory has the sticky bit set, only the owner of the file, the owner of the directory, or root can delete the file. The sticky bit prevents a user from deleting other users' files from public directories, such as uucppublic:$ ls -l /var/spool/uucppublicdrwxrwxrwt 2 uucp uucp 512 Sep 10 18:06 uucppublic$When you set up a public directory on a TMPFS temporary file system, make sure that you set the sticky bit manually. You can set sticky bit permissions by using the chmod command to assign the octal value 1 as the first number in a series of four octal values.

Type chmod <1nnn> <filename> and press Return. Type ls -l <filename> and press Return to verify that the permissions of the file have changed. The following example sets the sticky bit permission on the pubdir directory: $ chmod 1777 pubdir$ ls -l pubdirdrwxrwxrwt 2 winsor staff 512 Jul 15 21:23 pubdir$

The chown command
The chown will change the owner of the file. The chown command is used to change the owner of the file. This command changes the owner of files or directories to different use rid or name. The new owner may either be a user id or a login id found in the password file. Whenever a new directory is made the login id (same as user id) becomes the owner of the new directory which is created.

To change the owner of the file or directory you must be the owner of the file (the user who created it) or must be a super user.
Command Reference
Chown - changes the owner of the file(s) and directories
Command Instruction Arguments
Chown none file name (s)directory name(s)
Description Chown changes the owner of the files or directories to different userid and name. This new directory is owned by the user who created it. The chown command is used to change individual ownership of a file.

The chgrp command
The chgrp will change the group of the file. The chgrp command changes the group ID of the files or directories to group. The group may be either a decimal group ID or a group name found in the group file.
$ cd/ user$ mkdir bhuvana$ chown bhuvana bhuvana
$ chgrp irnd bhuvana

The umask command
The umask command will set the file-creation mask As you create a file or directory, it is assigned a pattern of permission modes. The task of assigning permission modes to a file is given to the umask value. When you log on to the system, the umask is given an arbitrary value, but you can change this value while you are on the system. Changing the access permission assigned to your files is another way of customizing your working environment.

UMASK You can display the umask value by entering the shell command umask. You can change the value by entering umask value, where value is the desired value in octal. To determine the umask value that you what to reassign to umask, first list the desired permissions in symbolic format and then write down the equivalent in binary pattern. Next complement this binary pattern by changing all ones to zeroes and all zeroes to ones.
Finally, write down the octal equivalent of this complemented binary value. The resulting octal
number is the desired umask value

Umask [000] The user file-creation mode mask is set to 000. The three octal digits refer to read/write/execute permissions for owner, group and others respectively.
The value of each specified digit is subtracted from the corresponding "digit" specified by the system for the creation of a file.
For example umask 002 removes group and others write permission (file normally created with mode 777 become mode 755; files created with mode 666 becomes mode 644).
If 000 is omitted, the current value of the mask is printed