fingerprints dactyloscopy – employs the science of ridge analysis (ridgeology) to analyze and...
TRANSCRIPT


Fingerprints
Dactyloscopy – employs the science of ridge analysis (ridgeology) to analyze and
compare fingerprints.

Your Assignment
• Devise a fingerprint classification method.
• Keep notes of what you do, what you observed, decisions you made. (You’ll be turning these in.) How will you organize your data & observations?
• What you’ll use – your own fingerprints, those of your class, and photocopies of prints.
• Use only materials in class. Stay away from online information.
• May use magnifying lenses or dissecting microscopes – share!
• What have you come up with?

History
• Chinese – 3,000 yrs ago used FP – reason lost in history.
• 1788 – Mayer – “arrangement of skin ridges is never duplicated in two people.”
• Wm. Herschel – 1856 – FP don’t change with age

• Sir Francis Galton – Finger Prints (book)
• Proposed prints classified into 3 main categories: loops, arches, and whorls.
• Also thought all prints were unique.
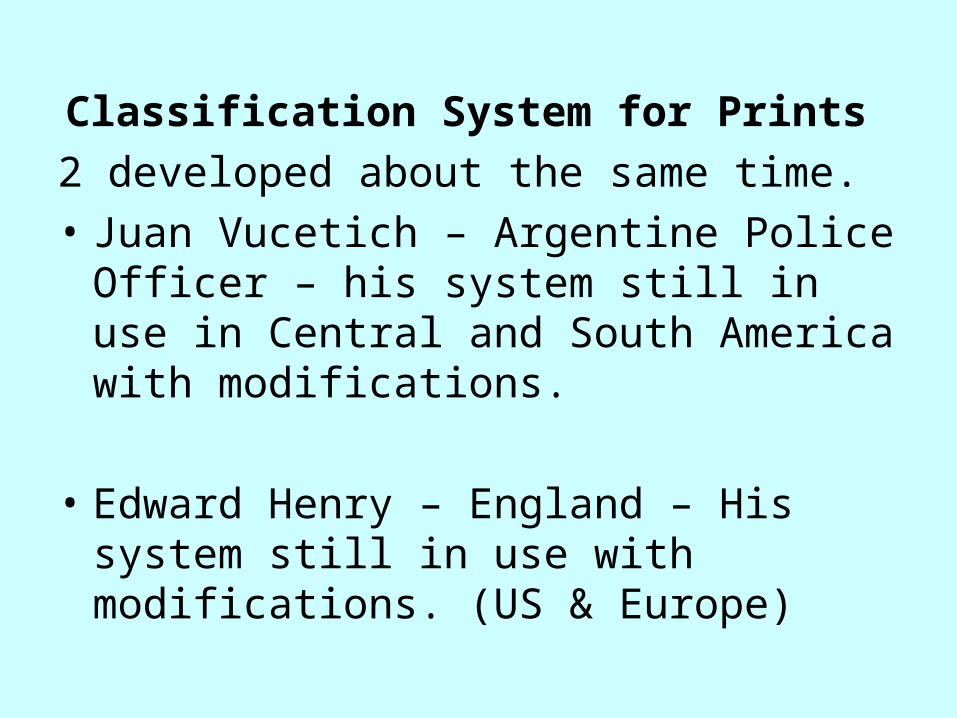
Classification System for Prints
2 developed about the same time.
• Juan Vucetich – Argentine Police Officer – his system still in use in Central and South America with modifications.
• Edward Henry – England – His system still in use with modifications. (US & Europe)
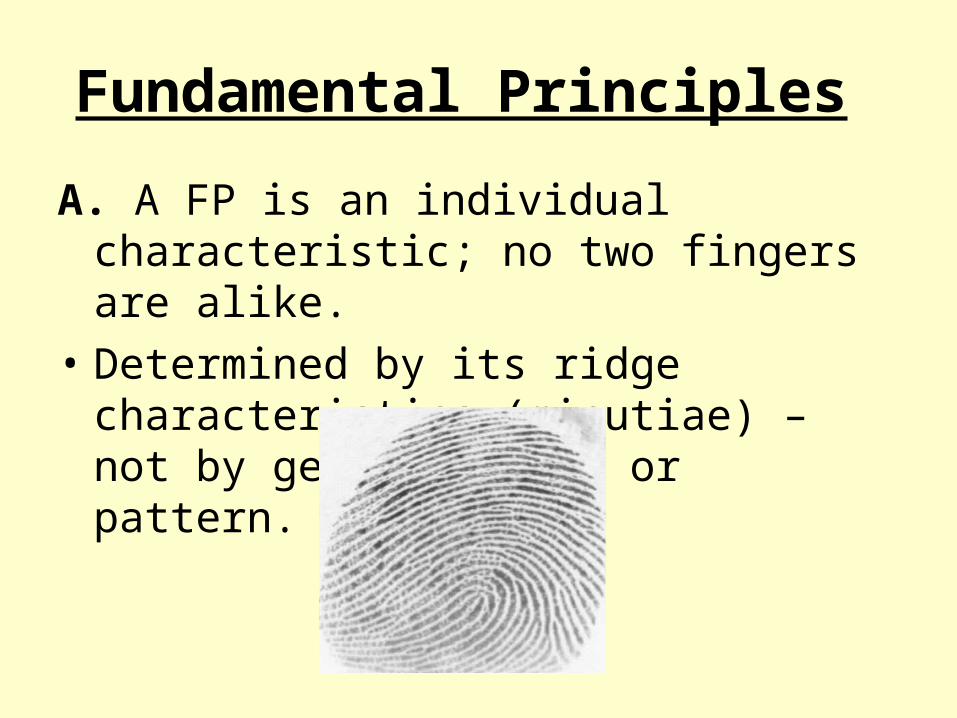
Fundamental Principles
A. A FP is an individual characteristic; no two fingers are alike.
• Determined by its ridge characteristics (minutiae) – not by general shape or pattern.
• Avg. FP has 150 individual ridge characteristics.
• Most prints that are recovered are partial prints.
• No standard that states how many characteristics must match. (8 – 12)
• No study has been completed. Up to expert.

B. FP remains unchanged during life.
• The shape of the dermal papillae, between the dermis and the epidermis determines the ridge and valley configuration of FP.
Start forming around the 12th week of fetal development. Fully formed by 21 weeks.

• Each ridge has a single row of openings for sweat glands.
• Perspiration and oil (touch hairy areas of body) is transferred onto a surface – leaves an impression of the print = latent print = invisible
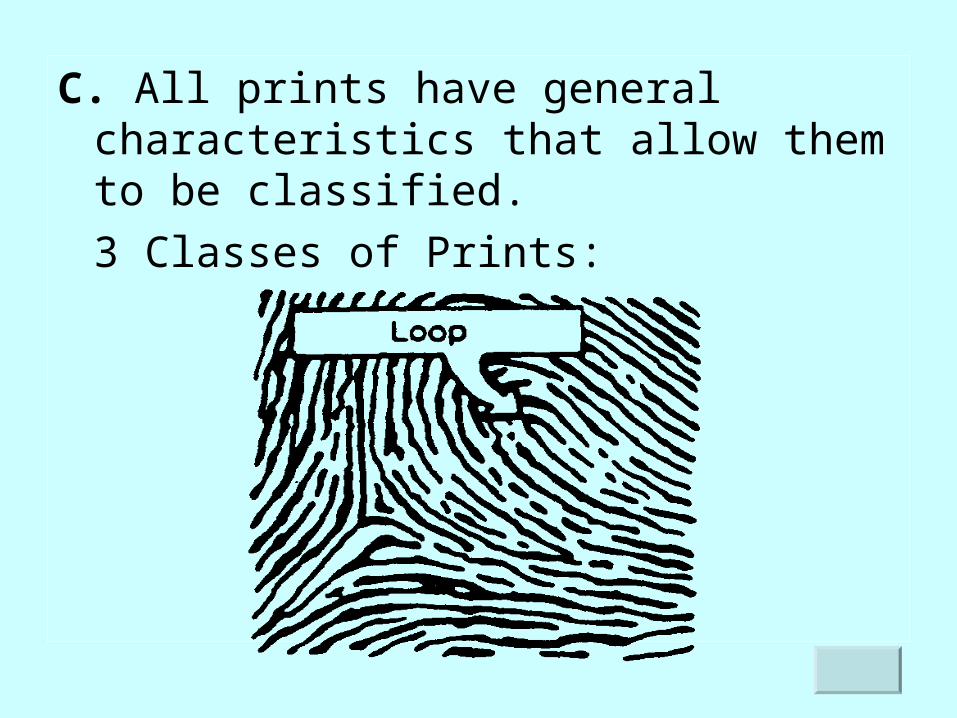
C. All prints have general characteristics that allow them to be classified.
3 Classes of Prints:

1. Loops – 60-65% of population
A. Must have one or more ridges entering from one side of the print, re-curving, and exiting from the same side.
B. Ulnar loop – opens toward little finger; Radial loop – opens toward thumb
C. Core – center of the pattern
D. Delta – must have one – ridge point found at or near the type line divergence.

2. Whorls – 30-35% of population
All have type lines and at least 2 deltas.
4 types:
A. Plain – line between 2 deltas touches spiral

B. Central pocket - both plain and central pocket have at least one ridge that makes a complete circuit. Line between 2 deltas does not touch spirals.

C. Double loop – contains 2 loops
D. Accidental – pattern that cannot be classified into any other category.
Accidental

3. Arches – 5% of populationDo not have type lines, deltas, or cores.
A. Plain – simplest – ridges enter one side and leave on the opposite side. Rise in center = wavelike

B. Tented – Like a plain, but the center is a sharp spike.

4. Ridge Count
An imaginary line drawn from the center of the core to the edge of the delta. Then count ridges!

Summary
• FP’s can be classified
• Arches have no deltas
• Loops have one delta
• Whorls have two deltas

Classification of Prints
• Henry’s system – converts ridge patterns to letters & numbers (fractions). Could only handle 100,000 prints.
• FBI System – modified Henry’s system & is used by most agencies in US.
• Primary Classification – 1st part of FBI System; Same as Henry’s – all prints divided into 1,024 groups.

Your Assignment
Lab – Use Henry’s Classification System to classify your own prints.

• Pair up fingers: (pg. 480)
R. Index R. ring L. Thum. L. Mid. L. Little
R. Thum. R. Mid. R. Little L. Index L. Ring
Whorl Pattern
First Pair = 16
Second Pair = 8
Third Pair = 4
Fourth Pair = 2
Fifth Pair = 1
Any finger with an arch or loop receives a value of zero.

• Total the amounts for numerator and denominator and add a 1 to both.
• FBI System more intense = not discussed in text due to security reasons.

What Makes Prints Unique?
Ridge Characteristics !
Create a table of ridge characteristics.
Use your own prints and a hand lens. Draw all the ridge characteristics you can find. Turn in at the end of class.

1. Ridge Ending – a ridge that stops abruptly
2. Dot – a ridge that is as long as it is wide
3. Bifurcation – a ridge that splits into two ridges
• IF two prints are said to be the same, they will have to reveal characteristics that not only are identical, but have the same relative location to one another.

Practice identification

IAFIS(Integrated Automated FP ID Syst)
• FBI – 1999 – approx. 50 million prints. Can be networked with cities, counties, & state systems.
• Scan and digitally encode prints.
• Convert to a geometric pattern.
• Computer uses a scoring system & makes list of potential matches.
• Examined by a fingerprint expert.

• Ink replaced by electronic fingerprints – pressing the whole hand lightly onto a glass platen that is scanned (photocopier). The print is then automatically added to IAFIS.
Problems: ?• Poor quality of prints – Prints taken from a
scene should still be manually compared to suspect’s prints.
• Software incompatible – other agencies are unable to use the IAFIS system.

Methods of Detecting Fingerprints
3 types of crime scene prints: 1. Visible prints – fingers in contact with
paint, blood, grease, ink, etc. and then touch an object.
2. Plastic prints – touch putty, playdough,
wax, soap, or dust.

3. Latent prints – invisible – print left by perspiration or oil present on finger ridges.
• Finding prints – visible and plastic = not hard.
• Latent – can use Reflected Ultraviolet Imaging System. (RUVIS)

• Shines ultraviolet light on an object and the FP reflects that UV light.
• UV light is converted into visible light so the print can be seen.
• Then it can be recovered using an appropriate technique.

• Procedure used to recover a print is determined by the surface it is adhered to.
Nonabsorbent surfaces
1. Powders

• Variety of colors and can fluoresce.
• Goal is to visualize the print and photograph it.
• Black powder for light surfaces, gray powder for dark or polished metal surfaces, fluorescent powder that contrasts background.
• Applied with a camel’s hair or fiberglass brush in a circular pattern.
• Safety issues? Issues at scene?

• 2. Super Glue Fuming – cyanoacrylate ester.

• Done in an enclosed chamber.
• Can take up to six hours. Fumes adhere to print - white.
• Has been successful in an enclosed car.
• Safety issues? Issues at scene?

Absorbent surfaces – chemicals
• The order in which chemical methods are applied will affect future methods.
In this order:
1. Iodine fuming
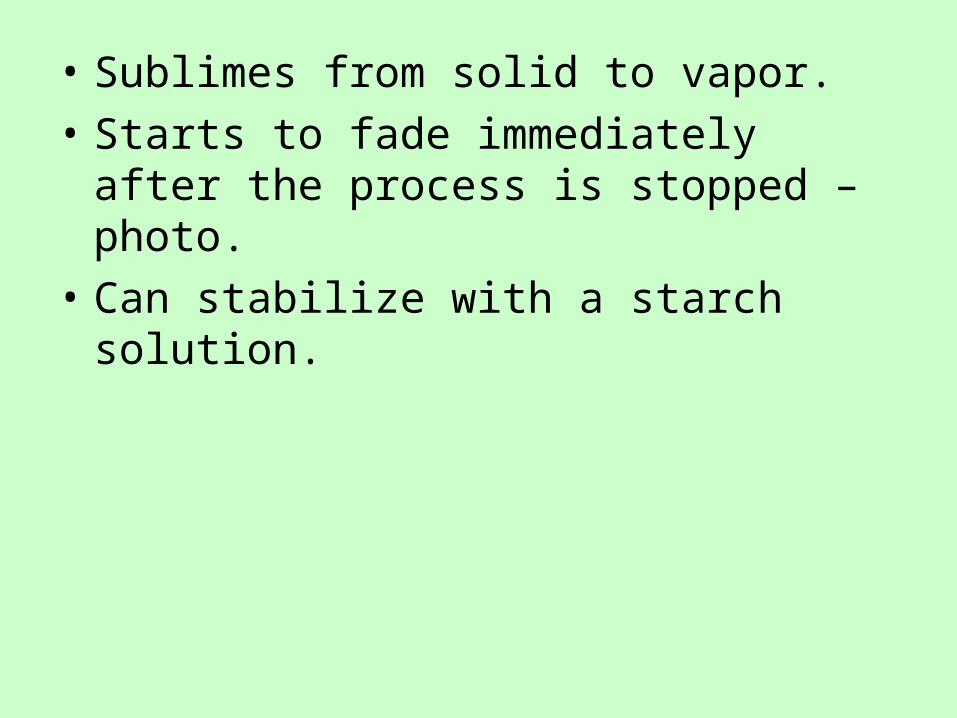
• Sublimes from solid to vapor.
• Starts to fade immediately after the process is stopped – photo.
• Can stabilize with a starch solution.
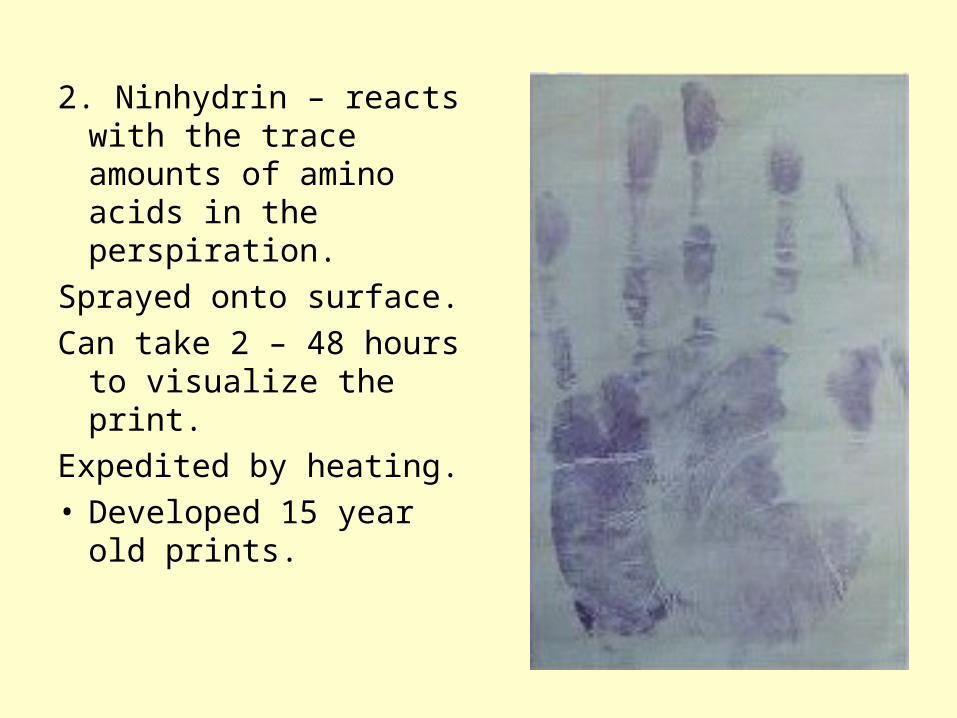
2. Ninhydrin – reacts with the trace amounts of amino acids in the perspiration.
Sprayed onto surface.
Can take 2 – 48 hours to visualize the print.
Expedited by heating.• Developed 15 year
old prints.

3. Silver nitrate (physical developer)
• Will work when first two have failed. Will work if prints were once wet.
• Will wash away all protein in a print.

Advancements in Technique
• Laser light – picks up fluorescence of perspiration.
• FP treated with chemicals to induce fluorescence.
• Alternate light source – high intensity quartz halogen or xenon-arc light.

Preservation of Developed Prints
1. Photographed – print (close up) and surface showing where it is found (whole can).
2. Preserved.– Small? Keep entire object – cover in
cellophane.– Large? Lift print. Broad piece of cellophane
tape – place over print – then place onto paper.

Digital Enhancement
• Brightness of image or contrast with background can be changed to make the print ‘stand out’ and be more easily examined.
• Can resize a portion of the image – make it bigger – to better see detail.
• Compare function – place two images side-by-side in order to chart common features on both images simultaneously.