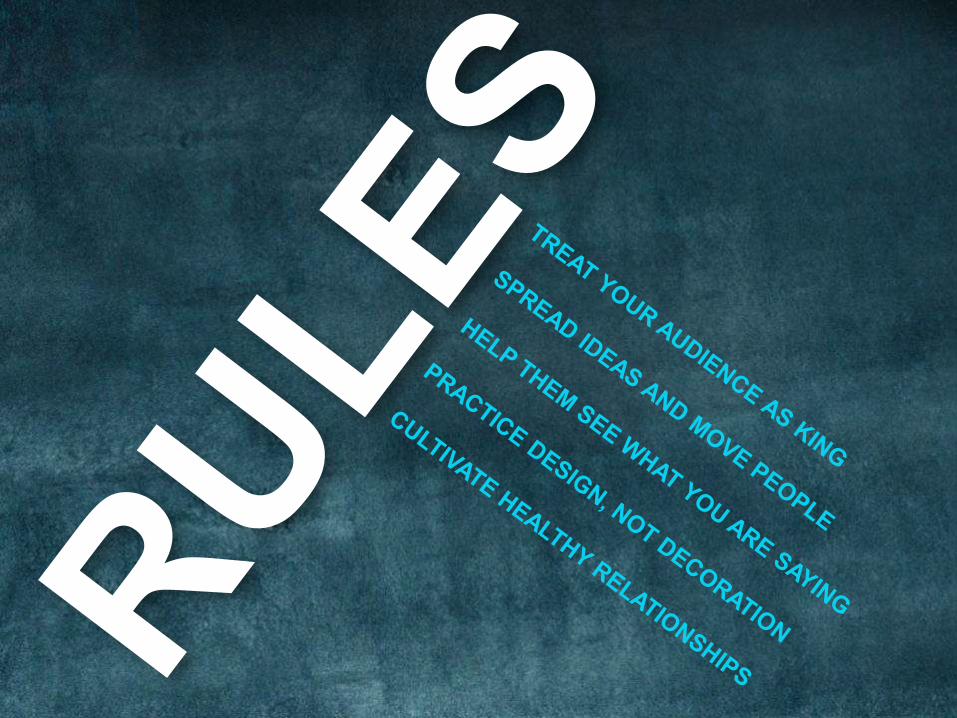
five rules for creating great presentations
TRANSCRIPT
For more than 20 years, Duarte
has developed visual stories for
the world’s leading corporate
brands, thought leadership
forums, and an Academy
Award-winning documentary.
Now they bring you…
FIVE RULES FOR
CREATING GREAT
PRESENTATIONS
Turn Up Your Volume
FIRST
Launch Self-Running Slide Show
SECOND
To View This Presentation


RULES5
RULES5

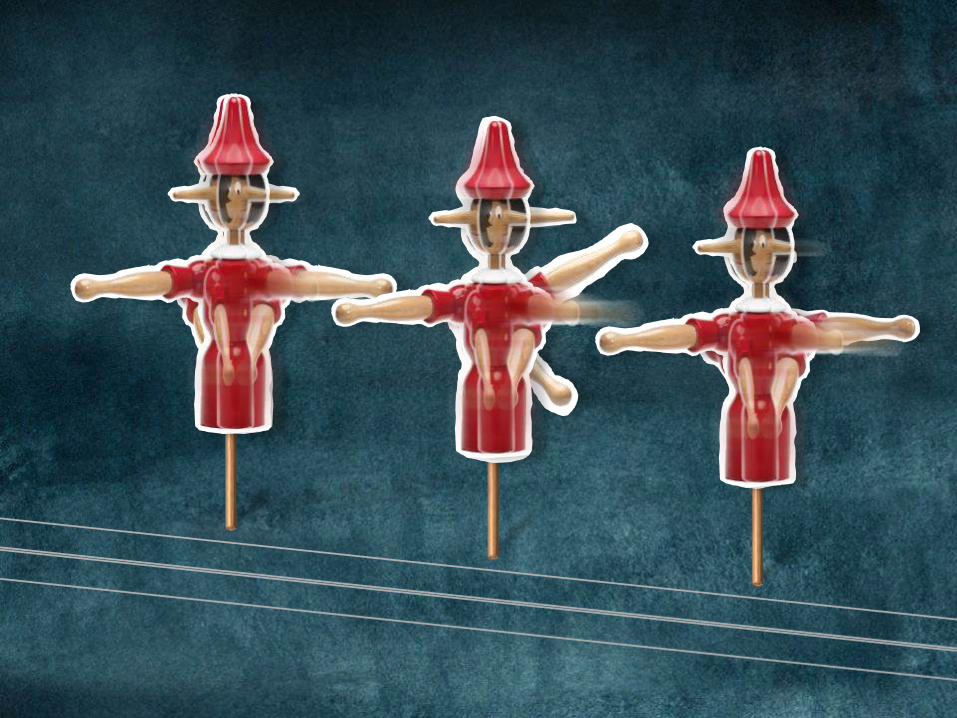
TREAT YOUR
ASAUDIENCE
KING
1


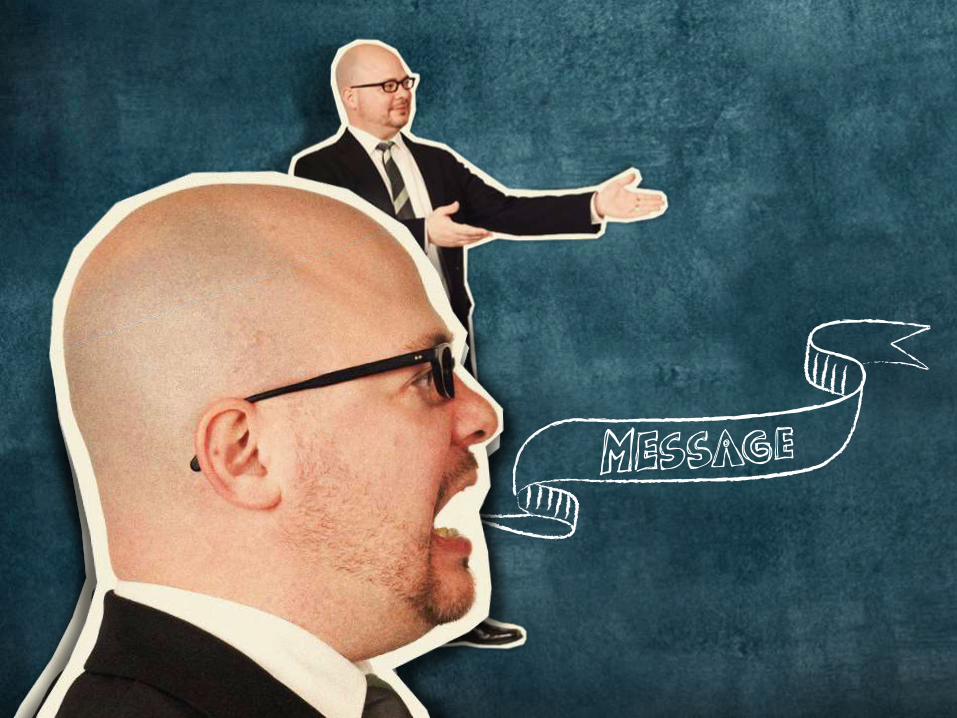
WHAT
CAN DO FOR
WHY
SHOULD ADOPT
THE
THEY NEED TO
TO TAKE
WHAT
CAN DO FOR
WHY
SHOULD ADOPT
THE
THEY NEED TO
TO TAKE


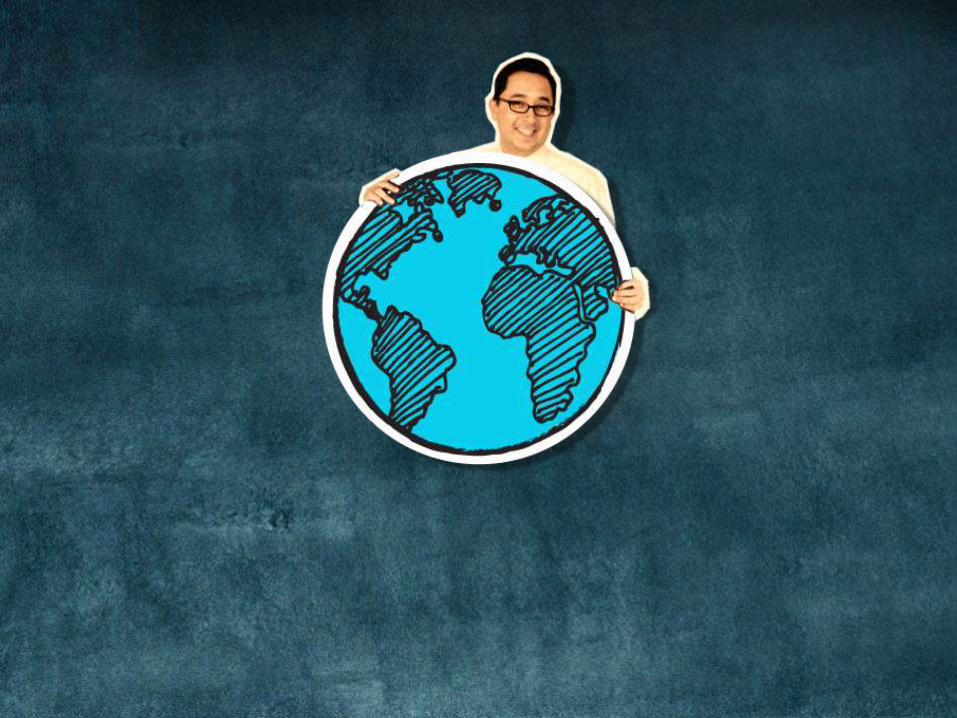
SPREAD
ANDMOVE
2

BLAH
BLAH
BLAH
BLAH
BLAH
BLAH
BLAH


WHICH
PRODUCTHAS IT
ALL?

HELP
WHAT YOU
THEM
ARE
3


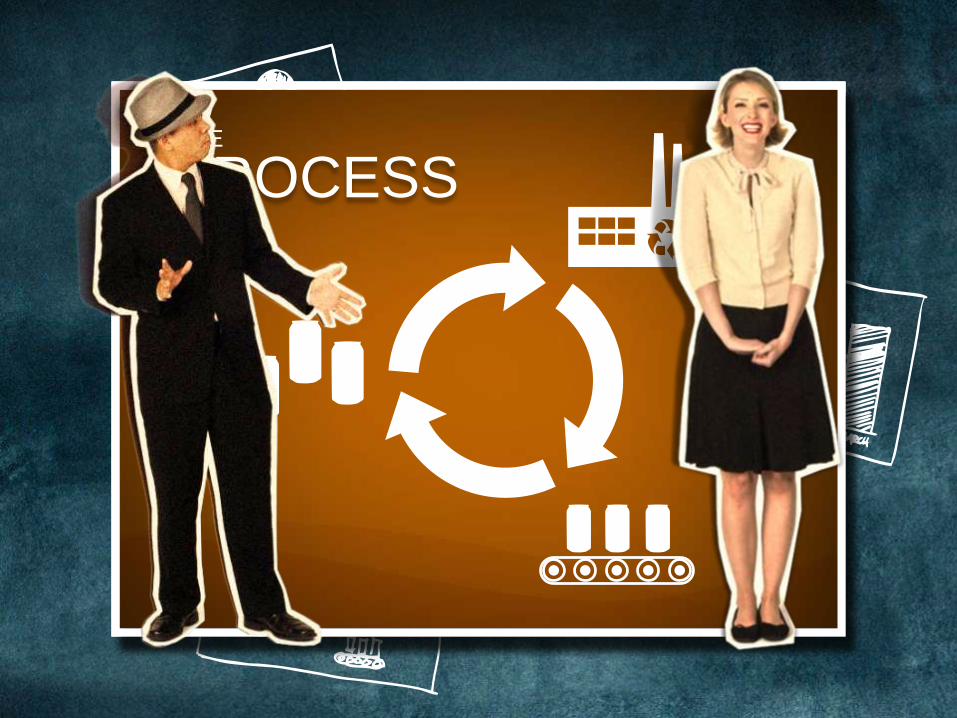
MARCHFEBRUARYJANUARY
CANS
RECYCLED= 1000 CANS
THE
PROCESS

PRACTICE
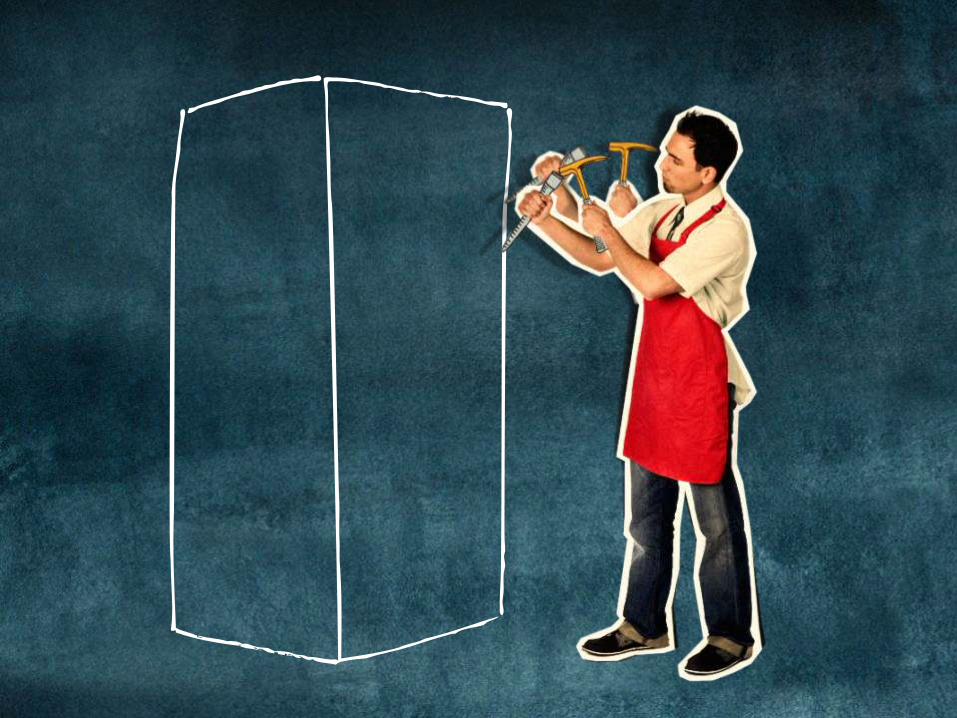
NOT DECORATION
4


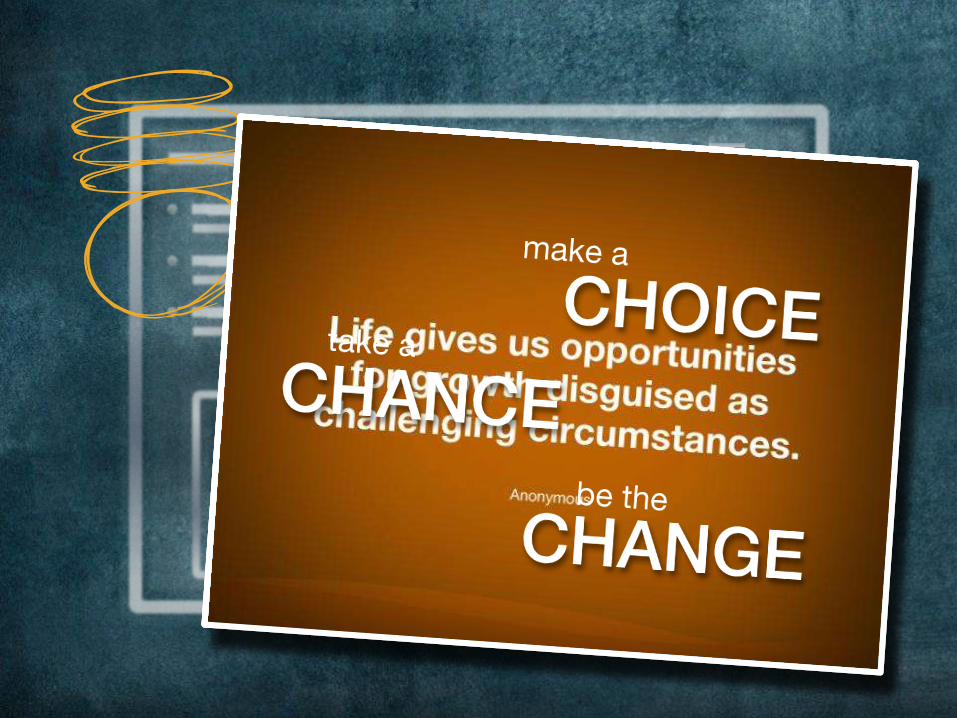

CULTIVATE5
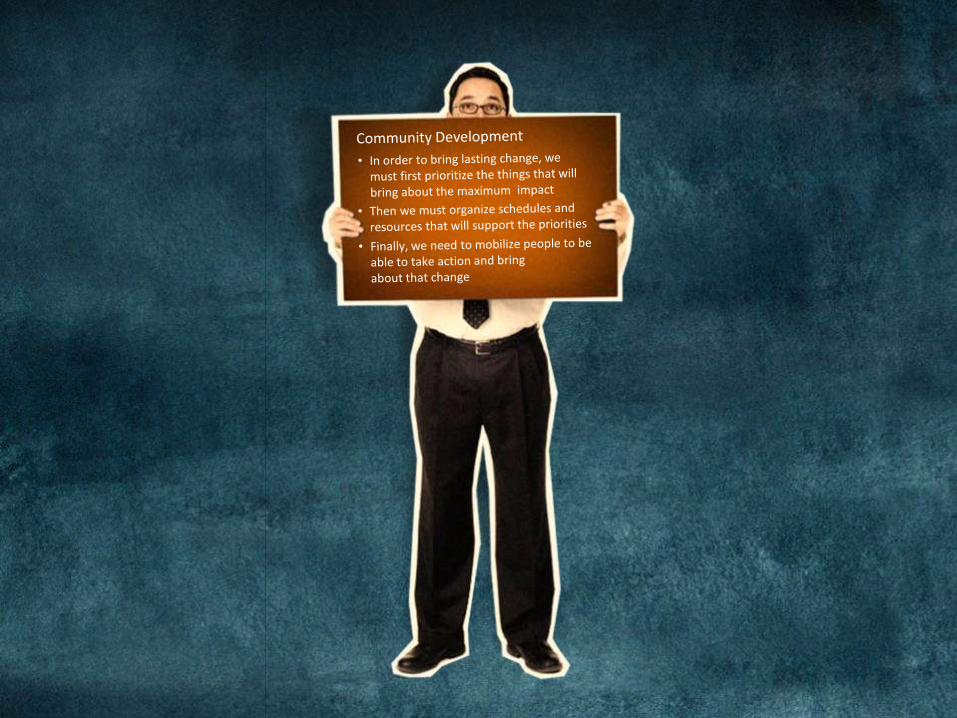


Community
maximum impact
support the priorities
Development• In order to bring lasting change, we
must first prioritize the things that willbring about the
• Then we must organize schedules andresources that will
about that change
• Finally, we need to mobilize peopleto be able to take action and bring

mobilize
mobilizesupport the priorities
• Then we must schedules andresources that will
organize prioritize organize
Community
maximum impact
Development• In order to bring lasting change, we
must first the things that willbring about the
about that change
• Finally, we need to peopleto be able to take action and bring
prioritize

prioritize organize mobilize
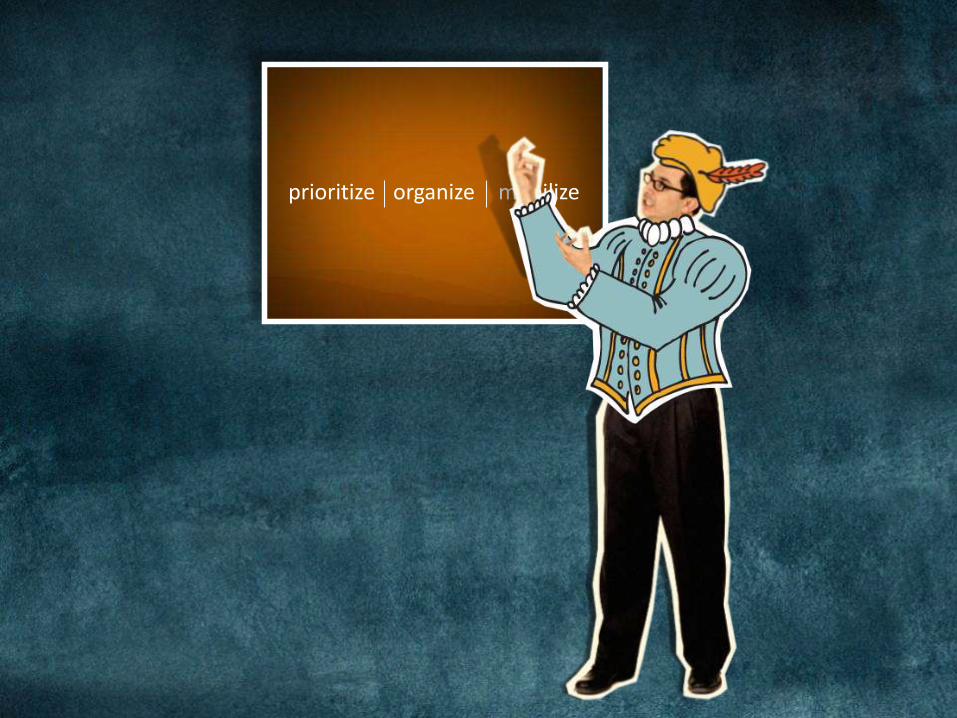
prioritize organize mobilize

prioritize organize mobilize


RULES5


prioritize organize mobilize

www.duarte.com
for details about the features used to make this presentation, see next slides
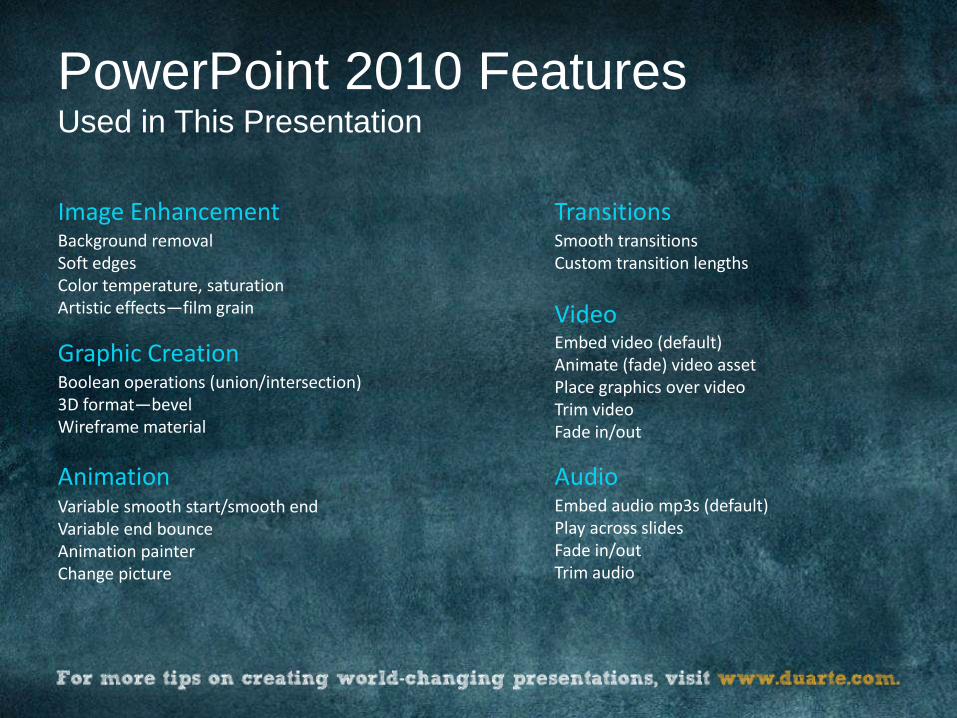
PowerPoint 2010 Features Used in This Presentation
Variable smooth start/smooth endVariable end bounceAnimation painterChange picture
Animation
Embed video (default)Animate (fade) video assetPlace graphics over videoTrim video Fade in/out
Transitions
Embed audio mp3s (default)Play across slidesFade in/outTrim audio
Audio
Smooth transitionsCustom transition lengths
Video
Background removalSoft edgesColor temperature, saturationArtistic effects—film grain
Image Enhancement
Boolean operations (union/intersection)3D format—bevelWireframe material
Graphic Creation
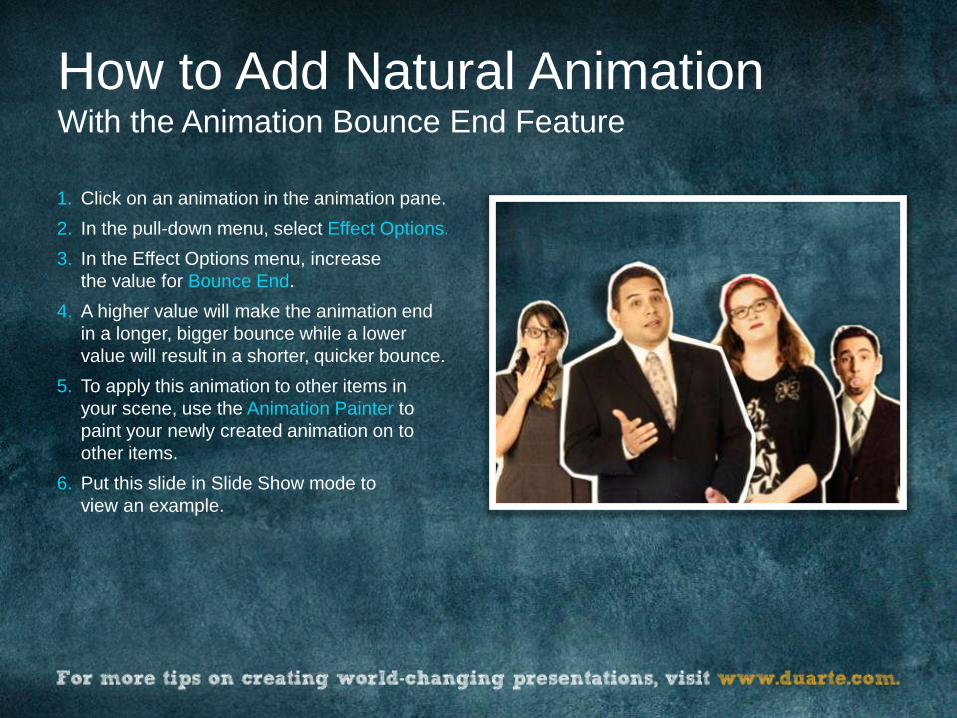
1. Click on an animation in the animation pane.
2. In the pull-down menu, select Effect Options.
3. In the Effect Options menu, increase
the value for Bounce End.
4. A higher value will make the animation end
in a longer, bigger bounce while a lower
value will result in a shorter, quicker bounce.
5. To apply this animation to other items in
your scene, use the Animation Painter to
paint your newly created animation on to
other items.
6. Put this slide in Slide Show mode to
view an example.
How to Add Natural AnimationWith the Animation Bounce End Feature
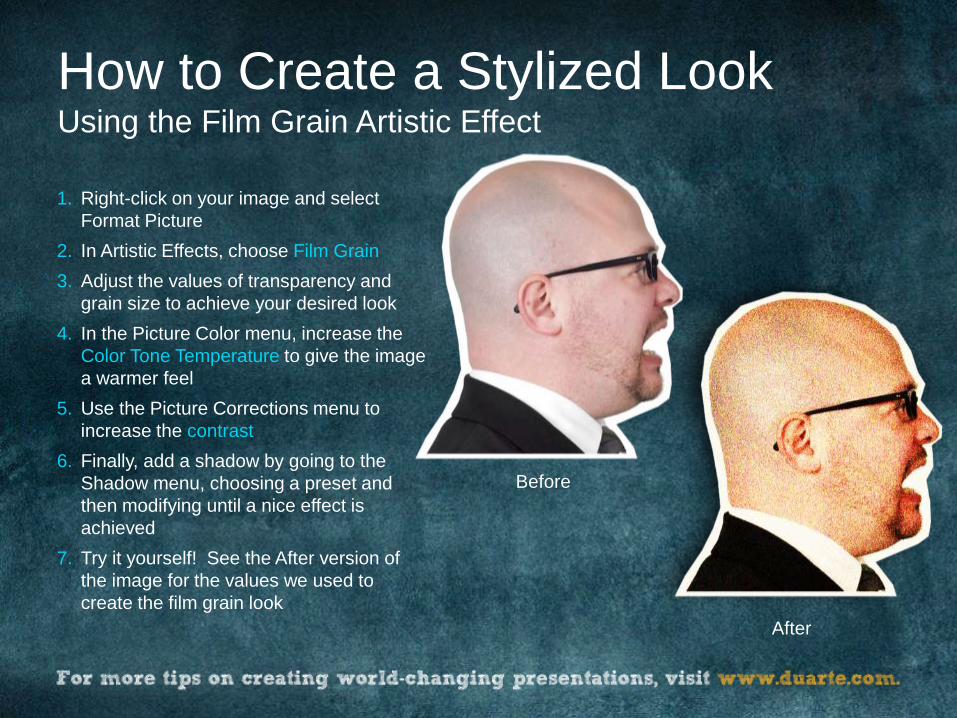
1. Right-click on your image and select
Format Picture
2. In Artistic Effects, choose Film Grain
3. Adjust the values of transparency and
grain size to achieve your desired look
4. In the Picture Color menu, increase the
Color Tone Temperature to give the image
a warmer feel
5. Use the Picture Corrections menu to
increase the contrast
6. Finally, add a shadow by going to the
Shadow menu, choosing a preset and
then modifying until a nice effect is
achieved
7. Try it yourself! See the After version of
the image for the values we used to
create the film grain look
How to Create a Stylized LookUsing the Film Grain Artistic Effect
Before
After
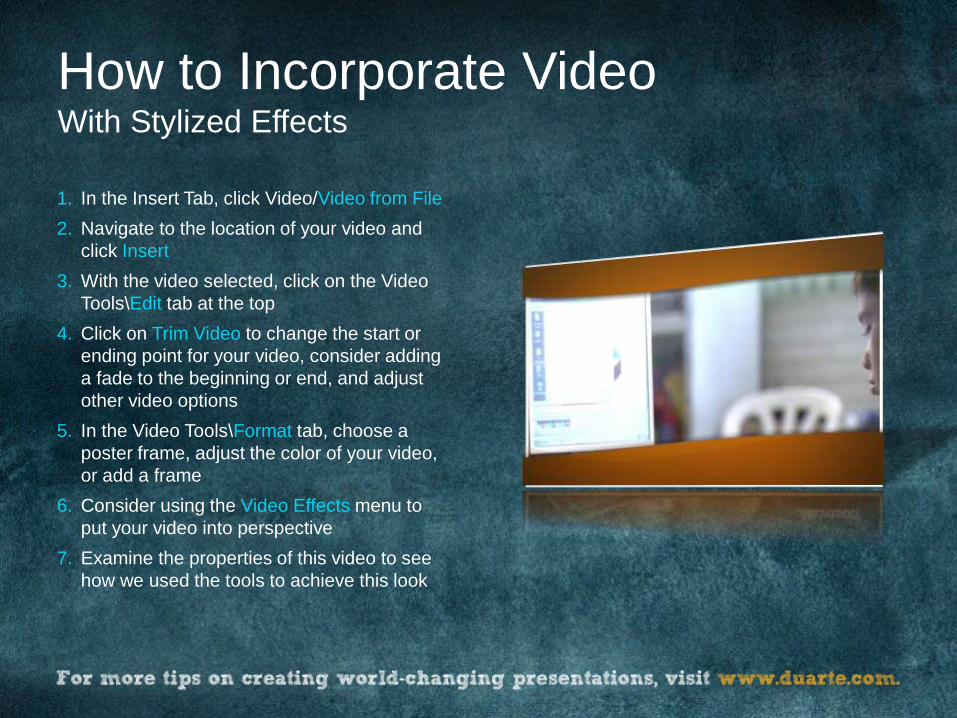
1. In the Insert Tab, click Video/Video from File
2. Navigate to the location of your video and
click Insert
3. With the video selected, click on the Video
Tools\Edit tab at the top
4. Click on Trim Video to change the start or
ending point for your video, consider adding
a fade to the beginning or end, and adjust
other video options
5. In the Video Tools\Format tab, choose a
poster frame, adjust the color of your video,
or add a frame
6. Consider using the Video Effects menu to
put your video into perspective
7. Examine the properties of this video to see
how we used the tools to achieve this look
How to Incorporate VideoWith Stylized Effects