food dehydrating - convertkit.s3.amazonaws.com · food dehydrating takes but just six ... they are...
TRANSCRIPT

Food dehydrating takes but just six simple steps from
first digging up the goodies from deep within the soil if you’re
lucky enough to have a green thumb and a garden—or the easy
way—grabbing fruits and veggies out of the grocery store bins
and off their displays … and then happily taking them home so
you can safely dehydrate and store them in vacuum-sealed
bags, or jars.
For long-term storage, we use airtight food-grade buckets with
lids, or bins that store neatly in a spare closet. (Spare closet?
Who’s she kidding?) Hey, we do what we must!

Why DO ALL THIS?
With all the bad stuff going on around the world, it makes
sense to have some food put away for emergencies.
What about the Ebola scare not too
long ago? What if it came back and
we’re all under mandatory house-
quarantine?
Then there are earthquakes, floods,
and hurricanes to contend with on a
yearly basis it seems.
One of my worst fears is an EMP
(Electro-Magnetic Pulse) attack …
whether it’s a natural solar flare, or a
nuclear bomb detonated at “just the
right height” that would kill all our
electronics and way of life as we
know it.
There would be no computers, no
phones, no TV, no cars … it truly IS a
nightmare scenario.
But guess what? You still gotta eat. Read on!

Step 1: Buy It! The best time to dehydrate fruits and veggies is
when they are in season.
Read: cheapest and plentiful.
Check out your local farmers’ markets, the super road-side
stands that are often laden with tomatoes, and cucumbers the
size of baseball bats! Well, not quite, but you see how exciting
it gets?!
Don’t Overlook Frozen Food Keep an eye out in your
grocery store for their
“Buy One, Get One”
sales. Check out frozen
peas and corn—this is a
no-brainer really—you
don’t even have to shell
the peas or mess
around with corn ears …
just dehydrate them
straight from frozen!
Don’t forget about frozen fruit too!

I bet you’re wondering why on earth you’d use frozen foods?
I mean, aren’t they already considered “back up foods”?
Yes, they are.
Consider this: When the power goes out, the frozen food thaws
and you’ve got to eat it all up in one go. Remember, you’ve no
refrigeration at this point until the power is back on. And you
never know “for sure” when that’s gonna be.
I know this for a fact. I live in hurricane-prone central Florida, so
more than once we’ve had to either stuff ourselves to the point
of being sick, and/or throw the soggy stuff away when the
storm has passed.
If you’ve got dehydrated food socked away, it
takes no electricity to maintain it.
It lasts for months and years —if you’ve
vacuum-sealed and stored it correctly.
Step 2: Prepare It! Let’s go over the necessary prep steps prior to dehydrating your
fruits and veggies.
Obviously, make sure your fruit’n’veg are clean! Give ‘em a
good scrub in the sink—get the soil off the spuds and carrots.
Rinse any microscopic bugs off the berries …
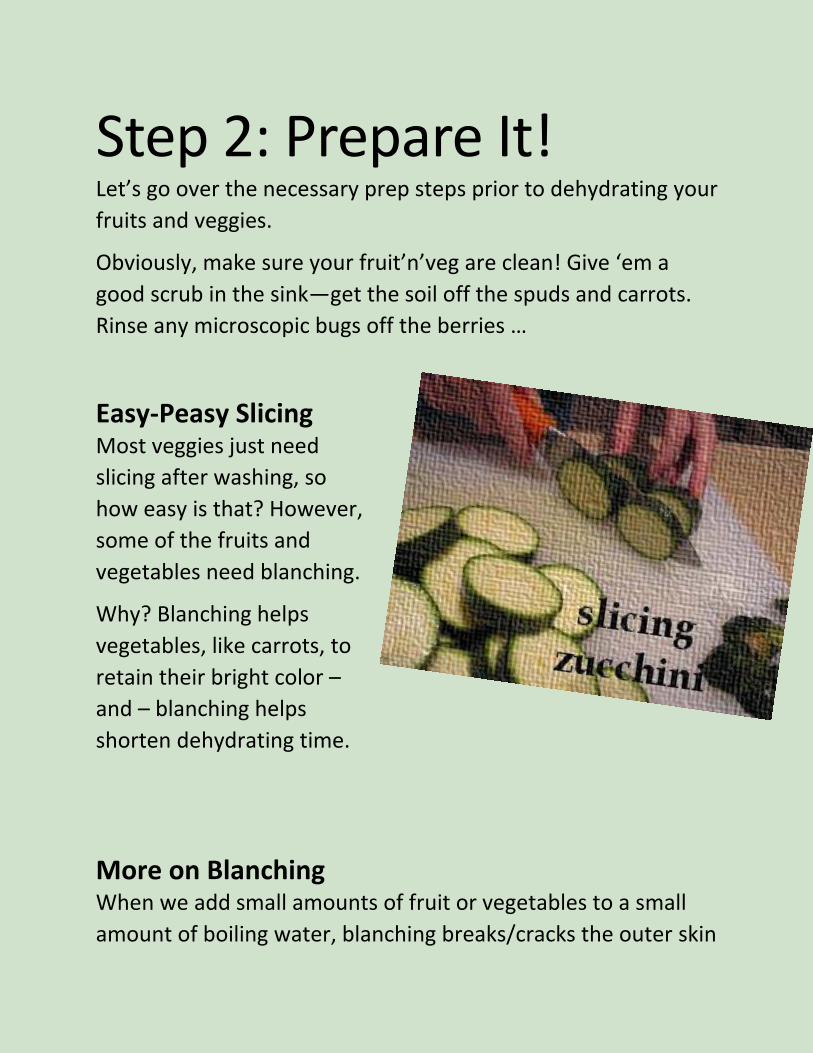
Easy-Peasy Slicing Most veggies just need
slicing after washing, so
how easy is that? However,
some of the fruits and
vegetables need blanching.
Why? Blanching helps
vegetables, like carrots, to
retain their bright color –
and – blanching helps
shorten dehydrating time.
More on Blanching When we add small amounts of fruit or vegetables to a small
amount of boiling water, blanching breaks/cracks the outer skin

of unpeeled fruits (like berries! I mean, who’d want to peel
berries?) and therefore the cracks help speed up drying time.
Blanching also stops the enzymatic action inside the fruit —the
darkening effect you see when apples and bananas go brown,
also known as oxidation.
Steaming Steaming is yet another method of preparation for dehydrating;
it achieves the same outcome as blanching.
Ascorbic Acid The other necessary prep step for starchy fruits like bananas,
apples, and pears is ascorbic acid.
What?
Don’t worry … lemon juice can be used
in place of ascorbic acid. (Heck that’s
a bright yellow bottle, isn’t it!?)
ReaLemon™ brand is a great because it
comes in a spray bottle. I liberally
spray my sliced fruits with lemon juice
prior to dehydrating. Again, the lemon
juice deters oxidation.

Back to the frozen foods again …
If you decide to go the easy route and use frozen foods, then
guess what?
NO PREP is necessary, aside from breaking down frozen clumps.
Do that by putting the frozen mass on your dehydrator tray (or
in a sieve) in the sink, and quickly run cold water over the
clumps.
Works like magic!
The reason WHY you don’t need any more preparation for
frozen foods is because the manufacturers have already done
that for us in their preparations to create the frozen food to sell
in the stores. Neat!
SIDE NOTE: All of this information and more is covered in my
eBook and online video courses.
Let’s move on to dehydrators, specifically the Excalibur™ and
the Nesco™ brands. I picked these two because they are the
bestsellers on Amazon, and I use ‘em!

Step 3: Dehydrate It! Dehydrators: Featuring the Excalibur™ & Nesco™
When I first came across dehydrators, oh, about fifteen years
ago, I wondered who on earth
would want one of those flying
saucers in their kitchen? Turns
out, I did!
But it wasn't because I wanted a
new-fangled kitchen gadget
(though I do love gadgets!)
No, it was due to all the doom
'n' gloom on TV and the news ...
but you know what?
If I thought that everything was
hunky-dory, I would be viewing
life through rose-colored
glasses. OK, enough of the adages. I just don't like bad news.
The next best thing is to be prepared for it.
How?
By putting away food — just in case.

Side note: You're familiar with what happens when natural
disasters occur, such as hurricanes and earthquakes, but did
you know that the average household is only nine meals away
from going hungry? That's it ... three days! Any longer than
that, and the grocery store shelves are empty!
Here is my Nesco™ Dehydrator
The one I have is a
round one (though
Nesco™ do have
square dehydrators
too) and you can
stack as many trays
as you need within
reason. We're not
building a tower ...
but the minimum is
four trays (for
proper air
circulation). The Nesco™ is a very affordable dehydrator and it
can grow, tray-wise, as your needs grow.
They have great accessories too — well priced and well made.
Such as? Easy-to-clean solid sheets so you can make fruit roll-
ups (AKA fruit leathers) so the fruity juicy goodness doesn't spill
down onto the trays below!
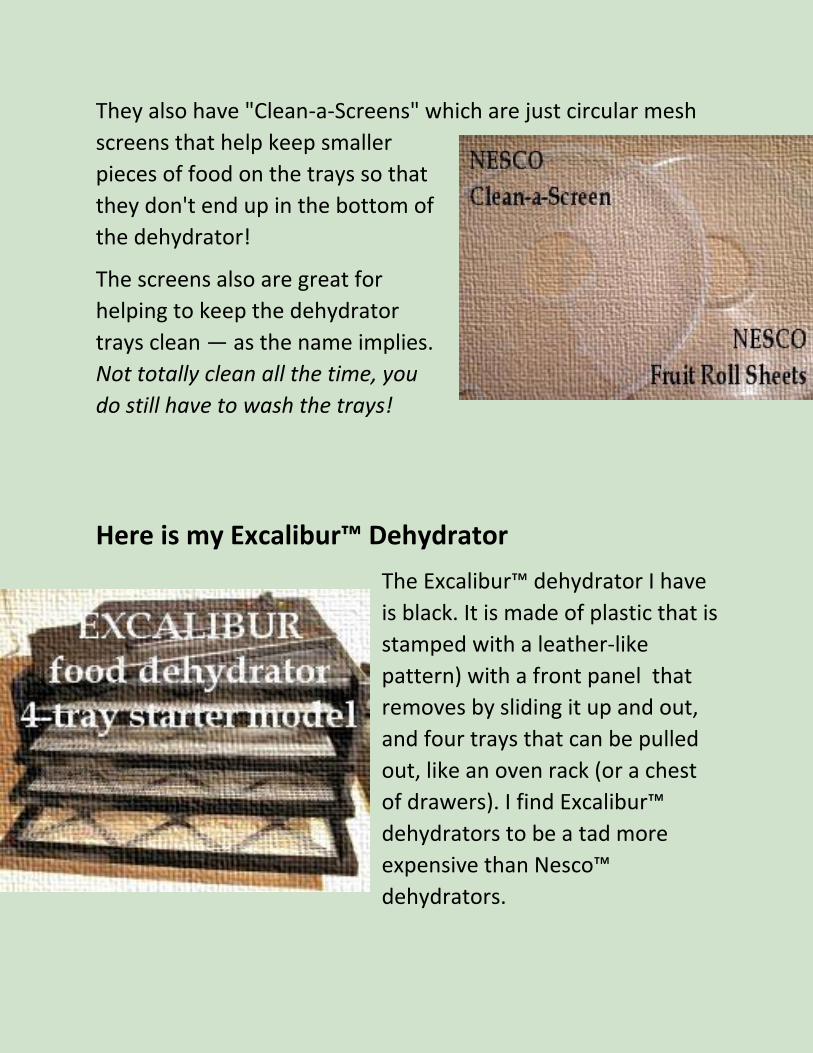
They also have "Clean-a-Screens" which are just circular mesh
screens that help keep smaller
pieces of food on the trays so that
they don't end up in the bottom of
the dehydrator!
The screens also are great for
helping to keep the dehydrator
trays clean — as the name implies.
Not totally clean all the time, you
do still have to wash the trays!
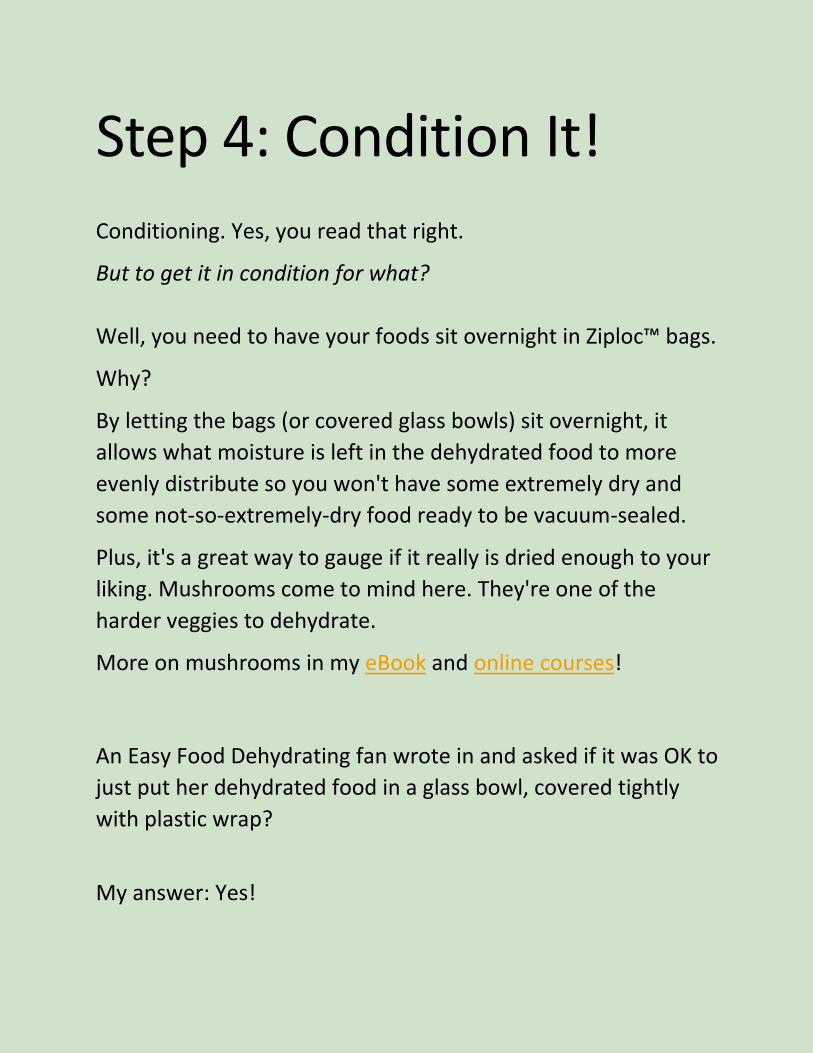
Here is my Excalibur™ Dehydrator
The Excalibur™ dehydrator I have
is black. It is made of plastic that is
stamped with a leather-like
pattern) with a front panel that
removes by sliding it up and out,
and four trays that can be pulled
out, like an oven rack (or a chest
of drawers). I find Excalibur™
dehydrators to be a tad more
expensive than Nesco™
dehydrators.

Excalibur™ also have similar Nesco™ accessories such as
Paraflexx® non-stick sheets to keep smaller particles of food
from falling.
SIDE NOTE: The Nesco™ dehydrator has its warm-air circulating
fan in its lid; the Excalibur™ dehydrator has its fan in the rear.
Both have temperature controls that are easy to see/read and
use.
Another Great Use for Dehydrators!
Both dehydrators are great for warming hands — on a cold
winter's day. :-)
And you can use Excalibur™ dehydrators to proof bread!
(More about that in our eBook!)
Step 4: Condition It!
Conditioning. Yes, you read that right.
But to get it in condition for what?
Well, you need to have your foods sit overnight in Ziploc™ bags.
Why?
By letting the bags (or covered glass bowls) sit overnight, it
allows what moisture is left in the dehydrated food to more
evenly distribute so you won't have some extremely dry and
some not-so-extremely-dry food ready to be vacuum-sealed.
Plus, it's a great way to gauge if it really is dried enough to your
liking. Mushrooms come to mind here. They're one of the
harder veggies to dehydrate.
More on mushrooms in my eBook and online courses!
An Easy Food Dehydrating fan wrote in and asked if it was OK to
just put her dehydrated food in a glass bowl, covered tightly
with plastic wrap?
My answer: Yes!
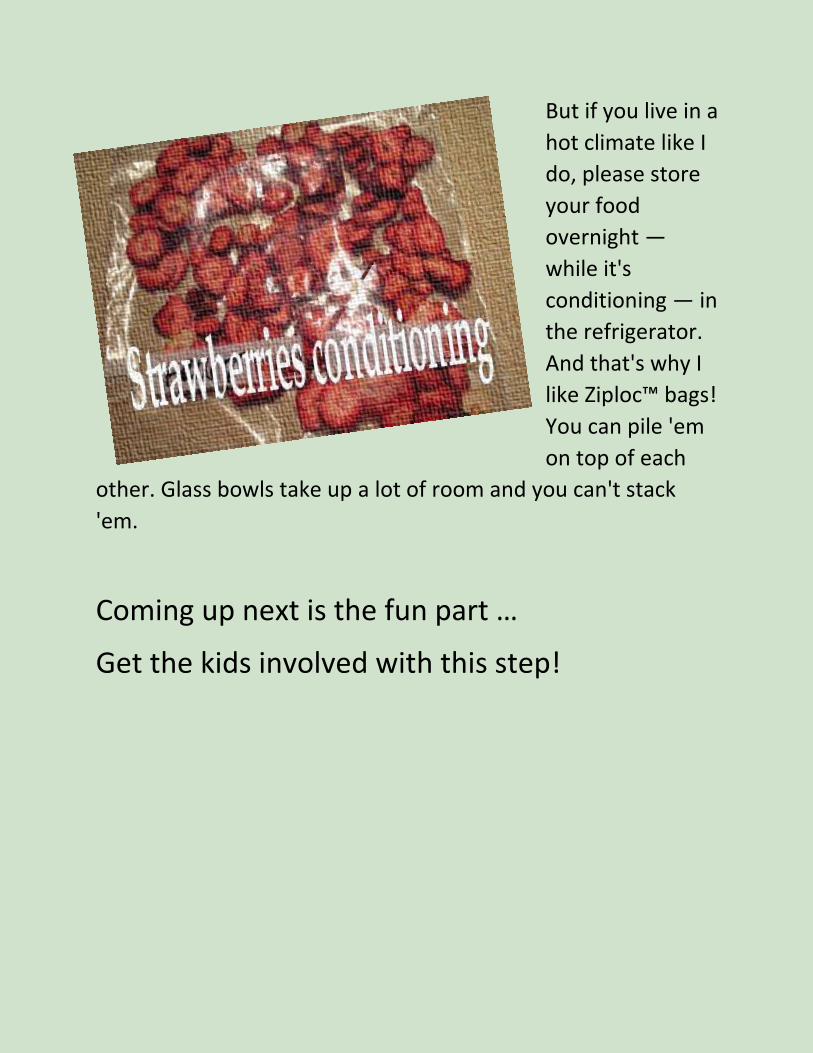
But if you live in a
hot climate like I
do, please store
your food
overnight —
while it's
conditioning — in
the refrigerator.
And that's why I
like Ziploc™ bags!
You can pile 'em
on top of each
other. Glass bowls take up a lot of room and you can't stack
'em.
Coming up next is the fun part …
Get the kids involved with this step!

Step 5: Vacuum and Seal It! This is the FUN part!
I use a FoodSaver® food vacuum-sealing machine and I love it!
Most people buy them for their ability to seal up left-overs.
They're great for sealing up individual packs of fresh chicken
breasts, for instance — they really cut down on freezer burn.
But back to dehydrating and what I use the vacuum-sealer for!
Here are three rules to live by:
Rule #1. Get good bags.
Rule #2. Get good bags.
Rule #3 — yes, you guessed it. Get good bags!
I get mine from DC Sales Enterprises, Inc.
Their bags are 3-mil thick—thicker than the bags that come
with the FoodSaver™ machine. Why is that important?
Well, the thicker the bag, the less likely you will encounter
punctured bags.

You know how you hate flat tires? Same thing here with the
bags.
It's annoying to go rooting in one of your bins or buckets and
find a squishy punctured package!
I'm not saying that DC's bags eliminate the puncturing, but I do
have a few more tips on how to combat the punctures in my
three-hour course.

Are you wondering what those blue and white striped packets
are? Well, wonder no more!
They are called “Oxygen Absorbers” and as their name implies,
they absorb oxygen.
Oxygen Absorbers — A Necessity for SAFE Long-Term Food Storage
These are essential. I call them "life support" for jars, bags, bins,
and buckets!
They come in a variety of sizes: 50cc all the way to 2000cc!
Wow! The sizes I use most are
100cc and 300cc sizes.
Oxygen absorbers draw air to
them, keeping your dehydrated
food fresh for many months —
even years — and prevents the
need to add additives like
sorbates, BHA, BHT etc.
Our dehydrated food is just
simply dehydrated food —
without unpronounceable additives that massive
manufacturers are forced to use for product longevity — so the
food can sit for long periods of time on the grocery store
shelves!

Congratulations — you made it to Step Six on how to safely
dehydrate and store food for long-term storage!
In this day and age, it behooves us to have at least a couple of
months' worth of food stored away. We all know we can't
expect the government to be a blanket-solution to hunger if
and when the poop hits the fan. That's why I'm prepared.
Not only do I have dehydrated food stored away, I have some
canned goods too. I don't believe in stocking up my freezer ...
and as I said at the beginning of this eBook, if the power goes
out for longer than three days, I'm out of luck. The food spoils
— and/or you have to eat it all up at once and/or make yourself
sick in the process.
Been there, done that — don't want the T-shirt!
No, it's easier to dehydrate fresh fruit and veggies — check out
the roadside stands or get yourself over to a local Farmers'
Market.
Look out for "buy one - get one" sales — take advantage of any
and all opportunities to buy food at half price.
So, let’s move on to the last step which is
storing all your dehydrated food safely.
Step 6: Store It!
1): Your dehydrated food goes into vacuum-sealer bags (after
conditioning). Then we move on to my favorite step, getting to
use the FoodSaver™ food vacuum-sealer!
Prior to drawing out the air in the vacuum-
sealer bag that contains your newly-dehydrated
food, DO NOT forget to put in a 100cc oxygen
absorber into each of your bags at this stage!
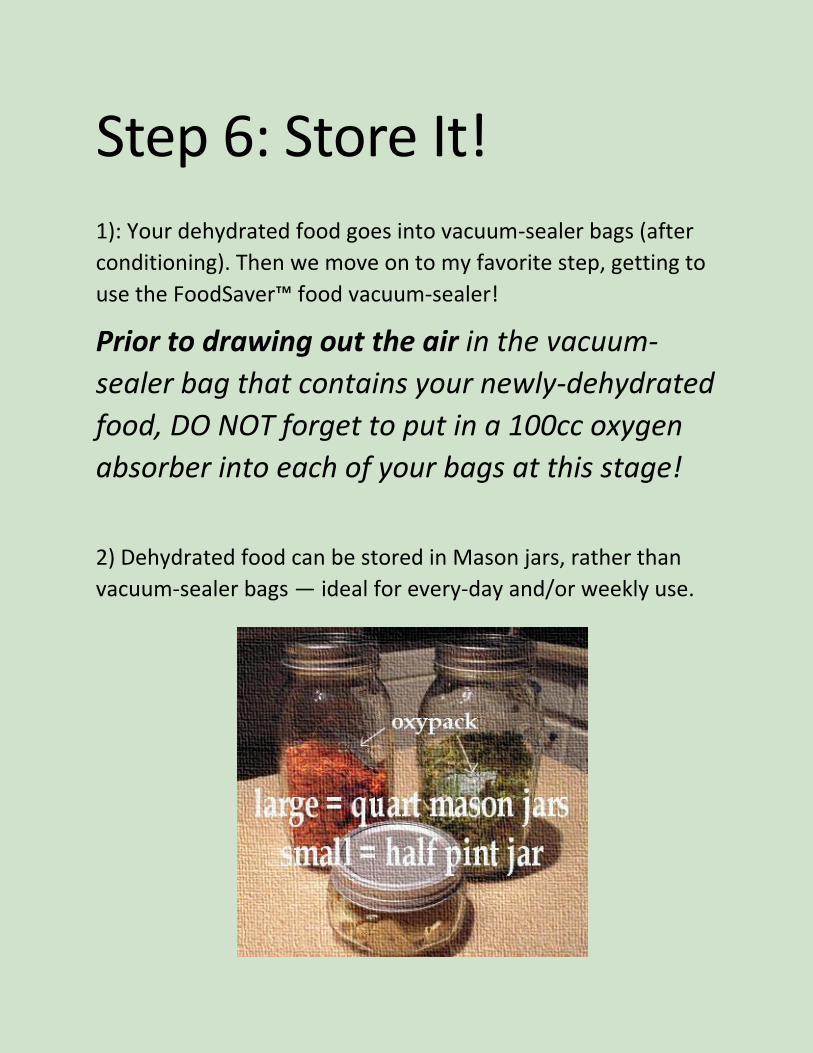
2) Dehydrated food can be stored in Mason jars, rather than
vacuum-sealer bags — ideal for every-day and/or weekly use.

3) After the vacuum-sealing, you store about three or four of
these vacuum-sealed packages in one Mylar bag for long-term
storage.
Mylar is a shiny un-tearable
material that keeps out air,
light, and water.
We ONLY seal the bag. Don't
attempt to draw the air out
of a Mylar bag because you
really can't — more on that in
our eBook and courses.
4) The filled vacuum-sealed pacakges (that have
their oxygen absorber in them) are now stored
in Mylar bags (for long-term storage).
These packed Mylar bags can then be stored
easily in plastic lidded bins, or food-grade
buckets as previously mentioned.
These buckets and bins are great for, yes, you
guessed it, long-term food storage.
Get them at your local hardware store, or feed
supply store, or online at Amazon.

Rotate Your Stock! One thing you must remember to do —at least twice a year —is
to rotate your stock. When you feel the bags, they should still
feel as stiff as when they were first dehydrated and vacuumed.
If you detect any “squishiness,” then it’s highly likely that one
of your bags is punctured. Root out the soft bag and discard the
contents. It’s NOT worth risking eating it in my humble opinion.
I do have a trick regarding how to make the bags behave, and
that’s plastic wrap.
You’ll learn all about that and much more in my eBook and
online course that I’ve hinted at throughout this Six Simple
Steps eBook. I do hope you’ll consider getting the eBook and/or
taking the course.
The course is about 3-hours total, though I am offering a 1-hour
dehydrating course too on Udemy and on Study with Susan
soon. Use this 50% off coupon for the 1-hour Udemy course.
Final cost to you: just $10. Money-back guarantee if not
delighted!
Cheers, Susan
Easy Food Dehydrating and Safe Food Storage
Email: [email protected]
Web: www.easy-food-dehydrating.com