format lanjut dalam ms word - mercu buana … lanjut dalam ms word devi fitrianah 03 fasilkom sistem...
TRANSCRIPT

Modul ke:
Fakultas
Program Studi
Aplikasi KomputerFormat Lanjut dalam Ms Word
Devi Fitrianah
03FASILKOM
SistemInformasi

Lesson 1
Use the Ribbon to perform a mail merge

Mail merge II: Use the Ribbon and perform a complex mail merge
Use the Ribbon to perform a mail mergeYou’re already familiar with the wizard that steps you through the mail merge process.
But mail merge isn’t always as simple as just adding a name or address as a field. Sometimes you need to do something a little more complicated, such as tailoring a letter to specific recipients, or adding sequential numbers to a series of coupons.
You can do these merges by using the Mailings tab on the Ribbon.

Mail merge II: Use the Ribbon and perform a complex mail merge
Groups and commands on the Mailings tabThe Mailings tab on the Ribbon is where you can perform a mail merge by using the four groups shown in the picture.
1
2
Start Mail Merge: This is the beginning point where you pick a document type and then select, create, or edit the recipient list.
Write & Insert Fields: Here’s where you can insert the fields and if necessary map your fields to your recipient list.

Mail merge II: Use the Ribbon and perform a complex mail merge
Groups and commands on the Mailings tabThe Mailings tab on the Ribbon is where you can perform a mail merge by using the four groups shown in the picture.
3 Preview Results: View the individual merged documents before you complete the merge.
4 Finish: Complete the merge and combine your individual documents into one comprehensive document, or print them out, or send them electronically.

Mail merge II: Use the Ribbon and perform a complex mail merge
Step 1: Start the mail mergeYou may be familiar with starting the Step by Step Mail Merge Wizard by clicking the Start Mail Mergecommand.
Using that same command you can also go directly to the type of document you want to use in the mail merge.
To start a mail merge, click the Mailings tab and the Start Mail Merge command. Then choose the type of document you want to use in the mail merge.

Mail merge II: Use the Ribbon and perform a complex mail merge
Step 2: Select the recipientsNext you connect to your recipient list by clicking Select Recipients. You can type a new recipient list, browse to select an existing list, or select your Outlook Contacts.
When you browse to an existing list, Word will first look in the folder, My Data Sources, a convenient place to keep your recipient list because it opens first. When you select the file you want to use for your recipient list and click OK, you’ve connected your document to the list.
Animation: Right-click, and click Play.

Mail merge II: Use the Ribbon and perform a complex mail merge
Step 2: Select the recipientsNext you connect to your recipient list by clicking Select Recipients. You can type a new recipient list, browse to select an existing list, or select your Outlook Contacts.
When you browse to an existing list, Word will first look in the folder, My Data Sources, a convenient place to keep your recipient list because it opens first.
When you select the file you want to use for your recipient list and click OK, you’ve connected your document to the list.

Mail merge II: Use the Ribbon and perform a complex mail merge
Step 3: Insert fieldsYou’ve probably written the text that will be the same in every copy of your merge document, so this step is where you can add the Address Block or Greeting Line fields.
Or, click Insert Merge Field to add any other information from your recipient list that you want.
The picture shows an example of the Address Block field in the Write & Insert Fields group.

Mail merge II: Use the Ribbon and perform a complex mail merge
Step 4: Preview the merged documentAfter you’re through writing your document and inserting fields, click Preview Resultsto see an example of a merged document.
You can look at each additional merged document by clicking the Next Record or Previous Record arrows.
Looking for a specific person? Just click Find Recipientand enter the recipient’s name.

Mail merge II: Use the Ribbon and perform a complex mail merge
Step 5: Edit individual documentsYour merge is ready, but you have the option to review some or all of the merged documents.
Clicking Finish & Merge and then clicking Edit Individual Documents creates a separate comprehensive document that includes every recipient in the merge.

Mail merge II: Use the Ribbon and perform a complex mail merge
Step 5: Edit individual documentsYour merge is ready, but you have the option to review some or all of the merged documents.
Here’s where you can take a final look at each merged document—just scroll through the set of finished documents to review and modify them.
After you’re done, you can print the finished documents immediately.

Mail merge II: Use the Ribbon and perform a complex mail merge
Step 6: Print the merged documentsPerhaps you skipped the option to edit individual documents and are ready to print all the merged documents.
Simply click Print Documents from the Finish & Merge command. The Merge to Printer dialog box opens, where you can choose to print all the merged documents or just specific ones.
If you are distributing your mail merge documents electronically, use Send E-mail Messages instead.

Mail merge II: Use the Ribbon and perform a complex mail merge
Step 7: Save the documentsIf you plan to use the main document again for another mail merge, it’s a good idea to save it.
Saving the main document means that you will keep the connection to the recipient list. When you open the document again, you will be asked if you want to connect to the same list.

Mail merge II: Use the Ribbon and perform a complex mail merge
Step 7: Save the documentsHere’s how.
1
2
Click the Microsoft Office Button.
On the menu, click Save. Then choose a location and name for the file and click Save again.

Lesson 2
Perform a more complex mail merge

Mail merge II: Use the Ribbon and perform a complex mail merge
Perform a more complex mail mergeAfter you get the hang of a basic mail merge, you can try something more complex.
For example, you might want to tailor your correspondence to add a personalized note in a form letter. You might also want to add a coupon and add sequential numbers, and tell some customers to bring in the coupon and others to mail it in to the store.
Or how about making your fields stand out by formatting them in a distinctive color or font? This is possible too.

Mail merge II: Use the Ribbon and perform a complex mail merge
Perform a more complex mail mergeThe picture shows several types of fields that can be used in a mail merge.
1
2
3
Address Block
Greeting Line
If...Then...Else

Mail merge II: Use the Ribbon and perform a complex mail merge
Perform a more complex mail mergeThe picture shows several types of fields that can be used in a mail merge.
Personal Note4
5 Merge Record #

Mail merge II: Use the Ribbon and perform a complex mail merge
Tailor your merge with RulesThe Rules command offers a number of popular Word fields, such as If…Then…Else… and Merge Record #, that you can use to add special capability to your main document.
The picture shows how to create Rules:
1
2
Place the cursor where you want the field to be located in the main document.
Click Rules in the Write & Insert Fields group and then click the field that you want to include in the document.

Mail merge II: Use the Ribbon and perform a complex mail merge
Other fields that you can useWhen you are writing your main document and inserting fields, you can also use the fields that are available in the Quick Parts command on the Insert tab.
1
2
Click the Insert tab, and then in the Text group, click Quick Parts and Field.
To insert a field, under Field names, click the field you want to insert, and then click OK.
To view the entire list of Word fields:

Mail merge II: Use the Ribbon and perform a complex mail merge
Format your merged textInformation from the recipient list that you merge into the main document does not have any formatting, but you can add some.
To format the data in the document, select the field, and then format it by using the commands on the Home tab, just as you would for other text.
Make sure that you include the chevrons (« ») that surround the field.


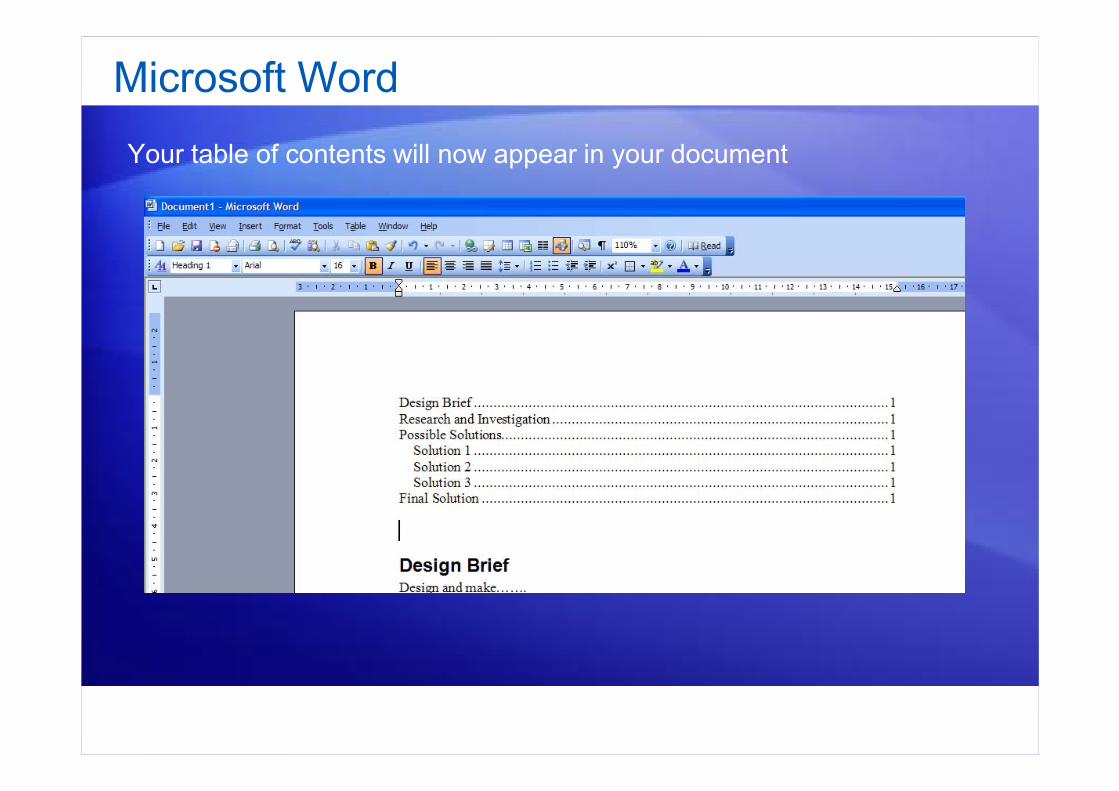
Microsoft WordOnce the formatting is applied you can now insert your table of contents (TOC) by doing the following
Click on the place in your document where you want TOC to be insertedClick on the “Insert” menuGo to “Reference” and then “Index and tables”

Microsoft Word

Microsoft Word
The following dialog box appearsClick on the “Table of Contents” tab and then click OK
Microsoft Word
Your table of contents will now appear in your document

Microsoft Word
Headers and FootersIt is possible to insert a header and a footer as shown below into your
documents

Microsoft Word
To do this click on the “View” menu and then select “Header and Footer”
This will open up the toolbar and allow you to insert the text you want

Microsoft Word
Add Caption : for table, picture or equations

31 Microsoft Office 2007 - Illustrated Introductory, Windows Vista Edition
Dividing a Document into SectionsA section is a portion of a document that is
separated from the rest of the document by section breaksA section break is a formatting mark that shows the end
of a sectionYou divide a document into sections when you want to
apply different page layout settings, such as columns, to sections
Sections are used to vary the layout of a documentA document is formatted in a single section by default

32 Microsoft Office 2007 - Illustrated Introductory, Windows Vista Edition
Dividing a Document into Sections
Insert a section break using the Breaks button in the Page Setup group on the Page Layout tab
Types of section breaksSection FunctionNext page Begins a new section and moves the text following the break to the top of the
next page
Continuous Begins a new section on the same page
Even page Begins a new section and moves the text following the break to the top of the next even-numbered page
Odd page Begins a new section and moves the text following the break to the top of the next odd-numbered page

33 Microsoft Office 2007 - Illustrated Introductory, Windows Vista Edition
Dividing a Document into Sections
Section 1 is formatted in one column
Section 2 is formatted in two columns
Continuous section break
34 Microsoft Office 2007 - Illustrated Introductory, Windows Vista Edition
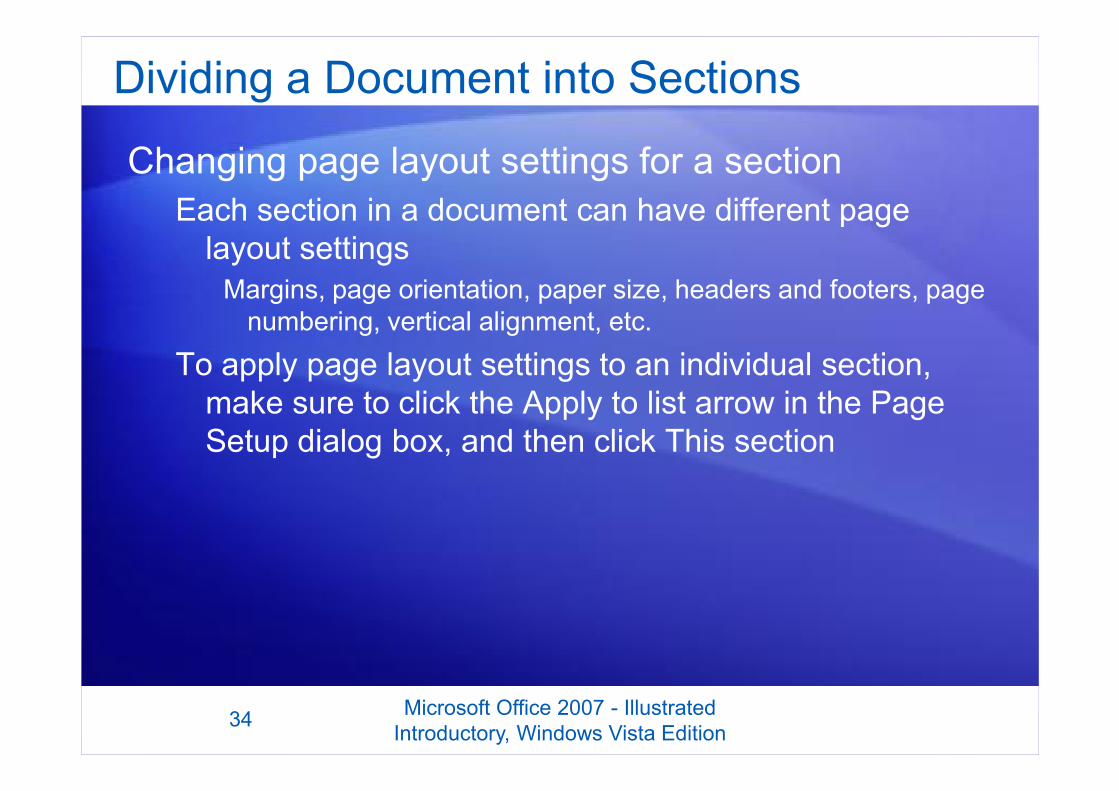
Dividing a Document into Sections
Changing page layout settings for a sectionEach section in a document can have different page
layout settingsMargins, page orientation, paper size, headers and footers, page
numbering, vertical alignment, etc.
To apply page layout settings to an individual section, make sure to click the Apply to list arrow in the Page Setup dialog box, and then click This section

35 Microsoft Office 2007 - Illustrated Introductory, Windows Vista Edition
Inserting Page Breaks Vertically aligning text on a page
By default, text is vertically aligned with the top margin of a page
Other vertical alignment optionsText centered between the top and bottom marginsText justified between the top and bottom marginsText aligned with the bottom margin
Vertically align text only when the text does not fill a page
Change vertical alignment on the Layout tab of the Page Setup dialog box
36 Microsoft Office 2007 - Illustrated Introductory, Windows Vista Edition
Inserting Page Breaks
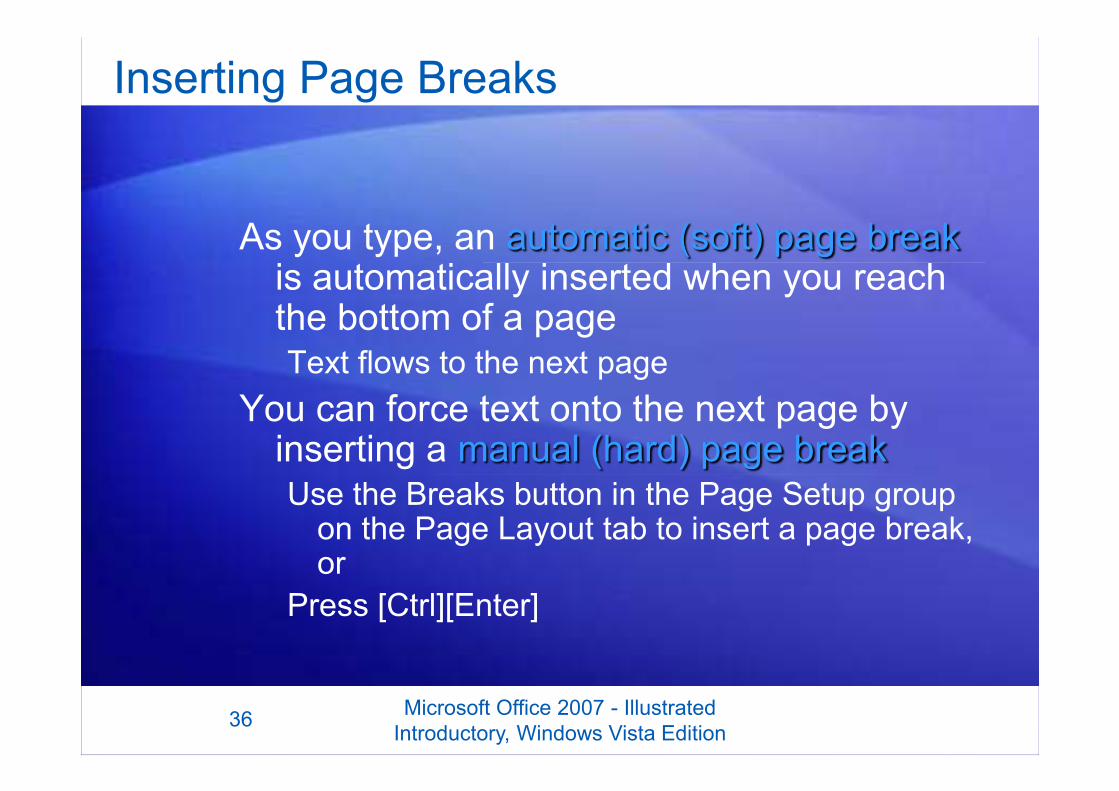
As you type, an automatic (soft) page breakis automatically inserted when you reach the bottom of a pageText flows to the next page
You can force text onto the next page by inserting a manual (hard) page breakUse the Breaks button in the Page Setup group
on the Page Layout tab to insert a page break, or
Press [Ctrl][Enter]

37 Microsoft Office 2007 - Illustrated Introductory, Windows Vista Edition
Inserting Page Breaks
Manual page breakText that follows break is forced to next page

38 Microsoft Office 2007 - Illustrated Introductory, Windows Vista Edition
Formatting ColumnsFormat text in columns to make it easier to read
Apply column formatting to a document, to a section, or to selected text
Use the Columns button in the Page Setup group on the Page Layout tab to quickly create columns of equal width
Use the Columns dialog box to create columns, customize the width and spacing of columns, and add lines between columns

39 Microsoft Office 2007 - Illustrated Introductory, Windows Vista Edition
Formatting ColumnsControl the flow of text in columns
Insert a column break to force text after the break to the top of the next column
Balance columns of unequal length on a page by inserting a continuous section break at the end of the last column on a page
Insert a column or continuous section break using the Breaks button in the Page Setup group on the Page Layout tab

40 Microsoft Office 2007 - Illustrated Introductory, Windows Vista Edition
Formatting Columns
Column break
forces text to the top of the next
column Continuous section break balances the columns on the
page

41 Microsoft Office 2007 - Illustrated Introductory, Windows Vista Edition
Formatting Columns
Hyphenating text in a documentHyphens are small dashes that break words at the end of
a lineHyphenating text helps to control the flow of text in
columnsDiminishes the gaps between words in justified textReduces ragged right edges in left-aligned text
To hyphenate a document automatically, click the Hyphenation button in the Page Setup group on the Page Layout tab
A narrower hyphenation zone results in more hyphenated words and a cleaner look to columns

42 Microsoft Office 2007 - Illustrated Introductory, Windows Vista Edition
Inserting Page Numbers
Automatically number the pages of a document by inserting a page number field A field is a code that serves as a placeholder for
data that changes in a documentClick the Page Numbers button in the Header &
Footer group on the Insert tab to insert a page number field
Select a location, such as bottom of pageSelect a preformatted page number and alignment

43 Microsoft Office 2007 - Illustrated Introductory, Windows Vista Edition
Inserting Page Numbers
Page number fields are inserted in a document header or footer
Page number (in the Footer
area)
Document text (dimmed when the
Footer area is open)

44 Microsoft Office 2007 - Illustrated Introductory, Windows Vista Edition
Inserting Page Numbers Moving around in a long document
Scroll using the scroll barsBrowse by Object button below the vertical scroll bar
Select object to browse by from the palette of object typesObject types include next or previous page, section, table, graphic, or
other item of the same type

45 Microsoft Office 2007 - Illustrated Introductory, Windows Vista Edition
Inserting Page Numbers
Insert Quick PartsInsert a Quick Part field, such as a field for the
current date or current timeUpdate content in field automatically each time you
open the document, orKeep content in field as static text Word uses your computer clock to compute the current
date and timeClick the Quick Parts button in the Text group on
the Insert tab, click Field on the menu, click the field name in the Field dialog box

46 Microsoft Office 2007 - Illustrated Introductory, Windows Vista Edition
Adding Headers and FootersAdd headers and footers to a document when there
is an item you want to appear on every pageA header is text or graphics that appears at the top of
every page of a documentA footer is text or graphics that appears at the bottom of
every page of a documentHeaders and footers often contain information such
as document title, author name, dates, and page numbers

47 Microsoft Office 2007 - Illustrated Introductory, Windows Vista Edition
Adding Headers and Footers
Open headers and footers by clicking the Header button or the Footer button on the Insert tab
Add text to headers and footers by typing in the Header and Footer areasYou can also add symbols, borders, graphics,
and other elements to headers and footersThe Header & Footer Tools Design tab opens
when the Header and Footer areas are open

48 Microsoft Office 2007 - Illustrated Introductory, Windows Vista Edition
Adding Headers and Footers
Document text is dimmed when the Header and Footer areas are openDimmed text can’t be editedThe Header and Footers areas are independent of the
document itself and must be formatted separately
Header & Footer Tools Design Tab
Header area open with content control

49 Microsoft Office 2007 - Illustrated Introductory, Windows Vista Edition
Adding Headers and FootersCreate custom Headers and Footers as a Building BlockTo save
Select all the text including the last paragraph markClick the Header (or Footer) buttonClick Save Selection to Header GalleryComplete the Create New Building Block dialog box

50 Microsoft Office 2007 - Illustrated Introductory, Windows Vista Edition
Editing Headers and Footers
To edit headers and footers, first open the Header and Footer areas:Double-click a header or footer in Print Layout viewInsert, delete, and format content Change the default tab stops in the Header and Footer
areas if the default document margins were changed

51 Microsoft Office 2007 - Illustrated Introductory, Windows Vista Edition
Editing Headers and Footers
Insert symbolsA symbol is a special character, such as a
graphic, shape, or foreign language characterAdd a symbol using the Symbol button on the
Insert tabSymbol
in a header

52 Microsoft Office 2007 - Illustrated Introductory, Windows Vista Edition
Editing Headers and Footers
Create different headers and footers:For the first page of a document or sectionFor each section in a documentFor even- and odd-numbered pages in a document or
sectionUse the tools on the Header & Footer Tools Design tab or use
the Layout tab in the Page Setup dialog box
53 Microsoft Office 2007 - Illustrated Introductory, Windows Vista Edition
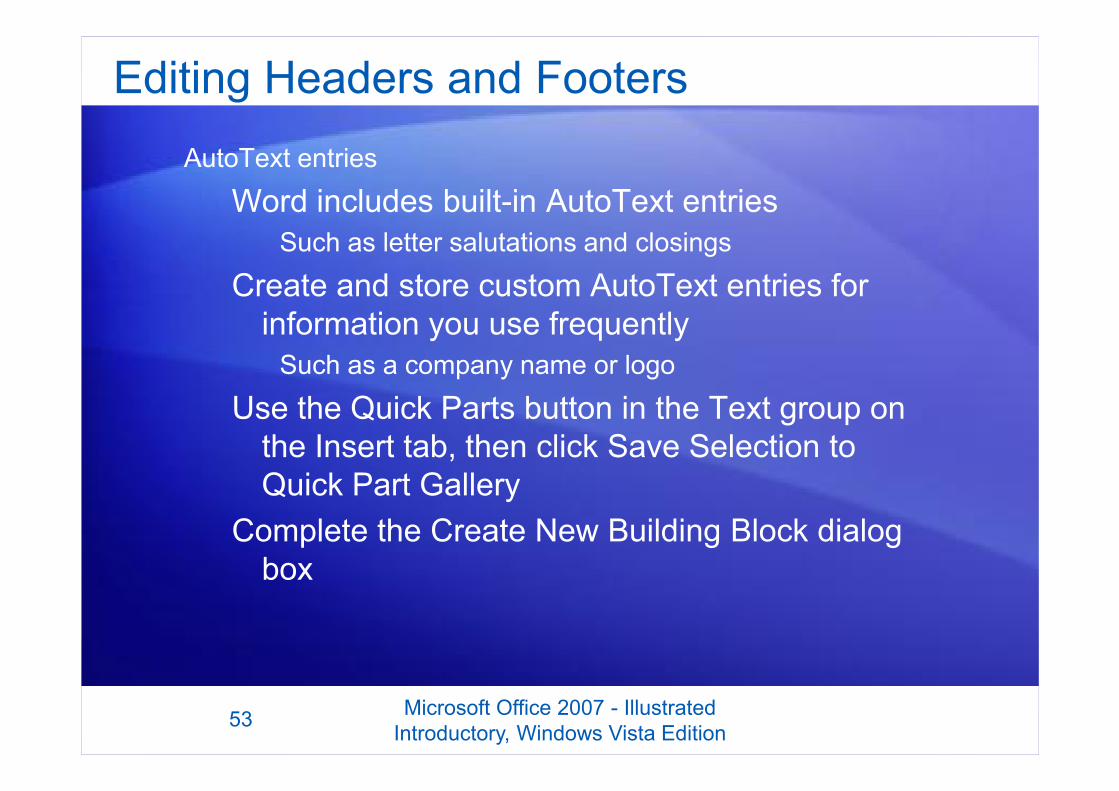
Editing Headers and FootersAutoText entries
Word includes built-in AutoText entriesSuch as letter salutations and closings
Create and store custom AutoText entries for information you use frequently
Such as a company name or logo
Use the Quick Parts button in the Text group on the Insert tab, then click Save Selection to Quick Part Gallery
Complete the Create New Building Block dialog box