graduated background blur - pix2love.com of steps part 1 load the image into photoshop cs6 analyze...
TRANSCRIPT

Richard Seeley Photography
GRADUATED
BACKGROUND
BLUR
RICHARD SEELEY
Agenda
Overview
Example Blur Process in Real Time
Windows (Alt on Win/Option on Mac)
Audience Sample
Overview
Most blur software tends to be one-dimensional
For many wildlife compositions graduated blur is more
realistic
Use Photoshop CS6 Tilt-Shift Blur in the Blur Gallery
Documented Tutorial and this Presentation Available on
my website
www.richardseeleyphotography.com/Presentations

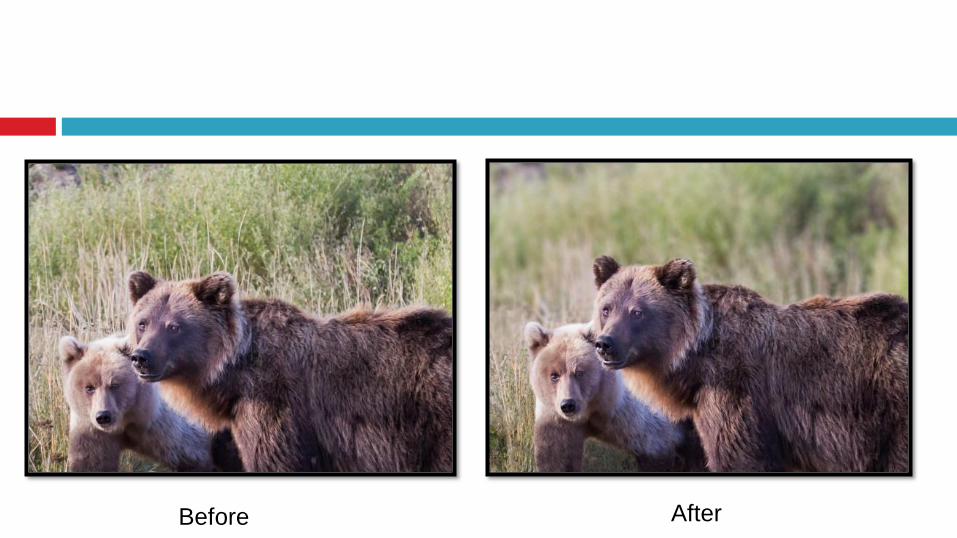
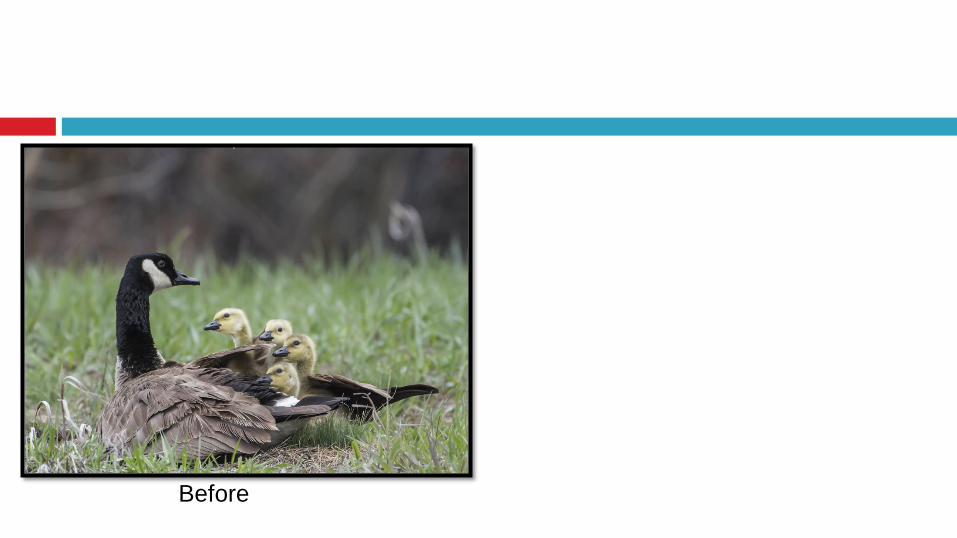
Before - After
Before

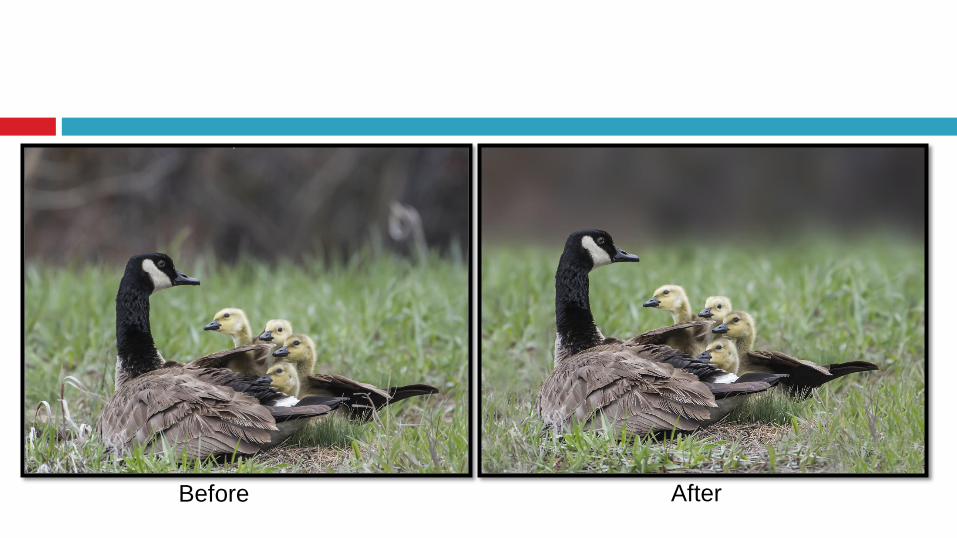
Before - After
Before After

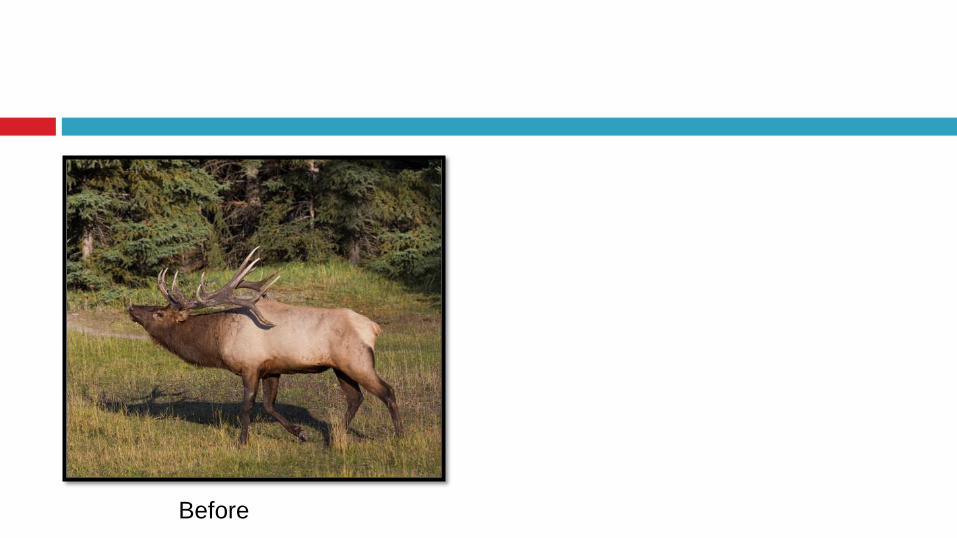
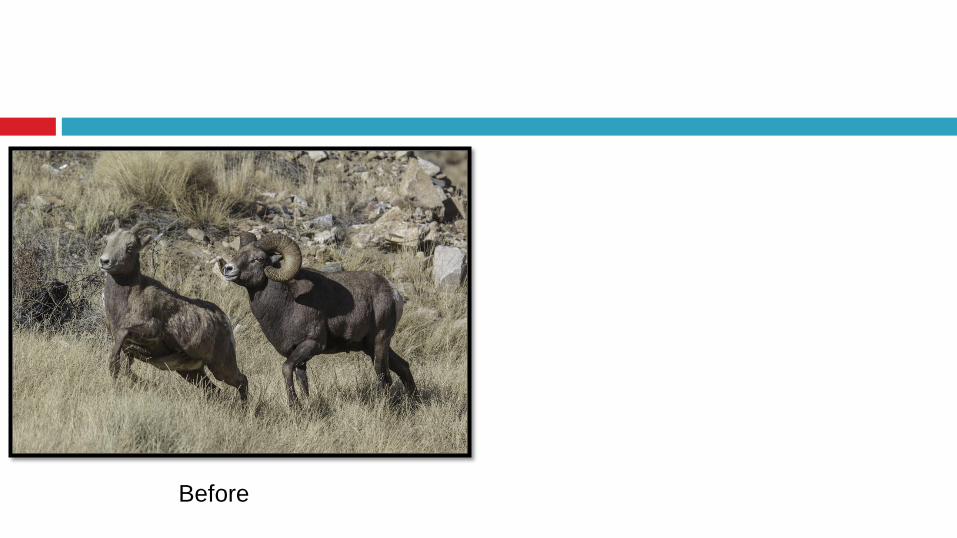
Before
Before After
Before

Before After
Before
Before After
Before

Before After

Assumptions
Basic knowledge of Photoshop
Cloning, layers (masks can be used, but are not
being used here to keep it simple)
Knowledge of use of Selection Tools
Knowledge of use of Refine Edge feature
Knowledge of use of Tilt Shift Blur filter (new to
CS6)

References
http://www.photoshopessentials.com/photo-
editing/selecting-hair/
http://tv.adobe.com/watch/learn-photoshop-
cs6/selecting-soft-edge-objects-with-refine-edge/
http://tv.adobe.com/watch/learn-photoshop-
cs6/blur-gallery/

Summary of Steps
Part 1 Load the image into Photoshop CS6
Analyze potential blur line position
Duplicate the Background layer
Select the wildlife on the Background copy layer, using the Selection Tool, Refine Edge feature and Refine Radius Tool
Copy the selected wildlife to another layer
Apply the CS6 Tilt-Shift blur to the background copy layer
Make wildlife layer visible
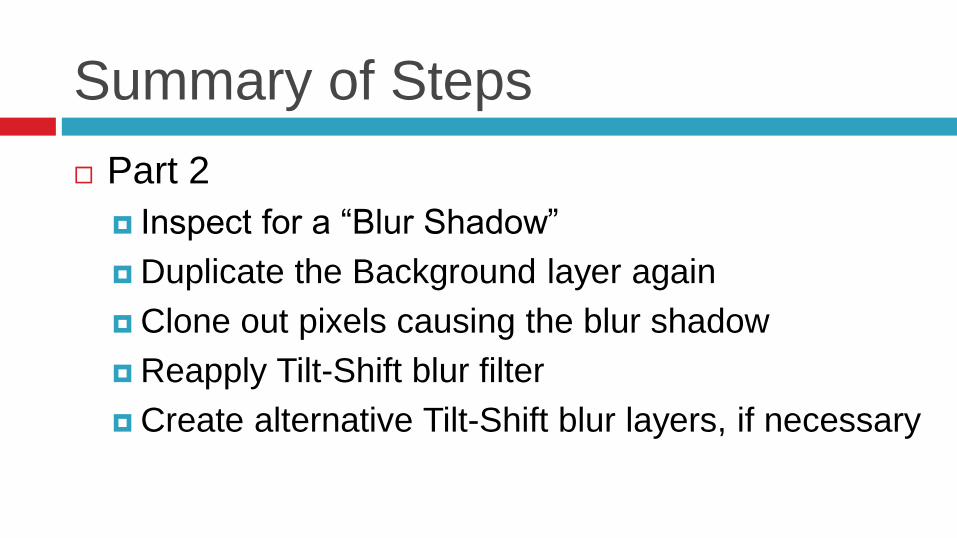
Summary of Steps
Part 2
Inspect for a “Blur Shadow”
Duplicate the Background layer again
Clone out pixels causing the blur shadow
Reapply Tilt-Shift blur filter
Create alternative Tilt-Shift blur layers, if necessary

Example
See Graduated Background Blur tutorial on my
website