growing shoots and sprouts for home use -...
TRANSCRIPT
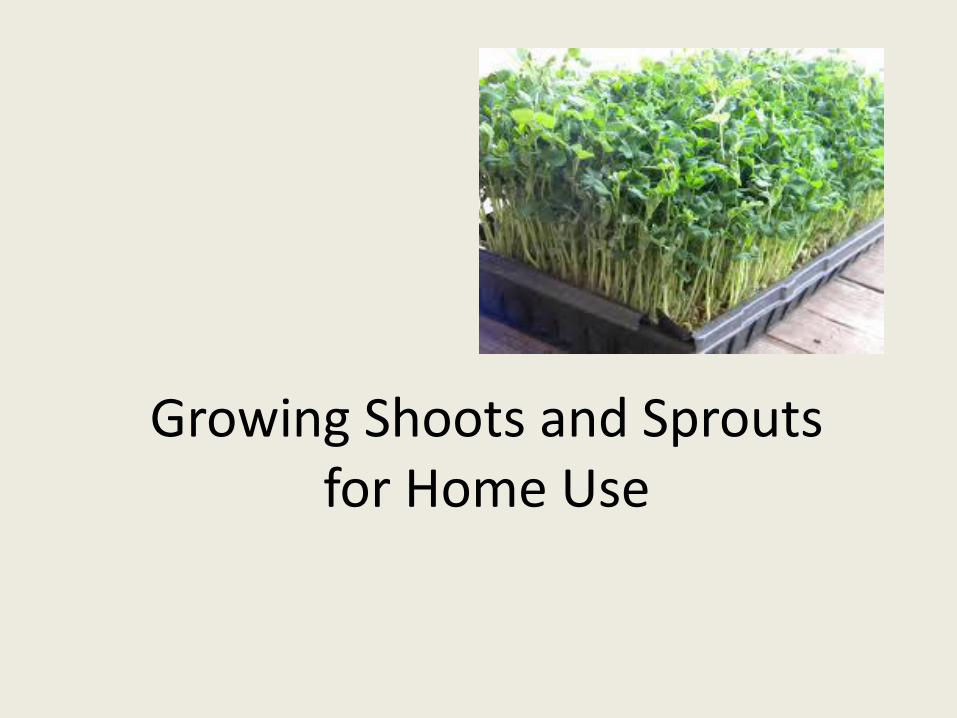
Growing Shoots and Sprouts for Home Use

Ever tried growing your own shoots or sprouts?
Success or Failure?
Any Challenges?

Season Extension • Home grown greens enable us to eat locally year round while
getting the nutrition of fresh green vegetables to balance out the plentitude of storage and root crops available in the fall and winter months.
• Shoots and sprouts consume little space to grow, so they can be grown at almost any scale.
• Consumers can grow their own shoots and sprouts and eat
local greens for a relatively low cost.
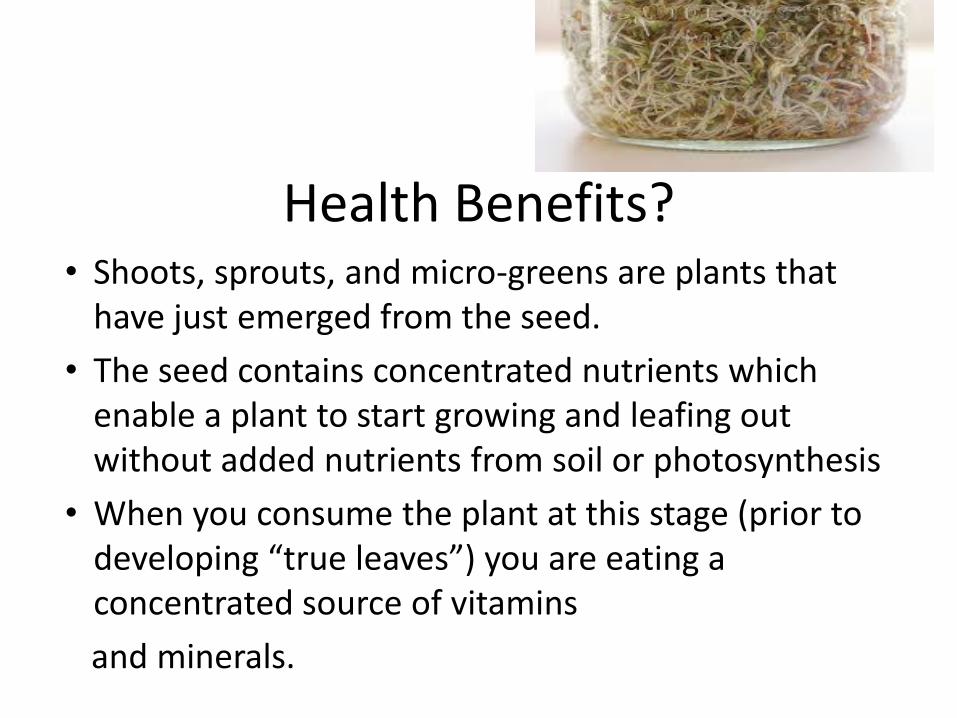
Health Benefits? • Shoots, sprouts, and micro-greens are plants that
have just emerged from the seed.
• The seed contains concentrated nutrients which enable a plant to start growing and leafing out without added nutrients from soil or photosynthesis
• When you consume the plant at this stage (prior to developing “true leaves”) you are eating a concentrated source of vitamins
and minerals.

Health Benefits
• Up to 100 times more enzymes in
sprouts than other uncooked fruits
and veggies
• The quantity and quality of protein and fiber increases in seeds when sprouted
• Essential fatty acids increase during sprouting process, which help to burn fat
• Vitamin content increases when seeds are sprouted, by up to 20 times more

Nutritional Value
• One cup of bean sprouts provides 119% of daily Vitamin C
• Alfalfa sprouts have one of the highest antioxidant levels among fruits and veggies
• Radish sprouts have 29 times more vitamin C than milk, 4 times the vitamin A & 10 times more calcium than a potato
• Lentil sprouts are 26% protein
• Pea Shoots have high levels of vitamin C and vitamin A
• 4 ozs of broccoli sprouts is the nutritional equivalent of 5lbs of broccoli!

What do I do with Shoots and Sprouts?
• Stir fry
• Soups
• Salads
• Sandwiches
• Snacks
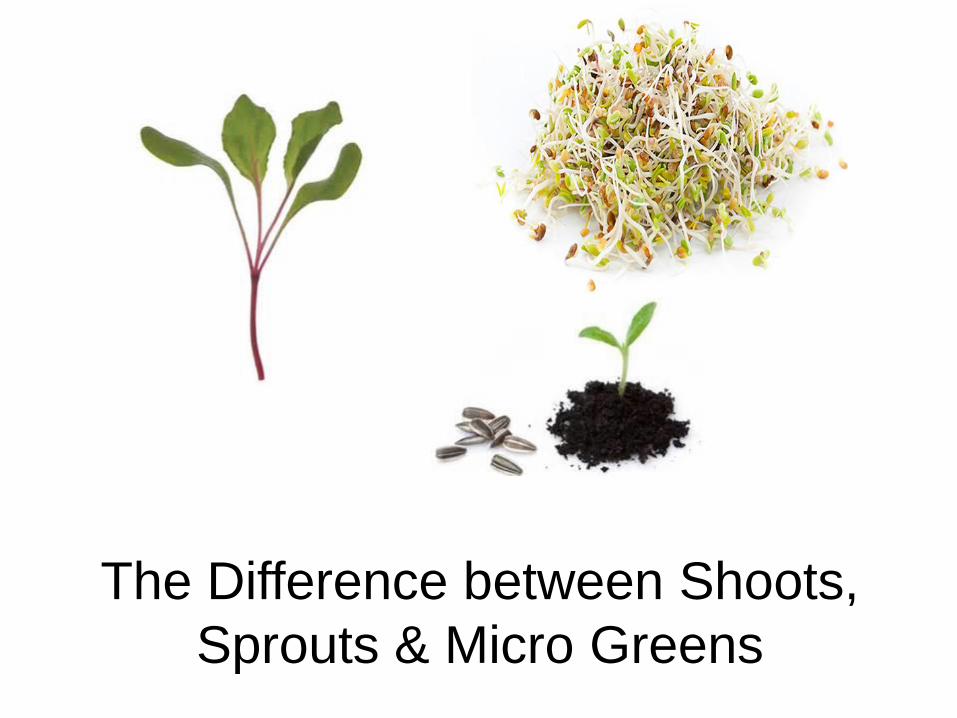
The Difference between Shoots,
Sprouts & Micro Greens

What is a Shoot?
Shoots are seeds which have been
germinated and allowed to grow primary
leaves (embryonic leaves), they tend to be
long and slender and are grown in media of
some type to anchor their root system.
Shoots are often grown in warm dark areas.

What is a Sprout?
• Sprouts are seeds which are germinated just to the point of initial leaf development and without any growing media
• They tend to grow long roots in search of soil, giving them their characteristic “stringy” look
• Sprouts can be grown in the dark or light and at a wide range of temperatures
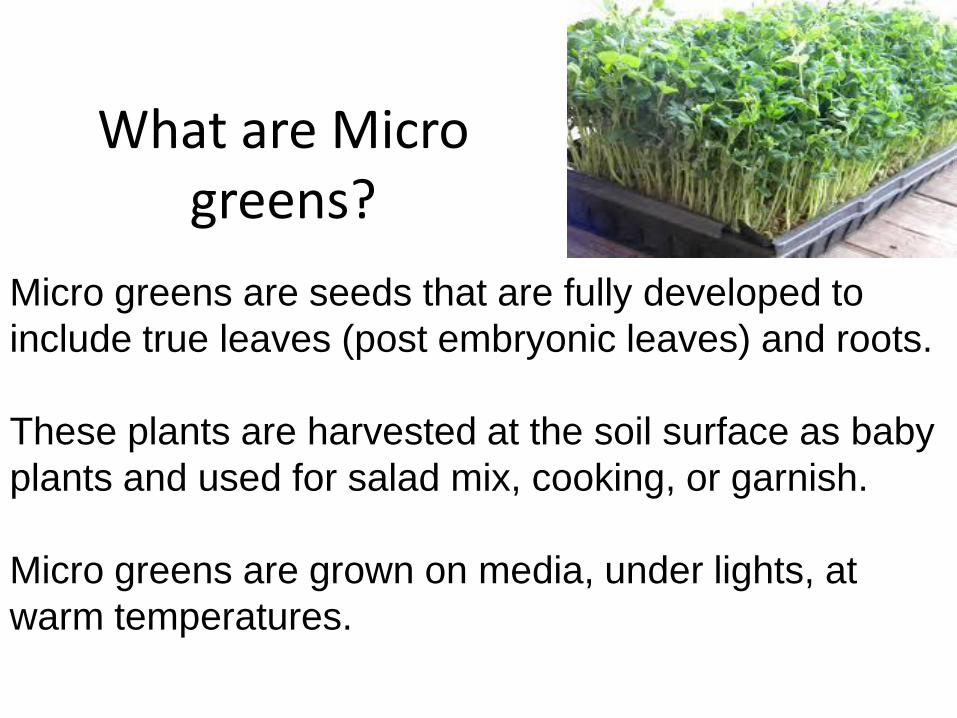
What are Micro greens?
Micro greens are seeds that are fully developed to
include true leaves (post embryonic leaves) and roots.
These plants are harvested at the soil surface as baby
plants and used for salad mix, cooking, or garnish.
Micro greens are grown on media, under lights, at
warm temperatures.

Things to Know
• Eating raw foods carries the danger of E. Coli and Salmonella
• The moist, damp conditions used for sprouting seeds can breed fungus and bacteria
• Sprouting can be safe and easy, but the following steps need to be taken to ensure a safe end product:

How to be Safe • Start with clean trays and containers, utensils and cloth • Buy seed intended for sprouting, which has been tested
for bacteria • Rinse the seeds before soaking • Use clean water for soaking and rinsing • Keep the soaking seeds in a cool place away from light • Soak for no more than 12 hours • Drain and rinse seeds thoroughly before starting to sprout
them • Rinse sprouts several times a day while sprouting them • Drain sprouts thoroughly after rinsing, don’t let them sit in
water • If there are signs of spoilage during sprouting, toss out,
sanitize materials and start again • Store dry sprouts in the refrigerator, usually a paper towel
in a sealable plastic bag works best.

Safety Precautions
If you aren’t willing to assume any risk in eating raw foods you have a few options
–Wash newly harvested shoots or sprouts in a diluted hydrogen peroxide solution and then rinse thoroughly (initial seeds can also be soaked before sprouting)
–Blanch your shoots and sprouts in boiling water before consuming
–Cook with your shoots and sprouts
– Take responsibility for your own health!
SAFETY FIRST!

• The best way to assure food safety when sprouting is to use a reliable seed source.
• All sprouting and shoot seed should be labeled for use as such, having been tested for the presence of dangerous bacteria.
• Don’t use regular garden seed or dry beans from the store- they have not been tested!
• In addition, it is important to note that in order for shoots and sprouts to meet organic standards, only organic certified seed can be used because the seed itself is the end product.
Recommended Sources for Organic Seeds • Johnny’s Selected Seed • High Mowing Seed
Seed Sources

About Growing Sprouts
Sprouts come in many types from
alfalfa, broccoli, radish, mustard,
bean and other
Sprouts can be done many ways with various materials, temperatures, and lighting conditions in small quantities or large. They are a quick crop, making it perfect if you have winter vacations planned.
When grown in the dark, sprouts are “Blanched”, which means they are not photosynthesizing. Some people prefer them blanched, some like them green.

Sprouts: What you Need
• Seed
• Seed Vessels: Food safe buckets, jars, mason jars, cheese cloth sacks
• Straining Materials- cheese cloth works well, screening can work as well for larger scale
• Rubber band or twine to tie cheese cloth
• Paper bag, box, pillow case or dark room to keep sprouts from light

How to Grow Sprouts • Rinse your seeds under warm running water
• Fill jar with water and let soak 6-10 hours in cool dark location
(room temperature is fine, just not next to the wood stove)
• Drain and rinse seeds, using a strainer or cheese cloth to contain seeds
• Put seeds in jar or sprouting vessel and place at room temperature on a counter with a cover or in a paper bag or box to prevent light from shining on seeds
• Rinse sprouts in jar with clean warm water 2 or 3 times a day, straining through cheese cloth. (Be sure to check sprouts for browning, off odors or other signs of contamination) Note that root hairs are present and are not fungus!
• Drain completely each time you rinse, sprouts should be moist but not wet or sitting in water. Leave jars tipped on side to prevent seeds from being too wet.
• Sprouts will be ready when they shed seed coats and have grown long “tails”
• You can green up your sprouts by placing in light for a few hours before rinsing and storing them

When are Sprouts Ready?
• Each variety of sprout will vary in optimum harvest timing however there are general guidelines for all sprouts
– You ideally want 80% or more of the sprouting seeds to shed their hulls. This way you are ensuring you are eating them at peak nutrition.
– You don’t want to let your sprouts go too long (100% leaf out for several days) or you also risk losing peak nutrition as the plants will start to break down their own nutrient reserves once they develop leaves and have no rooting media.

Sprouting Chart Type Days Yield Notes
Alfalfa 3-5 1 Tbs = 1.5 cups
Mild & nutty
Broccoli 5-7 1 Tbs = 1.5 cups
Spicy
Radish 2-5 1 Tbs = 1.5 cups
Spicy
Mung Bean 4-5 ¼ cup = 1 cup Mild/ Hearty texture
Fenugreek 3-5 1 Tbs = 1.5 cups
Rich/ aromatic

About Growing Shoots
• Shoots are usually corn,
sunflower or peas (generally large seeds!)
• They are grown at relatively warm temperatures, especially sunflowers at 70 degrees or higher
• Peas and corn can be grown blanched to encourage tall growth and maintain tenderness, sunflowers are grown in the light
• All shoots need some media to stabilize the plant as it germinates and grows tall

Shoots: What you Need
• Seed
• Flats: Plant Flats, Cookie Sheets, Egg Cartons, Aluminum Pans or get creative!
• Media- sand, pearlite, vermiculite, potting soil
• Covers for flats- empty flats, newspaper, pillow cases
• Watering Can or bottle with ability to “sprinkle”
• Scissors to Harvest

How to Grow Shoots • Rinse Seeds thoroughly under warm running water • Soak in plenty of water over night, peas soak up a lot of
water, keep in cool dark place for 8-12 hours maximum • Strain in morning and rinse with warm water • Fill your chosen vessel with clean media, about 3/4” – 1”
deep • Place seeds over the media, spacing consistently and closely,
¼” apart or less but not consistently touching. • Mist or lightly water peas to keep media moist, but not wet. (No need to cover seeds with media!) • Even germination can be aided by pressing seeds firmly into
media, not burying! I stack a clean flat full of media on top of new shoots for a day to level media and secure seeds. Remove weighted flat after a day or two.
• Cover , if blanching, with newspaper, cardboard box or upside down flat to block light (continued…)

How to Grow Shoots continued • Place in a warm area such as next to woodstove, near heater,
on top of refrigerator (quicker and more even germination is obtained at warmer temperatures though room temperature is fine)
• Check water once a day, water only if dry to touch. Should never be wet or dry, just moist. Misting is best.
• Shoots are ready when they are 4-8” long and just as they start to develop leaflets, but before they leaf out (corn should not develop leaves)
• You can remove the cover on the last day or two to green up shoots or leave them blanched, depending on your preference..
• Cut off at soil level with scissors, rinse and remove any hulls. • Harvest may be in successions.

When are Shoots Ready? • Shoots should be harvested when they have established
primary leaves, but before true leaf development for most types.
– You ideally want maximum height without substantial true leaf development. Shoots can become tough or even “fuzzy” when harvested too late or allowed to develop true leaves. Corn in particular should be harvested before leaves develop.
– Ideally you will have shed seed hulls from 80% or more of your crop for crops like sunflower. You may need to mechanically aid in hull removal.
– For some shoot crops, you may experience erratic germination times (due to seed depth and growing temperatures), therefore you may harvest your greens in successions- prolonging your harvest over a week or two as they develop.

Shoot Chart
Type Days Notes
Corn 6-8 Gets tough and fibrous if leafs out, very sweet
Pea 8-12 Tasty if left to grow longer. Fresh pea pod flavor.
Sunflower 9-14+ Needs light and higher temps., strong nutty flavor
Wheat (wheatgrass)
7-10 Very fibrous, best if juiced. Mild flavor.

Micro greens
• Micro greens can be almost any type of plant from lettuce and beets to cabbage and herbs
• Micro greens are grown in media exactly the same as you would grow transplants, only seeded very densely.
• They require light and warm temperatures to develop leaves
• They are an expensive crop to grow due to the amount of seed required, the heat and light cost, and the relatively minimal productivity

Storing Your Harvest! Shoots - are easily stored in containers or plastic bags. Being a larger, hardier green they aren’t as likely to mold or turn brown as sprouts. They can be washed in clean water, allowed to air dry on a cookie sheet or paper towels then placed in a storage container or bag in the refrigerator, for up to 7-12 days. I tend to store mine unwashed. If the ends that were trimmed turned brown it is simply oxidation, if the shoots turn brown it is time to dispose of them and start a new batch.
Sprouts - are also best stored containers or plastic bags. Being that sprouts are tiny and full of nooks and crannies, it is important to allow for full drainage after washing your harvest. It also helps to tuck paper towels into the storage vessel to absorb residual rinse water. With delicate sprouts, the trick is to find a balance between dry and excessive moisture (leading to brown slimy sprouts). Anticipate your sprouts to last between 5-8 days in refrigeration, longer if your moisture levels are optimum, however trust your judgment - smell and touch your sprouts to be certain they are still fresh. (Not having off odors or being slimy to the touch)