gui/projects lesson 13 level 1 - marquette university
TRANSCRIPT

Level 1Lesson 13
GUI/Projects

Review of Last Week’s Assignment
1. Inches Converter
2. Grid Project
3. Printing Words Backwards

GUI
● GUI: Short for “Graphic User Interface” which allows a user to interact with a program through buttons and icons
● GUI’s use libraries ○ Tkinter
● Programming is done by handling “events”○ Event loops will listen for button clicks or keyboard type
in order to run code from those “events”

Downloading PythonGo To: python.org
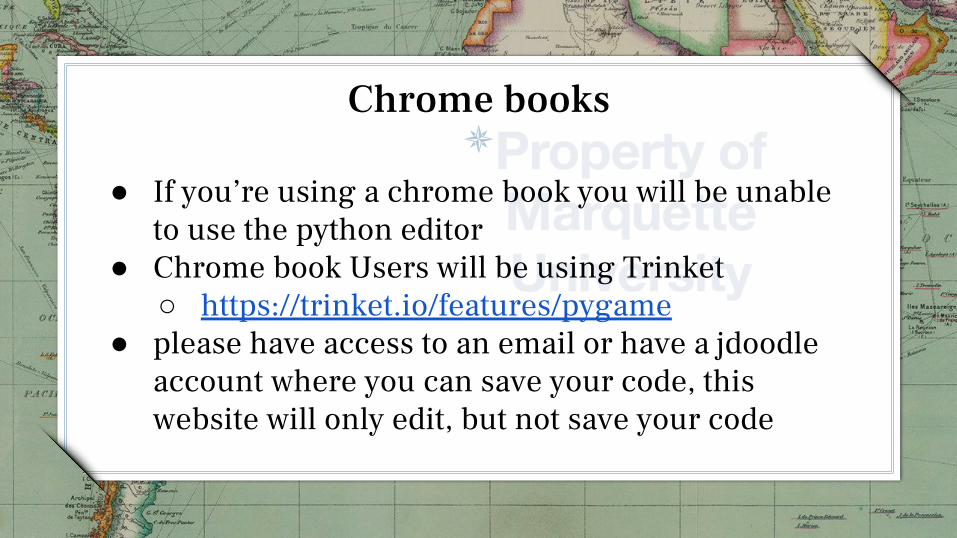
Chrome books
● If you’re using a chrome book you will be unable to use the python editor
● Chrome book Users will be using Trinket○ https://trinket.io/features/pygame
● please have access to an email or have a jdoodle account where you can save your code, this website will only edit, but not save your code
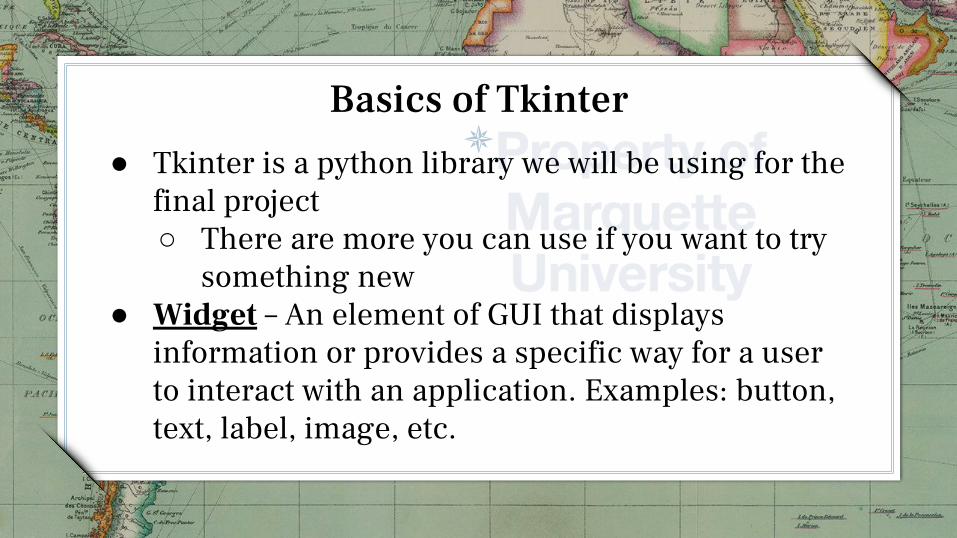
Basics of Tkinter● Tkinter is a python library we will be using for the
final project ○ There are more you can use if you want to try
something new ● Widget – An element of GUI that displays
information or provides a specific way for a user to interact with an application. Examples: button, text, label, image, etc.

Tkinter● First: if you ever need a reference to a library or
built in type in python if you type help( “name of library”) into interactive mode, it will give you the user guide

Tkinter Basics ● Step One: Create a user Window and start the
event loop import tkinter
top = tkinter.Tk()
top.mainloop()
● Test this in your editor (make a file don’t use interactive mode)

Adding Functionality● Label widgets add text or images to the screen of your user
window○ Label function takes 2 parameters: name of your
window and what you want to appear○ Label(window, action)
● Button Widgets allow a user to click and then execute some function○ Simple buttons takes 3 parameters, the name of the
window, text to display in the button, and the action○ Button(window, “text”, command = set_quit)

Layout● To add a label/button/etc to the screen we use what are
called Layout Managers○ pack(), grid(), place()○ only choose one of these methods per window don’t mix
them● Pack() is easiest to use because you don’t need to explicitly
declare coordinates of where to place an item ○ Or use left, right, etc
● Grid()
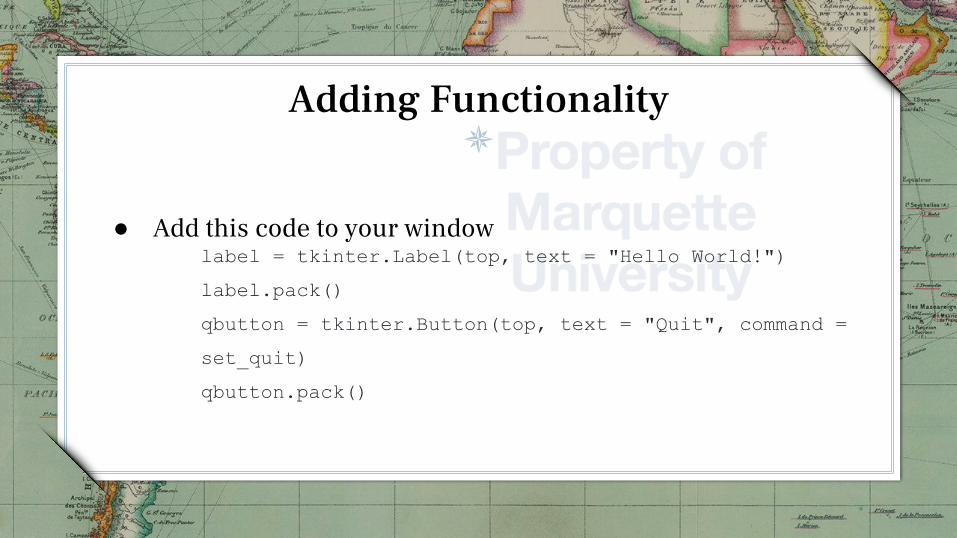
Adding Functionality
● Add this code to your windowlabel = tkinter.Label(top, text = "Hello World!")
label.pack()
qbutton = tkinter.Button(top, text = "Quit", command =
set_quit)
qbutton.pack()

Code For the Button
● If you run just the code from the last slide the button won’t do anything, that’s because we need to define the function set_quit
● The code is simple and uses the .destroy() function which will end your gui environment
● Code:#define the quit function
def set_quit():
top.destroy()

Additional functions● title(“title”) -->function will change the text at the
top of your gui○ top.title(“First GUI”)
● Use geometry() function to change the size of your window or other objects (like buttons) (use with grid layout manager) ○ top.geometry('300x100')

Additional Functions
● Entry() widget allows you to make a text box that will take a user input○ To get the input we can either use the .get() method or
use a class method called StringVar()e = tkinter.Entry(top)
e.pack()
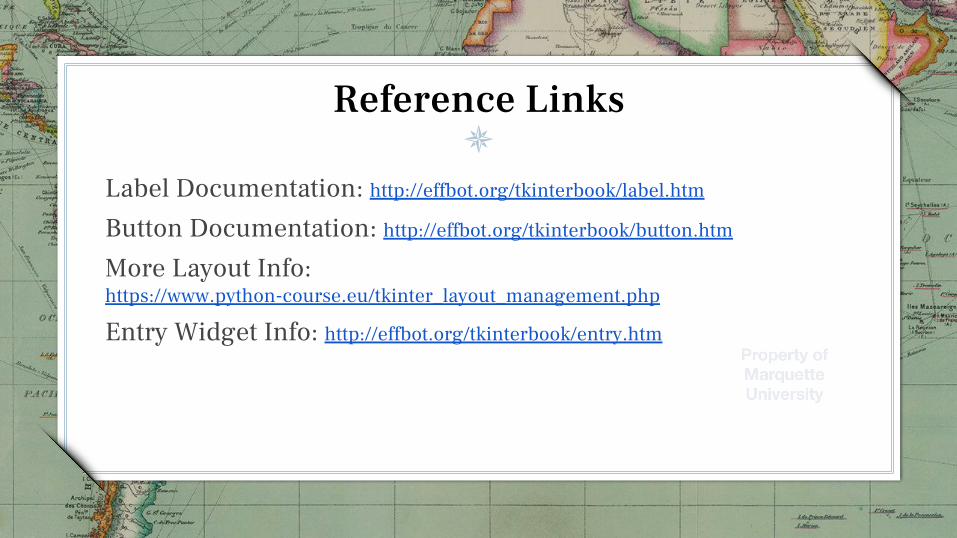
Reference Links
Label Documentation: http://effbot.org/tkinterbook/label.htm
Button Documentation: http://effbot.org/tkinterbook/button.htm
More Layout Info: https://www.python-course.eu/tkinter_layout_management.php
Entry Widget Info: http://effbot.org/tkinterbook/entry.htm
Follow Along: Number Converter
● Here is a link to the test gui code from today, located in the ClassDemo.py file
● The converter code is located in the convert.py file
● Remember when testing to uncomment the last line of the converter to test the second gui
https://github.com/kt3a/GWCPython

Try Some of these out yourself!