herbal herbarium project
TRANSCRIPT

HERBAL HERBARIUM PROJECT

LEARNING OBJECTIVES• Describe herbal herbarium as a collection of
herbal specimens for reference and its purposes
• Describe the steps in preparing reference materials for herbarium as well as performing them

“A herbarium is a collection of
preserved plant specimens. These specimens may be whole plants or plant parts: these will usually be in a dried form mounted on a sheet but, depending upon
the material, may also be kept in alcohol or other preservative. The same term is often used
in mycology to describe an equivalent collection of preserved fungi, otherwise known as a fungarium.
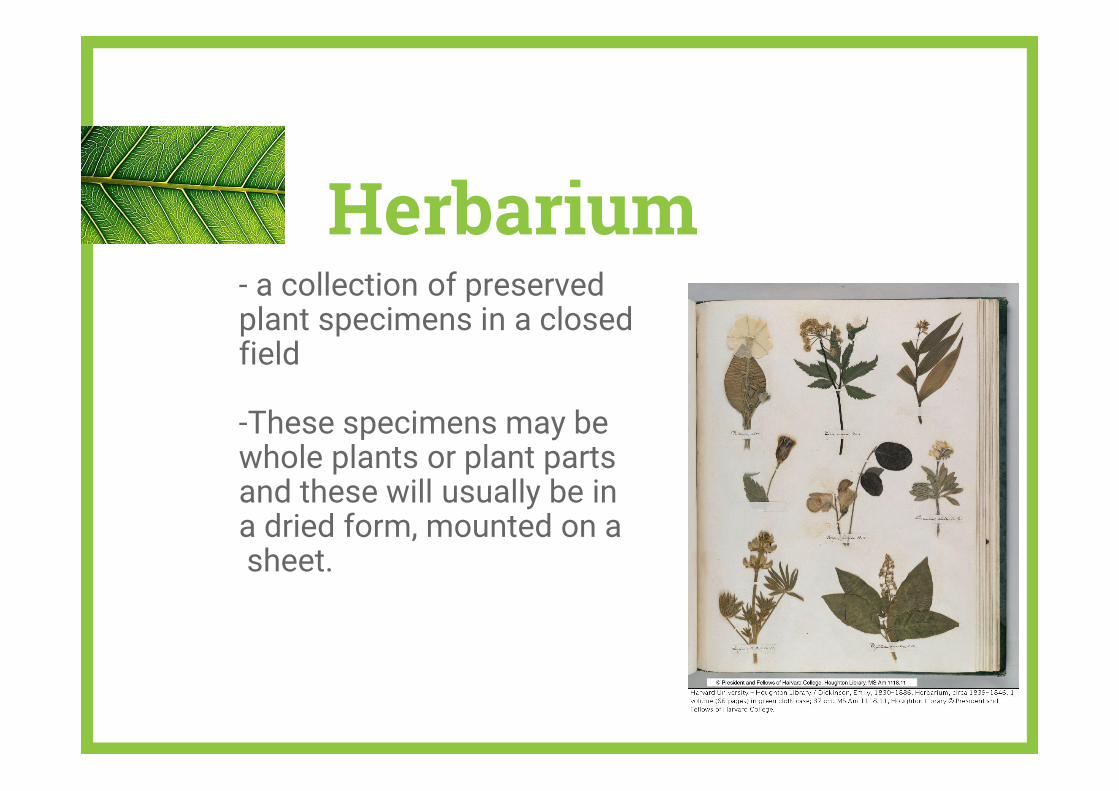
Herbarium- a collection of preservedplant specimens in a closed field
-These specimens may be whole plants or plant partsand these will usually be in a dried form, mounted on asheet.

Herbarium◍A herbarium (plural: herbaria) is a collection of preservedplant specimens. The specimens housed are predominantlydried and pressed, although herbaria often store 'wet' plantcollections preserved in 70% ethanol. Herbarium specimensform an important recorded of what plants grew where overtime.◍They may have been produced as a voucher for anenvironmental survey or botanical research, and serve as apermanent record allowing anyone to go back and check theidentification, re-sample or repeat research. The production ofherbarium specimens is therefore an important, but oftenforgotten aspect of botanical studies
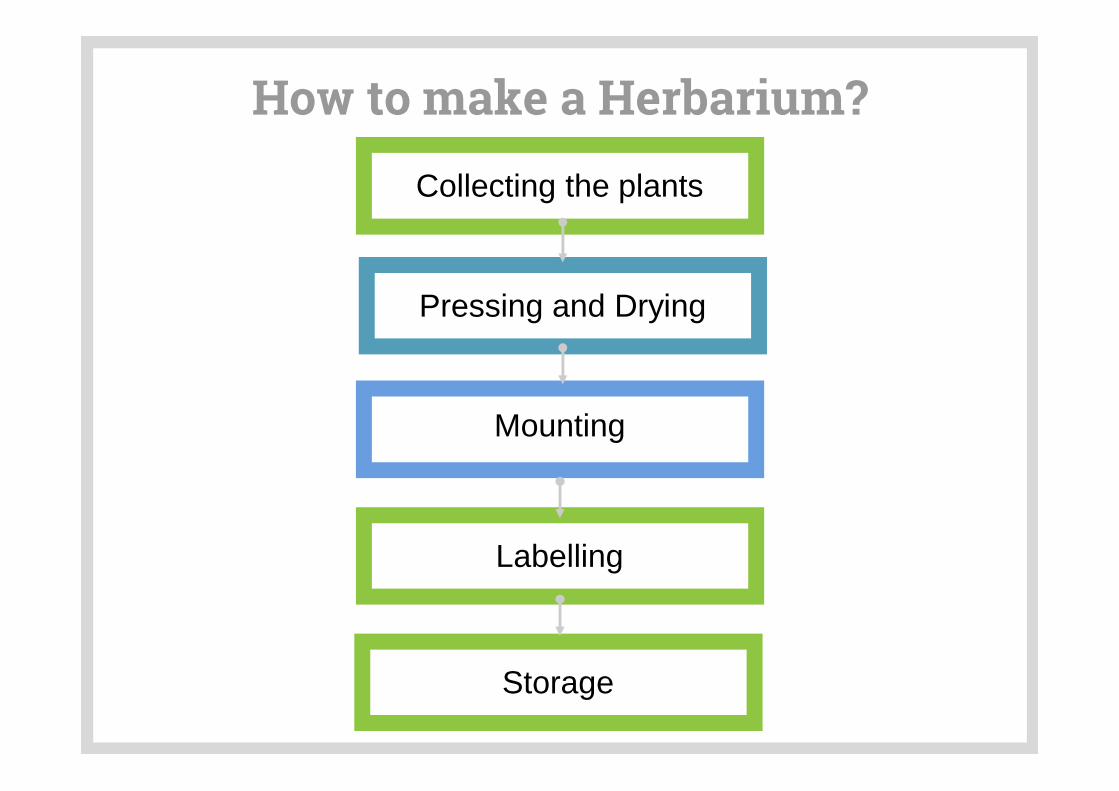
How to make a Herbarium?
Collecting the plants
Pressing and Drying
Mounting
Labelling
Storage

Collecting the plants◍ Choose good representatives of the plants species
◍ Be careful that these plants must include root, stem, flower and fruit
◍ Take notes and record by taking photos in the field at the time of collection,
◍ Note these factors below:“Date, collection number, location, habitat, habit, special characteristics”

Collecting the plants◍Every specimen should be accompanied by comprehensive notes retained in a collectingnote book. These notes may not only aid in identification of the material, but will later be usedto complete the information on the herbarium label.
◍1) Collection number: This is a serial number specific to a collector and aspecimen. The number may start at 1 and continue through the collector's life time.
◍2) The name of the plant: This is important as it helps the collector remember theindividual specimen even if the labels are accidentally lost or mixed. Even if thecollector has no idea what the specimen is, it is sometimes useful to give acompletely arbitrary name such as "Lacy Moss" or "Big Leaf".
◍3) Locality: This should be as detailed as possible, including the name of towns,roads and so on in the vicinity, as well as Township, County or District. The latitudeand longitude or the UTM Grid Reference and Map Number are also important.

◍4) Description: This should include everything about the plant that is not obviouson the herbarium specimen. Essential items are the height, type of bark, whetherthe stem is upright, sprawling or drooping, and obvious smells, whether the plant isclumped, single or growing in patches and the presence of creeping orunderground stems. Flower and fruit Color should also be noted as these oftenfade on dried specimens.
◍5) Habitat: This should include the general habitat as well as more specificdetails of micro-habitat. Important points are type of soil or other substrate (sand,clay, granite, dead wood, other vegetation), associated species, moisture andaspect (fully exposed on a south facing bank; in a damp hollow under dense scrub,etc). The more careful and detailed such notes are the more useful they become.◍6) Date.◍7) Names of collector(s).◍8) Notes: Space should be left to note the name of the person who makes thefinal determination (identification), the date on which it is made and the place werethe specimen is sent or stored. The receiving herbarium will add their ownaccession number to the specimen.
Collecting the plants

Collecting the plantswhat to collect???
◍The whole of small vascular plants should be collected including the underground portion.◍specimens containing all essential features (all leaf types, twigs, flowers, fruits and so on) must be cut from the plant. If the species is a large herb such as a thistle, the specimen should include basal leaves as well as enough stem to show the range of stem leaves and flowering and fruiting material.◍Shrubs and old and new twigs, buds wherepossible and fruit and/or flowers. Tominimize damage to parent trees and tospecimens, twigs should always be cut offcleanly with a sharp knife or pruners.
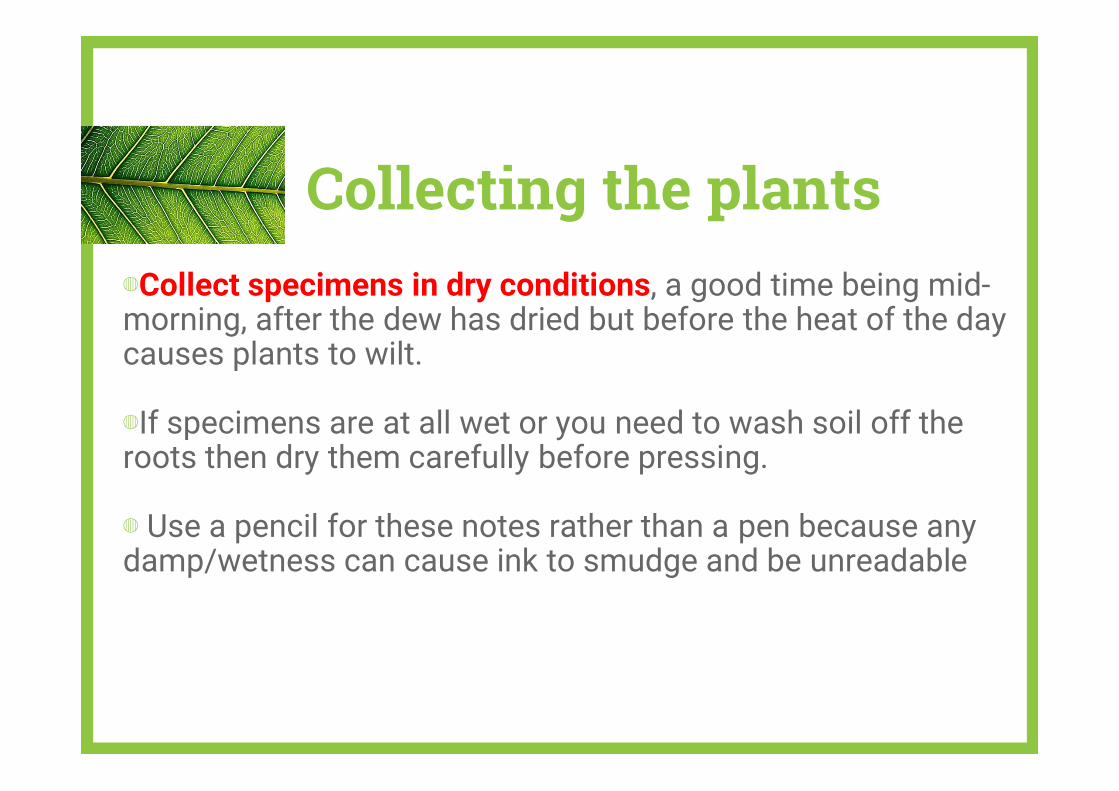
Collecting the plants◍Collect specimens in dry conditions, a good time being mid-morning, after the dew has dried but before the heat of the day causes plants to wilt.
◍If specimens are at all wet or you need to wash soil off the roots then dry them carefully before pressing.
◍Use a pencil for these notes rather than a pen because any damp/wetness can cause ink to smudge and be unreadable

What NOT to collect
1. Species known to be extremely rare (digitalphotographs can be used for identification)
2. Injurious plants. Be aware of species likepoison ivy, poison sumac, giant hogweed,and stinging nettle that may cause injury.Only collect them with proper protectivewear.

1- To obtain records and specimens of plants, either for a personal collection or to be stored in a herbarium. Properly run herbaria where specimens are suitably stored and catalogued have great scientific value.
2- The major reason for plant collecting is in order to later identify an unknown specimen encountered during fieldwork. Often these specimens consist of small, atypical plants with no flowering or fruiting parts.
The purposes of collecting, there are two main reasons for collecting plants:

Materials for plant collecting:
◍Plant press◍Plastic bags or nylon bag◍Garden secateurs & trowel ◍Small note book & pencil ◍Jeweller’s tags (optional) ◍Camera (optional) ◍GPS & altimeter (optional)

PRESSING AND DRYING

PRESSING & DRYING
◍Plants must be clean before pressing◍They must also be put in a plastic bag or nylon bag, if it is
hot they must be watered to be fresh◍Place your plant between folded-out sheets of newspaper,
although flimsy or greaseproof paper is preferable fordelicate material
◍Arrange the plant carefully, trying to avoid overlapping.◍When you have finished arranging the specimens within
the newspaper sheets (or whatever combination of papersyou have chosen), you then need to intersperse thembetween corrugated card sheets to aid ventilation.
◍Finally place everything in your press and tighten well.

PRESSING & DRYING◍For the first two to four days (24-48 hrs) you will need to checkdaily and change the blotting paper and/or other surroundingpapers, and retighten the press, but as the plants dry thesechecks can become less frequent.◍Warmth may be used to improve the drying rate, An oven set at 30 - 50°C may be used but the heat must be no higher, otherwise the specimen will become very brittle and damaged.

Materials for pressing
◍Plant press ◍Newspaper ◍Greaseproof or flimsy paper for delicate structures ◍Blotting paper ◍Corrugated card

MOUNTING◍Cartridge paper for mountingyour specimens should preferably be A3 size and acid-free; the weight should be a minimum 180g/m2, and ideally with a rough textured surface
◍Using only one side of your thick A3 cartridge paper, arrange your specimens carefully, making sure that they represent the way the plant grows naturally

MOUNTING◍Mounting is the process of affixing a dried pressed plant and its label to a sheet of heavy paper. This provides physical support that allows the specimen to be handled and stored with a minimum of damage.
◍Prior to attachment, the specimen and its label are laid out on the paper to allow maximum observation of diagnostic (usually reproductive) features as well as the range of variation in vegetative structures, including both sides of the leaves.
◍Plants are generally positioned in a life-like arrangement (that is, with roots or lower stem toward the bottom of the sheet and flowers toward the top). When laying out the plant, be sure to leave space on the sheet for the specimen label, annotation labels, and institutional accession seal.

MOUNTING◍A paper envelope or packet should also be attached to the sheet to contain any fragments of the specimen that break off over time. Once the optimum arrangement of the specimen has been determined, it is attached to the sheet using a combination of glue and strips of gummed linen cloth tape.
◍Glue is used sparingly to attach the larger portions of the plant, such as stems,large leaves, and fruits. Gummed linen mounting strips are then applied to reinforceportions of the plant that might be torn loose as the specimen is used. Large orbulky items may need to be sewn onto the sheet with a sturdy linen thread.
◍The objective is to secure the specimen firmly to the mounting paper, while leaving some pieces of the plant loose enough to be removed if necessary.

MOUNTING◍The best way to learn proper mountingprocedures are through hands-on training andpractice with a variety of plant specimens.Because herbarium specimens are intended forlong-term study and storage, it is critical thatthat all supplies used for mounting be bothdurable and archival. Archival denotesmaterials that are free of acids and othercompounds that may cause them or thespecimen to degrade or discolor over time.

LABELLING◍Scientific name: Ranunulaceae, Ranunculus ficaria (family, genus and species)
◍Vernacular name(s): Lesser Celandine, Pilewort
◍Collector’s name and specimen number: Lawrence 1
◍Date of collection: 20th March 2003◍Locality: Orleans House Gardens, Twickenham, England
◍Habitat: damp, clay soil, 20 yards from riverbank, growing in dappled shade on the edge of deciduous woodland; nearby plant is Dock (Rumex obtusifolius).
◍Habit: perennial herb, up to 20 cm tall, with stems creeping and rooting
◍Characteristics: leaves hairless glossy green, flowers bright glossy yellow, turning white with age

STORAGE ◍The best preservation practice of herbarium specimens are temperature, moisture, ventilation and infestation control.◍Ideal conditions are:◍Temperature = 20-23 degree C ◍Humidity = 40 – 60%◍Adequate ventilation allows for air circulation to prevent entry of humid air or dust and fungal infection.

Uses of Herbarium◍Herbaria are invaluable resources for the study ofbotany, taxonomy and horticulture.◍Herbarium specimens provide a historic record ofwhat was growing in a particular spot, and when. Theyprovide insight into history, evolution, plant-breeding,distribution, taxonomy, variation and relationships ofplant species.◍They can also help identify unknown specimens ofboth wild and cultivated plants, and aid in theproduction of guidebooks, checklists and identificationmanuals.

Let’s protect our plant!
THANK YOU!

LEARNING CHECK1. DESCRIBE FOUR STEPS INVOLVES IN
MAKING HERBARIUM VOUCHER2. STATE THE MAIN PURPOSE OF
COLLECTING PLANT