how i dyed my makie doll
TRANSCRIPT

How I dyed my 3d PrintedMakie Doll
By Lorna Hamilton-Brown MBE

What I used
• Washing up liquid• Bag of Makie scraps• Dylon multi purpose dye (I used Coffee and other colours to get the
right shade)• Vinegar • Water• Kettle• Cooker• Rubber gloves• Pyrex Bowl (use for dyeing only)• Saucepan• Spoon for stirring (use for dyeing only)• Tongs for taking pieces out of the dye

Step 1 – I removed the doll’s eyesand wig!

Step 2 – I washed my doll

Step 3 – I dissembled my doll
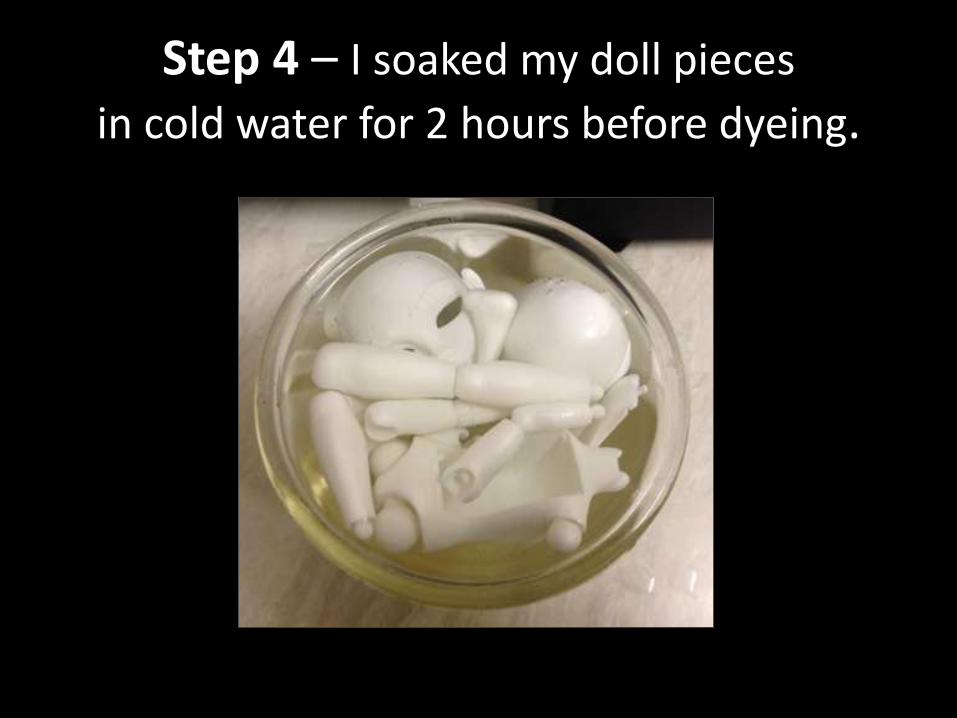
Step 4 – I soaked my doll pieces
in cold water for 2 hours before dyeing.

Step 5 – I mixed the dye
• Pour 400 ml of boiling water into a Pyrex bowl.
• Add ½ tsp of dye and stir well.
• Take your time stirring the dye until is all dissolved. DO NOT RUSH THIS STAGE!!!
• Add 100 ml of vinegar stir well
• Pour boiling water into a large saucepan to about 2 inches in depth. Place Pyrex bowl into the saucepan.
•
Step 6 – I did a test dye on scraps• To get the darker colour took me approx. 20 mins.
• Start timing when you put the pieces into the dye.
• Every 5 mins bring the saucepan to the boil then turn down to a simmer straight away.
• Add more boiling water to the saucepan if need to avoid the pan drying out.
• Continue to stir the pieces until the required colour is achieved.
• If the colour is not right and you need to add more dye remove doll pieces first. Mix dye until it is fully dissolved then add doll pieces.

Step 7 – BEFORE inserting doll pieces into dye
• Make sure the arm joints and leg joints are bent as you place them in the dye to avoid white joints.
• ½ way throughthe dyeing process straightenthe legs and arms in the dye.
This will ensure theball joints dye evenly on both sides, and avoid an un-dyed joint.

Step 8 – insert doll pieces into dyefor the required time. Stir making sure
piece are covered by the dye. Half way through straight arms and legs.

Step 9 – I put the dyed pieces into boiled water for a few minutes.

Step 10 – Run cold water on the dyed doll pieces until water runs clear

Step 11 – leave pieces to dry

Step 12 -Re-assemble your dollNOTE: Legs and arms are marked left and right

My Makie doll before and after dyeing
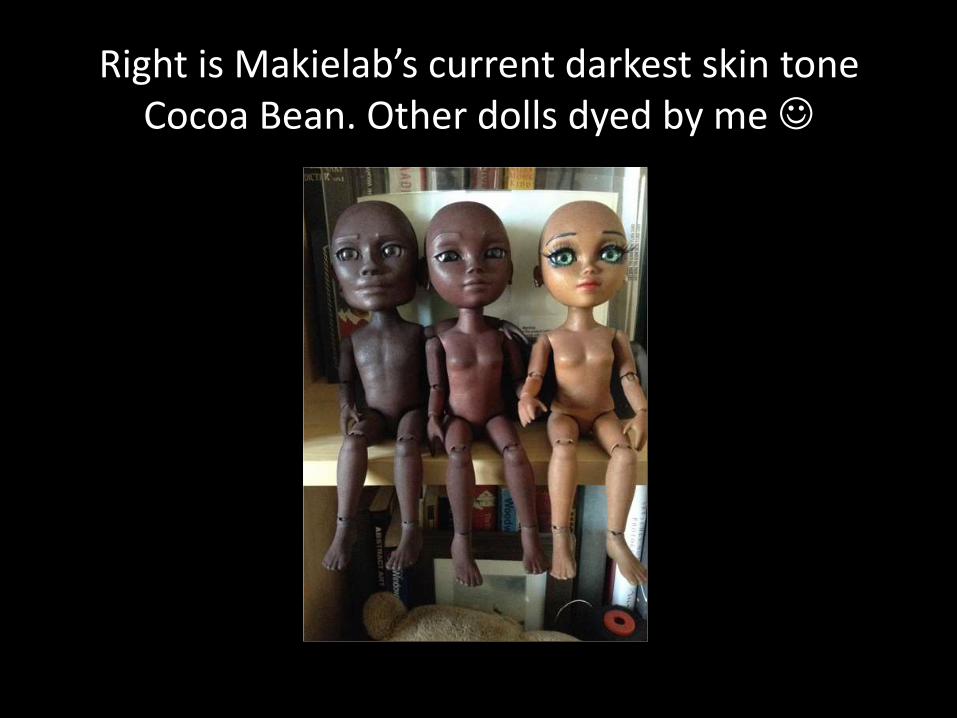
Right is Makielab’s current darkest skin tone Cocoa Bean. Other dolls dyed by me