how i made my film poster
TRANSCRIPT

How I made my Film Poster
By Katie Hall

Here is the process of me making my film poster. I used the programme GIMP 2.0 to create my poster.I started with my original image:

I then took it and added some fog for the dark background. I generated my own fog
using one of the tools. I then used the eraser tool to erase it where I didn’t want
it
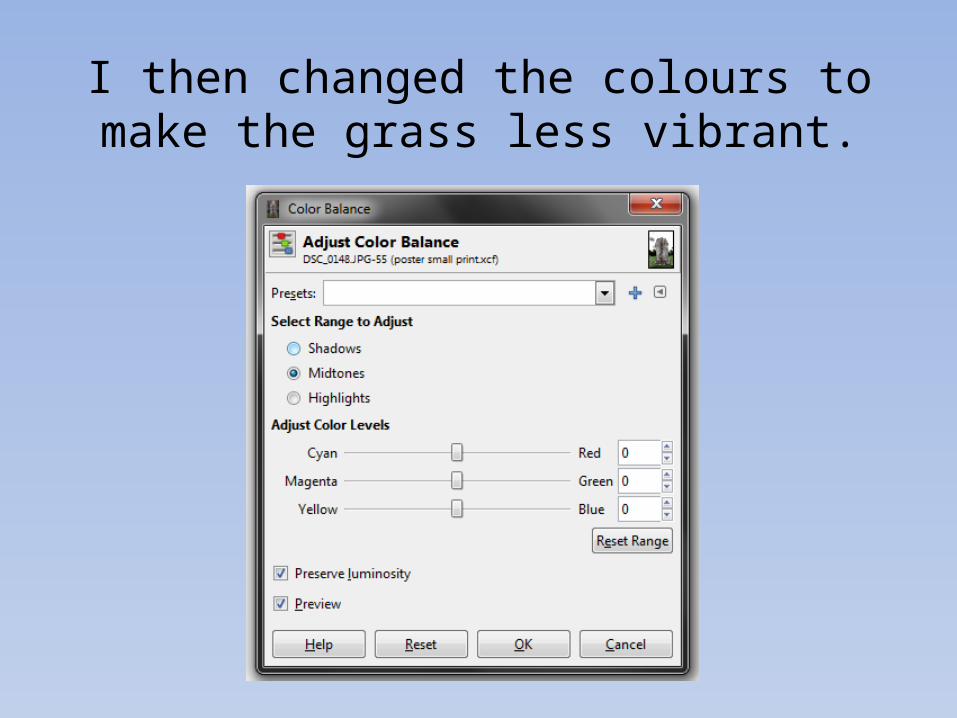
I then changed the colours to make the grass less vibrant.
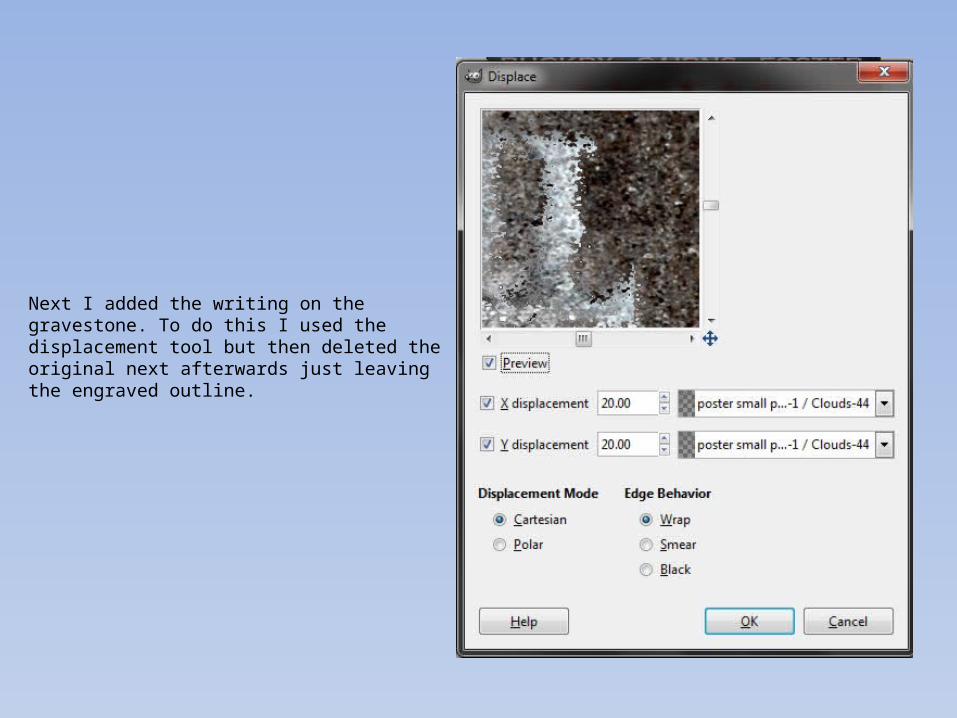
Next I added the writing on the gravestone. To do this I used the displacement tool but then deleted the original next afterwards just leaving the engraved outline.

Next I added a drop shadow to add the 3D engraved effect to the text
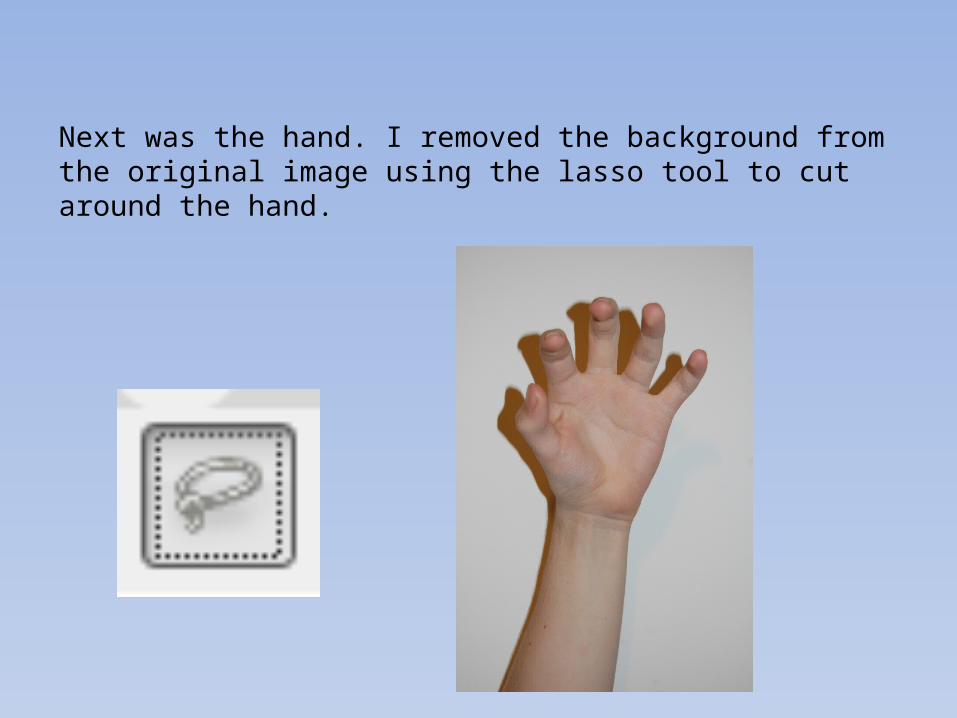
Next was the hand. I removed the background from the original image using the lasso tool to cut around the hand.

I added a cartoon effect to give a harsher edge to the hand. I added some red over the top for blood using the paint tool and used the eraser to put it behind the grass

Next I added the title. I removed the background colour using the colour to alpha tool. I then added a drop shadow to make it stand
out more.

Above the title I added the cast names. I used the text tool to type the names and again used a drop shadow to help them
stand out, but this time in red.

Next I added the moonlight using the “supernova” tool to create light.

Next I added a date. I used text from the internet so I had to save it as an image and import it. Again I used the colour to alpha tool to remove the background and added a drop shadow.

Next I added the credits. I had to erase some in the middle to make room for the date but I still got enough on there.
Eraser tool

Lastly I added my logos underneath the credits. The Dolby logo and rating logo were taken from the internet. My own logos were
also added at each end.