how to do easy diy: hanging a door
TRANSCRIPT


01702 614044
INTRODUCTION
Whether a first-time home buyer or a business owner, knowing a little bit of DIY is a handy skill for anyone, and one that will save you both time and money in the long run!From changing a light bulb to plumbing your home, these every day tasks are something that, once you’ve learnt, will become a quick-fix part of the daily maintenance of your home.
So, as lovers of all things home and ‘do it yourself’, here’s our quick guide to hanging a door. Enjoy.

01702 614044
WHAT YOU’LL NEED:
• Tape measure• Pencil• Hand plane• Stanley knife• Sandpaper• Hammer• Set Square• Wood chisel• Drill• Wood and screw bits
• Saw• Masking Tape• A few coins• Wood wedges• Vice• 2 x 100mm Hinges• 2 x 100mm Screws
01702 614044
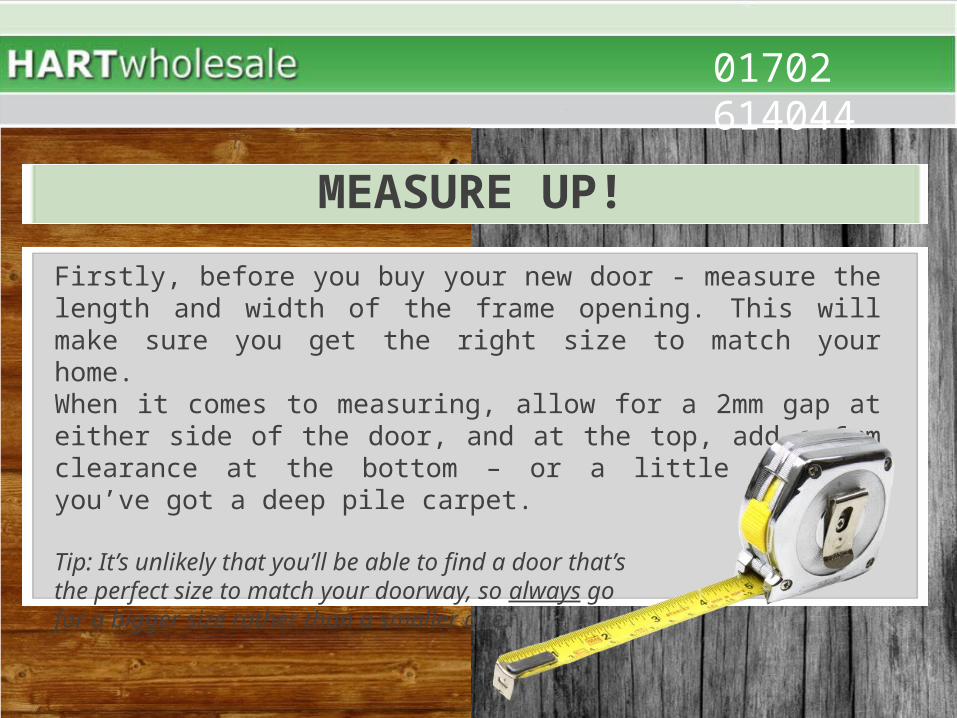
MEASURE UP!
Firstly, before you buy your new door - measure the length and width of the frame opening. This will make sure you get the right size to match your home.When it comes to measuring, allow for a 2mm gap at either side of the door, and at the top, add a 6mm clearance at the bottom – or a little more if you’ve got a deep pile carpet.
Tip: It’s unlikely that you’ll be able to find a door that’sthe perfect size to match your doorway, so always gofor a bigger size rather than a smaller one.

01702 614044
“MEASURE TWICE, AND CUT ONCE”
Steady the door in the vice, with the opening side at the top. Measure, and mark the cut lines. Then, measure again to make sure it’s the correct size.When you are sure you have measured correctly, plane down to the cut line. Or, if there is more than 6mm to take off, use a saw.
Tip: Always plane from the edges in, in broad, sweeping movements. This will give you an even surface and will stop the corners from splitting.
Give the newly cut edge a quick sanding for a smoothand neat finish.

01702 614044
POSITION THE HINGES
Position your door with the hinge side on top. Measure and mark 15cm down from the top, and 23cm up from the bottom – these will be the outer marks for your hinges.Use a set square to draw a firm, horizontal line at each of your marks.Open the hinge and hold it in place with the spindle section butting against the edge. Score around the edge of the hingewith a Stanley knife.
Tip: Always cut away from your supporting hand to avoidany accidents.
Draw over the line with a pencil.Repeat this step again for the second hinge.

01702 614044
CUT THE RECESSES
Use a sharp chisel, with the bevelled edge facing in, to make a series of cuts along the pencil line. When bevelled, chisel into the recess, furling up the wood as you go.Hold the chisel at the top of the recess, and in one swiftmovement shear off the wood.Now use a twisting action to deepen the recess.
Regularly try the hinge to check it fits. When it sits flushto the door, repeat this step again for the second hinge.

01702 614044
ATTACH THE HINGES
Position each hinge flap in its recess on the door, and with a pencil, mark the position of the middle screw.Use a drill bit (slightly narrower than your screws) to make a pilot hole. Take care to keep the bit (the spinny part) square to the door’s edge. Put the hinge back in place, and position the middle screw. The screw should now fit nicely into the pilot holes.Once the hinge is secure, make the two other pilot holes and screw in place. Repeat this process for the second hinge.
01702 614044
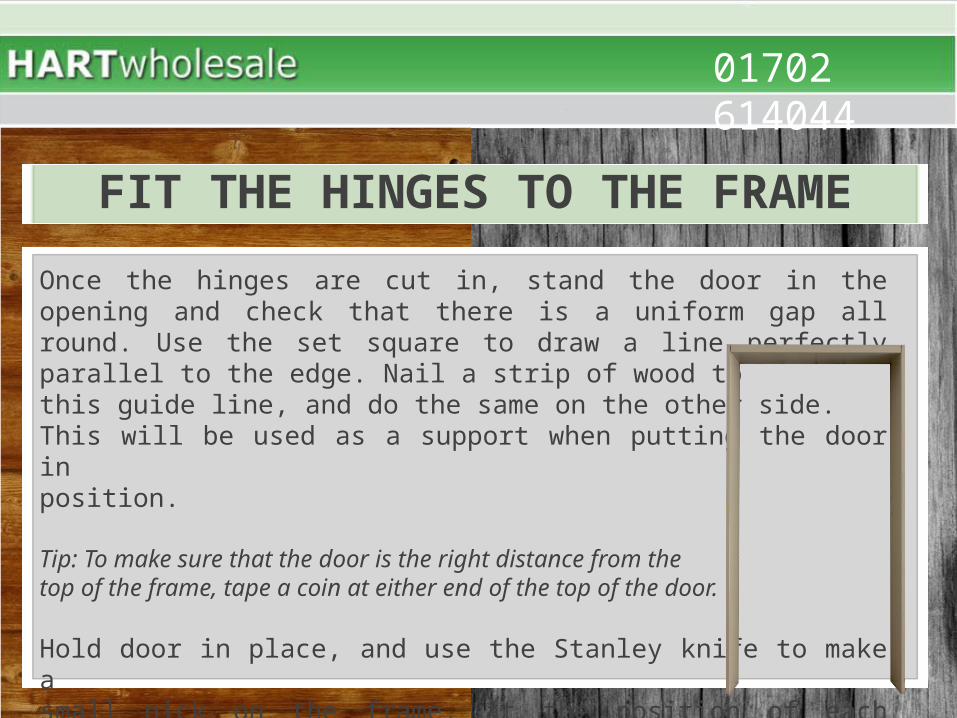
FIT THE HINGES TO THE FRAME
Once the hinges are cut in, stand the door in the opening and check that there is a uniform gap all round. Use the set square to draw a line perfectly parallel to the edge. Nail a strip of wood tothis guide line, and do the same on the other side.This will be used as a support when putting the door inposition.
Tip: To make sure that the door is the right distance from thetop of the frame, tape a coin at either end of the top of the door.
Hold door in place, and use the Stanley knife to make asmall nick on the frame, at the position of each hinge.When door and hinge are secure, screw fixture and repeat.
01702 614044
PRESENTATION BROUGHT TO YOU BY
www.blum.org.uk
For more information on any of our hardware services, please do not hesitate to contact our friendly and dedicated team today! We look forward to hearing from you.