how to submit a confirmation or invoice or advance in six...
TRANSCRIPT

esa-p QUICK GUIDE
How to SUBMIT a Confirmation / Invoice / Advance
in six steps
How to submit a Confirmation or Invoice or Advance in six steps 2 | Page
esa-p Quick Guide
How to SUBMIT a Confirmation/Invoice/Advance in six steps
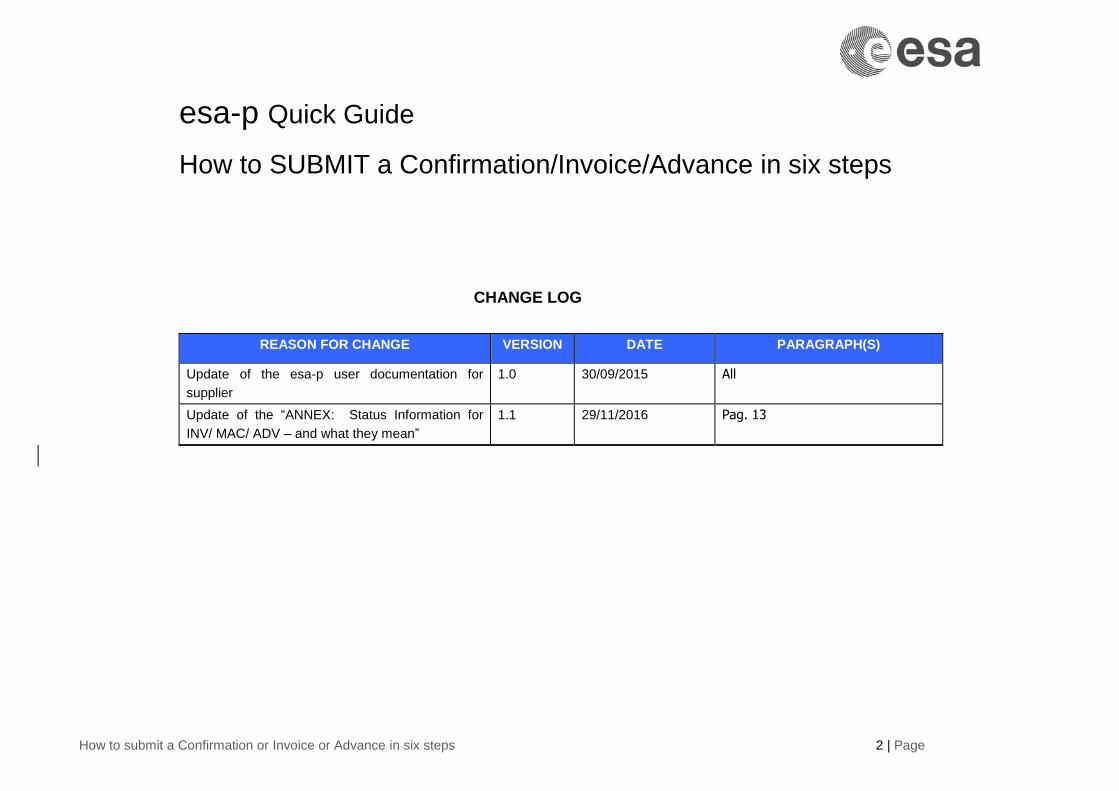
CHANGE LOG
REASON FOR CHANGE VERSION DATE PARAGRAPH(S)
Update of the esa-p user documentation for
supplier
1.0 30/09/2015 All
Update of the “ANNEX: Status Information for
INV/ MAC/ ADV – and what they mean”
1.1 29/11/2016 Pag. 13

How to submit a Confirmation or Invoice or Advance in six steps 3 | Page
Introduction This is a Quick Guide how to submit a Milestone Achievement Certificate (= ‘Confirmation’), an Invoice or an Advance Payment Request against an ESA
Contract.
The correct submission of all documents is a pre-requisite for direct payment by ESA.
Your Contract may also exceptionally foresee the payment of an Advance Payment, typically upon signature of a Contract Action.
More detailed information incl. FAQ’s is accessible under -> http://esa-p-help.sso.esa.int
Step 1: Login The following link in the browser https://esa-p.sso.esa.int prompts you to the esa-p login screen.
If you had forgotten your username or password
contact [email protected]
After login this ‘Home’ Screen,
sub-Tab ‘Welcome’ is shown
In point 2 you will navigate to the 2nd Tab labelled ‘Order
Collaboration’ from where you can access the screens to
create ‘Confirmation’ and ‘Invoice’.

How to submit a Confirmation or Invoice or Advance in six steps 4 | Page
Step 2: Navigate to ‘Create Documents’: Confirmation and Invoice Change Tab to ‘Order Collaboration’ and then choose which type of document you want to create.
We recommend you to create first the Confirmation, then the Invoice, against the same Milestone and with the same Confirmation/Invoice amount.
After selecting the document type, you will be prompted in Step 3 to a screen where to select the ESA Contract = ‘Purchase Order’ against which the
Confirmation or Invoice is to be submitted.

How to submit a Confirmation or Invoice or Advance in six steps 5 | Page
Step 3: Select the ESA Purchase Order
*) The ‘Purchase Order Number’ = ESA Contract Number = a 10-digit
number mentioned on the ESA contract.
If you are a Sub-Contractor: in doubt ask your Prime Contractor for this
number.
After selection to ‘Create Document: Invoice’ in the ‘Order
Collaboration’ Tab:
1. In a first screen you select the type ‘Invoice’ (or in seldom cases ‘Credit Memo’), then
2. Click Continue. You will be prompted to another screen where you
3. Enter your ESA Contract Number*), then 4. Click Add
Step 3b: Select PO to create “Invoice”
After selection to ‘Create Document: Confirmation’ in the ‘Order
Collaboration’ Tab:
1. Enter your ESA Contract Number *) 2. Click on Search; then 3. Click Continue
Step 3a: Select PO to create “Confirmation”

How to submit a Confirmation or Invoice or Advance in six steps 6 | Page
Step 4: Select the particular Milestone within the chosen “Purchase Order” After selection of the Purchase Order in Step 3 you now need to specify against which Milestone (= ‘line item’) exactly you want to submit your
Confirmation or Invoice:
4a: Select MS to create “Confirmation” 4b: Select MS to create “Invoice”
The Screen ‘Create Confirmation’ initially displays by default ALL
Milestones.
To choose the one you want to (partially of fully) confirm you need
to enter in the field ‘Confirm Quantity’ of the chosen Milestone the
respective amount (typically in sync with the invoice amount).
[Example below: full Milestone amount of 50,000€ confirmed by
entering 50000 in field ‘Confirm Quantity’]
The Screen ‘Create Invoice’ initially displays by default ALL
Milestones. So you need to
1. Click on the button ‘Exclude All’. This will un-tick all
markings in the 2nd column. Then
2. Tick the box next to the SINGLE Milestone you choose for
invoicing.

How to submit a Confirmation or Invoice or Advance in six steps 7 | Page
Step 5: Complete all mandatory fields In the following paragraphs you will find how to complete the mandatory fields during creation of confirmations and invoices.
5a: “Confirmation” - Details (part 1).
1. Choose the Milestone and specify amount (done in previous step 4)
2. Specify details (Title, Name, Date, Reference)
3. Add attachments as necessary to substantiate proof of Milestone Achievement see next page

How to submit a Confirmation or Invoice or Advance in six steps 8 | Page
5a: “Confirmation” - Details (part 2): Attachments.
Further to point 3 on to how to add attachments to Confirmations in order to substantiate proof of Milestone Achievement:
a) Change Tab from Overview to ‘Notes & Attachment’
b) Click in the lower part the button ‘Add Attachment’
c) Upload from PC chosen file(s) and assign a meaningful ‘Description’; finish with ‘OK’.
Procedural note: It is highly recommended to attach meaningful and substantial proof of Milestone Achievement (on goods delivered, service rendered) in order
to bring ESA in a position to swiftly approve the Confirmation and release payment.

How to submit a Confirmation or Invoice or Advance in six steps 9 | Page
5b: “Invoice” - Details (part 1)
Choose the Milestone and specify amount (done in previous step 4)
The fields “Supplier” (=Prime Contractor) AND “Invoicing Party” (= Payee of the invoice) are always defaulted to Prime. This is correct if the invoice is payable
to the Prime. If however the selected Milestone relates to a Sub-Contractor to be paid directly by ESA, this default setting is wrong and has to be changed to
the correct payee of the invoice. How? click ‘CHECK’ button to see the correct Invoicing Party # in the error message!
Complete all fields marked in green. To select the bank account: choose among values from the pick-list.

How to submit a Confirmation or Invoice or Advance in six steps 10 | Page
5b: “Invoice” - Details (part 2)
1
2
2
3
4
Enter quantity =invoice amount (here: 1000)
Select Tax code, if applicable (here: left to default 0%)
Calculate Total taxes
Check-button – verify if invoice contains errors BEFORE
Posting
5
Calculate Total value
5 5

How to submit a Confirmation or Invoice or Advance in six steps 11 | Page
Step 6: Submit the Confirmation/Invoice
First verify via the ‘CHECK’ button that all entries are OK.
Then, to submit a MAC/ Confirmation for approval, click the
CONFIRM button.
Clicking ‘Refresh’, the status of the confirmation will change from ‘In
Process’ to ‘Awaiting Approval’.
First verify via the ‘CHECK’ button that all entries are OK.
Then, to submit an invoice for approval, click the POST button.
Clicking ‘Refresh’ the status of the invoice will change from ‘In
Process’ to ‘Awaiting Approval’.
Step 6a: Confirm the “Confirmation” Step 6b: Submit the “Invoice”

How to submit a Confirmation or Invoice or Advance in six steps 12 | Page
How To submit an Advance in 6 steps Your Contract may exceptionally foresee the payment of an Advance, typically upon signature of a Contract Action.
In this section you will see how to submit an Advance Payment Request in 6 steps, very similar to Confirmation and Invoice:
Step 2 – Select Doc Type
Step 4 – Select Advance Payment Plan
Step 3 – Select Purchase Order
Step 1 - Login (see point 1)
Step 2 - Select Create Document ‘Advance Payment Requests’
Step 3 -Enter PO Number and ‘Add’
Step 4 - Select the Advance Payment Plan (via pick-list)
Procedural note: Advance Payment Requests do not
require a Confirmation / Milestone Achievement
Certificate

How to submit a Confirmation or Invoice or Advance in six steps 13 | Page
ANNEX: Status Information for INV/ MAC/ ADV – and what they mean
Below you can find the different status for your invoices, confirmations and APRs: