http://digital-photography-school.com/5-classic-lighting-positions-for-portrait- photography
TRANSCRIPT
5 SIMPLE POSITIONS FOR PORTRAIT
LIGHTING
http://digital-photography-school.com/5-classic-lighting-positions-for-portrait-photography
Considerations
Model does not sit square to the camera Turn model one direction or the other so
that light sources will affect a given area of the face in terms of how light vs. shadow falls on the subject
Different subjects might demand different lighting conditions – experiment with lighting before creating a portrait!!
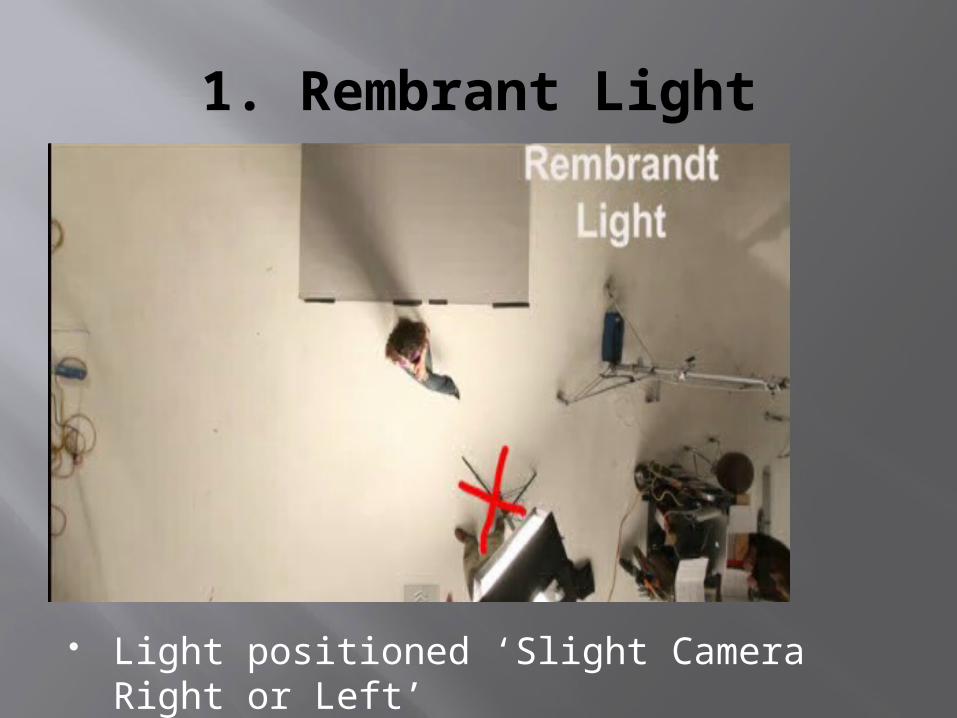
1. Rembrant Light
Light positioned ‘Slight Camera Right or Left’
1. Rembrant Light
Shadow off of model’s nose closes a loop on the shadow from model’s cheek
Small triangle on side of face that remains in more shadow
No shadow fill Single, simple light placement
2. Split Light
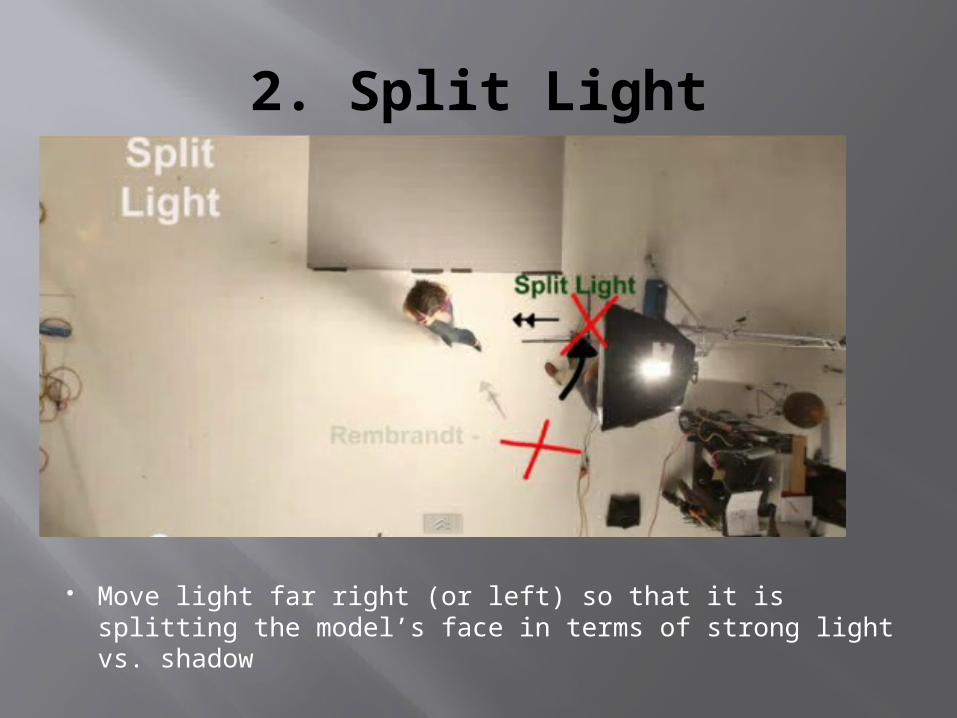
Move light far right (or left) so that it is splitting the model’s face in terms of strong light vs. shadow
2. Split Light
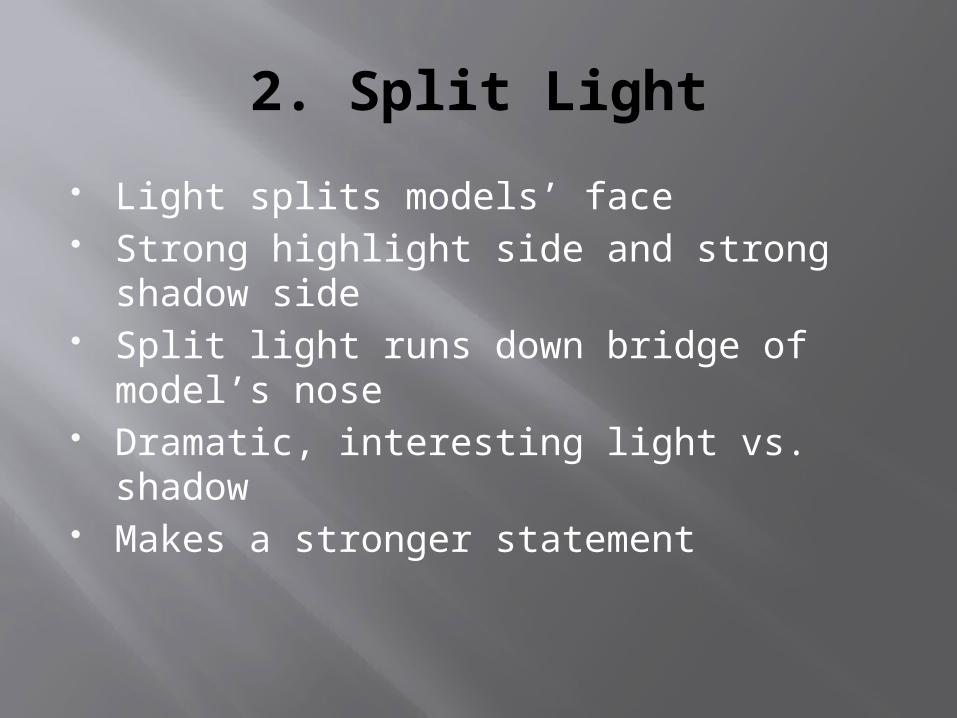
Light splits models’ face Strong highlight side and strong shadow
side Split light runs down bridge of model’s
nose Dramatic, interesting light vs. shadow Makes a stronger statement
3. Broad Light
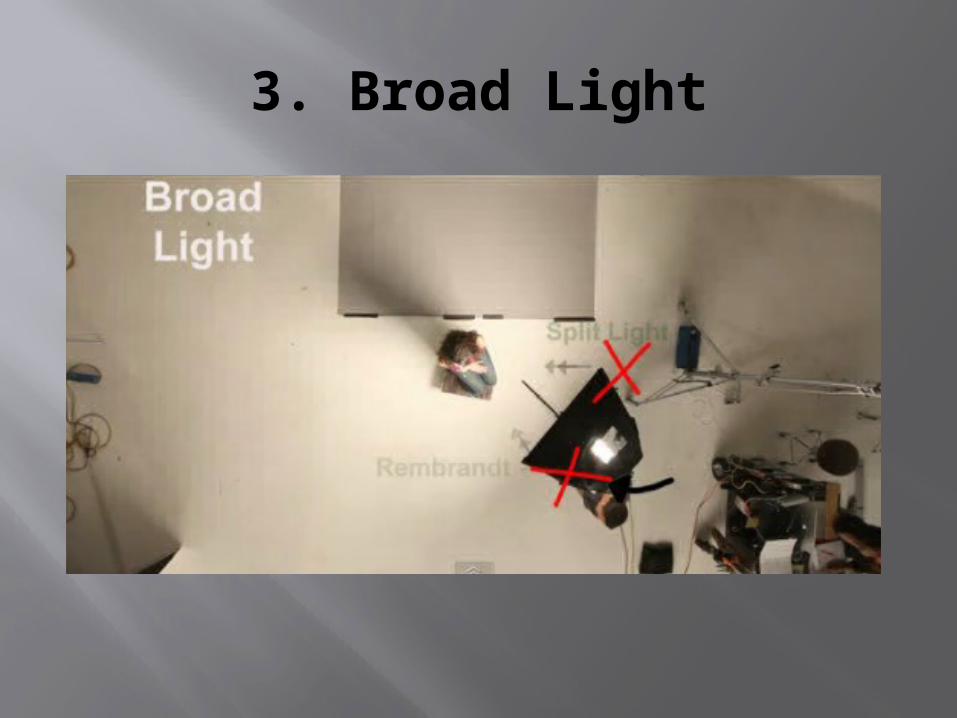
3. Broad Light Move light back to Rembrant position Model turns and faces AWAY FROM LIGHT ‘Rembrant’ traingle on far side Broad (more intense area of light) on the
dominant side of model’s face Light can flow from Rembrant, to Broad,
to Split easily if positioned correctly

4. Butterfly (or Paramount) Light
Light positioned up high, light hitting model directly from front, angled down
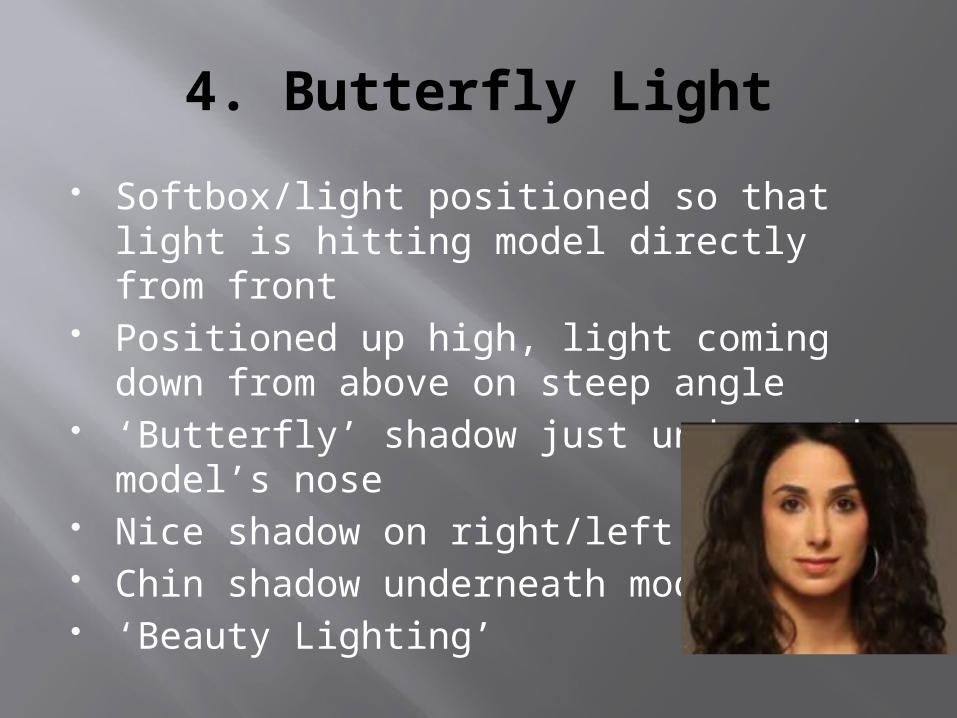
4. Butterfly Light
Softbox/light positioned so that light is hitting model directly from front
Positioned up high, light coming down from above on steep angle
‘Butterfly’ shadow just underneath model’s nose
Nice shadow on right/left cheeks Chin shadow underneath model ‘Beauty Lighting’
4. Butterfly Light
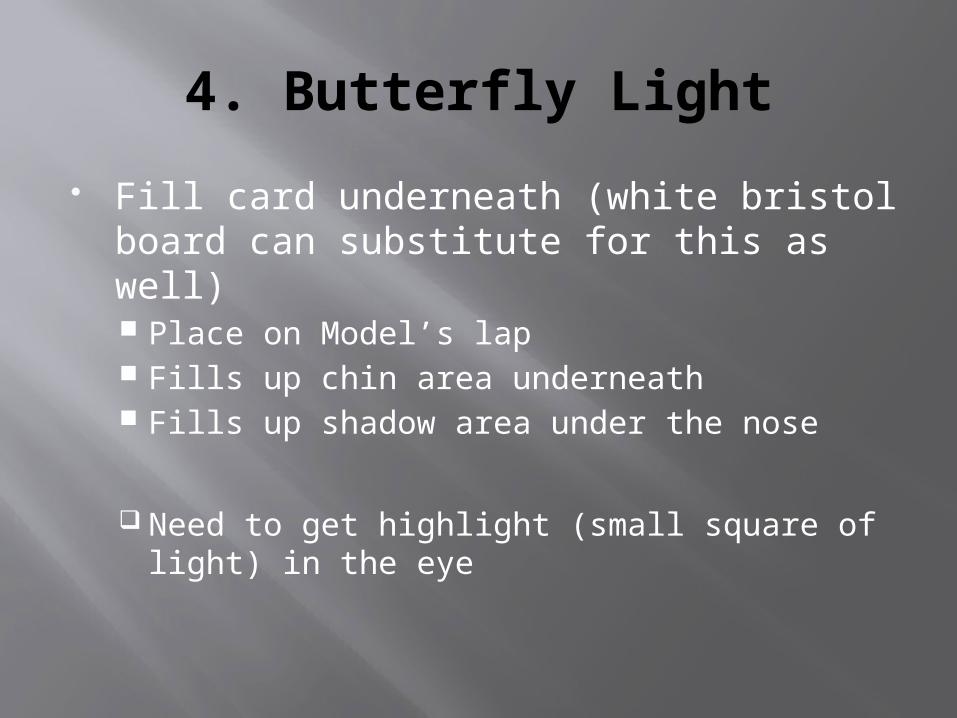
Fill card underneath (white bristol board can substitute for this as well) Place on Model’s lap Fills up chin area underneath Fills up shadow area under the nose
Need to get highlight (small square of light) in the eye
5. Loop Light
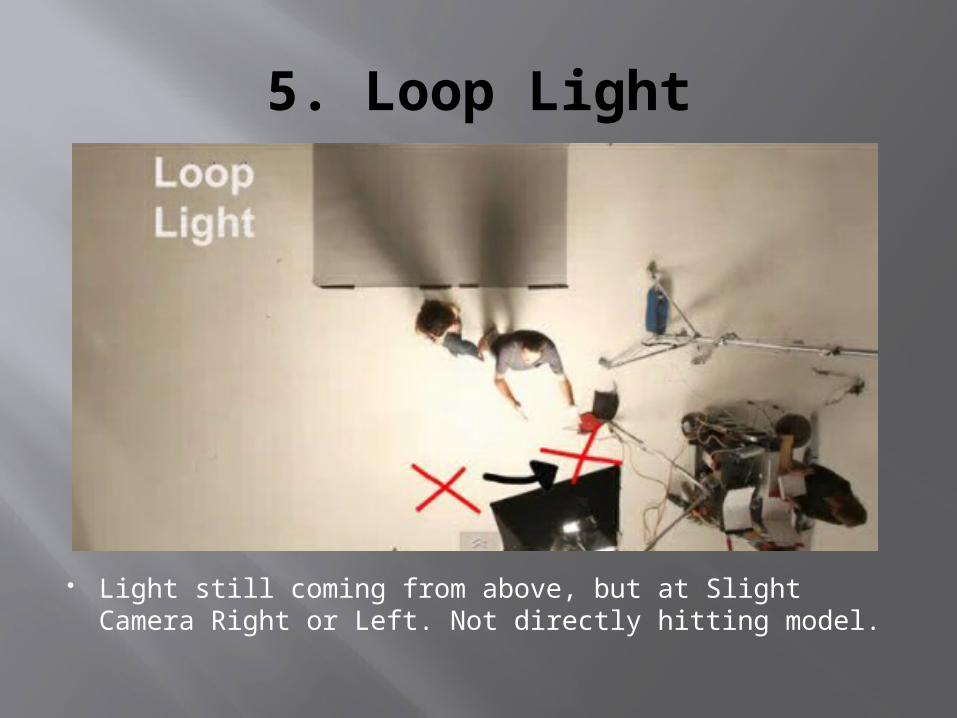
Light still coming from above, but at Slight Camera Right or Left. Not directly hitting model.
5. Loop Light
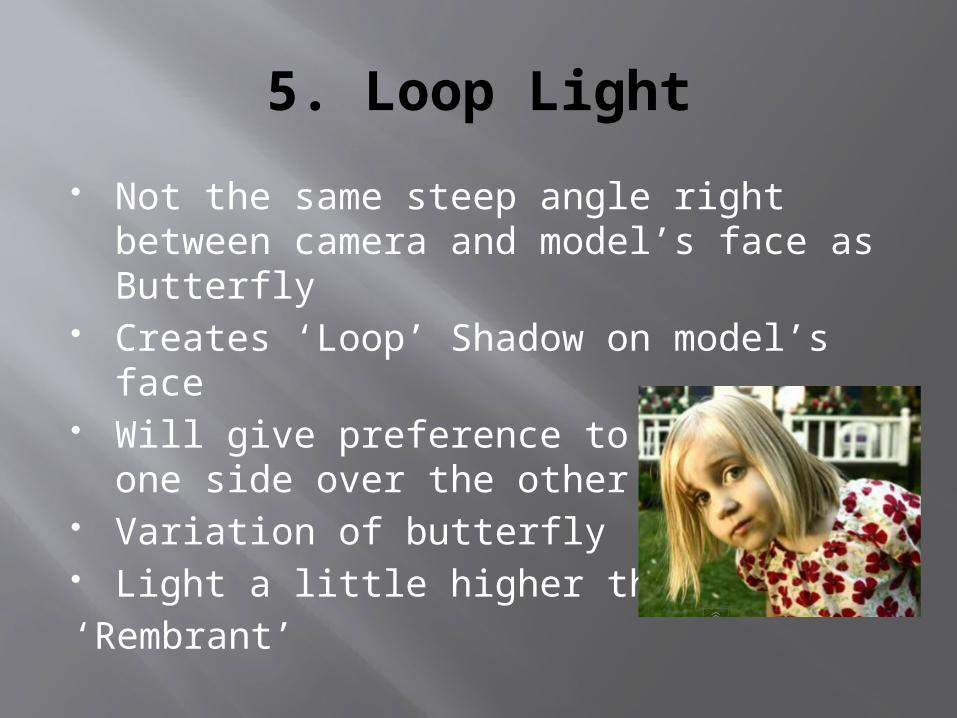
Not the same steep angle right between camera and model’s face as Butterfly
Creates ‘Loop’ Shadow on model’s face Will give preference to shadow on one
side over the other Variation of butterfly Light a little higher than ‘Rembrant’
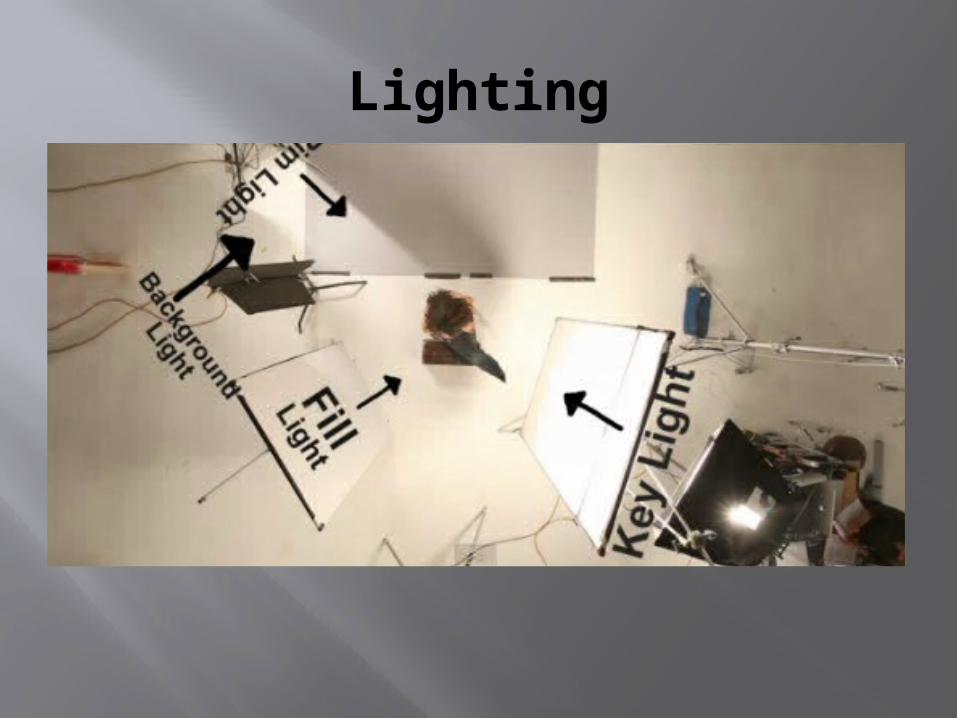
Lighting
Key Light Provides main source of lighting, creates the
main/dramatic light and shadow contrasts on model
Fill Light Fills in areas of light/shadow (i.e. can lessen
dramatic shadows); not as strong/influential as key light though
Background Light Highlights or creates value changes in the
background (i.e. light to dark transition behind model)
Lighting