ideas for teachers - kochrms.weebly.com · branches, trunk, and middle label (“my family tree”)...
TRANSCRIPT
Ideas for Teachers:
Give each student the family tree worksheet to fill out at home. Explain to them that each family is different and this worksheet is meant to help them plan their family tree. They
may have to add additional boxes if there are more children in certain sections of their family tree.
Decide if you want to use the Family Tree set with the family member names already printed on them or the blank set, and print out copies of the two branches, trunk, and middle label (“My Family Tree”) for each student.
There are two sizes of leaves. The larger leaves are for the key members of their family: student, brothers, sisters, mother, father, and four grandparents. The smaller leaves are for the other members of their family tree: aunts, uncles, cousins, great uncles, and great aunts. You will need to print out extra worksheets of the leaves because some students will need more leaves for their brothers, sisters, aunts, uncles, cousins, great uncles, and great aunts.
I designed this family tree project so that it is not too taxing on parents to help their child with the names required for this project. Their parents will know the names of their own brothers and sisters and their children, their mothers and fathers, and their own aunts and uncles (hopefully!), and will not

have to get on the phone or e-mail family members for the names of more distant relatives.
If you want to go farther back in the family tree for your students’ projects (great grandparents, great cousins, etc), there are blank leaves so that you can add this component to your students’ projects.
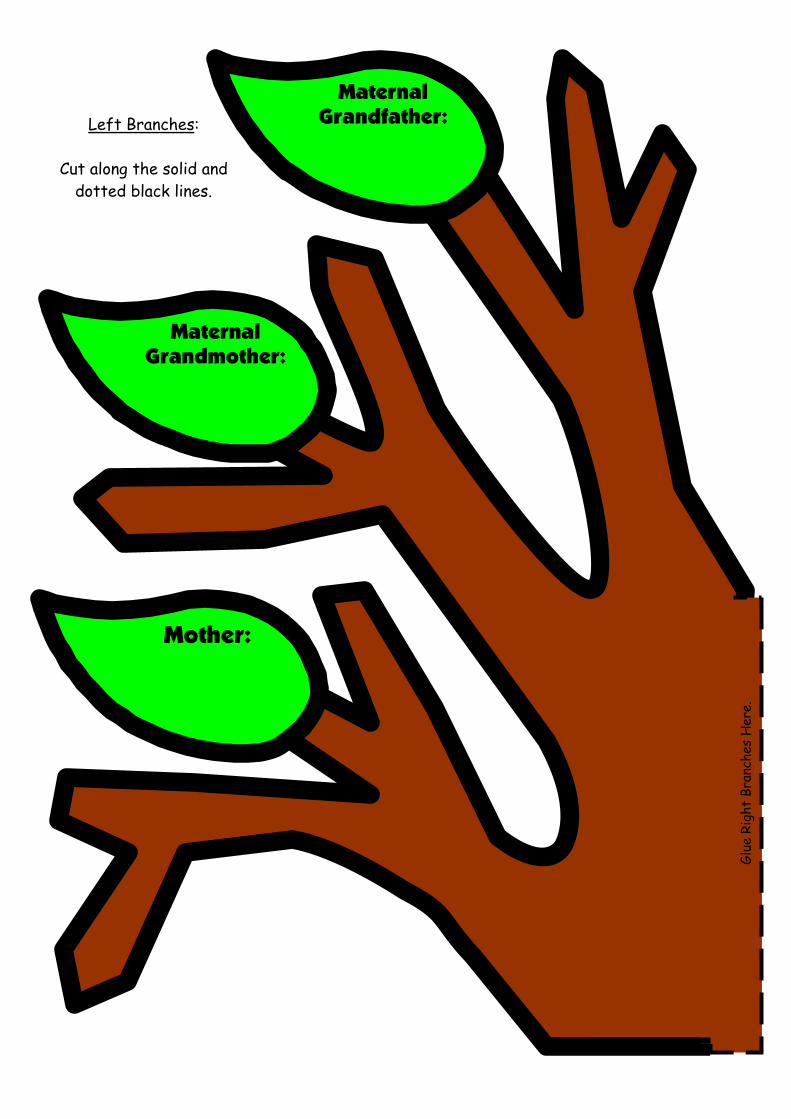
The Family Tree is divided into two parts: the left side is for the mother’s family and the right side is for the father’s family.
Students should glue their leaf and their brother’s and sister’s leaves below the 6 branches, along the trunk of the tree.
There are 6 branches for the key family members: mother, maternal grandmother, maternal grandfather, father, paternal grandmother, and paternal grandfather.
This is an example of the mother’s branch. This mother has one brother (uncle) and one sister (aunt). The cousin leaves should be glued to so that they are touching their parent’s leaf. In this example, the aunt has two children and the uncle has one child.

If you use this format in gluing the leaves on the tree, a student may have a branch that only has their mother’s leaf on it, if she has no brothers or sisters. On the other hand, the father’s branch might be very full if he has 6 brothers and sisters, and they have a lot of children. This will provide a good visual image for your students of what their family tree actually looks like.
I have provided blank branch and leaf templates so that you can have your students design this project in any matter in which you choose.
I like to have a writing component to any assignment when I get the chance. My students need all the writing practice that I can squeeze into my lessons.
While they are finding out the names of the members of their family tree from their mothers and fathers, I have my students ask their parents to share something interesting about one member of their family that they may never have heard about before. Then, my students create a newspaper and it contains two articles, one about a member from their mother’s side of their family tree, and the other article is about a member from their father’s side of their family tree.
I have included all of the components of this Family Tree Newspaper in this set of resources.

Set 1:
The first set of tree templates contains
family member names on the leaves.
The student, parent,
and grandparent leaves are already placed on the branch templates.

Left Branches:
Cut along the solid and dotted black lines.
Mother:
Maternal Grandfather:
Maternal Grandmother:
Glue
Rig
ht B
ranc
hes
Her
e.

Right Branches: Cut along the solid black
lines. Trim the dotted line off, so that it does not show.
Glue this section on top of
the left branches.
Father:
Paternal Grandmother:
Paternal Grandfather:

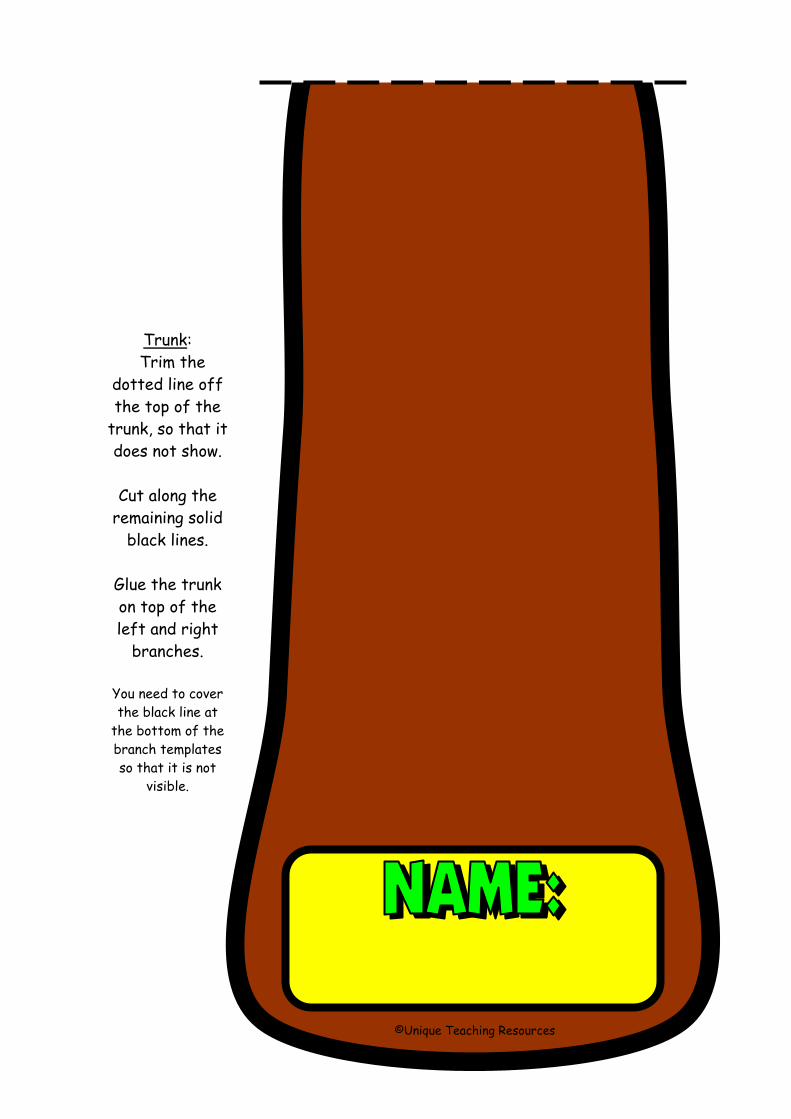
Trunk: Trim the
dotted line off the top of the
trunk, so that it does not show.
Cut along the
remaining solid black lines.
Glue the trunk on top of the left and right
branches.
You need to cover the black line at
the bottom of the branch templates so that it is not
visible.
Me:
©Unique Teaching Resources

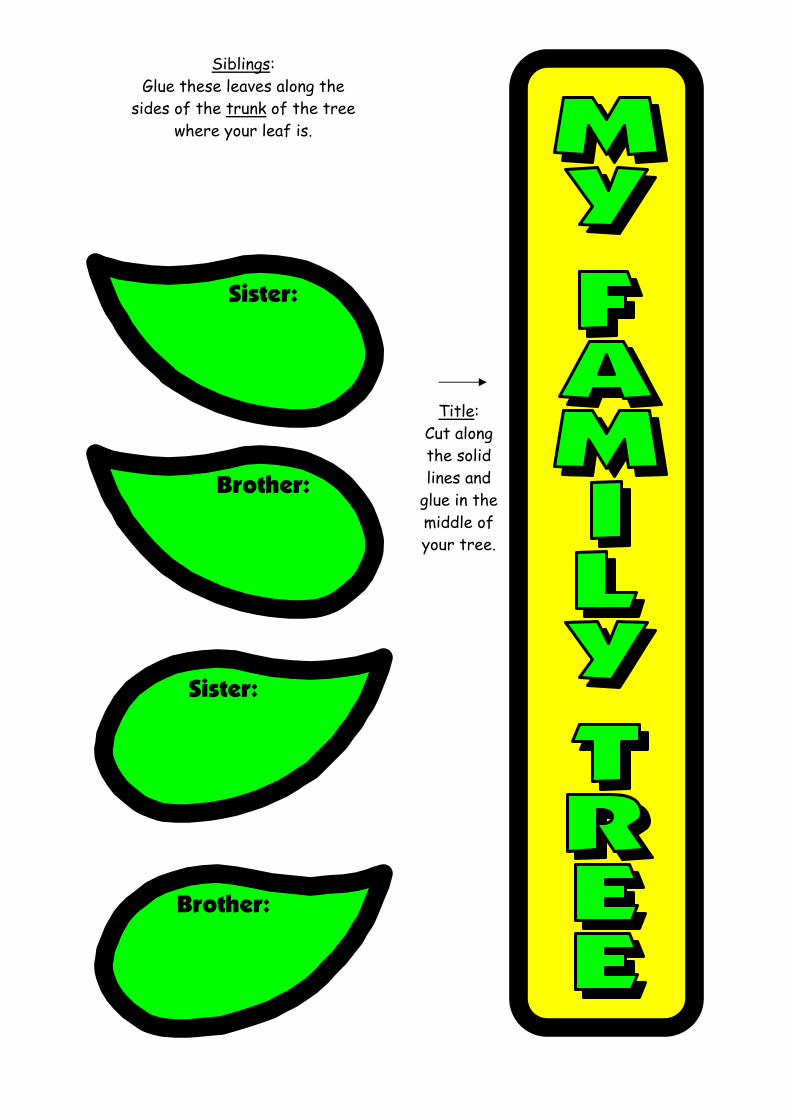
Brother:
Sister:
Sister:
Brother:
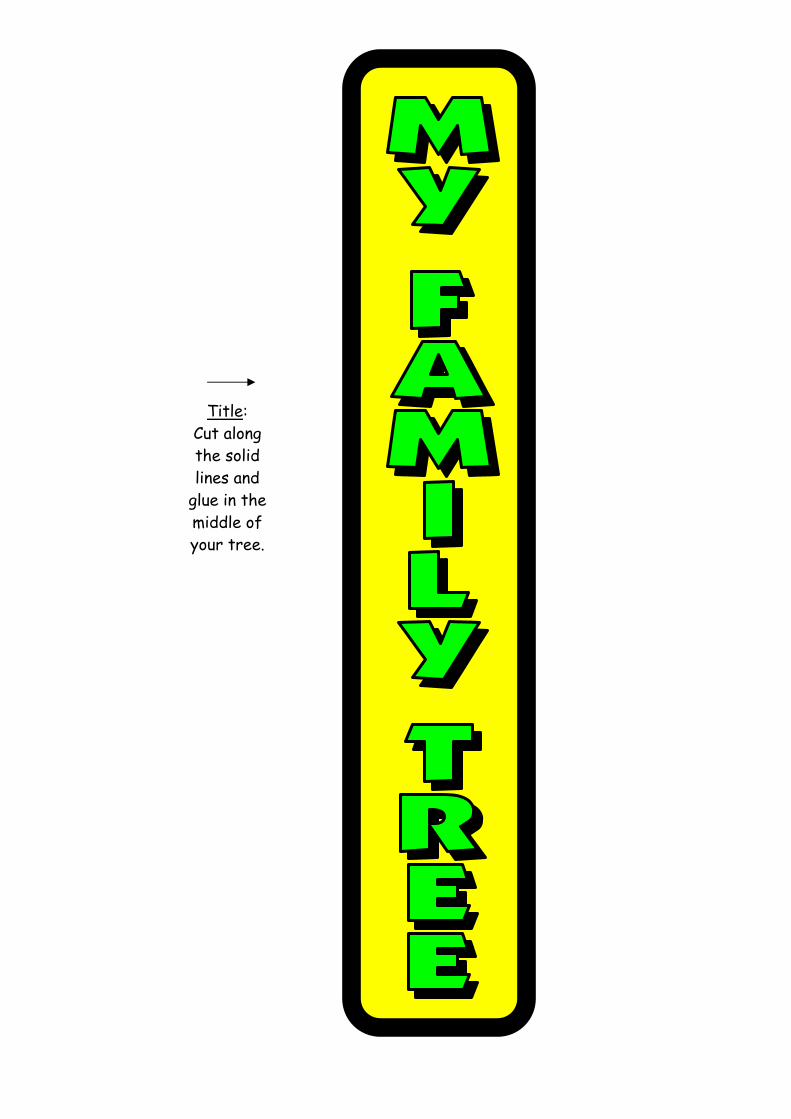
Title: Cut along the solid lines and
glue in the middle of your tree.
Siblings: Glue these leaves along the
sides of the trunk of the tree where your leaf is.

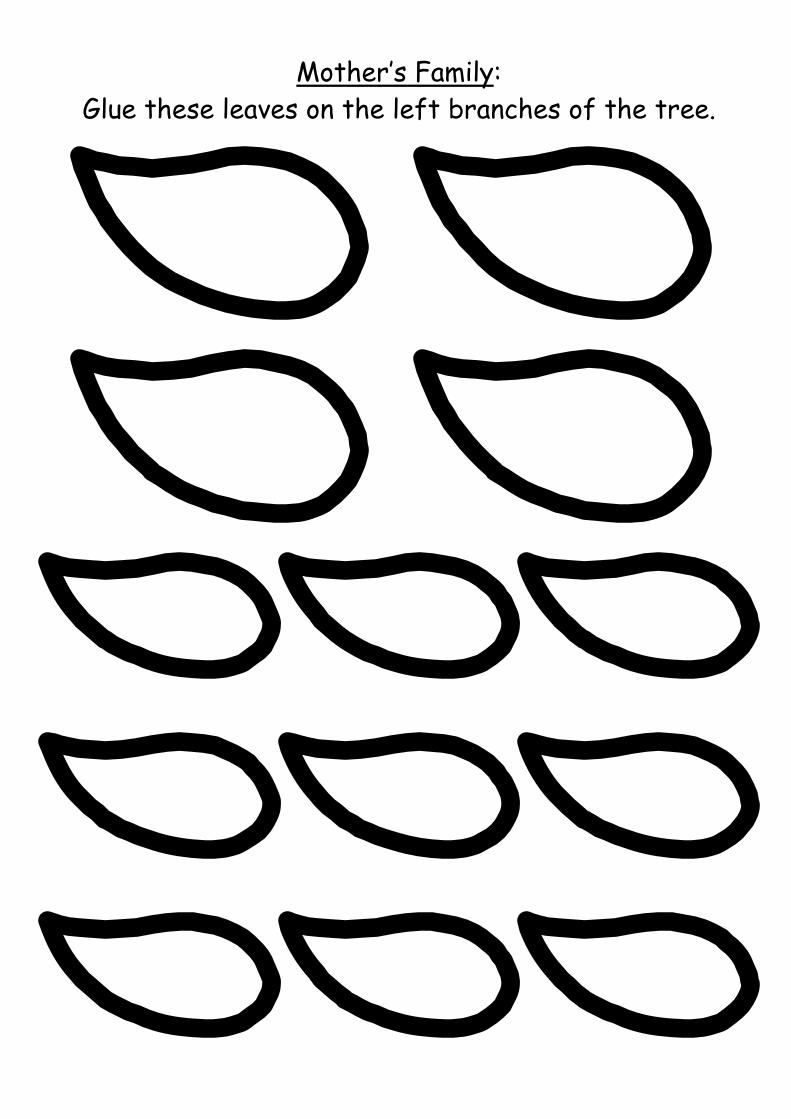
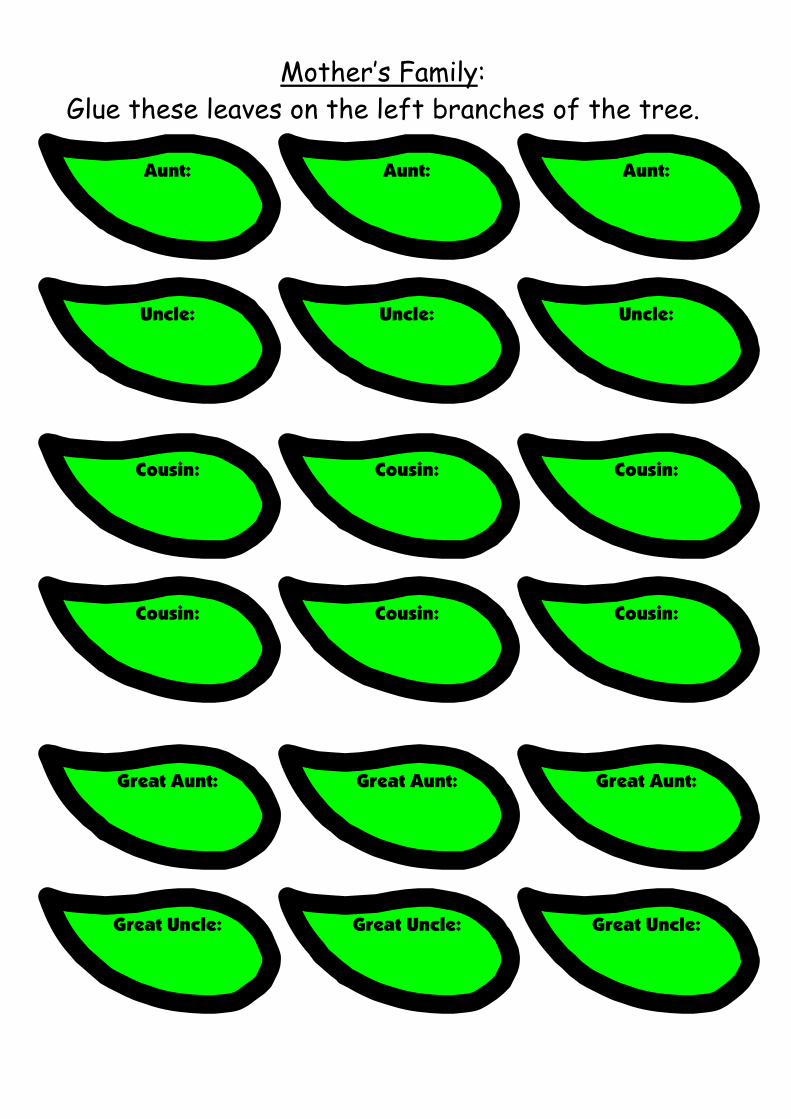
Mother’s Family: Glue these leaves on the left branches of the tree.
Aunt: Aunt: Aunt:
Uncle: Uncle: Uncle:
Cousin: Cousin: Cousin:
Cousin: Cousin: Cousin:
Great Aunt: Great Aunt: Great Aunt:
Great Uncle: Great Uncle: Great Uncle:

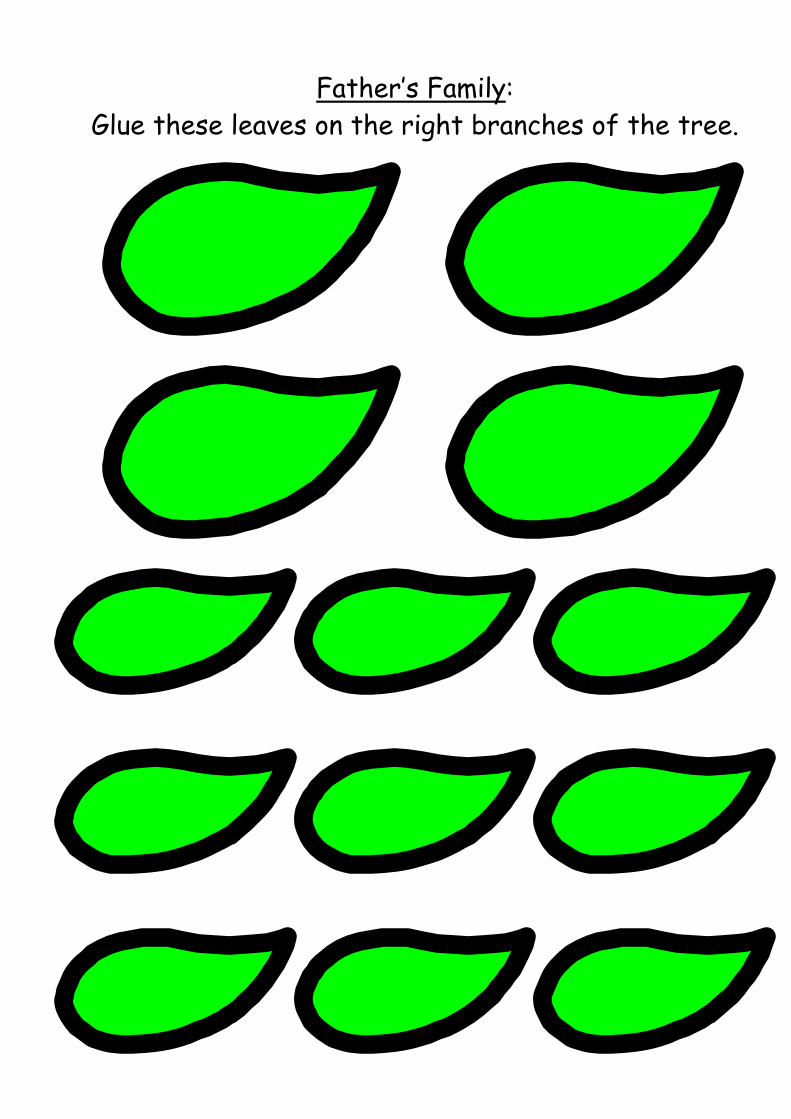
Father’s Family: Glue these leaves on the right branches of the tree.
Aunt: Aunt: Aunt:
Uncle: Uncle: Uncle:
Cousin: Cousin: Cousin:
Cousin: Cousin: Cousin:
Great Aunt: Great Aunt: Great Aunt:
Great Uncle: Great Uncle:Great Uncle:

Mother’s Family: Glue these leaves on the left branches of the tree.

Father’s Family: Glue these leaves on the right branches of the tree.

Set 2:
The second set of tree templates contains blank branches and
leaves.

Left Branches:
Cut along the solid and dotted black lines.
Glue
Rig
ht B
ranc
hes
Her
e.

Right Branches: Cut along the solid black
lines. Trim the dotted line off, so that it does not show.
Glue this section on top of
the left branches.

Trunk: Trim the
dotted line off the top of the
trunk, so that it does not show.
Cut along the
remaining solid black lines.
Glue the trunk on top of the left and right
branches.
You need to cover the black line at
the bottom of the branch templates so that it is not
visible.
©Unique Teaching Resources

Title: Cut along the solid lines and
glue in the middle of your tree.
Mother’s Family: Glue these leaves on the left branches of the tree.

Father’s Family: Glue these leaves on the right branches of the tree.

Set 3: Color
The first set of color tree templates contains family member names
on the leaves.
The student, parent, and grandparent leaves are already placed on the branch templates.
Left Branches:
Cut along the solid and dotted black lines.
Mother:
Maternal Grandfather:
Maternal Grandmother:
Glue
Rig
ht B
ranc
hes
Her
e.

Right Branches: Cut along the solid black
lines. Trim the dotted line off, so that it does not show.
Glue this section on top of
the left branches.
Father:
Paternal Grandmother:
Paternal Grandfather:

Trunk: Trim the
dotted line off the top of the
trunk, so that it does not show.
Cut along the
remaining solid black lines.
Glue the trunk on top of the left and right
branches.
You need to cover the black line at
the bottom of the branch templates so that it is not
visible.
Me:
©Unique Teaching Resources
Brother:
Sister:
Sister:
Brother:
Title: Cut along the solid lines and
glue in the middle of your tree.
Siblings: Glue these leaves along the
sides of the trunk of the tree where your leaf is.
Mother’s Family: Glue these leaves on the left branches of the tree.
Aunt: Aunt: Aunt:
Uncle: Uncle: Uncle:
Cousin: Cousin: Cousin:
Cousin: Cousin: Cousin:
Great Aunt: Great Aunt: Great Aunt:
Great Uncle: Great Uncle: Great Uncle:

Father’s Family: Glue these leaves on the right branches of the tree.
Aunt: Aunt: Aunt:
Uncle: Uncle: Uncle:
Cousin: Cousin: Cousin:
Cousin: Cousin: Cousin:
Great Aunt: Great Aunt: Great Aunt:
Great Uncle: Great Uncle:Great Uncle:

Mother’s Family: Glue these leaves on the left branches of the tree.

Father’s Family: Glue these leaves on the right branches of the tree.

Set 4: Color
The fourth set of color tree templates contains
blank branches and leaves.

Left Branches:
Cut along the solid and dotted black lines.
Glue
Rig
ht B
ranc
hes
Her
e.

Right Branches: Cut along the solid black
lines. Trim the dotted line off, so that it does not show.
Glue this section on top of
the left branches.
Trunk: Trim the
dotted line off the top of the
trunk, so that it does not show.
Cut along the
remaining solid black lines.
Glue the trunk on top of the left and right
branches.
You need to cover the black line at
the bottom of the branch templates so that it is not
visible.
©Unique Teaching Resources
Title: Cut along the solid lines and
glue in the middle of your tree.

Mother’s Family: Glue these leaves on the left branches of the tree.
Father’s Family:
Glue these leaves on the right branches of the tree.