imovie
TRANSCRIPT

iMovie
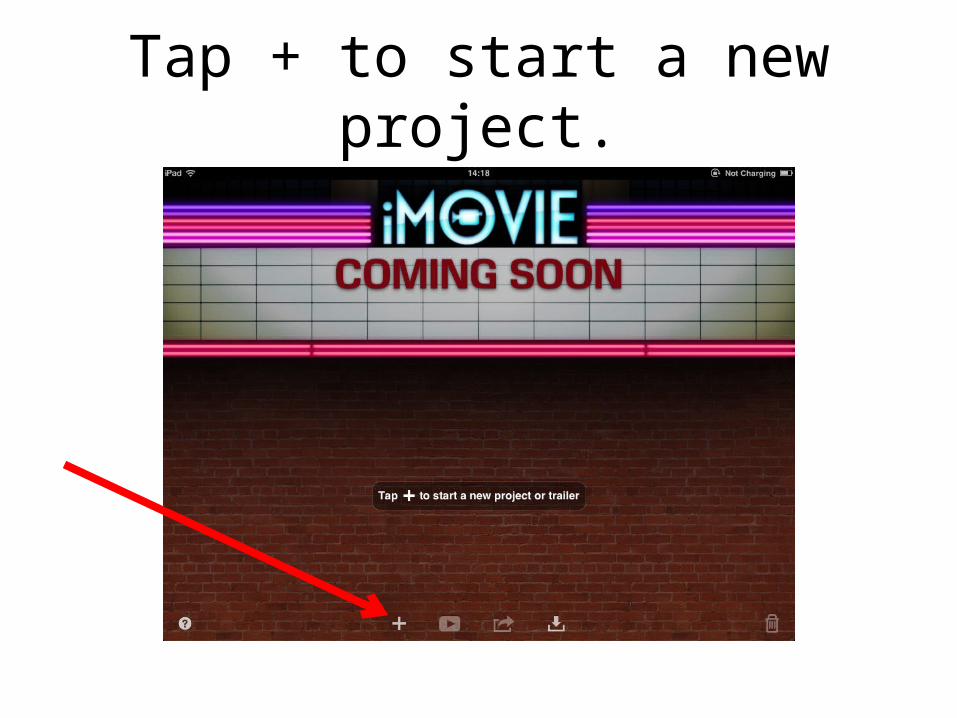
Tap + to start a new project.
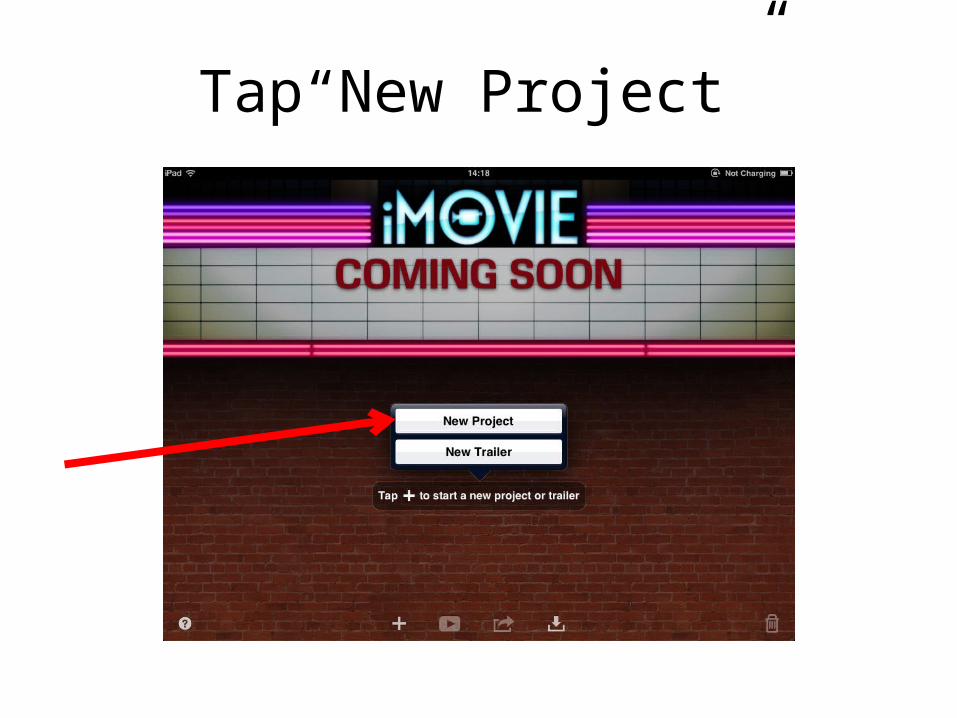
Tap“New Project”
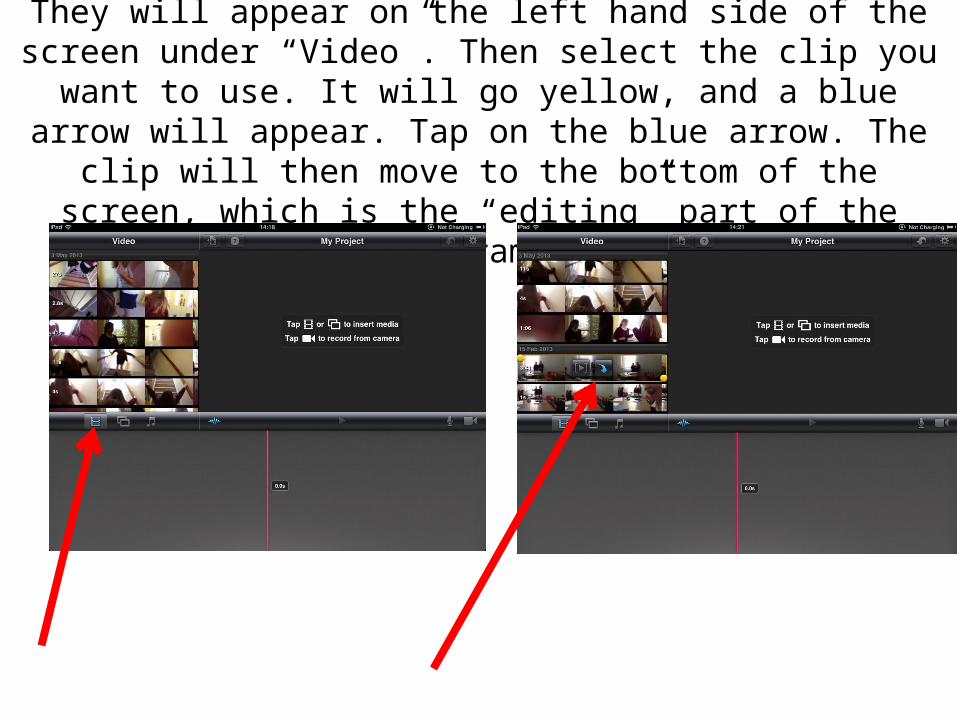
Tap the film icon to insert pre-recorded films. They will appear on the left hand side of the screen under “Video”. Then select the clip you
want to use. It will go yellow, and a blue arrow will appear. Tap on the blue arrow. The clip will then move to the bottom of the screen,
which is the “editing” part of the program.

Tap the photo icon to insert photos already taken. They will appear on the left hand side of the screen under “Photos”.
Usually, your photos will be saved under camera roll.
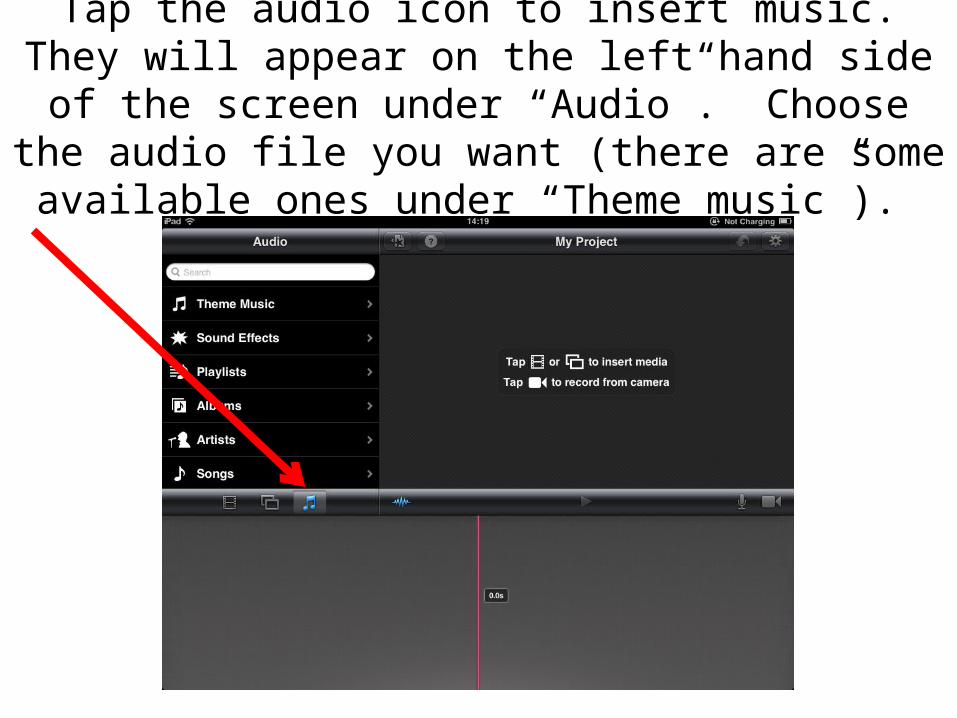
Tap the audio icon to insert music. They will appear on the left hand side of the screen under “Audio”. Choose the audio file you want (there are some available ones
under “Theme music”).

Tap the microphone icon to record your own voice.

Tap the camera icon to record your own video.

Tap on the “audio wave” icon to see where voice has been recorded. This will appear at
the bottom of the screen.

To delete/trim a section of your video: select the clip you want to trim. Move the red line to the point
you want to cut. Then slide your finger along the red line. This will divide your video into two clips.
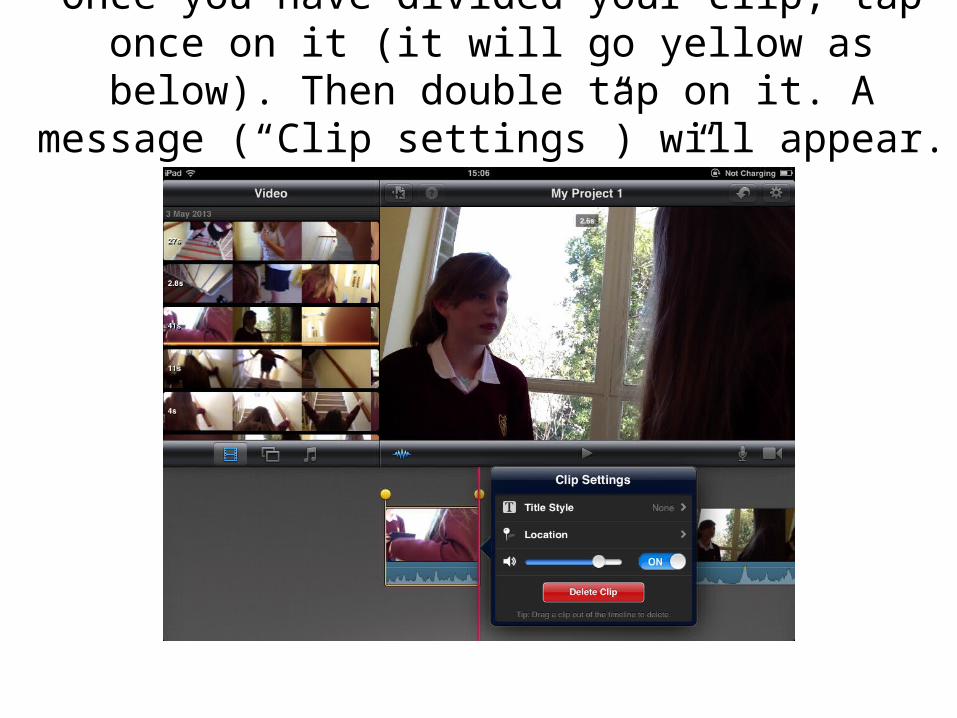
Once you have divided your clip, tap once on it (it will go yellow as below). Then double tap on it. A message
(“Clip settings”) will appear. Select “delete clip”.

To undo, tap the “undo” button.

To add subtitles or credits, double tap the clip, then on “text style”, then choose where you want to
have your text (opening, middle or ending) and type in the text box.
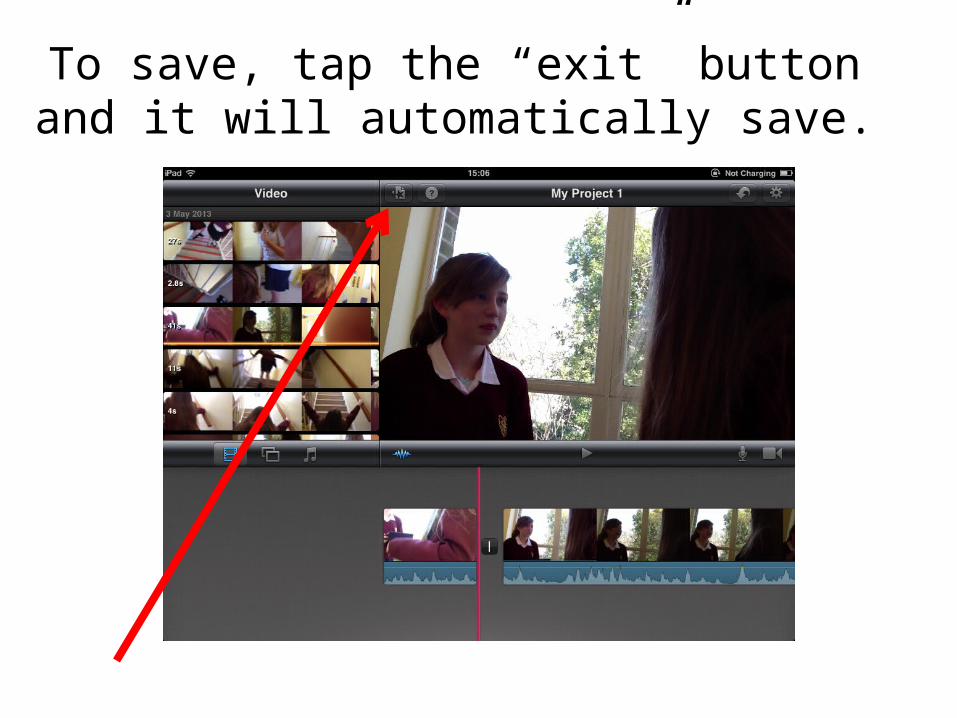
To save, tap the “exit” button and it will automatically save.