installing exterior tile, natural stone, concrete tile or
TRANSCRIPT

Installing Exterior Tile, Natural Stone, Concrete Tile or Thin Brick
Technical White PaperEXTERIOR INSTALLATIONS
By Dave Stewart, CTEF Certified Tile Installer - Regional Technical Sales Representative
Dale Roberts, CSI, CCPR, CDT, LEED Green Associate - Commercial Architectural Services Representative
The proper selection of products, substrate preparation and installation
methods will drive the success of an exterior tile installation that can
withstand the test of time. How many other finishes can make that
claim? There are many factors that contribute to this success in
addition to the tile material selection. In this article we will explore
the components and assemblies involved in planning for robust and
durable exterior tile installations

Technical White PaperEXTERIOR INSTALLATIONS
Before beginning, the factors to consider include:
• Appropriate substrate and proper preparation
• Sufficient slope
• Scope of assembly - wall, floor, pool deck, etc.
• Climate and seasonal weather patterns (hot/dry, cold/ wet,
freeze/thaw cycles, etc.)
• Height assembly restrictions
In addition, the elements of the assembly must also be considered:
• Tile type
• Installation materials selected
• Type of substrate (slab on grade, elevated deck either wood or
concrete, above living space, etc.)
• Location of installation (North/South facing)
• Ability to tie into structure for complete waterproofing
• Adequate and efficient drainage
Planning
Before beginning or estimating an exterior assembly, a clear picture of the
scope must be obtained. All of the factors relating to the elements of the
assembly must be considered for a successful installation.
Exterior tile installations can be very challenging due to climate and weather
patterns. The design and installation method has to account for water
intrusion, freeze/thaw effects, extreme heat and thermal cycling. Inclement
weather conditions can compromise the curing of the setting materials
during installation so this must also be taken into account when planning.
Surface preparation work in tile assemblies is vital to meet the tolerances set
forth by the Tile Council of North America (TCNA). Proper floor flatness within
the slope must be achieved to facilitate drainage on an exterior assembly.
Substrate flatness requirements are called out in ANSI 108.02 and are 1/4" in
10 feet for smaller tile formats. All Large and Heavy Tile Large Format Tile
(LHT), tiles with one edge 15" or longer, require ≤1/8" in 10 feet flatness, with
no variations greater than 1/16" in 24". This segment makes up the majority
of tile installed today (about 80% of tile installations are LHT).
Water management is one of the most important aspects of a structure
and the surrounding area. Moisture moves by diffusion, from a location of
high moisture concentration to an area of lower concentration. Water will
move through large pores to areas with smaller pores that trap water. This
infiltration of water can cause significant damage to the tile assembly in
freeze/thaw environments as freezing water expands by approximately 9%!
Efflorescence can also occur during the cycling of wet and dry conditions.
Costly water damage to a structure can also occur.
Water management is one of the most important aspects of a structure and the surrounding area.
Technical White PaperEXTERIOR INSTALLATIONS
To protect the structure and its finishes, weeps and flashing must be installed
in proper sequence and integrated into the waterproofing membrane, such
as RedGard® Crack Prevention and Waterproofing Membrane, to prevent
the accumulation of water within the wall assembly. Water loads on tile and
stone installations need to be removed by drainage and/or evaporation.
Proper slope on horizontal installations is also crucial. The TCNA has set
specific installation standards that have proved to be successful.
The current TCNA Handbook states horizontal installation requires proper
slope of 1/4" per foot for drainage in all exterior areas to mitigate water intru-
sion into the assembly. Any accumulated rain/moisture must free from the
tile surface within 48 hours. Standing water that remains on the surface due
to poor drainage beyond 48 hours poses serious threats to the tile assembly.
Applying RedGard waterproofing membrane directly under the tile and
adhesive mortar keeps the water closer to the surface where it can
evaporate quickly.
Types of Exterior Assemblies
The decision of what type of assembly will work for a project depends on
the existing substrate or conditions. Installation over slab on grade will be
different than on a wood-framed, elevated deck. The assembly will also
change if there is a living space under the deck. TCNA details all types
of assemblies for exterior tile installations. Below is a list of the different
assemblies from the TCNA Handbook.
Some tile terminology for clarification:
• A thick-bond method incorporates a mortar bed as the substrate
for the tile or stone. It is created by the installer, typically formed
using a 4:1 or 5:1 cement to sand ratio and will be required to be
3/4" to 1-1/2" thick. They may be bonded or non-bonded with wire
reinforcing depending on the application. Each method has its
advantages and limitations.
• A bonded mortar bed uses the strength of the substrate for support
and is typically lower in thickness aiding with elevation limitations. If
the substrate moves or cracks, this movement may cause reflective
cracking in the tile assembly.
• A non-bonded mortar bed, utilizes a cleavage membrane between
the substrate and the mortar bed allowing for minor in-plane
movement without reflective cracking in the tile finish. The minimum
thickness is 1-1/4".
• Adhesive mortar (commonly referred to as thin-set) bonds the tile to
the substrate. It is also used to bond a mortar bed to the substrate.
• A direct bond method is the thinnest of the installation methods and
least expensive, but some surface prep may be required to achieve
the 1/8" in 10 feet mentioned earlier in the article.
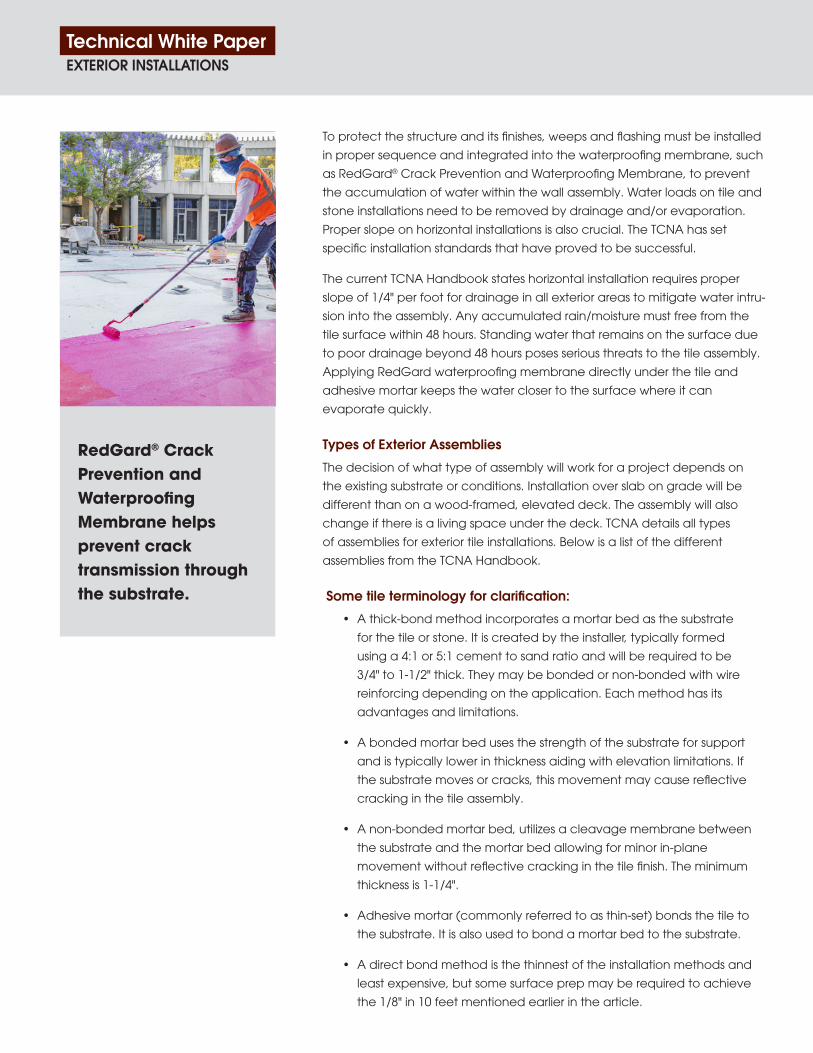
RedGard® Crack Prevention and Waterproofing Membrane helps prevent crack transmission through the substrate.

Technical White PaperEXTERIOR INSTALLATIONS
Detail Numbers for TCNA Accepted Assemblies:
F101-19 On Ground Concrete - Bonded Mortar Bed.
F102-19 On-Ground Concrete - Direct Bond
F103-19 Roof Deck or Balcony, Un-bonded, wire-reinforced mortar bed over
waterproof roofing membrane. Concrete Steel or wood construction with
drainage layer and drain.
F103B-19 Roof Deck or Balcony, Un-bonded, wire-reinforced mortar bed
over waterproof roofing membrane. Concrete Steel or wood construction
with drainage mat.
F104-19 Exterior concrete balconies or decks over unoccupied spaces
where slab is sloped ¼" and where thin-bed is desired.
F105-19 Residential balconies or decks over unoccupied space, constructed
of a joist system sloped min. 1/4" per foot.
Due to the construction process, exterior wall assemblies have fewer choices
since they are usually either masonry or steel/wood framed. This lends only
a few options: masonry/concrete, wire-reinforced mortar bed or a suitable
cement backer board such as WonderBoard® Lite Backerboard.
W201-19 Exterior walls of masonry or concrete, utilizing wire reinforced
mortar bed, where trueing or flattening of substrate is required.
W202-19 Direct bond to clean, sound exterior walls of masonry or concrete.
W231-19 / W241-19 Wood or metal studs, sheathing and a wire reinforced
mortar bed. (This is an interior detail but can be used with the proper
waterproofing, flashing and drainage is designed into the assembly.)
W244E Cement backer board over a structurally sound framed wall assembly.
Movement Joints are Required, Not Optional
Inadequate frequency and width of movement joints in tile assemblies is
one of the largest causes of failures in exterior tile and stone installations.
Movement joints are required per TCNA EJ171 in order to allow and absorb
movement in the assembly due to thermal cycling. It is the responsibility of
the architect to detail movement joints in the assembly. As a general guide,
they should be spaced every 8-10 feet in both directions. The TCNA EJ171
section provides more information and proper movement joint detailing.
Sealant for movement joints must conform to ASTM C-920. Natural stone
may discolor in contact with sealant so mockups are necessary to confirm
suitability. Custom Building Products recommends its Commercial 100%
Silicone Sealant for exterior assemblies. This product remains permanently
flexible and is available to match all 40 grout colors.
Movement joints are required per TCNA EJ171

Technical White PaperEXTERIOR INSTALLATIONS
Material Selection
Exterior tile installations are among the most sensitive of service conditions.
When it comes to the selection of materials for an exterior assembly, the
suggestion may change depending on the climate. Selecting the appropriate
tile finish (porcelain, natural stone, concrete, thin brick, masonry veneer,
etc.) for the specific climate is critical. Work with a local distributor to make
sure you are using the appropriate material for your structure. Many of the
mortars available on the market today are listed as suitable for interior and
exterior installations, but not all mortars are suitable for all conditions.
Harsh climates and those with significant temperature swings must utilize a
mortar with higher shear bond strengths and flexibility. Southern exposures in
Arizona, for example, will experience very high temperatures during the day
and can have cool evenings. The same can be said in the Rocky Mountain
states where the sun can heat surfaces during the day, but may freeze at
night. Heavy freeze regions must use a premium mortar with high freeze-thaw
capabilities. Custom Building Products tests mortars in an environmental
chamber; this equipment identifies the thin-set mortars that exceed stringent
ANSI requirements on freeze/thaw applications. These mortars have passed
the test of time successfully on thousands of structures across North America
and beyond.
Choosing the Right Mortar
Custom Building Products has excellent solutions for exterior installations.
ProLite® Premium Large Format Tile Mortar and MegaLite® Ultimate Crack
Prevention Mortar are high performance mortars, exceeding ANSI A118.4TE,
A118.15TE and A118.11 standards. MegaLite provides the highest shear-bond
strengths in the industry along with the highest classification of flexibility to
accommodate allowable substrate and tile movement. Both products are
thixotropic to provide non sag, non-slip properties for walls and non-slump
properties for floor applications to support heavy tile formats.
Another consideration to manage the effects of an exterior environment
would be the use of a Calcium Aluminate-based, rapid setting, high
performance mortar. Due to the much lower content or absence of lime
and a rapid cure, these mortars aid in the prevention of efflorescence in the
assembly. Both ProLite and MegaLite are available in rapid setting varieties,
ProLite RS and MegaLite RS. Efflorescence is an occurrence where soluble
salts are carried by water to the surface of the system where they are
deposited as the water evaporates. Sources of efflorescence in the field
can found in the environment, from rain or deposited organic matter, or
from the masonry in the assembly. Masonry products can be a source due
to the fact that Portland cement is not a refined component and may
contain soluble salts.
TCNA requires mortar coverage to the tile and substrate to be ≥95% on all
exterior or wet installations. Mortar should be evenly distributed to support
edges and corners. This not only ensures that the tiles are well-bonded, it
Custom Building Products has high performance solutions for exterior installations.

Technical White PaperEXTERIOR INSTALLATIONS
Back-buttering the tile alone does not constitute coverage; mortar needs to make full contact with tile and substrate.
also provides a solid base as voids may allow a collection of water, leading
to freeze-thaw damage. (Back-buttering the tile alone does not constitute
coverage; mortar needs to make full contact with tile and substrate. Back
buttering tile is highly recommended for all exterior installations.)
Custom Building Products also suggests the use of its high performance,
rapid-setting Calcium Aluminate cement-based grout, Prism® Ultimate
Performance Grout, for exterior installations. Using one of the rapid set
mortars with Prism can significantly contribute to an efflorescence free
assembly. Surface preparation with RedGard waterproofing membrane
also protects the assembly for cement substrate efflorescence.
Extreme Weather Cautions
Caution should be taken when working outdoors in extreme weather
conditions. Care should be taken to make sure you are installing during
ambient temperatures above 50°F or below 100°F. Temperatures below
50° will typically slow or stop the curing/hydration process. Temperatures
above 100° will prevent the products from fully curing/hydrating. Both of
these situations can cause installation failure due to the products not
reaching their designed and specified strengths and capacity.
Liquid-applied waterproofing membranes are not UV stable and must be
covered within 72 hours of being installed. Working in smaller sections or skim
coat the liquid applied membrane with MegaLite or ProLite can protect
against UV damage.
Successful Installation Guidelines
• Check with the manufacturer to see what the appropriate products
are for this specific installation. Is this product designed for the
application location I am working on?
• Mortar contact area should be at least 95%. Mortar coverage must be
evenly distributed to support edges and corners. Coating the back of
the tile does not constitute coverage; mortar needs to make contact
with tile and substrate.
• Key mortar into substrate with the flat side of the trowel.
• Comb with the notched side of the trowel in one direction across the
short side of the tile.
• Back buttering or back parging is recommended.
• Firmly press tiles into the mortar and move them perpendicularly across
the ridges forward and back to flatten the ridges and fill the valleys.
• Periodically remove and check a tile to ensure proper coverage is
being attained.
• Install the products between the appropriate temperature guide lines
listed on the data sheets.
• Check with manufacturer to see how long a product can be exposed
to UV light before it needs to be covered.
Custom Building ProductsTechnical Services 800-282-8786
Architectural Services 800-272-8786custombuildingproducts.com
WP145 10/20N
©2020 Custom Building Products. All rights reserved. The information in this document is presented in good faith, but no warranty, express or implied, is given nor is freedom from any patent in as much as any assistance furnished by CUSTOM with reference to the safe use and disposal of its products provided without charge. Custom Building Products assumes no obligation or liability therefore, except to the extent that any such assistance shall be given in good faith.The CUSTOM® logo and select product logos are registered trademarks of Custom Building Products, Inc. CUSTOM may make product modifications at any time without notice. Visit custombuildingproducts.com for updated technical data sheets and SDS information.
About the Authors
Dave Stewart is a regional technical sales representative for the Mountain West region. He has been in the tile industry since 1996 as an installer, estimator, field manager and business owner until he joined CUSTOM in 2015. Dave is a Certified Tile Installer by the Ceramic Tile Education Foundation and enjoys snowboarding, fly fishing and rafting from his home base near Denver.
Dale Roberts is an architectural consultant for Custom Building Products where he helps specifiers ensure that their tile and stone projects are successful, cost-efficient, and done right the first time. He has been in the tile industry for 30 years and has earned CSI, CDT, CCPR, CTC, LEED Green Associate certifications. Dale often presents continuing education classes to design professionals and tile contractors and enjoys troubleshooting challenging installations.
Technical White PaperEXTERIOR INSTALLATIONS
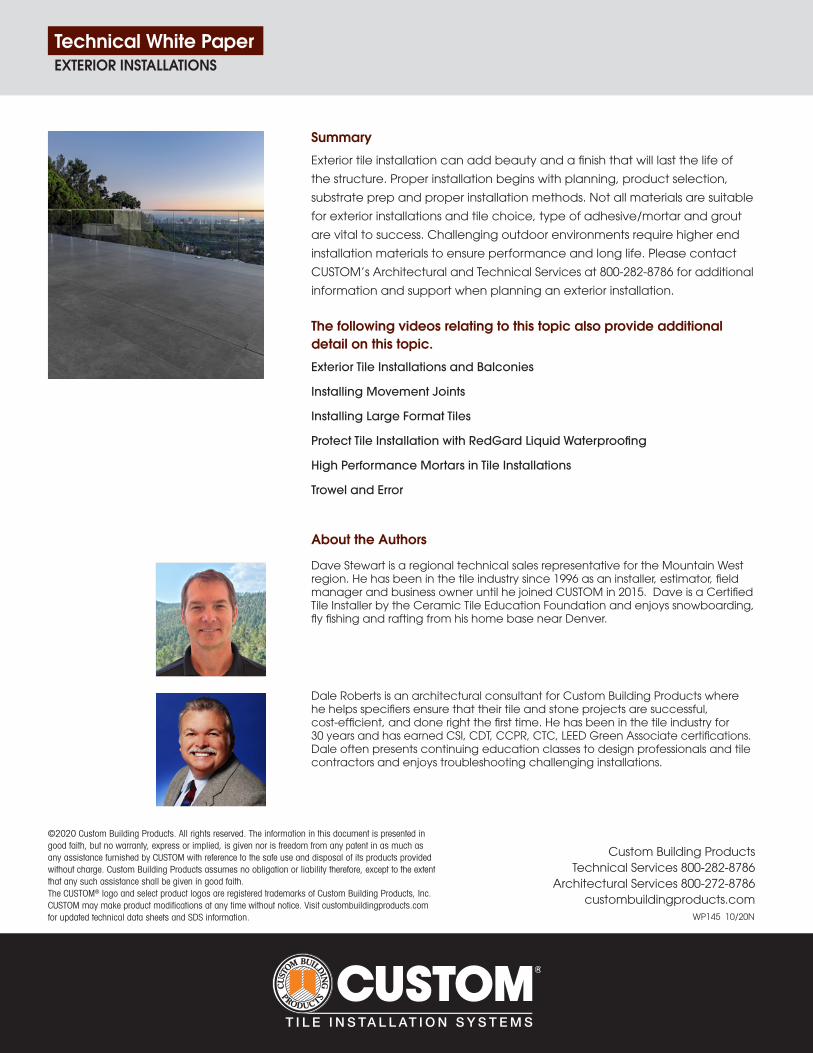
Summary
Exterior tile installation can add beauty and a finish that will last the life of
the structure. Proper installation begins with planning, product selection,
substrate prep and proper installation methods. Not all materials are suitable
for exterior installations and tile choice, type of adhesive/mortar and grout
are vital to success. Challenging outdoor environments require higher end
installation materials to ensure performance and long life. Please contact
CUSTOM’s Architectural and Technical Services at 800-282-8786 for additional
information and support when planning an exterior installation.
The following videos relating to this topic also provide additional detail on this topic.
Exterior Tile Installations and Balconies
Installing Movement Joints
Installing Large Format Tiles
Protect Tile Installation with RedGard Liquid Waterproofing
High Performance Mortars in Tile Installations
Trowel and Error