introduction to powerpoint 2003 learning and research technical unit (lartu) [email protected]
TRANSCRIPT


PowerPoint is used for presentations:
Paper handouts OHP acetates Computer based presentations

Getting Started
From the PCs in the student labs: Start, Programs, Microsoft Office, MS PowerPoint
2003 The New Presentation task pane on the right side
of the screen gives options to: Create a blank presentation from scratch Create a presentation from a design template Create a presentation from the AutoContent wizard Create a new presentation from an existing
presentation

Slide 1
To create your first slide, select Blank Presentation
From the Slide Layout task pane on the right, select the Title Slide layout if not already selected
In the first box on the slide type a title In the second box type a subtitle

Slide 1 (cont.)
To preview the presentation, click Slide Show, View Show (or press F5)
To preview the presentation from your current slide onwards press <Shift>+F5
Press the Esc key when finished
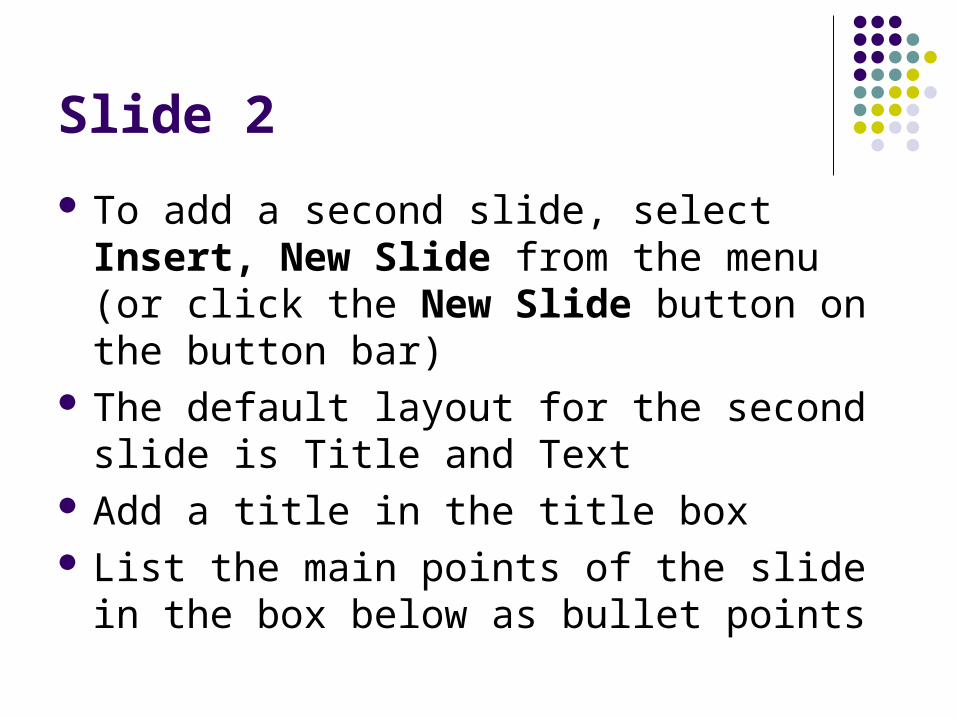
Slide 2
To add a second slide, select Insert, New Slide from the menu (or click the New Slide button on the button bar)
The default layout for the second slide is Title and Text
Add a title in the title box List the main points of the slide in the box
below as bullet points

Slide 2 (cont.)
Move from slide to slide either by Page Up/Page Down keys Clicking the Previous Slide/Next Slide buttons
on the vertical scroll bar In presentation view move from slide to slide
using Page Up/Page Down keys

Slide 3
Create another new slide From the Slide Layout pane scroll to the
section titled Text and Content Layouts and select Title, Text and Content
Page Up/Page Down keys Enter a title Enter some text in the text box

Slide 3 (cont.)
Click on the top right hand corner of the box in the content section to insert clip art
Type a term to search on (e.g. finance) and click OK
Select a picture and click OK again Use the Slide Show menu to preview your
presentation

Editing the Presentation
There are different formats by which to view your slides Normal View Slide Sorter View Slide Show (from current slide)
Switch between views by using the 3 small buttons in the bottom left of the screen

Slide Sorter View
In this view you can move the slides around by dragging and dropping
To add a new slide between two slides Click Insert, New Slide from the menu Choose a layout from the Slide Layout pane
To delete the slide Select the slide and press the Delete key

Moving and Editing Text
Go back to the first slide in the presentation in Slide View
Click anywhere on the main title and a selection box will become visible around the text
Move the text box by placing the cursor over the edge of the text box and dragging (the object can be dragged when the cursor shape turns into a cross-hatch

Moving and Editing Text (cont.)
Change the font of the text either by selecting the actual text Clicking on the edge of the text box – this
changes all of the text

Background To change the background colour of the
slides Select Format, Background… Click on the drop-down colour box and select one
of the colours If none of the given colours are suitable, select
More Colors… Either select one of the standard colours or create
a custom colour You can also use Fill Effects instead of colours

Text and Images from the Web
N.B. Beware of copyright. Gain the owner’s permission before copying their material.
Add a new slide and select a layout that allows for both text and a graphic image to be included
Open Internet Explorer and go to a site with a graphic (picture) on the page

Text and Images from the Web (cont.)
Copy a paragraph of text from the page Paste it into the text portion of your slide Right-click on the image on the web page You may select one of
Copy Save Picture As
Save the picture to your H: drive

Text and Images from the Web (cont.)
From PowerPoint select Insert, Picture, From File…
Browse for the picture you just saved Select it and click Insert You may need to re-size and/or move the file

Creating Drawings
Drawing tools are available on the Drawing toolbar, usually along the bottom of the screen
If this is not visible select View, Toolbars, Drawing from the menu
AutoShapes allows you to add pre-drawn shapes to your presentation
Select the desired shape and drag out a rectangle to place the shape on the slide

Creating Drawings (cont.)
Change the colour of the shape by clicking on the Fill Color button (paint pot icon)
Change the outline colour of the shape by clicking on the Line Color button (paintbrush icon)
Re-size objects by dragging one of the ‘handles’ around the edge of the shape
Move objects by dragging the shape when the cursor is a crosshatch shape.

Lines, Arrows, Shapes
Lines Click on the diagonal Line button to draw a line The cursor changes shape Hold down left mouse button and drag mouse to
create a line Arrows
Either click on the Arrow button Or change a line to an arrow by selecting the line
and clicking on the Arrow Style button

Grouping Objects
Group several objects so that they may be treated as a single object Drag a rectangle around all the objects to select
them all OR hold down the shift key and click each object
to be included in the group Click on the Draw menu in the bottom left
corner of the screen, click Group

Printing Slides
Various formats for printing PowerPoint presentation: Slides Handouts (1, 2, 3, 4, 6, 9 per page) Notes Outline
Select whether to print in colour – Black & White conserves ink